

5 minute deep clean? Yes, you read that right! In today’s fast-paced world, who has hours to dedicate to scrubbing and polishing? We’re all juggling work, family, and trying to squeeze in a little “me time.” But a clean home is essential for our well-being – it reduces stress, improves air quality, and simply makes us feel better.
Think of the ancient Romans, who meticulously cleaned their bathhouses and villas, understanding the connection between hygiene and health. While we may not have slaves to do our bidding (thank goodness!), we can learn from their dedication to cleanliness and adapt it to our modern lives. That’s where these amazing DIY cleaning hacks come in!
I’m going to share some game-changing secrets that will allow you to achieve a sparkling clean home in just 5 minutes. These aren’t just quick fixes; they’re strategic approaches to tackling the most common messes, leaving you with more time to enjoy the things you love. From tackling stubborn stovetop stains to banishing bathroom grime, these tips will transform your cleaning routine. Get ready to discover the power of the 5 minute deep clean and reclaim your weekends!
5-Minute Deep Clean Hacks: Conquer Your Home, One Room at a Time!
Okay, let’s be honest, who *really* has hours to dedicate to cleaning? Not me! That’s why I’ve perfected these 5-minute deep clean hacks. They’re designed to give you maximum impact in minimal time. We’re talking about those little bursts of cleaning energy that make a HUGE difference. Ready to transform your home, one quick burst at a time? Let’s dive in!
The Secret Weapon: Preparation is Key!
Before we even start, let’s talk about setting ourselves up for success. These aren’t just random cleaning tasks; they’re targeted strikes against grime and clutter.
* Gather Your Supplies: Nothing kills momentum like having to run around searching for a cleaner or a cloth. Keep a cleaning caddy stocked with essentials like all-purpose cleaner, glass cleaner, microfiber cloths, a scrub brush, and paper towels.
* Set a Timer: Seriously! The timer is your friend. It keeps you focused and prevents you from getting sidetracked. Plus, the ticking clock adds a little pressure, which can be surprisingly motivating.
* Focus, Focus, Focus: No multitasking! Choose one task and stick to it for the full five minutes. Resist the urge to start another project halfway through.
Kitchen Blitz: Sparkling Surfaces in Minutes
The kitchen is often the heart of the home, but it can also be a magnet for messes. These quick hacks will keep your kitchen looking its best.
Microwave Miracle
This is one of my absolute favorite hacks! It’s so easy and effective.
1. Prep the Cleaning Solution: Fill a microwave-safe bowl with 1 cup of water and add 2 tablespoons of white vinegar or lemon juice. The vinegar or lemon juice helps to loosen the grime.
2. Microwave Magic: Place the bowl in the microwave and heat on high for 3-4 minutes, or until the water boils and the window is steamy.
3. Steam Clean: Let the bowl sit in the microwave for another minute or two. The steam will loosen all the splatters and stuck-on food.
4. Wipe Away: Carefully remove the bowl (it will be hot!) and use a damp cloth or sponge to wipe down the inside of the microwave. You’ll be amazed at how easily the grime comes off!
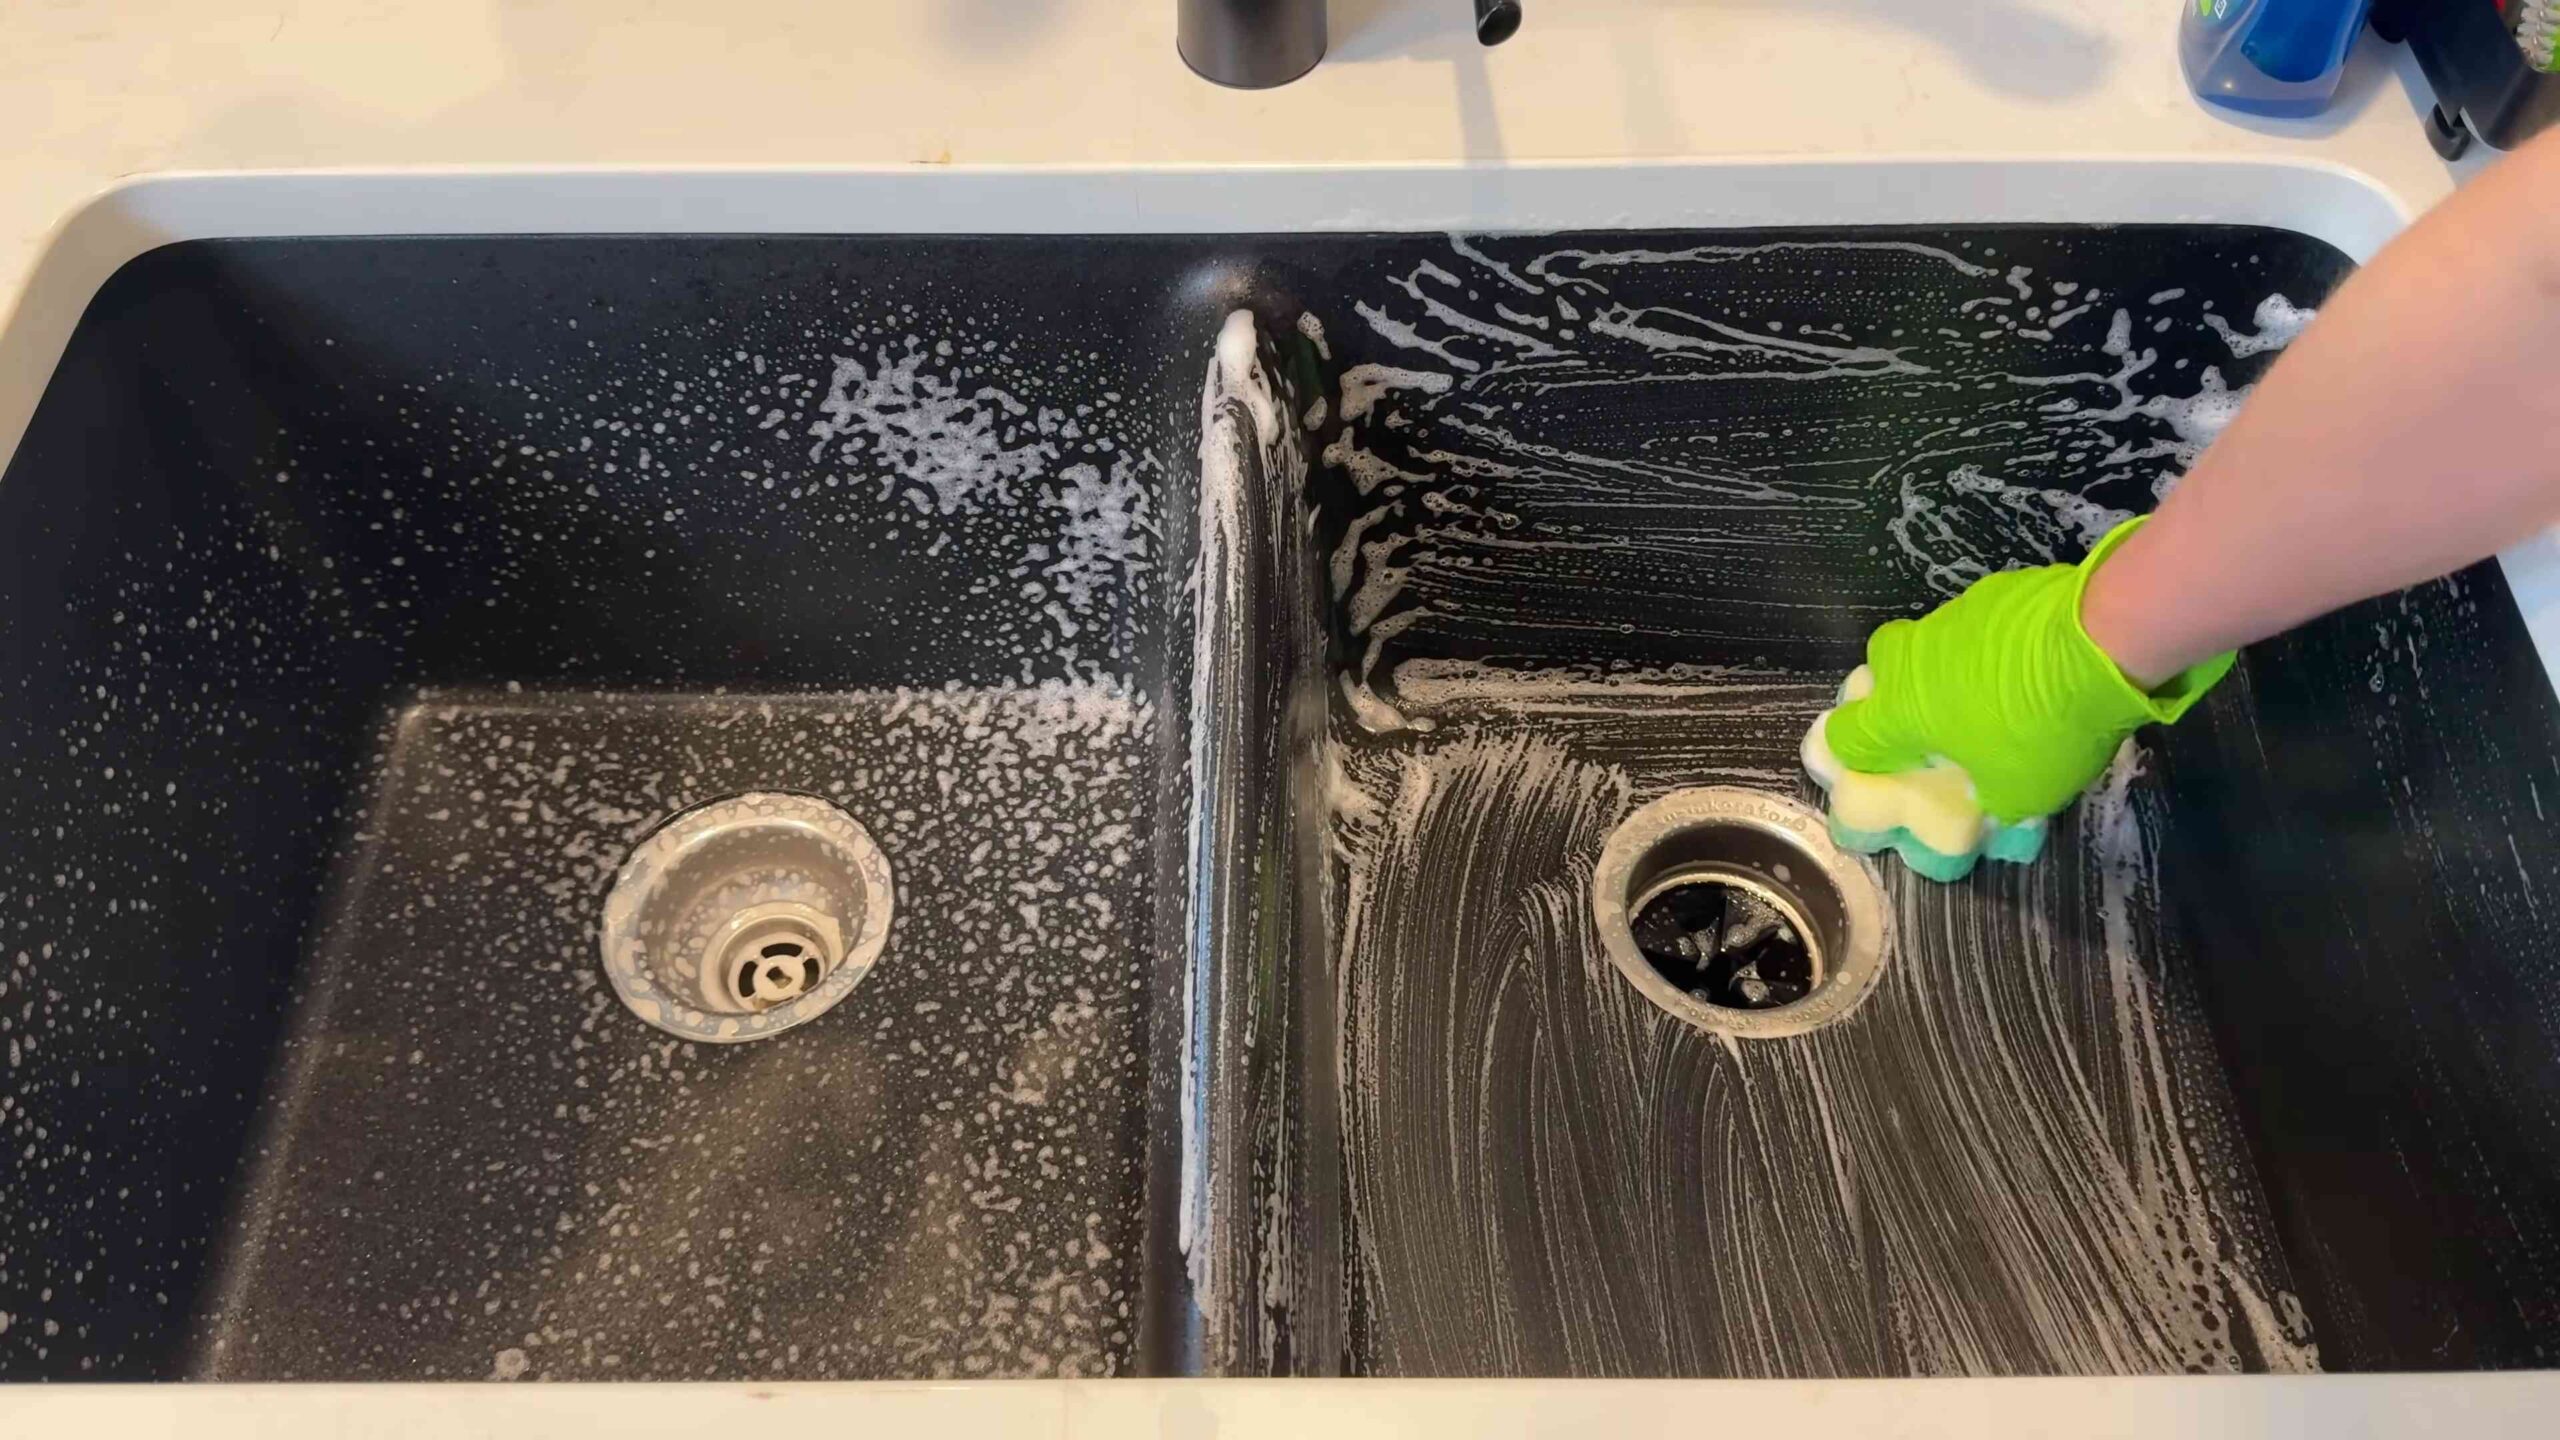
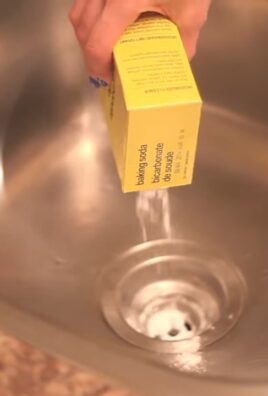
Sink Scrub
A clean sink makes the whole kitchen feel cleaner.
1. Rinse and Sprinkle: Rinse the sink with water and sprinkle baking soda all over the surface. Baking soda is a gentle abrasive that helps to remove stains and odors.
2. Scrub-a-Dub-Dub: Use a damp sponge or scrub brush to scrub the sink, paying attention to any stubborn stains or grime.
3. Rinse Thoroughly: Rinse the sink with water until all the baking soda is gone.
4. Shine Time: For stainless steel sinks, use a stainless steel cleaner and a microfiber cloth to polish the surface.
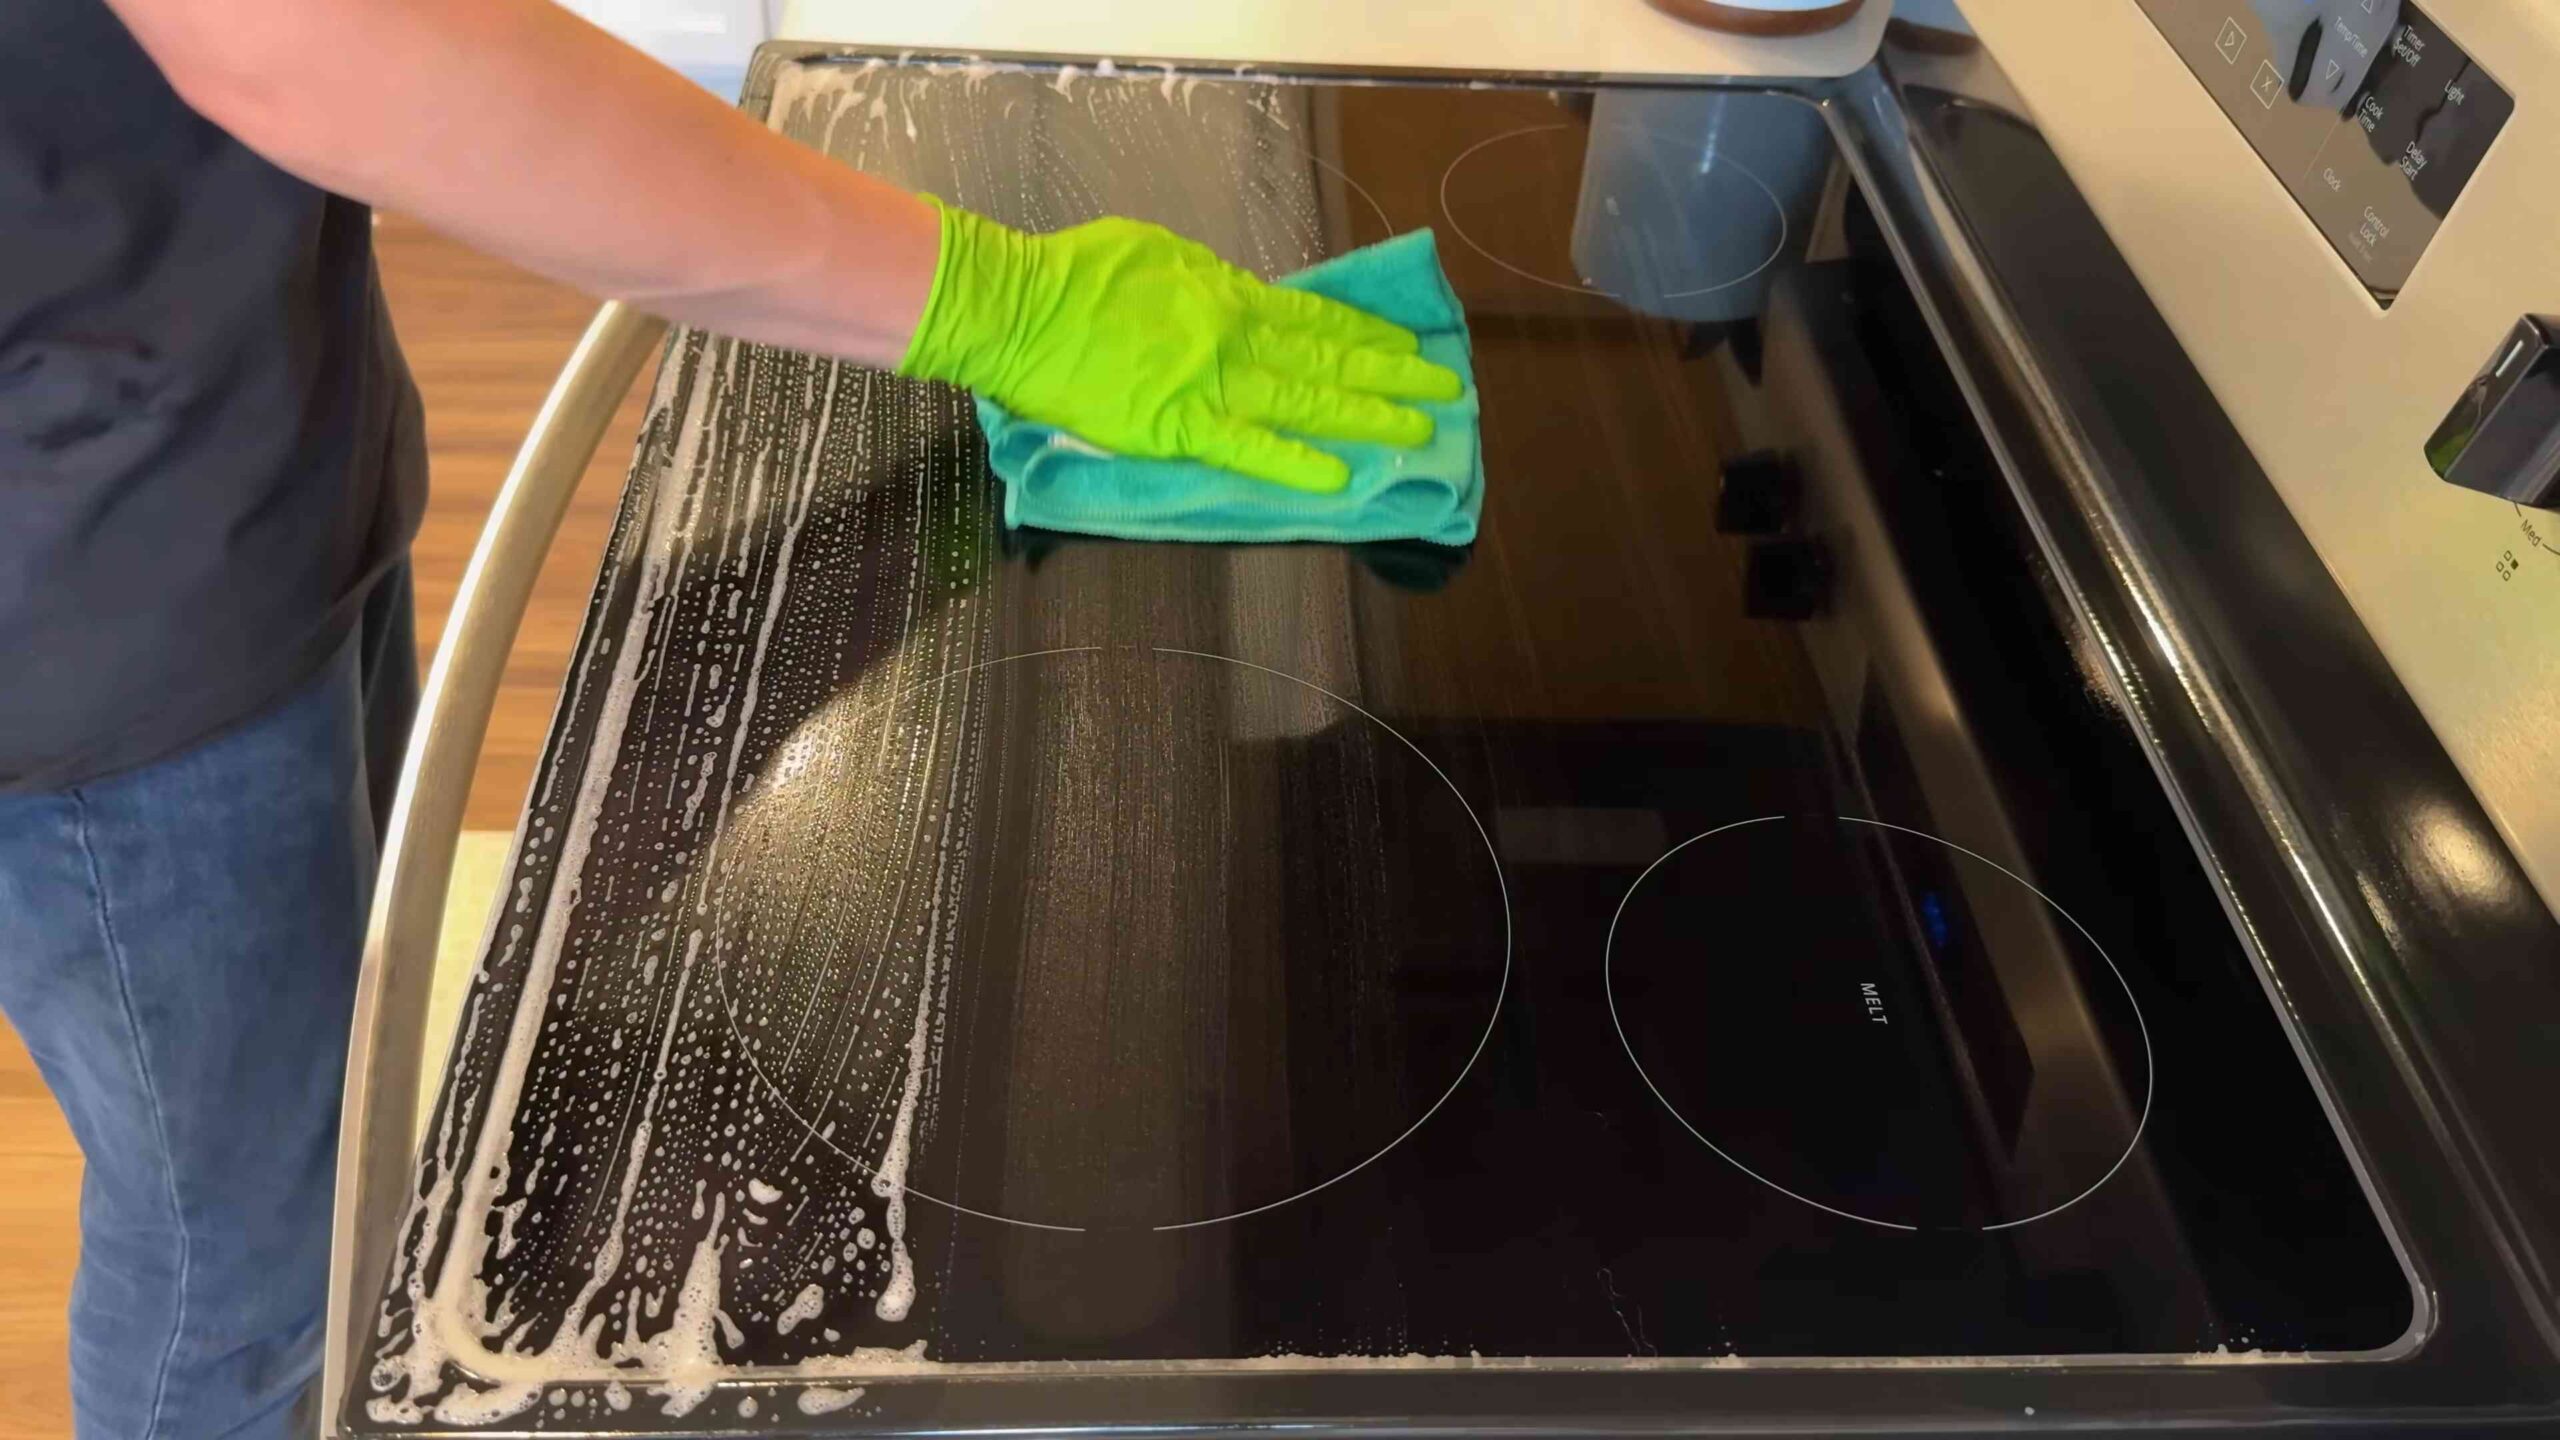
Countertop Cleanup
Wipe down those counters for a fresh, clean look.
1. Clear the Clutter: Quickly remove any items from the countertops, such as appliances, dishes, or mail.
2. Spray and Wipe: Spray the countertops with an all-purpose cleaner and let it sit for a few seconds.
3. Wipe Clean: Use a clean microfiber cloth to wipe down the countertops, removing any dirt, spills, or grime.
4. Dry and Replace: Dry the countertops with a clean cloth and replace any items that you removed.
Bathroom Breakthrough: Sparkling Clean in a Flash
The bathroom can quickly become a breeding ground for germs and grime. These quick cleaning hacks will help you keep it fresh and clean.
Toilet Bowl Blitz
Let’s face it, cleaning the toilet isn’t anyone’s favorite task, but it’s essential.
1. Flush and Add Cleaner: Flush the toilet and add toilet bowl cleaner to the bowl.
2. Swish and Scrub: Use a toilet brush to swish the cleaner around the bowl, paying attention to the rim and any stains.
3. Let it Sit: Let the cleaner sit for a few minutes while you move on to other tasks.
4. Flush Again: Flush the toilet again to rinse away the cleaner and any grime.
Mirror Magic
Streaky mirrors are a pet peeve of mine! This hack is super simple.
1. Spray and Wipe: Spray the mirror with glass cleaner.
2. Wipe with Microfiber: Use a clean microfiber cloth to wipe the mirror in a circular motion, removing any streaks or smudges.
3. Buff to Shine: Buff the mirror with a dry microfiber cloth to achieve a sparkling, streak-free shine.
Sink and Counter Refresh
Just like in the kitchen, a quick sink and counter cleanup makes a big difference.
1. Clear the Clutter: Remove any items from the sink and countertop, such as toiletries, makeup, or hair products.
2. Spray and Wipe: Spray the sink and countertop with an all-purpose cleaner.
3. Wipe Clean: Use a clean microfiber cloth to wipe down the surfaces, removing any dirt, spills, or grime.
4. Dry and Replace: Dry the surfaces with a clean cloth and replace any items that you removed.
Living Room Lift: From Cluttered to Cozy in Minutes
The living room is where we relax and unwind, so it’s important to keep it tidy and inviting.
Pillow Plump and Fluff
This is a super quick way to make your living room look more inviting.
1. Fluff and Arrange: Simply fluff up your throw pillows and arrange them neatly on the sofa or chairs. This instantly makes the room look more put-together.
2. Straighten Blankets: Fold or drape any throw blankets neatly over the sofa or chairs.
Surface Sweep
A quick dusting and wipe-down can make a big difference.
1. Dusting Duty: Use a duster or a damp cloth to quickly dust any surfaces, such as coffee tables, end tables, or shelves.
2. Wipe Down: Wipe down any spills or stains on hard surfaces with a damp cloth.
Quick Tidy
This is all about picking up the obvious clutter.
1. Gather Stray Items: Quickly gather any stray items, such as books, magazines, or toys, and put them away in their designated places.
2. Straighten Up: Straighten up any items that are out of place, such as picture frames or lamps.
Bedroom Boost: A Sanctuary of Clean
Your bedroom should be a relaxing retreat. These quick cleaning hacks will help you create a more peaceful space.
Bed Making Magic
Making the bed is the quickest way to make your bedroom look tidier.
1. Pull Up the Sheets: Pull up the sheets and blankets and smooth them out.
2. Fluff the Pillows: Fluff the pillows and arrange them neatly at the head of the bed.
3. Add a Throw: Add a throw blanket or decorative pillows for a touch of style.
Surface Sanity
Just like in the living room, a quick surface sweep makes a difference.
1. Clear the Clutter: Remove any items from the nightstands or dressers.
2. Dust and Wipe: Dust the surfaces with a duster or a damp cloth.
3. Replace Items: Replace any items that you removed, arranging them neatly.
Floor Focus
A quick sweep or vacuum can freshen up the whole room.
1. Quick Sweep: Use a broom or a vacuum cleaner to quickly sweep or vacuum the floor, paying attention to any areas with dust or debris.
2. Spot Clean: Spot clean any stains or spills on the floor with a damp cloth.
Bonus Tip: The Power of Prevention
The best way to keep your home clean is to prevent messes from happening in the first place!
* Clean as You Go: Wipe up spills immediately, put things away after you use them, and do a quick tidy-up each day.
* Enlist Help: Get the whole family involved in cleaning! Even young children can help with simple tasks like putting away toys or wiping down surfaces.
* Don’t Procrastinate: Don’t let messes pile up! Tackle them as soon as they happen to prevent them from becoming overwhelming.
These 5-minute deep clean hacks are my go-to strategy for keeping my home looking its best, even when I’m short on time. Give them a try and see how much of a difference they can make! Remember, consistency is key. Even a few minutes of cleaning each day can add up to a much cleaner and more organized home. Happy cleaning!
Conclusion
So, there you have it! This 5-minute deep clean trick isn’t just a cleaning hack; it’s a game-changer for anyone who values a sparkling home without sacrificing precious time. We’ve all been there – staring at a grimy microwave, a soap-scummed shower, or a dusty keyboard, dreading the lengthy cleaning process. But with this simple, effective method, those cleaning tasks transform from daunting chores into quick, satisfying wins.
The beauty of this approach lies in its efficiency and adaptability. It’s not about spending hours scrubbing; it’s about targeted action that delivers maximum impact in minimal time. Think of it as a cleaning sprint, not a marathon. And the best part? You likely already have everything you need right in your pantry! No special equipment or harsh chemicals are required, making it both budget-friendly and environmentally conscious.
But don’t just take our word for it. The real magic happens when you put this 5-minute deep clean into practice. Imagine the satisfaction of wiping down a sparkling clean stovetop after just a few minutes of effort. Picture the relief of knowing your bathroom is fresh and inviting, even on the busiest of days. This isn’t just about cleaning; it’s about reclaiming your time and creating a more enjoyable living space.
Ready to take your cleaning routine to the next level?
Here are a few variations to consider, depending on your specific needs and preferences:
* **For stubborn stains:** Pre-treat the area with a paste of baking soda and water before applying the cleaning solution. Let it sit for a few minutes to loosen the grime.
* **For a fresh scent:** Add a few drops of your favorite essential oil (like lemon, lavender, or eucalyptus) to your cleaning solution.
* **For delicate surfaces:** Test the cleaning solution on an inconspicuous area first to ensure it doesn’t cause any damage.
* **For a more abrasive clean:** Use a microfiber cloth with a slightly rougher texture.
* **For a natural approach:** Substitute white vinegar for commercial cleaning products.
We encourage you to try this 5-minute deep clean trick in your own home and see the difference it can make. Whether you’re tackling a specific cleaning challenge or simply looking for a more efficient way to maintain a tidy space, this method is sure to become a valuable addition to your cleaning arsenal.
Don’t be shy – share your experiences with us! Let us know which areas you’ve cleaned, what variations you’ve tried, and how this trick has helped you simplify your cleaning routine. Your feedback will not only help us improve this guide but also inspire others to embrace the power of quick and effective cleaning. So, go ahead, give it a try, and let’s make cleaning less of a chore and more of a breeze! We are confident that this 5-minute deep clean will become your new go-to method for a sparkling home.
Frequently Asked Questions
What exactly does the “5-minute deep clean” entail?
The 5-minute deep clean is a targeted cleaning approach focused on achieving maximum cleanliness in a short amount of time. It involves identifying a specific area or item that needs cleaning (e.g., microwave, bathroom sink, keyboard), gathering the necessary cleaning supplies (usually a cleaning solution, microfiber cloth, and possibly a scrub brush), and then dedicating five uninterrupted minutes to thoroughly cleaning that area. The key is to focus intensely on the task at hand and avoid distractions.
What kind of cleaning solution should I use?
The best cleaning solution depends on the surface you’re cleaning. For general cleaning, a mixture of water and dish soap or a multi-purpose cleaner works well. For tougher stains or grime, you might need a stronger solution like vinegar, baking soda paste, or a specialized cleaner. Always test the solution on an inconspicuous area first to ensure it doesn’t damage the surface. For example, a solution of equal parts water and white vinegar is excellent for cleaning microwaves and removing hard water stains in bathrooms. For electronics, use a specialized screen cleaner or a slightly damp microfiber cloth.
Is this 5-minute deep clean suitable for all surfaces?
No, not all surfaces are created equal. Delicate surfaces like wood furniture, leather, or certain types of stone require special care and cleaning products. Always check the manufacturer’s instructions or consult a professional before cleaning these surfaces. For example, avoid using abrasive cleaners on stainless steel, as they can scratch the surface. Similarly, avoid using excessive water on wood furniture, as it can cause warping.
What if the area I’m cleaning is dirtier than I expected and requires more than 5 minutes?
If you encounter a particularly stubborn mess, don’t be discouraged! The 5-minute timeframe is a guideline, not a rigid rule. If needed, extend the cleaning time by a few minutes or break the task into smaller chunks and tackle it over several days. You can also pre-treat the area with a cleaning solution and let it sit for a while before scrubbing. The goal is to make progress, even if you can’t achieve perfection in just five minutes.
Can I use this 5-minute deep clean method for my entire house?
While you could theoretically use this method for your entire house, it’s more effective for targeted cleaning. Trying to deep clean an entire house in 5-minute increments would likely be overwhelming and inefficient. Instead, focus on high-traffic areas or areas that tend to get dirty quickly, such as kitchens and bathrooms. You can also use this method to maintain cleanliness between more thorough cleaning sessions.
What are some essential tools for the 5-minute deep clean?
The essential tools for the 5-minute deep clean are simple and readily available:
* **Microfiber cloths:** These are excellent for wiping surfaces clean without leaving streaks or lint.
* **Spray bottle:** For dispensing cleaning solutions.
* **Scrub brush or sponge:** For tackling stubborn stains and grime.
* **Cleaning solution:** Choose a solution appropriate for the surface you’re cleaning.
* **Gloves:** To protect your hands from harsh chemicals.
* **Old toothbrush:** Great for cleaning grout and hard-to-reach areas.
How often should I do a 5-minute deep clean?
The frequency of your 5-minute deep clean depends on your lifestyle and cleaning habits. For high-traffic areas like kitchens and bathrooms, you might want to do a quick clean every day or every other day. For less frequently used areas, a weekly or bi-weekly clean might suffice. The key is to establish a routine that works for you and helps you maintain a clean and comfortable living space.
What are some common mistakes to avoid when doing a 5-minute deep clean?
Here are some common mistakes to avoid:
* **Using the wrong cleaning solution:** Always choose a solution that is appropriate for the surface you’re cleaning.
* **Not testing the solution first:** Test the solution on an inconspicuous area to ensure it doesn’t cause damage.
* **Using too much pressure:** Avoid scrubbing too hard, as this can damage surfaces.
* **Ignoring safety precautions:** Wear gloves and eye protection when using harsh chemicals.
* **Getting distracted:** Stay focused on the task at hand to maximize your efficiency.
How can I make this 5-minute deep clean a habit?
Making the 5-minute deep clean a habit requires consistency and planning. Here are some tips:
* **Schedule it:** Set aside a specific time each day or week for your 5-minute clean.
* **Start small:** Focus on one or two areas at a time.
* **Make it easy:** Keep your cleaning supplies readily accessible.
* **Reward yourself:** Celebrate your accomplishments to stay motivated.
* **Track your progress:** Use a checklist or calendar to track your cleaning sessions.
What if I have allergies or sensitivities to certain cleaning products?
If you have allergies or sensitivities, choose cleaning products that are hypoallergenic and fragrance-free. You can also make your own natural cleaning solutions using ingredients like vinegar, baking soda, and lemon juice. Always read the labels carefully and test the products on a small area of skin before using them extensively. If you experience any adverse reactions, discontinue use immediately and consult a doctor.
Leave a Comment