

Regrow green onions in water? Absolutely! Imagine never having to buy green onions again. Sounds like a dream, right? Well, it’s a dream that can easily become your reality with this simple and satisfying DIY trick. For centuries, resourceful gardeners have been finding clever ways to extend the life of their produce, and this method of regrowing green onions is a modern take on that age-old tradition.
Think about it: how often do you use just a portion of a bunch of green onions, leaving the roots to wither away in your fridge? It’s a common occurrence, and it’s a waste! But with this easy hack, you can transform those discarded roots into a continuous supply of fresh, flavorful green onions. I’m going to show you how to easily regrow green onions in water, saving you money and reducing food waste. Plus, it’s incredibly rewarding to watch them sprout and thrive right on your windowsill.
In today’s fast-paced world, finding simple ways to connect with nature and be more self-sufficient is more important than ever. This DIY project is not only practical but also a fun and engaging activity for the whole family. So, grab those green onion scraps, and let’s get started on this easy and rewarding gardening adventure!
Regrowing Green Onions: A DIY Guide to Endless Scallions!
Hey there, fellow green thumb enthusiasts! Are you tired of buying green onions (scallions) every week only to use a tiny bit and watch the rest wilt away in your fridge? Well, I have a super simple and satisfying DIY hack for you: regrowing green onions in water! It’s ridiculously easy, saves you money, and gives you a constant supply of fresh scallions right on your windowsill. Trust me, once you start, you’ll never look at a bunch of green onions the same way again.
What You’ll Need
Before we dive in, let’s gather our supplies. The beauty of this project is that you probably already have everything you need!
* A bunch of green onions (obviously!). Look for ones with healthy roots still attached.
* A glass or jar. The size will depend on how many onions you’re regrowing. A mason jar, drinking glass, or even a repurposed yogurt container works great.
* Water. Tap water is perfectly fine.
* Scissors or a sharp knife.
* (Optional) Liquid fertilizer. This can give your onions a little boost, but it’s not essential.
Step-by-Step Instructions: From Scraps to Scallions!
Okay, let’s get started! This is so easy, you’ll be amazed.
1. Prepare the Green Onions: Take your bunch of green onions and cut off the green tops, leaving about 1-2 inches of the white and light green base with the roots attached. Don’t throw away the green tops! You can use them in your cooking right away. I like to chop them up and add them to salads, soups, or stir-fries.
2. Choose Your Container: Select your glass or jar. Make sure it’s clean. The size should be appropriate for the number of green onion bases you’re regrowing. You want them to be snug but not overcrowded.
3. Add Water: Fill the glass or jar with enough water to cover the roots, but don’t submerge the entire white part of the onion. You want the very bottom of the white part to be in the water, but most of it should be above the water line. This prevents rotting.
4. Place the Green Onion Bases in the Water: Carefully place the green onion bases, root-side down, into the water. Make sure they are standing upright. If they are wobbly, you can pack them in a bit closer together to help them support each other.
5. Find a Sunny Spot: Place your jar of green onions on a windowsill or in another location that receives plenty of sunlight. Sunlight is crucial for photosynthesis and healthy growth. A south-facing window is ideal, but any window that gets at least a few hours of direct sunlight will work.
6. Change the Water Regularly: This is important! Change the water every 1-2 days to prevent bacteria from growing and to keep the water fresh. Stagnant water can lead to rot and unhappy onions. When you change the water, gently rinse the roots to remove any debris.
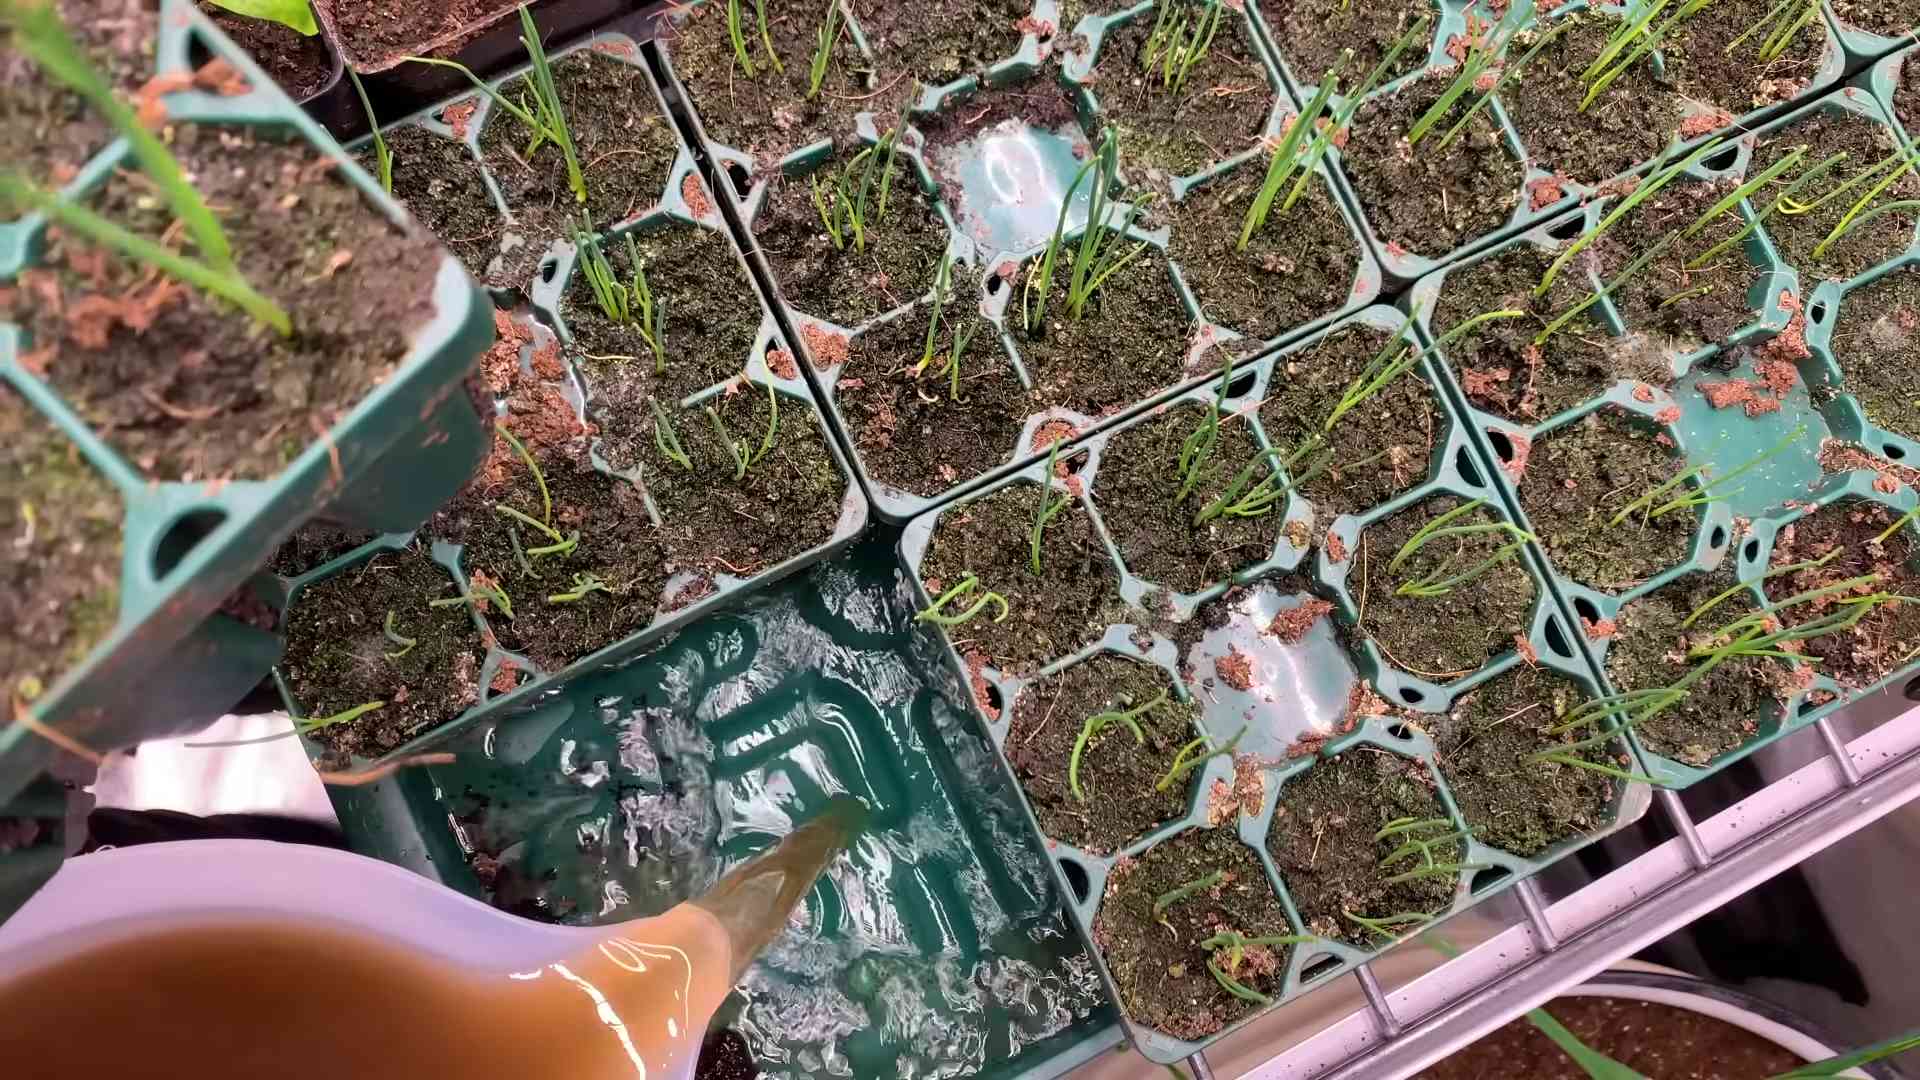
7. (Optional) Add Fertilizer: If you want to give your green onions an extra boost, you can add a few drops of liquid fertilizer to the water every couple of weeks. Follow the instructions on the fertilizer bottle for the correct dosage. I usually use a diluted solution of all-purpose liquid fertilizer.
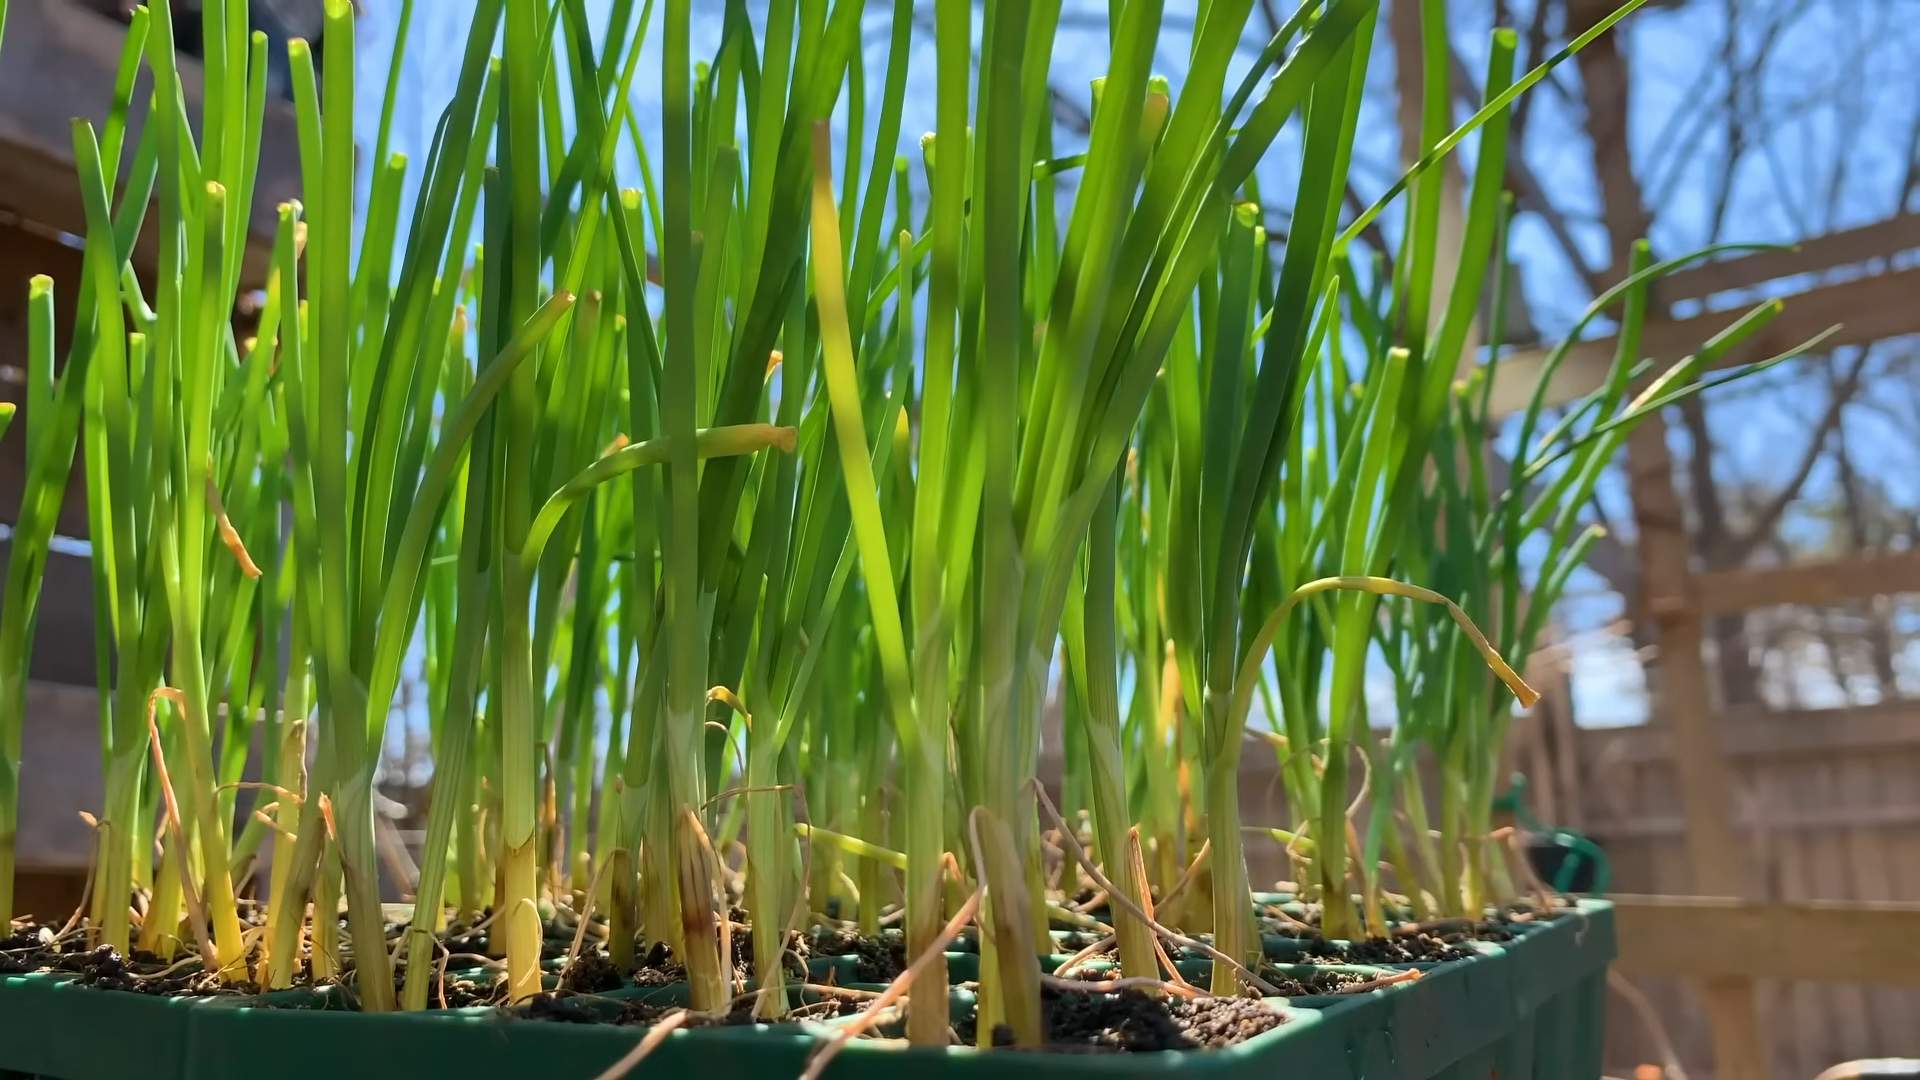
8. Watch Them Grow! Now comes the fun part! Within a few days, you should start to see new green shoots emerging from the tops of the onion bases. It’s so satisfying to watch them grow!
9. Harvest Your Green Onions: Once the green shoots have grown to a usable length (usually a few inches), you can start harvesting them. Simply cut off the amount you need with scissors, leaving about an inch or two of the green shoots intact. This will allow them to continue growing.
10. Repeat and Enjoy! As long as you continue to change the water regularly and provide sunlight, your green onions will continue to regrow. You can harvest them multiple times from the same base. Eventually, the base will start to lose its vigor, but you can easily start a new batch with fresh green onions.
Troubleshooting: Common Issues and Solutions
Even with this simple process, you might encounter a few minor issues. Here’s how to handle them:
* Rotting: If you notice the base of the green onion turning brown or mushy, it’s likely rotting. This is usually caused by too much water or stagnant water. Remove the affected onion immediately to prevent the rot from spreading to the others. Make sure you’re not submerging the entire white part of the onion in water, and change the water more frequently.
* Slow Growth: If your green onions aren’t growing as quickly as you’d like, it could be due to insufficient sunlight or nutrients. Try moving them to a sunnier location or adding a diluted solution of liquid fertilizer to the water.
* Yellowing Leaves: Yellowing leaves can indicate a lack of nutrients or too much water. Adjust your watering schedule and consider adding fertilizer. Also, make sure the water is clean and fresh.
* Slimy Roots: Slimy roots are a sign of bacterial growth. Change the water immediately and rinse the roots thoroughly. You might also consider adding a tiny amount of hydrogen peroxide to the water to kill the bacteria.
Taking it to the Next Level: From Water to Soil
While regrowing green onions in water is super convenient, you can also transplant them to soil for even more robust growth. Here’s how:
1. Let the Roots Develop: Allow the green onion bases to regrow in water for a few weeks until they have developed a good network of roots.
2. Prepare a Pot: Choose a small pot with drainage holes and fill it with well-draining potting soil.
3. Plant the Green Onion: Gently remove the green onion base from the water and plant it in the pot, burying the roots and the white part of the onion up to the base of the green shoots.
4. Water Thoroughly: Water the soil thoroughly after planting.
5. Place in a Sunny Location: Place the pot in a sunny location, just like you did with the water jar.
6. Water Regularly: Water the soil regularly, keeping it moist but not soggy.
7. Fertilize Occasionally: Fertilize the green onion every few weeks with a diluted solution of liquid fertilizer.
8. Harvest and Enjoy! You can harvest the green onions just like you did when they were growing in water. The soil will provide them with more nutrients, resulting in faster and more vigorous growth.
Why I Love This Hack
Honestly, this is one of my favorite DIY hacks because it’s so simple, sustainable, and rewarding. I love having fresh green onions readily available for cooking, and it’s so satisfying to watch them regrow from scraps. Plus, it’s a great way to reduce food waste and save money. It’s a win-win-win!
Here are a few more reasons why I think you’ll love this:
* It’s Eco-Friendly: You’re reducing food waste and minimizing your trips to the grocery store.
* It’s Cost-Effective: You’re saving money on groceries by regrowing your own green onions.
* It’s Educational: It’s a great way to teach kids about plant growth and sustainability.
* It’s Convenient: You always have fresh green onions on hand when you need them.
* It’s Fun! Seriously, it’s just plain fun to watch them grow!
So, what are you waiting for? Grab a bunch of green onions and give this DIY hack a try. I promise you won’t be disappointed! Happy growing!
Conclusion
So, there you have it! Regrowing green onions in water is not just a fun little experiment; it’s a practical, cost-effective, and surprisingly rewarding way to ensure you always have fresh green onions on hand. Forget those last-minute grocery store runs when all you need is a sprinkle of vibrant green goodness. This simple DIY trick transforms kitchen scraps into a continuous supply of flavorful alliums, ready to elevate your culinary creations.
Why is this a must-try? Because it’s incredibly easy! Seriously, if you can put a green onion in a glass of water, you can do this. It requires minimal effort, zero gardening skills, and reaps maximum rewards. Think about the money you’ll save by not constantly buying new bunches. Think about the reduced food waste, contributing to a more sustainable lifestyle. And think about the sheer satisfaction of watching something grow right on your kitchen counter!
Beyond the basic method, there’s room for experimentation. Try different containers – a mason jar, a repurposed glass bottle, even a shallow dish will work. Observe how the growth rate varies depending on the amount of sunlight your green onions receive. Some people swear by adding a tiny bit of liquid fertilizer to the water every few weeks to boost growth, while others prefer to keep it completely natural. You can even try transferring your regrown green onions to a pot of soil for even more robust growth and a longer lifespan. This method allows the green onions to develop more fully, producing larger bulbs and a more intense flavor.
Consider the variations you can explore. Instead of just snipping the tops, try harvesting the entire green onion, leaving about an inch of the white bulb with the roots intact. This will encourage even more vigorous regrowth. You can also experiment with different types of onions. While green onions are the easiest to regrow in water, you might be surprised to find that other varieties, like scallions or even the tops of leeks, can also be successfully propagated using this method.
The beauty of this DIY project lies in its simplicity and adaptability. It’s a perfect activity for kids, teaching them about plant life cycles and the importance of reducing waste. It’s also a great way to add a touch of green to your kitchen, creating a mini indoor garden that’s both functional and aesthetically pleasing.
We wholeheartedly encourage you to give this **regrow green onions in water** method a try. It’s a small change that can make a big difference in your kitchen and your wallet. And most importantly, we want to hear about your experiences! Share your photos, tips, and tricks in the comments below. Let us know what worked for you, what challenges you faced, and what delicious dishes you created with your homegrown green onions. Together, we can build a community of resourceful cooks who are passionate about sustainable living and fresh, flavorful food. So, grab a bunch of green onions, a glass of water, and get growing!
Frequently Asked Questions (FAQ)
How long does it take for green onions to regrow in water?
Typically, you’ll start to see noticeable regrowth within a few days. Within a week, you should have a significant amount of new green shoots. The exact growth rate depends on factors like sunlight, water quality, and the initial health of the green onion. Expect to harvest usable green onions within 1-2 weeks. Remember to change the water every 1-2 days to prevent bacterial growth and ensure optimal conditions for regrowth.
What part of the green onion do I need to regrow it?
You need the white bulb end with the roots attached. When you’re using green onions in your cooking, save the bottom 1-2 inches of the white part, making sure the roots are still intact. This is the key to successful regrowth. If the roots are damaged or completely gone, the green onion is unlikely to regrow.
How often should I change the water?
It’s best to change the water every 1-2 days. This helps prevent the water from becoming cloudy or developing an unpleasant odor, which can hinder growth and attract unwanted pests. Fresh water provides the green onion with the necessary hydration and nutrients for optimal regrowth.
Do I need to add fertilizer to the water?
While not strictly necessary, adding a very diluted liquid fertilizer can boost growth. If you choose to use fertilizer, make sure it’s a balanced formula and use it sparingly – a few drops every couple of weeks is sufficient. Over-fertilizing can actually harm the green onions. Many people find that green onions regrow perfectly well in just plain water.
How much sunlight do green onions need to regrow?
Green onions need bright, indirect sunlight to regrow successfully. Place them near a window that receives plenty of light, but avoid direct sunlight, which can scorch the leaves. If you don’t have a sunny window, you can use a grow light to provide supplemental light.
Can I regrow green onions in soil instead of water?
Yes, you can! Once the green onions have established roots in water, you can transplant them to a pot filled with well-draining soil. This can lead to more robust growth and a longer lifespan for the green onions. When transplanting, be careful not to damage the roots. Water the soil regularly and provide the same bright, indirect sunlight as you would for green onions growing in water.
How many times can I regrow a green onion?
You can regrow a green onion multiple times, but eventually, the regrowth will slow down and the flavor may become less intense. After several cycles of regrowth, it’s best to start with a fresh green onion bulb. However, you can often get several harvests from a single bulb before it needs to be replaced.
What if my green onions start to turn yellow or brown?
Yellowing or browning leaves can indicate a few things. It could be due to overwatering, underwatering, lack of sunlight, or nutrient deficiency. Make sure you’re changing the water regularly, providing adequate sunlight, and consider adding a diluted fertilizer if necessary. If the problem persists, try transplanting the green onion to soil.
Can I use this method to regrow other types of onions?
While green onions are the easiest to regrow in water, you can also try it with scallions and the tops of leeks. The success rate may vary depending on the type of onion, but it’s worth experimenting to see what works for you.
Are there any pests or diseases that can affect regrowing green onions?
Aphids and fungus gnats can sometimes be a problem. To prevent these pests, keep the water clean and avoid overwatering. If you notice any pests, you can try rinsing the green onions with water or using an insecticidal soap. Good air circulation can also help prevent fungal diseases.
How do I harvest the regrown green onions?
You can harvest the regrown green onions by snipping off the green shoots with scissors. Leave about an inch of the green part above the white bulb to allow for continued regrowth. You can harvest as needed, whenever you need fresh green onions for your cooking.
Is it safe to eat regrown green onions?
Yes, it is perfectly safe to eat regrown green onions, as long as you follow proper hygiene practices. Wash the green onions thoroughly before using them in your cooking. If you notice any signs of mold or spoilage, discard the green onions.


Leave a Comment