

Clean mattress hydrogen peroxide: Sounds like a science experiment, right? Well, in a way, it is! But trust me, it’s a science experiment that will leave you sleeping soundly on a fresh, hygienic mattress. We’ve all been there – spills, stains, and just general wear and tear can leave our mattresses looking and smelling less than ideal. But before you resign yourself to buying a brand new one, let’s explore the amazing cleaning power of hydrogen peroxide!
Mattress cleaning has been a concern for centuries. In ancient times, people used natural remedies like sunlight and herbs to freshen their sleeping surfaces. While those methods still have merit, modern life calls for quicker, more effective solutions. That’s where our DIY trick comes in. Using hydrogen peroxide to clean your mattress is a simple, affordable, and surprisingly effective way to tackle stains, odors, and even dust mites.
Why is this DIY hack so important? Because a clean mattress is crucial for your health and well-being! A dirty mattress can harbor allergens, bacteria, and mold, leading to respiratory problems, skin irritations, and disrupted sleep. Plus, who doesn’t love the feeling of crawling into a bed that smells fresh and clean? I’m excited to share this easy method to clean mattress hydrogen peroxide, so you can enjoy a healthier and more restful sleep. Let’s get started!
DIY Mattress Cleaning: Banishing Stains and Refreshing Your Sleep Sanctuary with Hydrogen Peroxide
Okay, let’s face it, our mattresses are the unsung heroes of our lives. They cradle us to sleep every night, but they also silently absorb sweat, spills, dust mites, and who knows what else! While a mattress protector is a great first line of defense, sometimes life happens, and stains and odors sneak through. Don’t despair! You don’t necessarily need to call in a professional or, worse, replace your entire mattress. I’m going to walk you through a simple, effective, and budget-friendly DIY method using hydrogen peroxide to clean and refresh your mattress.
What You’ll Need: Your Cleaning Arsenal
Before we dive in, let’s gather our supplies. Having everything ready will make the process smooth and efficient.
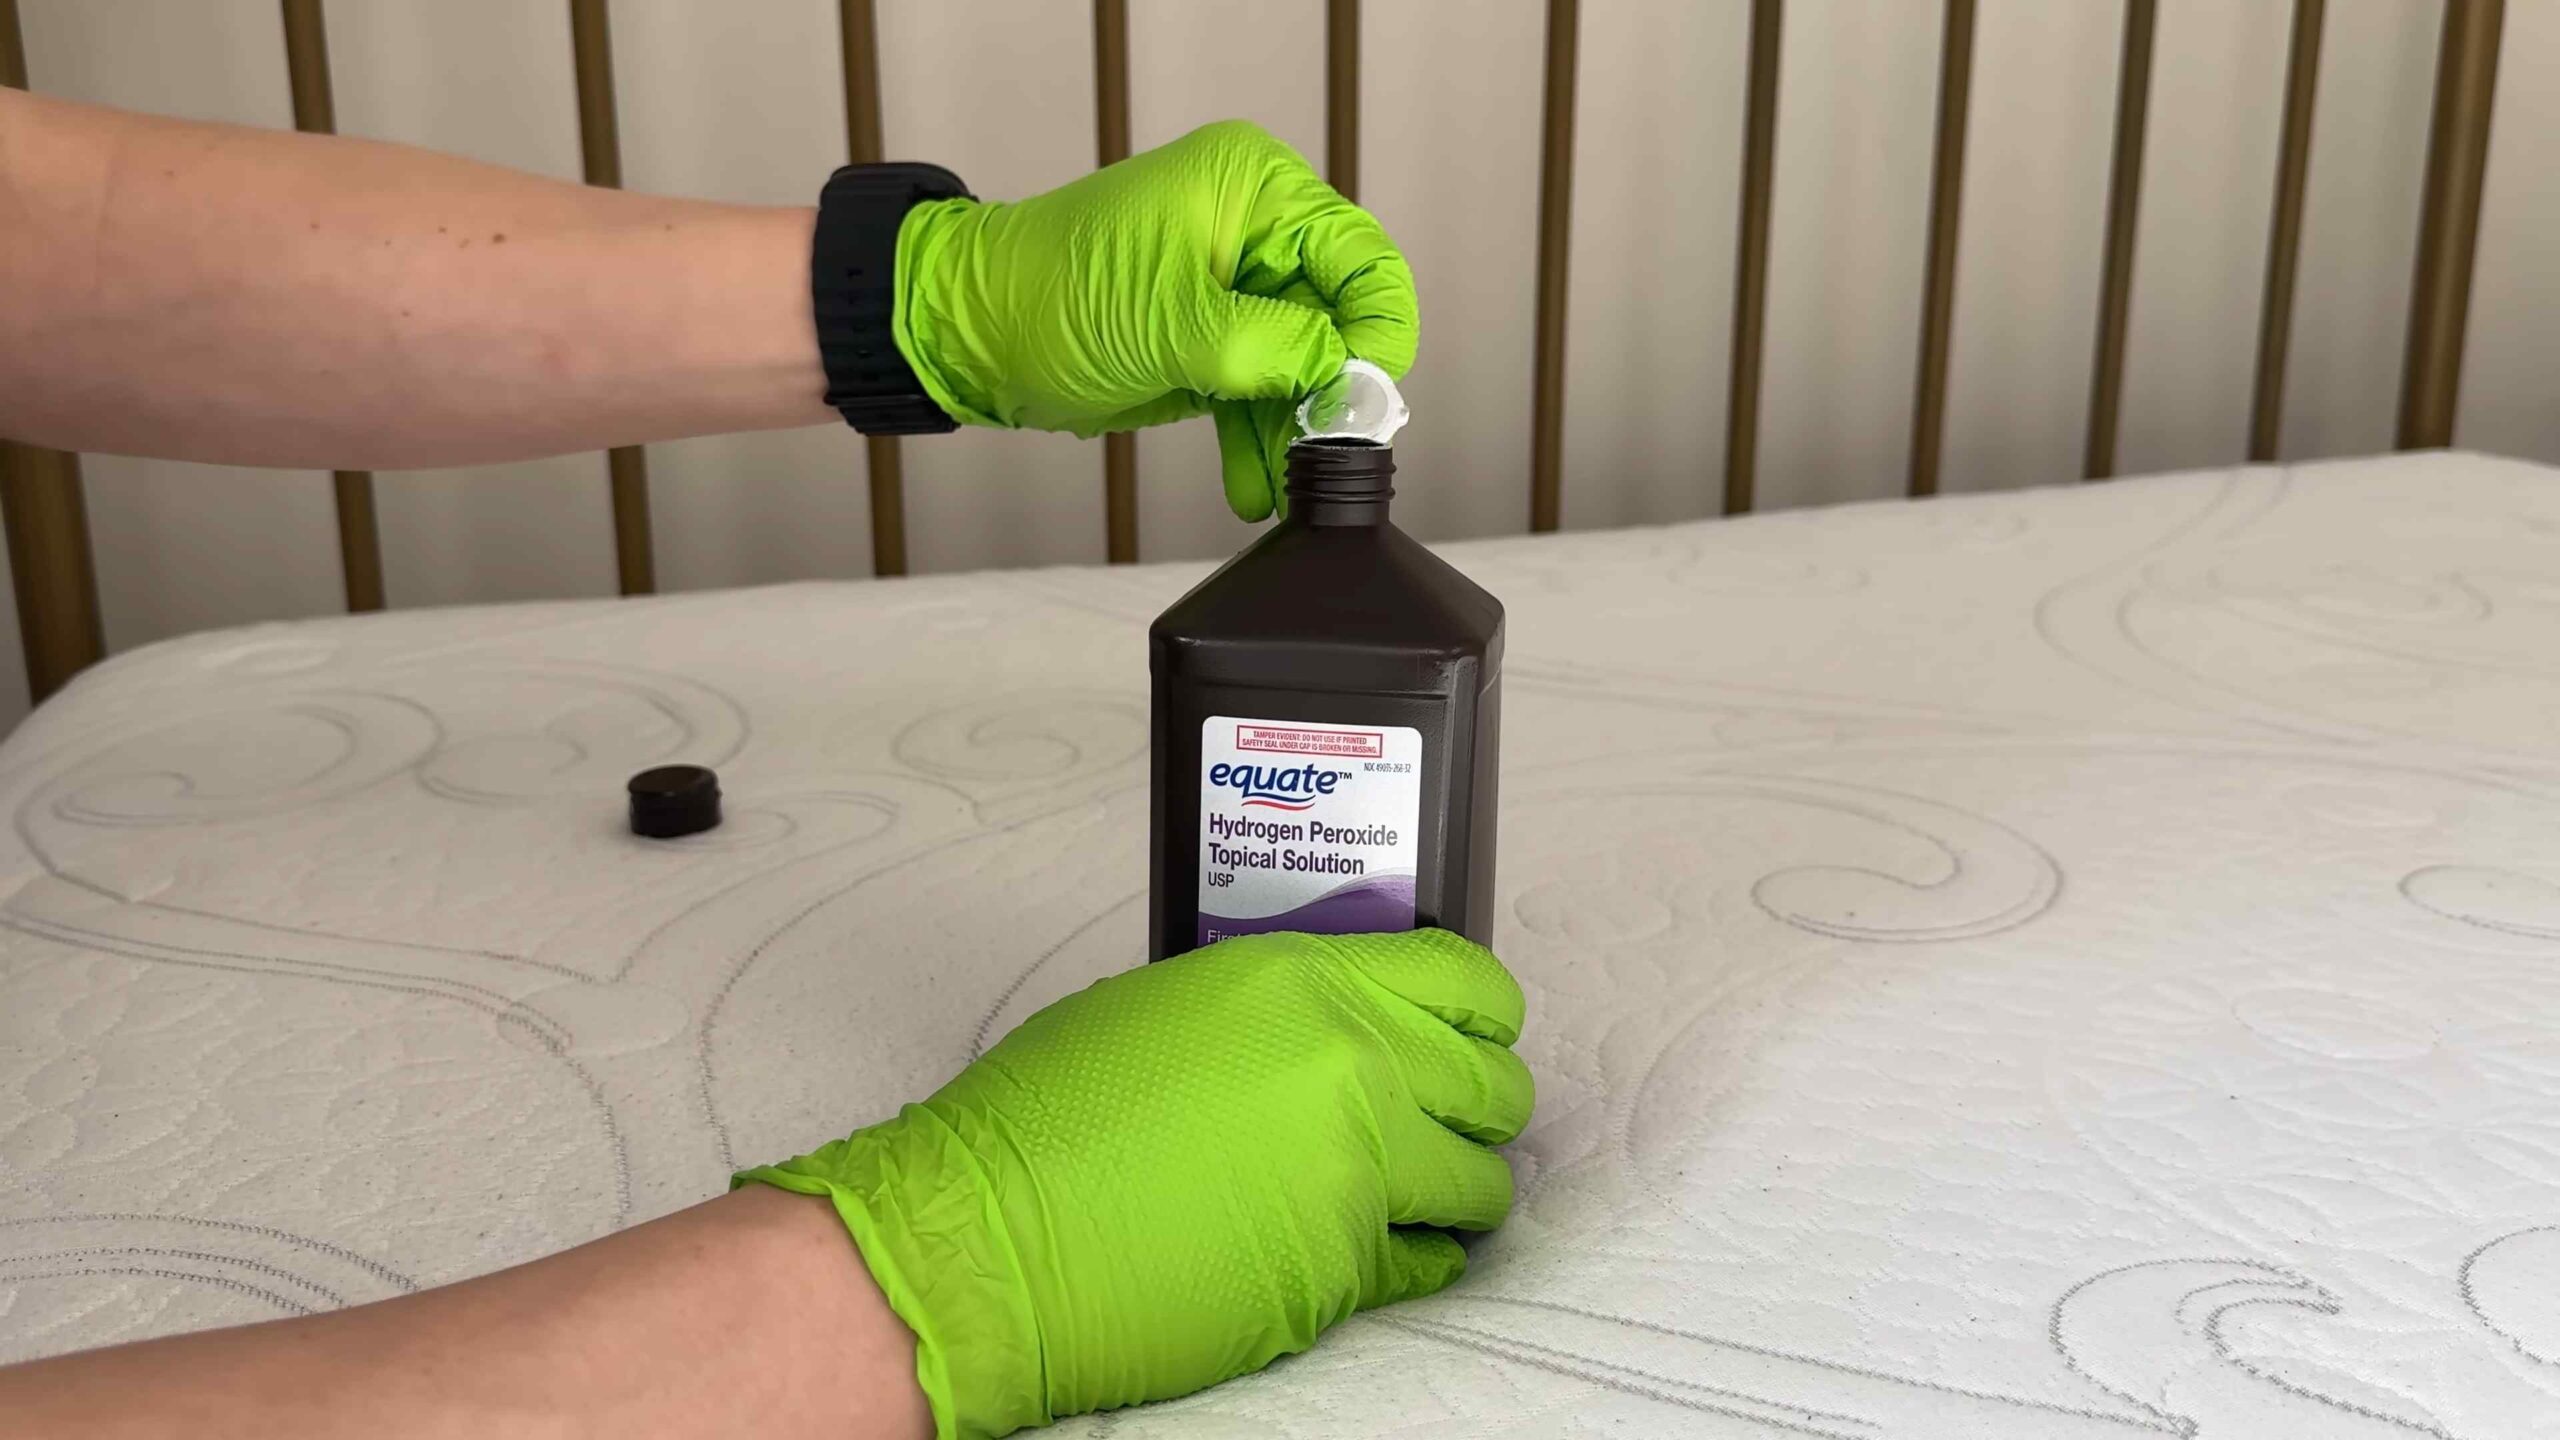
* Hydrogen Peroxide (3% solution): This is your star player! The 3% solution is crucial; anything stronger can damage your mattress. You’ll likely need a spray bottle’s worth, but it depends on the size of your mattress and the extent of the stains.
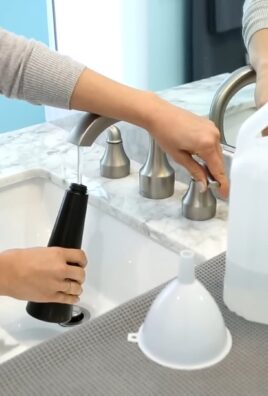
* Spray Bottle: A clean, empty spray bottle is essential for applying the hydrogen peroxide evenly.
* Baking Soda: Baking soda is a natural deodorizer and absorbent. It will help draw out any lingering moisture and odors. You’ll need a generous amount, enough to cover your entire mattress.
* Vacuum Cleaner with Upholstery Attachment: A good vacuum cleaner is vital for removing the baking soda and any loose debris. The upholstery attachment will prevent damage to the mattress fabric.
* Clean Cloths or Sponges: You’ll need these for blotting stains and wiping up any excess liquid. Microfiber cloths work best.
* Old Toothbrush (Optional): For tackling stubborn stains, an old toothbrush can be a lifesaver.
* Essential Oil (Optional): If you want to add a fresh scent, a few drops of your favorite essential oil (like lavender or eucalyptus) can be mixed with the baking soda.
* Gloves (Optional): If you have sensitive skin, gloves are a good idea when working with hydrogen peroxide.
* Fan or Open Windows: Proper ventilation is key to drying the mattress quickly and preventing mold growth.
Step-by-Step Mattress Cleaning Guide
Now that we have our supplies, let’s get down to business!
1. Strip the Bed and Prepare the Mattress
* Remove all bedding, including sheets, blankets, mattress protectors, and pillows. Wash all bedding in hot water to kill any dust mites.
* Inspect the mattress for stains and problem areas. This will help you focus your cleaning efforts.
* Vacuum the entire mattress surface thoroughly using the upholstery attachment. This will remove loose dirt, dust, and debris. Pay special attention to seams and crevices where dust mites tend to accumulate.
2. Spot Treat Stains with Hydrogen Peroxide
* Test in an Inconspicuous Area: Before applying hydrogen peroxide to the entire stain, test it in a hidden area of the mattress (like the side or underneath) to ensure it doesn’t discolor the fabric. Wait about 30 minutes to see if there’s any adverse reaction.
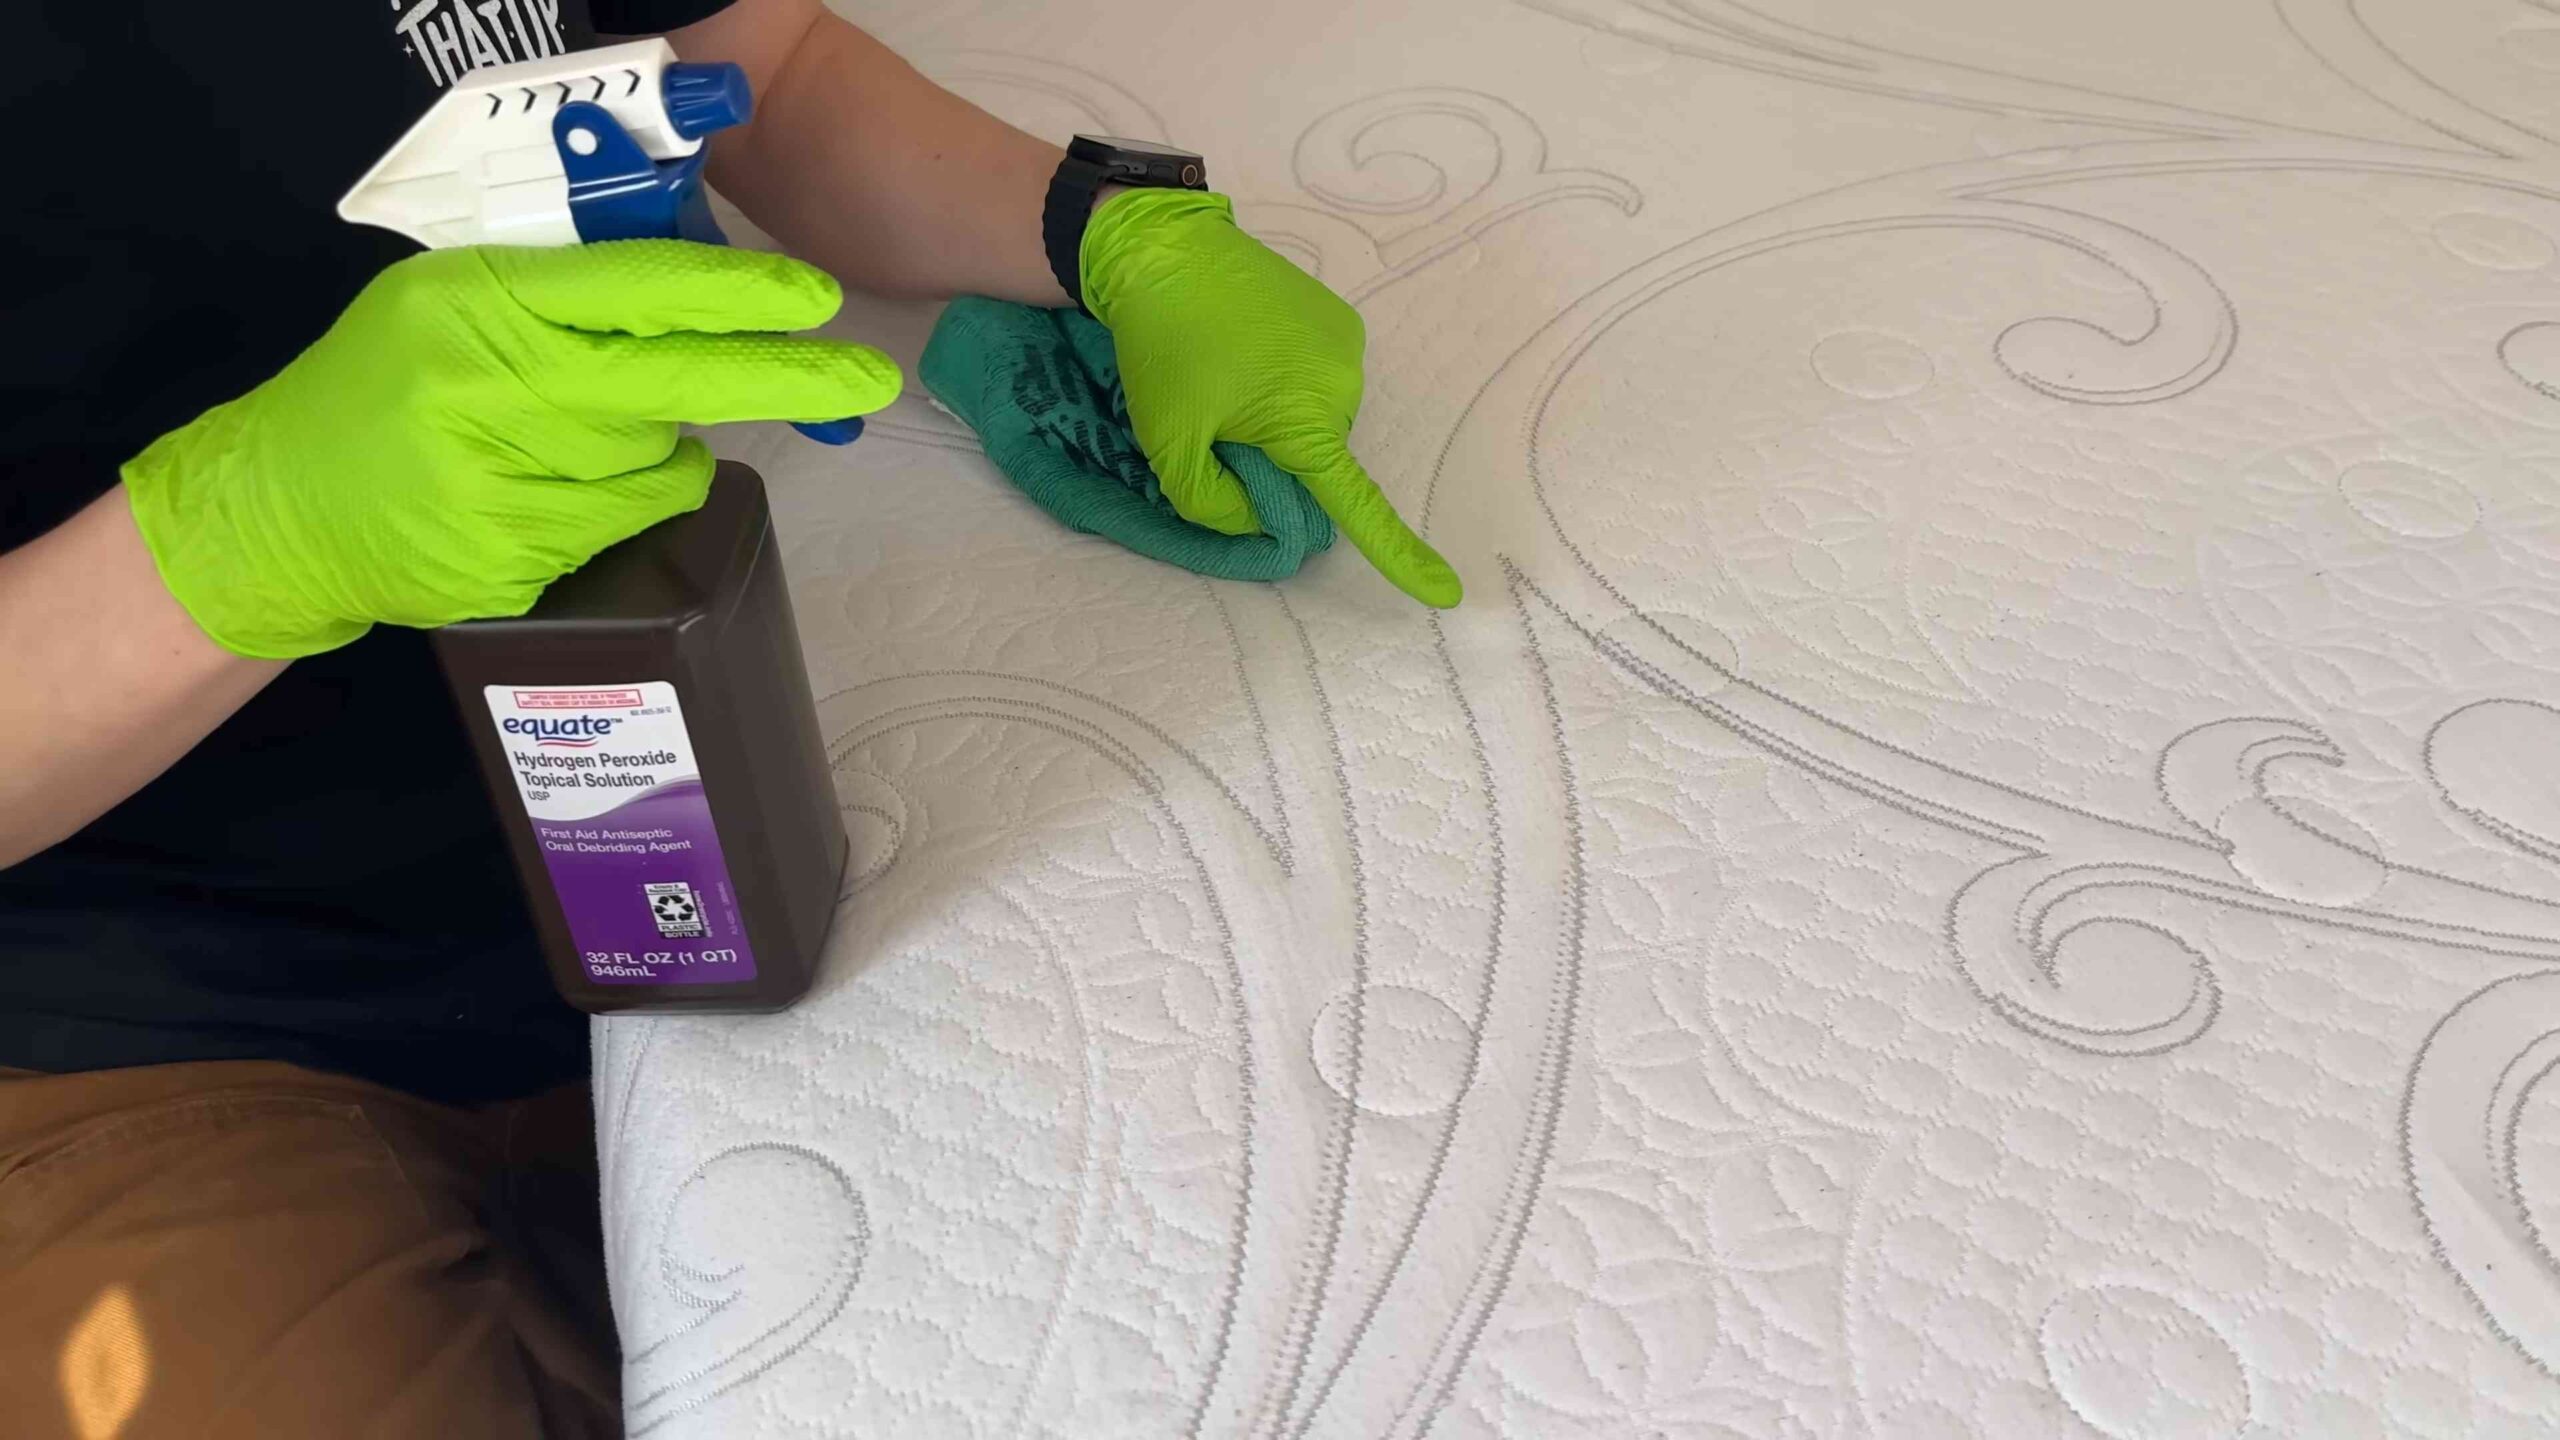
* Spray Lightly: Fill your spray bottle with the 3% hydrogen peroxide solution. Lightly spray the stained areas. Avoid saturating the mattress, as this can lead to mold growth. Remember, less is more!
* Blot, Don’t Rub: Using a clean cloth or sponge, gently blot the stain. Avoid rubbing, as this can spread the stain and damage the mattress fibers. Work from the outside of the stain inward.
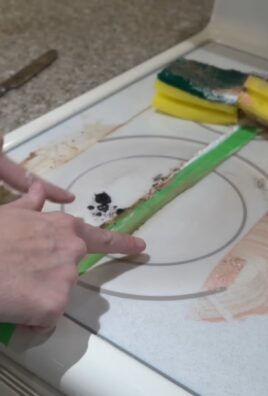
* Tackle Stubborn Stains: For stubborn stains, you can use an old toothbrush to gently scrub the area after spraying with hydrogen peroxide. Be careful not to scrub too hard, as this can damage the fabric.
* Let it Sit: Allow the hydrogen peroxide to sit on the stain for about 5-10 minutes. This will give it time to break down the stain.
3. Deodorize and Absorb Moisture with Baking Soda
* Apply a Generous Layer: Once the hydrogen peroxide has had time to work, generously sprinkle baking soda over the entire mattress surface. Make sure to cover all areas, especially those that were treated with hydrogen peroxide.
* Add Essential Oil (Optional): If you want to add a fresh scent, mix a few drops of your favorite essential oil with the baking soda before sprinkling it on the mattress.
* Let it Sit (for Hours!): This is the most crucial step! Allow the baking soda to sit on the mattress for at least 4-8 hours, or even overnight. The longer it sits, the more moisture and odors it will absorb. I usually do this in the morning and let it sit all day while I’m at work.
4. Vacuum Thoroughly
* Vacuum Every Nook and Cranny: After the baking soda has sat for the required time, vacuum the entire mattress thoroughly using the upholstery attachment. Make sure to remove all traces of baking soda. This may take several passes.
* Empty the Vacuum Cleaner: Empty the vacuum cleaner bag or canister immediately after vacuuming the mattress to prevent any lingering odors.
5. Air Dry Completely
* Ventilate the Room: Open windows and doors to ventilate the room. You can also use a fan to speed up the drying process.
* Ensure Complete Dryness: It’s crucial to ensure that the mattress is completely dry before putting on clean bedding. This can take several hours, depending on the humidity and ventilation. You can press down on the mattress with a clean, dry cloth to check for any dampness.
Dealing with Specific Stain Types
While the above method works well for general cleaning and stain removal, here are some tips for dealing with specific types of stains:
* Blood Stains: Act quickly! Blot the stain with cold water and then apply hydrogen peroxide. Repeat as needed. Never use hot water on blood stains, as it will set the stain.
* Urine Stains: Blot up as much urine as possible with paper towels. Then, spray with hydrogen peroxide and follow the steps above. For older urine stains, you may need to repeat the process several times. An enzymatic cleaner designed for pet stains can also be helpful.
* Sweat Stains: Hydrogen peroxide and baking soda are usually effective for removing sweat stains. For stubborn sweat stains, you can try mixing a paste of baking soda and water and applying it to the stain before spraying with hydrogen peroxide.
* Vomit Stains: Remove any solid material first. Then, blot the stain with a clean cloth and cold water. Follow with hydrogen peroxide and baking soda.
* Wine Stains: Blot the stain immediately with a clean cloth. Sprinkle salt or baking soda on the stain to absorb the wine. After the salt or baking soda has absorbed the wine, vacuum it up and then treat with hydrogen peroxide.
Maintaining a Clean Mattress: Prevention is Key!
Cleaning your mattress is important, but preventing stains and odors in the first place is even better! Here are some tips for maintaining a clean mattress:
* Use a Mattress Protector: A waterproof mattress protector is your best defense against spills, stains, and dust mites.
* Wash Bedding Regularly: Wash your sheets, blankets, and pillowcases at least once a week in hot water.
* Vacuum Regularly: Vacuum your mattress every few months to remove dust and debris.
* Air Out Your Mattress: Occasionally, remove your bedding and let your mattress air out for a few hours. This will help to prevent moisture buildup and odors.
* Avoid Eating and Drinking in Bed: This is a tough one, but it’s the best way to prevent spills and stains.
* Address Spills Immediately: The sooner you address a spill, the easier it will be to remove the stain.
Important Considerations
* Always test cleaning solutions in an inconspicuous area first. This is crucial to prevent any damage or discoloration to your mattress.
* Avoid over-saturating the mattress with liquid. This can lead to mold growth.
* Ensure the mattress is completely dry before putting on clean bedding.
* If you have a severe stain or odor, you may need to repeat the cleaning process.
* For very delicate or antique mattresses, it’s best to consult a professional cleaner.
By following these steps, you can effectively clean and refresh your mattress, creating a healthier and more comfortable sleep environment. Sweet dreams!
Conclusion
So, there you have it! This simple, yet incredibly effective DIY trick using hydrogen peroxide to clean your mattress is a game-changer for anyone looking to maintain a fresh, hygienic sleep environment. Forget expensive professional cleaning services or harsh chemicals – this method is not only budget-friendly but also utilizes a readily available and relatively safe ingredient.
Why is this a must-try? Because a clean mattress is more than just aesthetically pleasing; it’s crucial for your health and well-being. Dust mites, allergens, and lingering odors can significantly impact your sleep quality and even trigger allergies or respiratory issues. This DIY solution tackles these problems head-on, leaving you with a mattress that feels and smells brand new.
But the beauty of this method lies in its adaptability. While the basic recipe of hydrogen peroxide and water is highly effective, you can easily customize it to suit your specific needs. For instance, if you’re dealing with particularly stubborn stains, consider adding a few drops of lemon essential oil to the mixture. Lemon oil acts as a natural disinfectant and stain remover, boosting the cleaning power of the hydrogen peroxide. Alternatively, for mattresses prone to lingering odors, a sprinkle of baking soda after cleaning can work wonders. Simply let the baking soda sit for a few hours, then vacuum it up thoroughly.
Another variation involves using a UV light after the hydrogen peroxide treatment. While not strictly necessary, UV light can help further sanitize the mattress by killing any remaining bacteria or mold spores. This is especially beneficial for individuals with allergies or sensitivities. Remember to always exercise caution when using UV light and follow the manufacturer’s instructions carefully.
We understand that trying a new cleaning method can be daunting, especially when it involves something as important as your mattress. That’s why we encourage you to start with a small, inconspicuous area to test the solution before applying it to the entire surface. This will help you ensure that the hydrogen peroxide doesn’t discolor or damage your mattress fabric.
Ultimately, this DIY trick is about empowering you to take control of your sleep environment and create a healthier, more comfortable space for yourself. It’s about saving money, avoiding harsh chemicals, and achieving professional-quality results with minimal effort.
So, what are you waiting for? Gather your supplies, follow the simple steps outlined in this article, and experience the transformative power of hydrogen peroxide for yourself. We’re confident that you’ll be amazed by the results.
But don’t just take our word for it! We want to hear about your experiences. Did this DIY trick work for you? Did you try any of the variations we suggested? Share your tips, tricks, and before-and-after photos in the comments below. Your feedback will not only help other readers but also contribute to a community of individuals dedicated to creating cleaner, healthier homes. Let’s work together to banish dust mites, eliminate odors, and enjoy the blissful sleep we all deserve! Remember, a clean mattress leads to a better night’s sleep, and a better night’s sleep leads to a better you. So, go ahead and give this DIY mattress cleaning trick a try – you won’t regret it!
Frequently Asked Questions
Is hydrogen peroxide safe to use on all types of mattresses?
While hydrogen peroxide is generally safe for most mattress types, it’s always best to test it on a small, hidden area first. This is especially important for mattresses made of delicate materials like memory foam or latex. Look for any signs of discoloration or damage before proceeding with the full cleaning. If you’re unsure, consult the manufacturer’s instructions or contact a professional mattress cleaner. Mattresses with specific cleaning instructions should always adhere to those guidelines first.
What concentration of hydrogen peroxide should I use?
A 3% hydrogen peroxide solution is generally recommended for cleaning mattresses. This concentration is effective at killing bacteria and removing stains without being too harsh on the fabric. Avoid using higher concentrations, as they can potentially damage the mattress or cause discoloration. You can find 3% hydrogen peroxide at most drugstores and supermarkets.
How often should I clean my mattress with hydrogen peroxide?
The frequency of cleaning depends on your individual needs and lifestyle. If you have allergies, pets, or young children, you may want to clean your mattress more frequently, perhaps every few months. Otherwise, cleaning your mattress with hydrogen peroxide every six months to a year is generally sufficient to maintain a clean and hygienic sleep environment. Regular vacuuming of the mattress is also recommended to remove dust and debris between deep cleanings.
Can I use this method to remove old or set-in stains?
Hydrogen peroxide is effective at removing many types of stains, but old or set-in stains may require additional treatment. For stubborn stains, try pre-treating the area with a paste made of baking soda and water before applying the hydrogen peroxide solution. Let the paste sit for a few hours, then vacuum it up before proceeding with the cleaning process. You may also need to repeat the hydrogen peroxide treatment several times to fully remove the stain. For particularly difficult stains, consider consulting a professional mattress cleaner.
How long does it take for the mattress to dry after cleaning?
The drying time will depend on several factors, including the humidity level in your home, the amount of solution you used, and the type of mattress you have. Generally, it takes several hours for a mattress to dry completely. To speed up the drying process, you can use a fan or open windows to improve ventilation. Avoid using the mattress until it is completely dry to prevent mold or mildew growth. You can also use a dehumidifier in the room to help remove excess moisture.
Will hydrogen peroxide bleach my mattress?
Hydrogen peroxide has a mild bleaching effect, but it is unlikely to bleach your mattress if used correctly. Using a 3% solution and testing it on a hidden area first will minimize the risk of discoloration. Avoid using higher concentrations of hydrogen peroxide or leaving the solution on the mattress for extended periods. If you are concerned about bleaching, you can also try diluting the hydrogen peroxide solution with more water.
What if I don’t have hydrogen peroxide? Are there any alternatives?
While hydrogen peroxide is the star of this DIY cleaning trick, there are a few alternatives you can try. A mixture of white vinegar and water can be used as a natural cleaning solution, although it may not be as effective at killing bacteria as hydrogen peroxide. Enzyme cleaners are also a good option for removing stains and odors, especially those caused by bodily fluids. However, always test any cleaning solution on a hidden area first to ensure it doesn’t damage your mattress.
How do I prevent dust mites from returning after cleaning?
Cleaning your mattress with hydrogen peroxide is a great way to eliminate existing dust mites, but it’s important to take steps to prevent them from returning. Use a dust mite-proof mattress encasement to create a barrier between your mattress and dust mites. Wash your bedding regularly in hot water (at least 130°F) to kill dust mites. Vacuum your mattress regularly to remove dust and debris. Maintain a low humidity level in your bedroom, as dust mites thrive in humid environments. Consider using an air purifier with a HEPA filter to remove dust mites and other allergens from the air.
Can I add essential oils to the hydrogen peroxide solution?
Yes, adding a few drops of essential oils to the hydrogen peroxide solution can enhance its cleaning power and leave your mattress smelling fresh. Lemon, tea tree, and eucalyptus essential oils are all good choices for their antibacterial and antifungal properties. However, be sure to use pure essential oils and avoid adding too much, as some essential oils can stain fabrics. Always test the solution on a hidden area first to ensure it doesn’t discolor your mattress.
Is it safe to use this method on a memory foam mattress?
Yes, this method is generally safe to use on a memory foam mattress, but it’s crucial to use the solution sparingly and avoid oversaturating the foam. Memory foam is more absorbent than traditional mattresses, so it can take longer to dry. Be sure to test the solution on a hidden area first and use a fan or dehumidifier to speed up the drying process. Avoid using harsh chemicals or abrasive cleaners on memory foam mattresses, as they can damage the material.

Leave a Comment