

Dust Baseboards Dryer Sheets: Sounds a little unconventional, right? But trust me, this simple trick will revolutionize your cleaning routine and leave your baseboards sparkling! I know, cleaning baseboards is probably nobody’s favorite chore. It’s tedious, requires getting down on your hands and knees, and let’s be honest, the dust seems to reappear almost instantly. But what if I told you there was a way to keep those pesky dust bunnies at bay for longer, with something you probably already have in your laundry room?
The history of using dryer sheets for cleaning might not be as ancient as, say, using vinegar, but it’s a clever hack that’s been passed around cleaning circles for years. People have long recognized the static-reducing properties of dryer sheets, and it turns out that same property makes them fantastic for repelling dust. Think of it as a preventative measure, not just a quick fix.
Why do you need this DIY trick? Because nobody wants to spend their precious free time constantly battling dust! This method is not only incredibly easy and affordable, but it also helps to keep your home cleaner for longer. By using dust baseboards dryer sheets, you’re essentially creating a barrier that prevents dust from clinging to the surface. This means less frequent cleaning, more free time, and a happier, healthier home. So, ditch the harsh chemicals and embrace this simple, effective solution – your baseboards (and your back!) will thank you.
DIY Dust-Free Baseboards: The Dryer Sheet Secret!
Hey everyone! Are you tired of constantly battling dust bunnies clinging to your baseboards? I know I was! It felt like no matter how often I vacuumed or wiped them down, the dust would return almost immediately. Then, I stumbled upon a brilliant little hack using something we all probably have lying around: dryer sheets! Yes, those humble sheets you toss in the dryer can be your secret weapon against dusty baseboards. This method is super easy, inexpensive, and surprisingly effective. Let me walk you through how to achieve dust-free baseboards with this simple trick.
What You’ll Need
Before we dive in, let’s gather our supplies. The beauty of this hack is that you likely already have everything you need!
* Dryer Sheets: Used or new, it doesn’t matter! I personally prefer using used ones to give them a second life.
* Microfiber Cloth: This will be our application tool. A clean microfiber cloth works best to pick up the dust.
* Vacuum Cleaner (Optional): If your baseboards are heavily coated in dust, a quick vacuum beforehand can save you some time and effort.
* Spray Bottle with Water (Optional): For stubborn dust or grime, a light mist of water can help.
* Gloves (Optional): If you have sensitive skin, you might want to wear gloves to avoid any potential irritation from the dryer sheets.
Why Dryer Sheets Work: The Science Behind the Magic
You might be wondering, “Why dryer sheets?” Well, dryer sheets are designed to reduce static cling in your clothes. They contain positively charged ingredients that neutralize the negatively charged static electricity that causes clothes to stick together. Dust, being negatively charged, is naturally attracted to surfaces with static electricity. By wiping your baseboards with a dryer sheet, you’re essentially leaving behind a thin, anti-static coating that repels dust. Pretty cool, right?
Step-by-Step Guide: Dusting Your Baseboards with Dryer Sheets
Okay, let’s get down to business! Here’s the step-by-step guide to achieving dust-free baseboards using dryer sheets:
1. Prepare Your Baseboards:
* Vacuum (Optional): If your baseboards are very dusty, start by vacuuming them with a brush attachment. This will remove the bulk of the dust and debris, making the dryer sheet application more effective. I usually skip this step if I dust regularly.
* Wipe with Damp Cloth (Optional): For baseboards with stubborn grime or sticky spots, lightly dampen a microfiber cloth and wipe them down. Make sure they are completely dry before proceeding to the next step.
2. Prepare Your Dryer Sheet:
* Fold the Dryer Sheet: Fold the dryer sheet in half or in thirds, depending on its size and how much surface area you want to cover at once. This will make it easier to handle and prevent it from crumbling.
* Attach to Microfiber Cloth: Wrap the folded dryer sheet around a clean microfiber cloth. This will act as a buffer and prevent the dryer sheet from directly scratching your baseboards. Secure the dryer sheet to the cloth by holding it firmly.
3. Dust Your Baseboards:
* Wipe Gently: Starting at one end of your baseboard, gently wipe the surface with the dryer sheet-covered microfiber cloth. Apply light pressure and move in a smooth, even motion.
* Overlap Strokes: Overlap each stroke slightly to ensure that you cover the entire surface of the baseboard.
* Pay Attention to Corners and Edges: Don’t forget to get into the corners and edges of your baseboards, where dust tends to accumulate. Use the edge of the dryer sheet-covered cloth to reach these tight spots.
* Replace Dryer Sheet as Needed: As the dryer sheet becomes saturated with dust, replace it with a fresh one. You’ll know it’s time to replace it when it starts to leave streaks or no longer picks up dust effectively.
4. Repeat as Necessary:
* Inspect Your Work: Once you’ve dusted all your baseboards, take a step back and inspect your work. If you see any remaining dust or streaks, go over those areas again with a fresh dryer sheet.
* Enjoy Your Dust-Free Baseboards: That’s it! You’ve successfully dusted your baseboards with dryer sheets. Now you can enjoy your clean, dust-free home.
Tips and Tricks for Optimal Results
Here are a few extra tips and tricks to help you get the most out of this dryer sheet dusting hack:
* Use Used Dryer Sheets: As I mentioned earlier, using used dryer sheets is a great way to give them a second life. They still retain enough anti-static properties to effectively repel dust.
* Don’t Over-Saturate with Water: If you’re using water to pre-clean your baseboards, be sure to use it sparingly. Too much water can damage your baseboards or leave behind water spots.
* Test on an Inconspicuous Area First: Before applying the dryer sheet to your entire baseboard, test it on a small, inconspicuous area to ensure that it doesn’t damage or discolor the surface. This is especially important if you have painted or delicate baseboards.
* Regular Maintenance: To keep your baseboards dust-free, repeat this process every few weeks or as needed. Regular maintenance will prevent dust from building up and make the job easier in the long run.
* Combine with Other Cleaning Methods: For a truly deep clean, combine this dryer sheet hack with other cleaning methods, such as vacuuming, mopping, and dusting other surfaces in your home.
* Consider the Type of Baseboard: This method works well on most types of baseboards, including wood, MDF, and painted baseboards. However, if you have delicate or antique baseboards, be extra cautious and test the dryer sheet on an inconspicuous area first.
* Scented vs. Unscented Dryer Sheets: You can use either scented or unscented dryer sheets, depending on your preference. Scented dryer sheets will leave a light, fresh scent behind, while unscented dryer sheets are ideal for those with sensitivities to fragrances.
* Dispose of Dryer Sheets Properly: After you’re finished dusting, dispose of the used dryer sheets properly. Do not flush them down the toilet, as they can clog your plumbing.
Troubleshooting Common Issues
Sometimes, even with the best instructions, things don’t go exactly as planned. Here are a few common issues you might encounter and how to troubleshoot them:
* Streaking: If you’re experiencing streaking, it could be due to a few reasons. First, make sure your baseboards are completely dry before applying the dryer sheet. Second, try using a fresh dryer sheet. Third, apply lighter pressure when wiping.
* Dust Not Being Picked Up: If the dryer sheet isn’t picking up dust effectively, it could be because it’s already saturated. Replace it with a fresh dryer sheet. Also, make sure you’re using a clean microfiber cloth.
* Dryer Sheet Tearing: If the dryer sheet is tearing easily, try folding it in half or in thirds to make it more durable. You can also use a thicker microfiber cloth to provide more support.
* Residue Left Behind: In rare cases, the dryer sheet might leave behind a slight residue. If this happens, simply wipe the baseboards with a clean, damp microfiber cloth.
Beyond Baseboards: Other Uses for Dryer Sheets in Cleaning
The magic of dryer sheets doesn’t stop at baseboards! Here are a few other ways you can use them around your home for cleaning:
* Dusting Electronics: Dryer sheets are great for dusting electronics like TVs, computers, and stereos. The anti-static properties help to repel dust and prevent it from clinging to the screen.
* Cleaning Bathroom Mirrors: Wipe down your bathroom mirrors with a dryer sheet to remove water spots and streaks.
* Removing Soap Scum: Dryer sheets can also be used to remove soap scum from shower doors and tiles.
* Polishing Chrome Fixtures: Use a dryer sheet to polish chrome fixtures in your bathroom and kitchen.
* Freshening Drawers and Closets: Place a dryer sheet in your drawers and closets to keep them smelling fresh.
* Removing Pet Hair: Rub a dryer sheet over furniture and carpets to remove pet hair.
* Cleaning Shoes: Use a dryer sheet to clean scuff marks off your shoes.
* Removing Bugs from Car Grill: After a long drive, use a wet dryer sheet to easily remove bugs from your car’s grill.
Final Thoughts
So there you have it! A simple, effective, and inexpensive way to keep your baseboards dust-free using dryer sheets. I hope you found this guide helpful. Give it a try and let me know what you think! I’m confident that you’ll be amazed at how well this little hack works. Happy
Conclusion
So, there you have it! Ditching those expensive dusting sprays and embracing the humble dryer sheet for baseboard cleaning is a game-changer. We’ve explored how this simple household item can transform your cleaning routine, leaving your baseboards sparkling and your home smelling fresh. But why is this DIY trick a must-try?
Firstly, it’s incredibly cost-effective. Dryer sheets are significantly cheaper than specialized cleaning products, and you likely already have them on hand. Secondly, it’s efficient. The texture of the dryer sheet effectively grabs dust and grime, while the antistatic properties repel future dust buildup, meaning less frequent cleaning. Thirdly, it’s gentle. Unlike harsh chemicals, dryer sheets are generally safe for most baseboard materials, preventing damage and discoloration. Finally, it’s convenient. No need for buckets, sprays, or complicated equipment – just grab a dryer sheet and get to work!
But the benefits don’t stop there. This method isn’t just about cleaning; it’s about maintaining a cleaner, healthier home environment. By reducing dust accumulation, you’re also reducing allergens, creating a more comfortable space for everyone.
Looking for variations? Consider these:
* Scent Boost: Use scented dryer sheets to infuse your home with a subtle, pleasant fragrance as you clean. Lavender, linen, or citrus scents work particularly well.
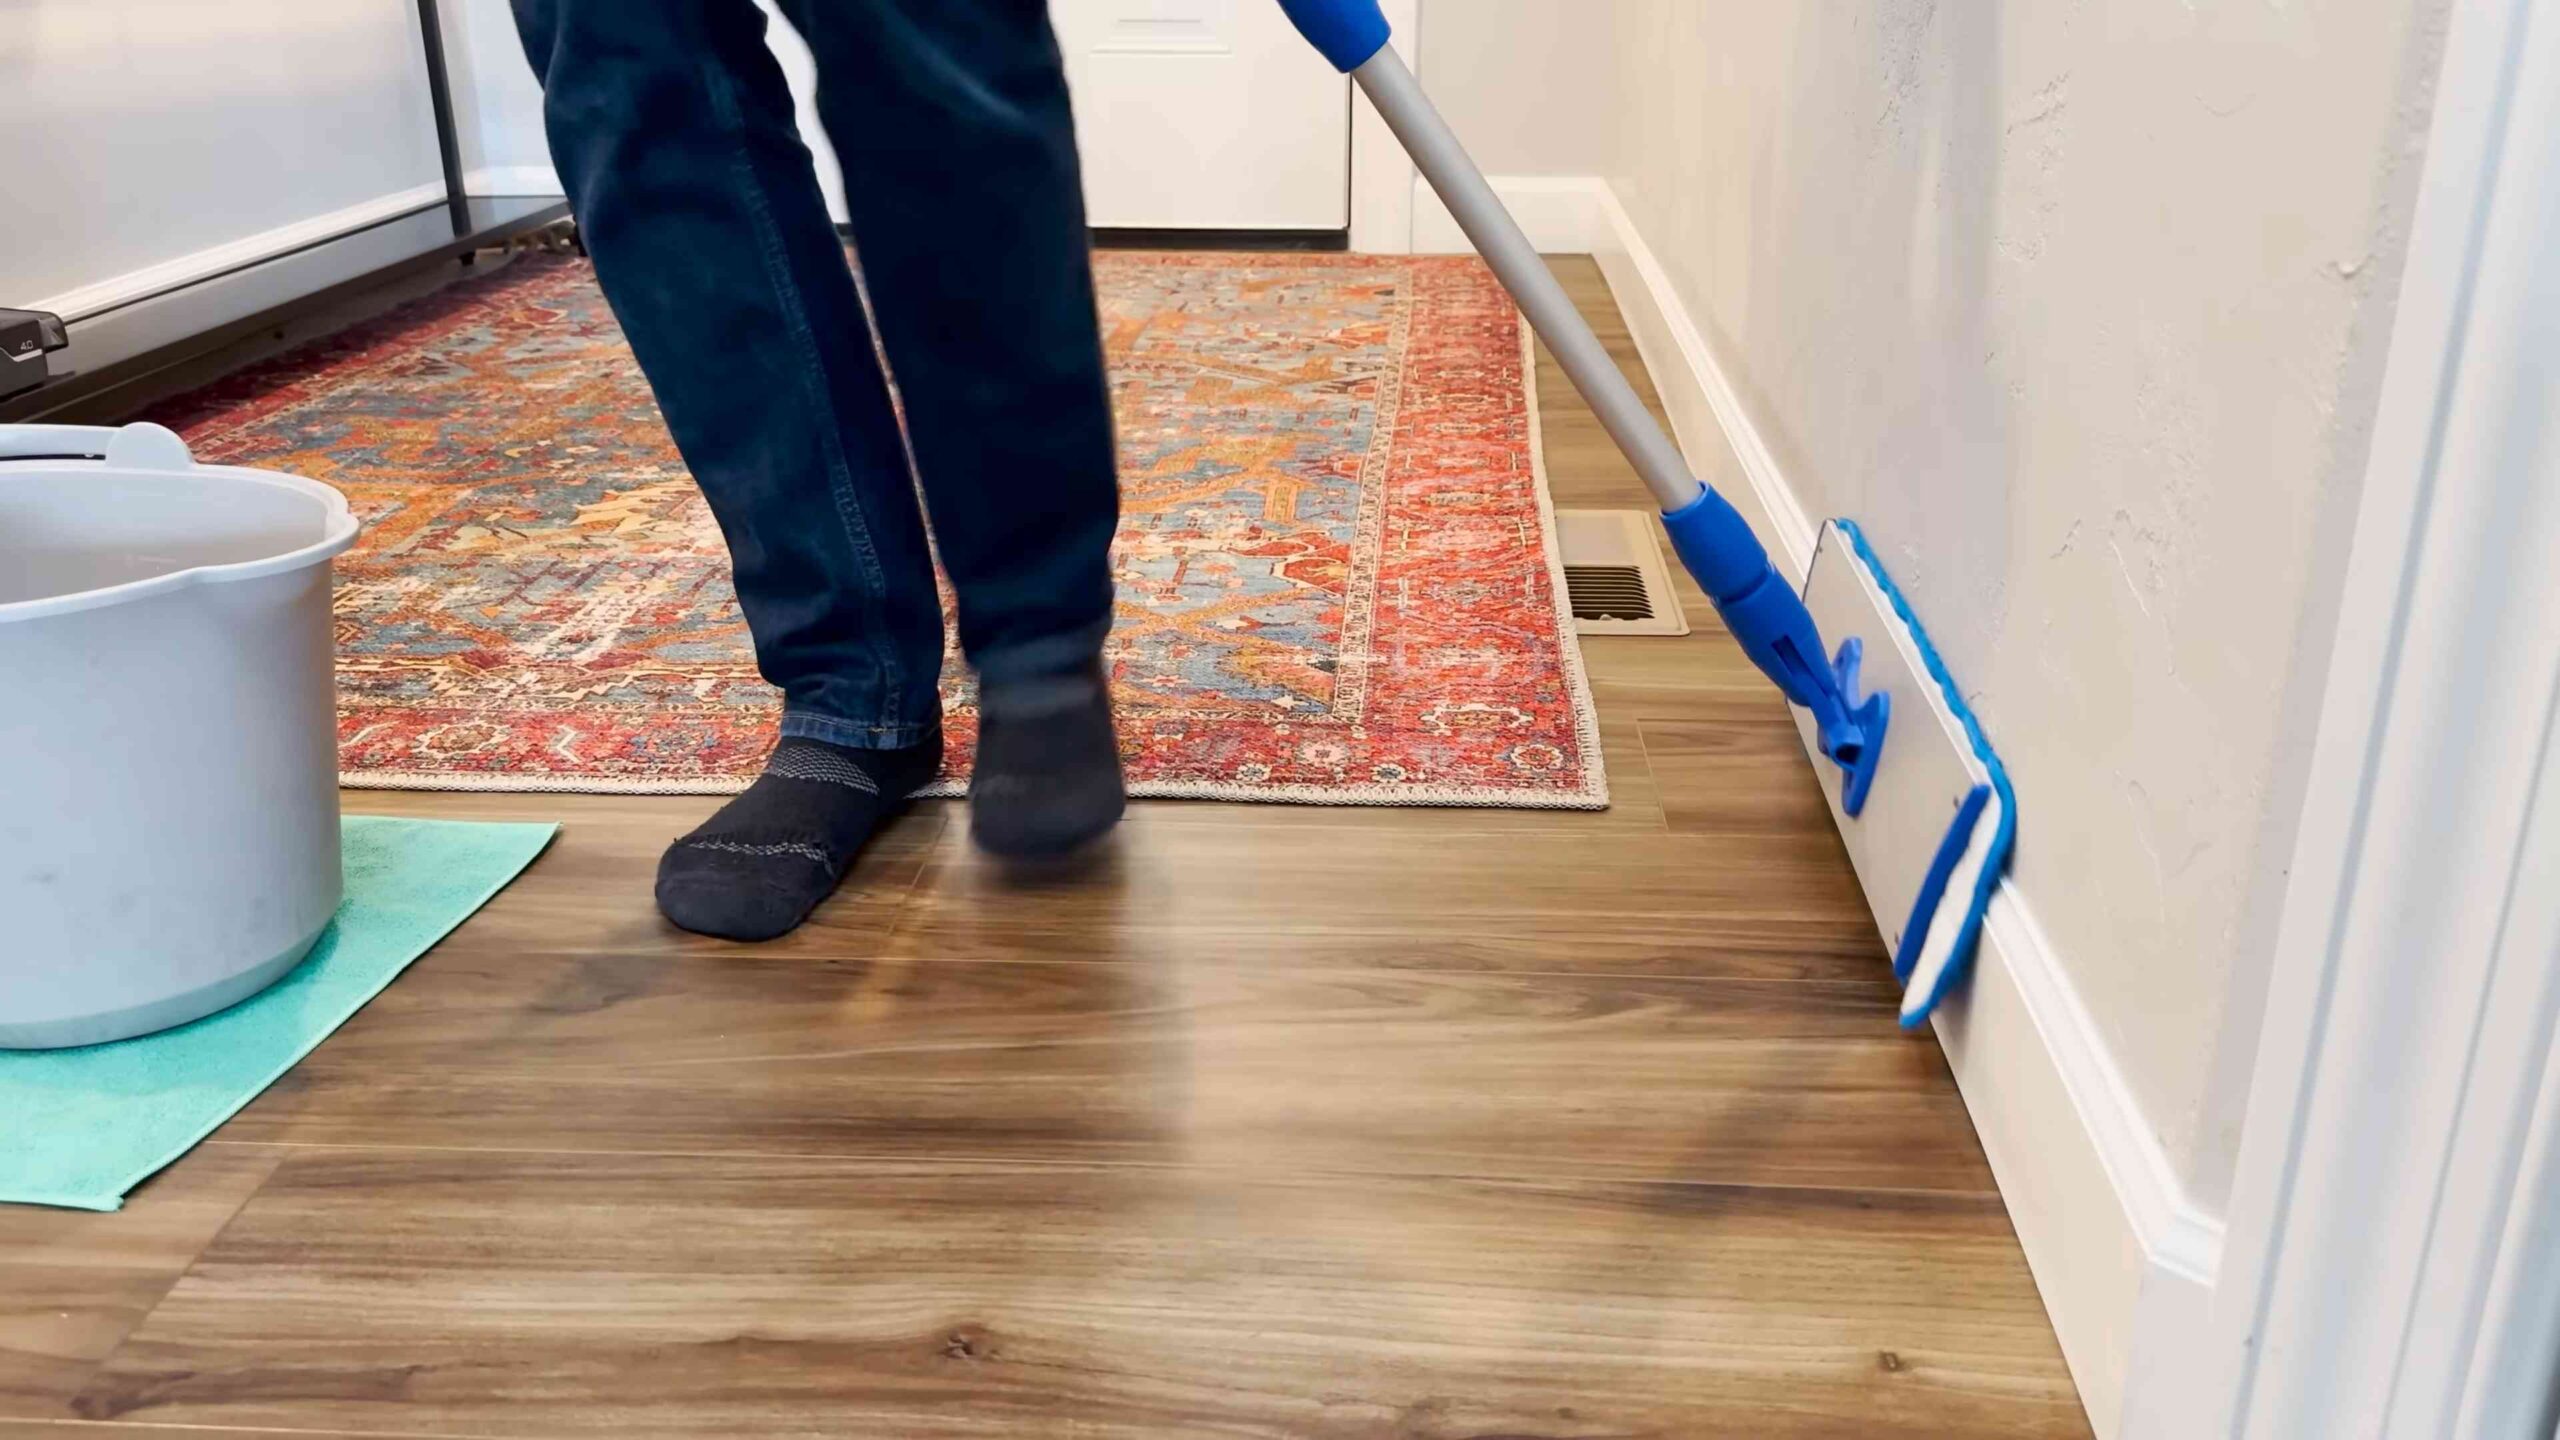
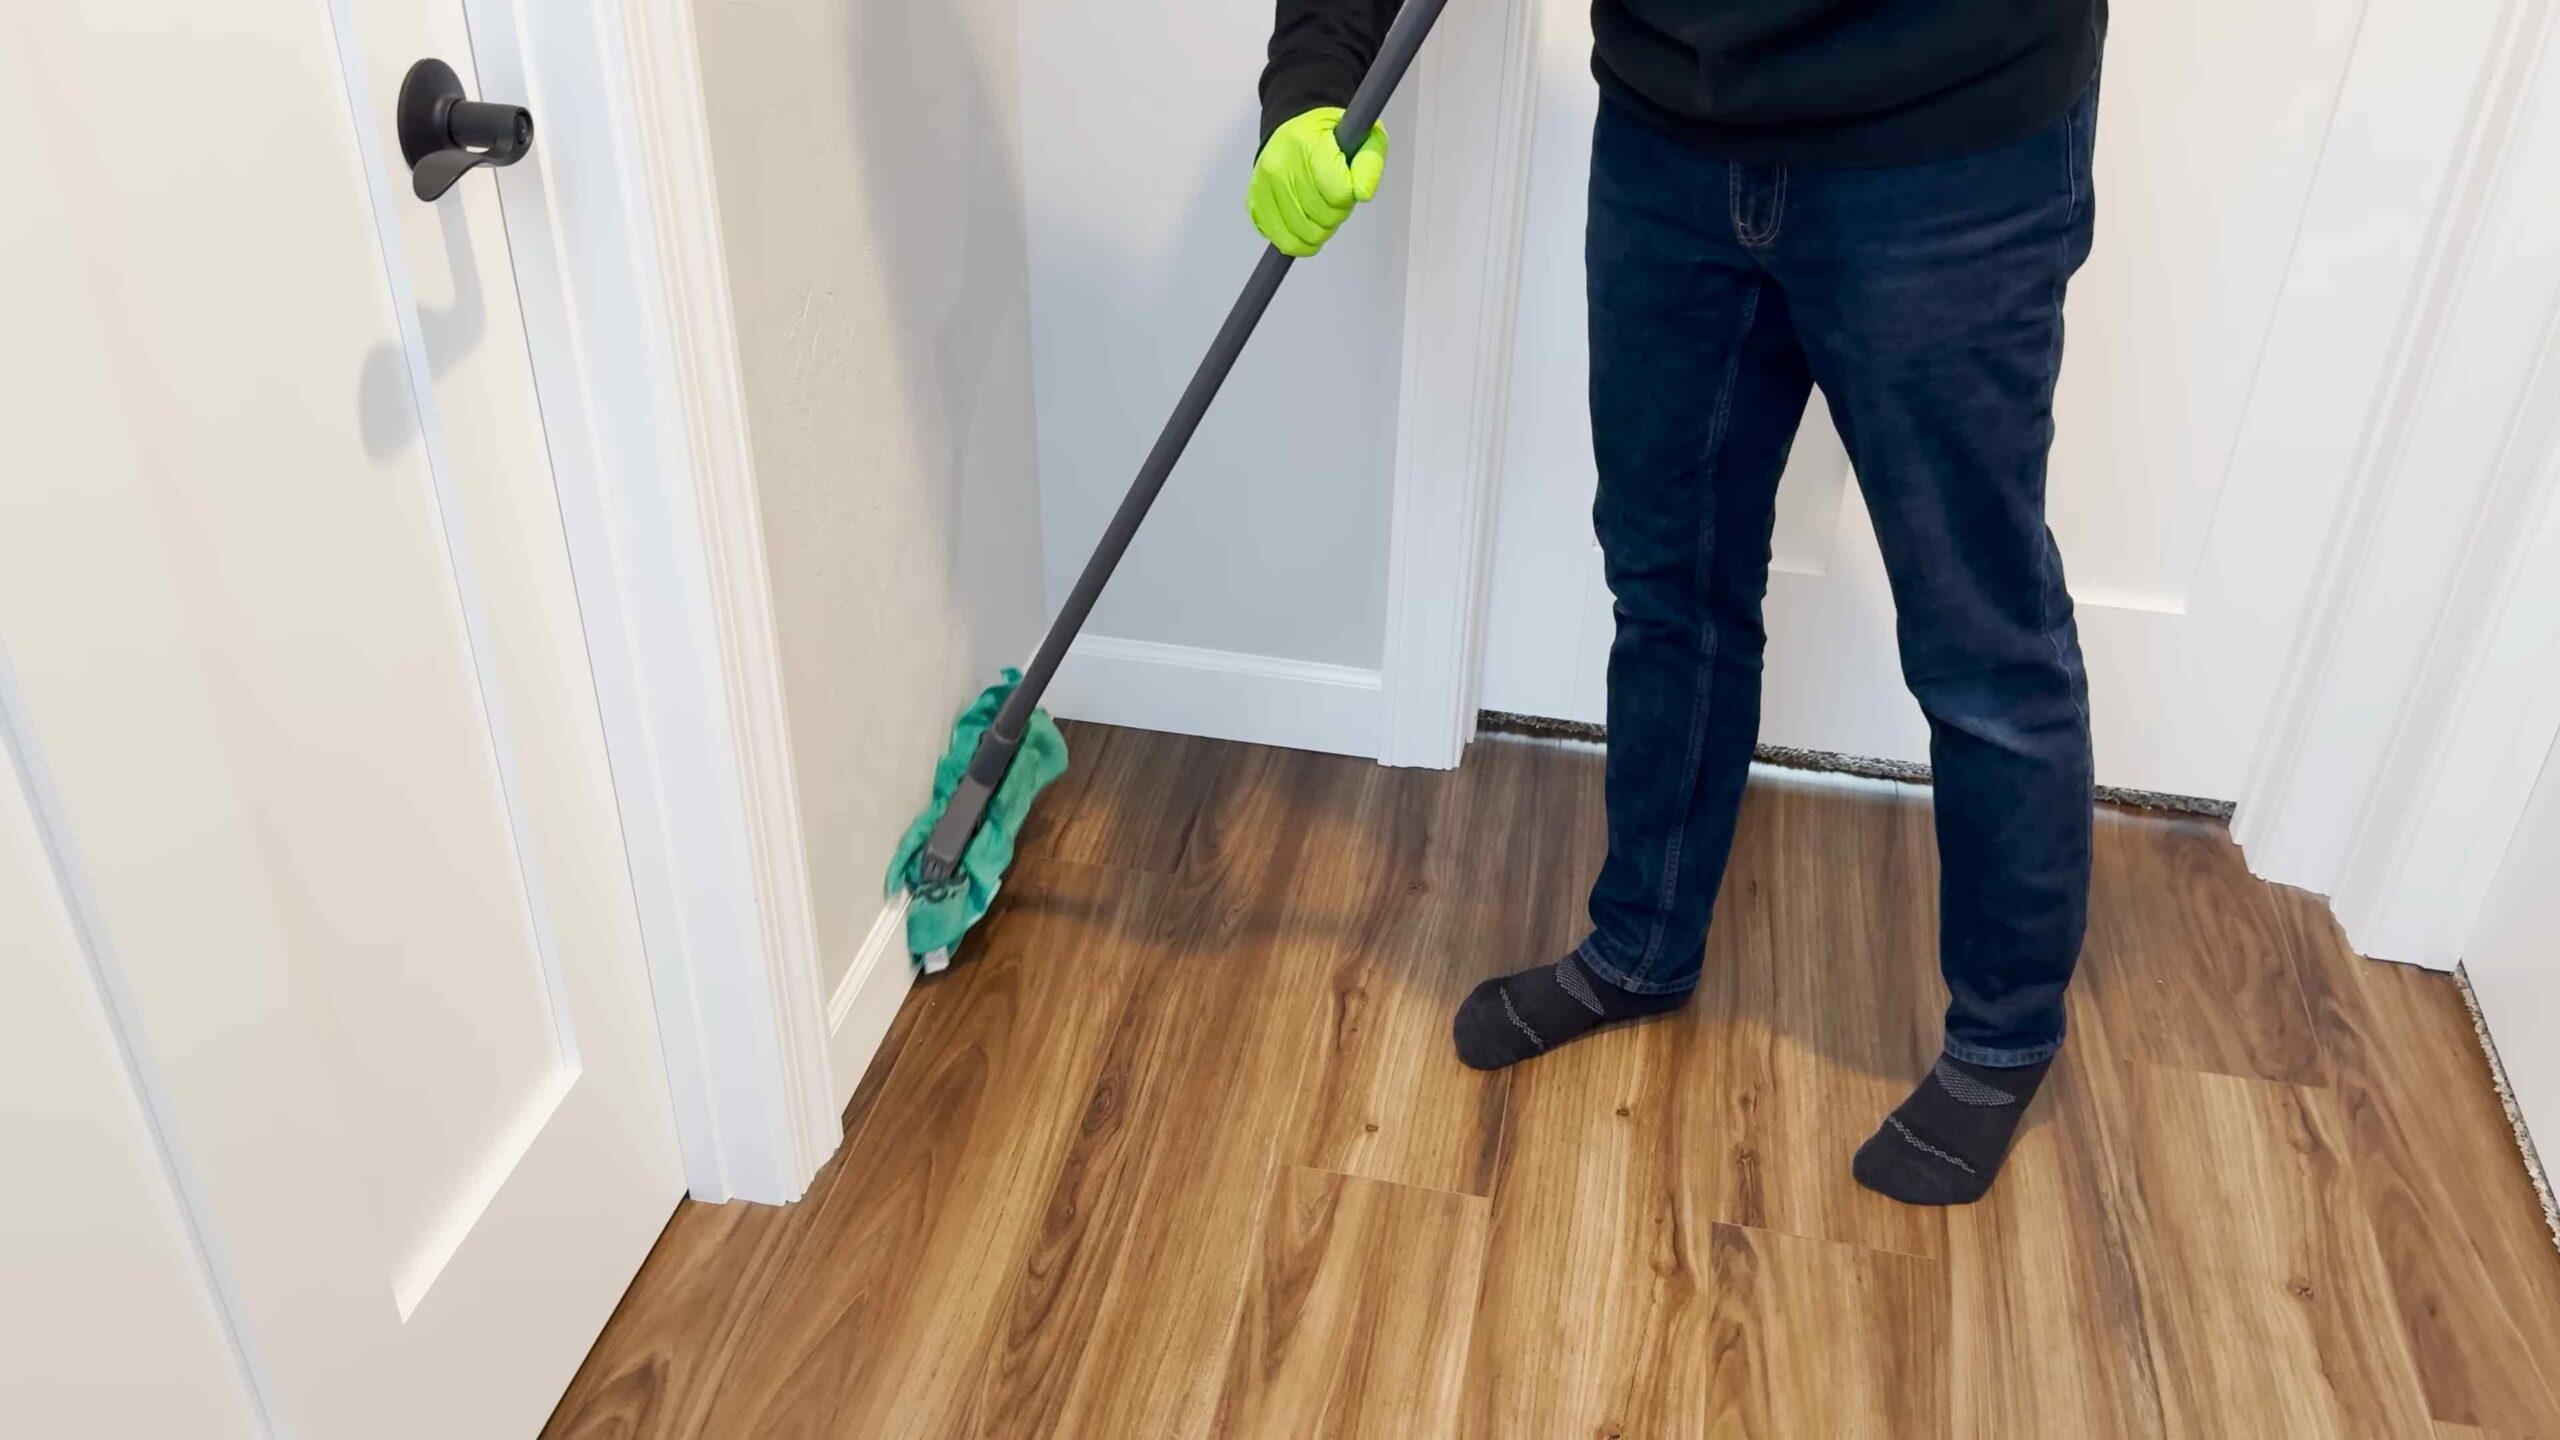
* Extend the Reach: Attach a dryer sheet to a Swiffer or similar floor duster for hard-to-reach areas. This is especially useful for tall baseboards or those behind furniture.
* Pre-Treat Stubborn Stains: For particularly stubborn stains, dampen the dryer sheet slightly with water before scrubbing. The added moisture can help loosen the grime.
* Combine with Vacuuming: Vacuum your baseboards first to remove loose debris, then follow up with the dryer sheet for a deeper clean. This two-step approach ensures maximum effectiveness.
* Use on Other Surfaces: Don’t limit yourself to baseboards! Dryer sheets can also be used to dust blinds, shelves, and even your car’s dashboard.
We’re confident that once you try this simple yet effective DIY trick, you’ll be amazed by the results. It’s a quick, easy, and affordable way to keep your baseboards clean and your home looking its best. So, ditch the expensive cleaning products and give those dust baseboards dryer sheets a try!
We encourage you to experiment with these variations and find what works best for you. The beauty of DIY is the ability to customize and adapt to your specific needs and preferences.
Now, it’s your turn! We’re eager to hear about your experiences with this DIY cleaning hack. Did it work as well for you as it did for us? Did you discover any other creative uses for dryer sheets in your cleaning routine? Share your tips, tricks, and feedback in the comments below. Let’s build a community of clean-home enthusiasts and learn from each other! Your insights could help others discover the magic of dryer sheets for baseboard cleaning and beyond. Don’t be shy – let us know what you think!
FAQ
Frequently Asked Questions About Cleaning Baseboards with Dryer Sheets
1. Are dryer sheets safe to use on all types of baseboards?
Generally, yes, dryer sheets are safe for most baseboard materials, including wood, painted surfaces, and vinyl. However, it’s always a good idea to test a small, inconspicuous area first, especially if you have antique or delicate baseboards. Look for any signs of discoloration or damage before proceeding with the entire surface. If you’re unsure, consult with a professional cleaner or the manufacturer of your baseboards. Avoid using dryer sheets on unfinished wood, as the chemicals could potentially stain or damage the surface.
2. Can I use used dryer sheets for cleaning baseboards?
Yes, you can absolutely use used dryer sheets! In fact, this is a great way to repurpose them and get even more value out of them. While they may not be as effective as fresh dryer sheets, they still retain some of their dust-attracting and antistatic properties. Just make sure the used dryer sheet is relatively clean and free of any lint or debris that could scratch your baseboards. If the dryer sheet is heavily soiled, it’s best to use a fresh one.
3. How often should I clean my baseboards with dryer sheets?
The frequency of cleaning depends on several factors, including the amount of dust in your home, the presence of pets, and your personal preferences. As a general guideline, cleaning your baseboards with dryer sheets every 1-2 weeks should be sufficient to keep them looking clean and dust-free. However, if you notice dust accumulating more quickly, you may need to clean them more frequently. Regular cleaning with dryer sheets will also help prevent dust from building up and becoming more difficult to remove.
4. Will dryer sheets remove scuff marks from baseboards?
Dryer sheets can help remove light scuff marks from baseboards, especially on painted surfaces. The slightly abrasive texture of the dryer sheet can gently buff away the scuff mark without damaging the paint. For more stubborn scuff marks, try dampening the dryer sheet with a little water or mild soap before scrubbing. However, be careful not to scrub too hard, as this could damage the paint. If the scuff mark persists, you may need to use a specialized cleaning product designed for removing scuff marks.
5. Do dryer sheets leave a residue on baseboards?
Dryer sheets can sometimes leave a slight residue on baseboards, especially if you’re using a heavily scented variety. To minimize residue, use a light touch when cleaning and avoid pressing too hard. You can also wipe down the baseboards with a clean, damp cloth after using the dryer sheet to remove any remaining residue. If you’re concerned about residue, consider using unscented dryer sheets or a natural alternative, such as a microfiber cloth.
6. Can I use dryer sheets to clean baseboards if I have allergies?
If you have allergies, it’s important to choose dryer sheets that are hypoallergenic and fragrance-free. Many dryer sheets contain chemicals and fragrances that can trigger allergic reactions in sensitive individuals. Look for dryer sheets that are specifically designed for people with allergies or sensitivities. You can also consider using a natural alternative, such as a microfiber cloth or a mixture of vinegar and water. Always test a small area first to ensure that the dryer sheet doesn’t cause any allergic reactions.
7. What are the benefits of using dryer sheets instead of traditional cleaning methods?
Dryer sheets offer several advantages over traditional cleaning methods for baseboards. They are cost-effective, convenient, and gentle on most surfaces. The antistatic properties of dryer sheets help repel dust, keeping your baseboards cleaner for longer. Dryer sheets are also easy to use and require no special equipment or cleaning solutions. Additionally, using dryer sheets is a great way to repurpose them and reduce waste.
8. Can I use dryer sheets on other surfaces besides baseboards?
Yes, dryer sheets can be used to clean a variety of surfaces around your home, including blinds, shelves, car dashboards, and even shoes! The antistatic properties of dryer sheets make them ideal for dusting and preventing dust buildup. They can also be used to remove pet hair from furniture and clothing. Just be sure to test a small, inconspicuous area first to ensure that the dryer sheet doesn’t damage the surface.
9. Where can I buy dryer sheets?
Dryer sheets are readily available at most grocery stores, drugstores, and online retailers. You can find them in the laundry aisle alongside other laundry supplies. Choose a brand and scent that you prefer, or opt for unscented dryer sheets if you have allergies or sensitivities. You can also find dryer sheets in bulk at warehouse stores, which can be a more cost-effective option if you use them frequently.
10. What should I do if the dryer sheet doesn’t remove all the dirt and grime from my baseboards?
If the dryer sheet isn’t removing all the dirt and grime from your baseboards, try dampening the dryer sheet with a little water or mild soap before scrubbing. You can also try using a slightly abrasive sponge or brush to loosen the dirt. For particularly stubborn stains, you may need to use a specialized cleaning product designed for removing grime from baseboards. Always test a small, inconspicuous area first to ensure that the cleaning product doesn’t damage the surface.
Leave a Comment