

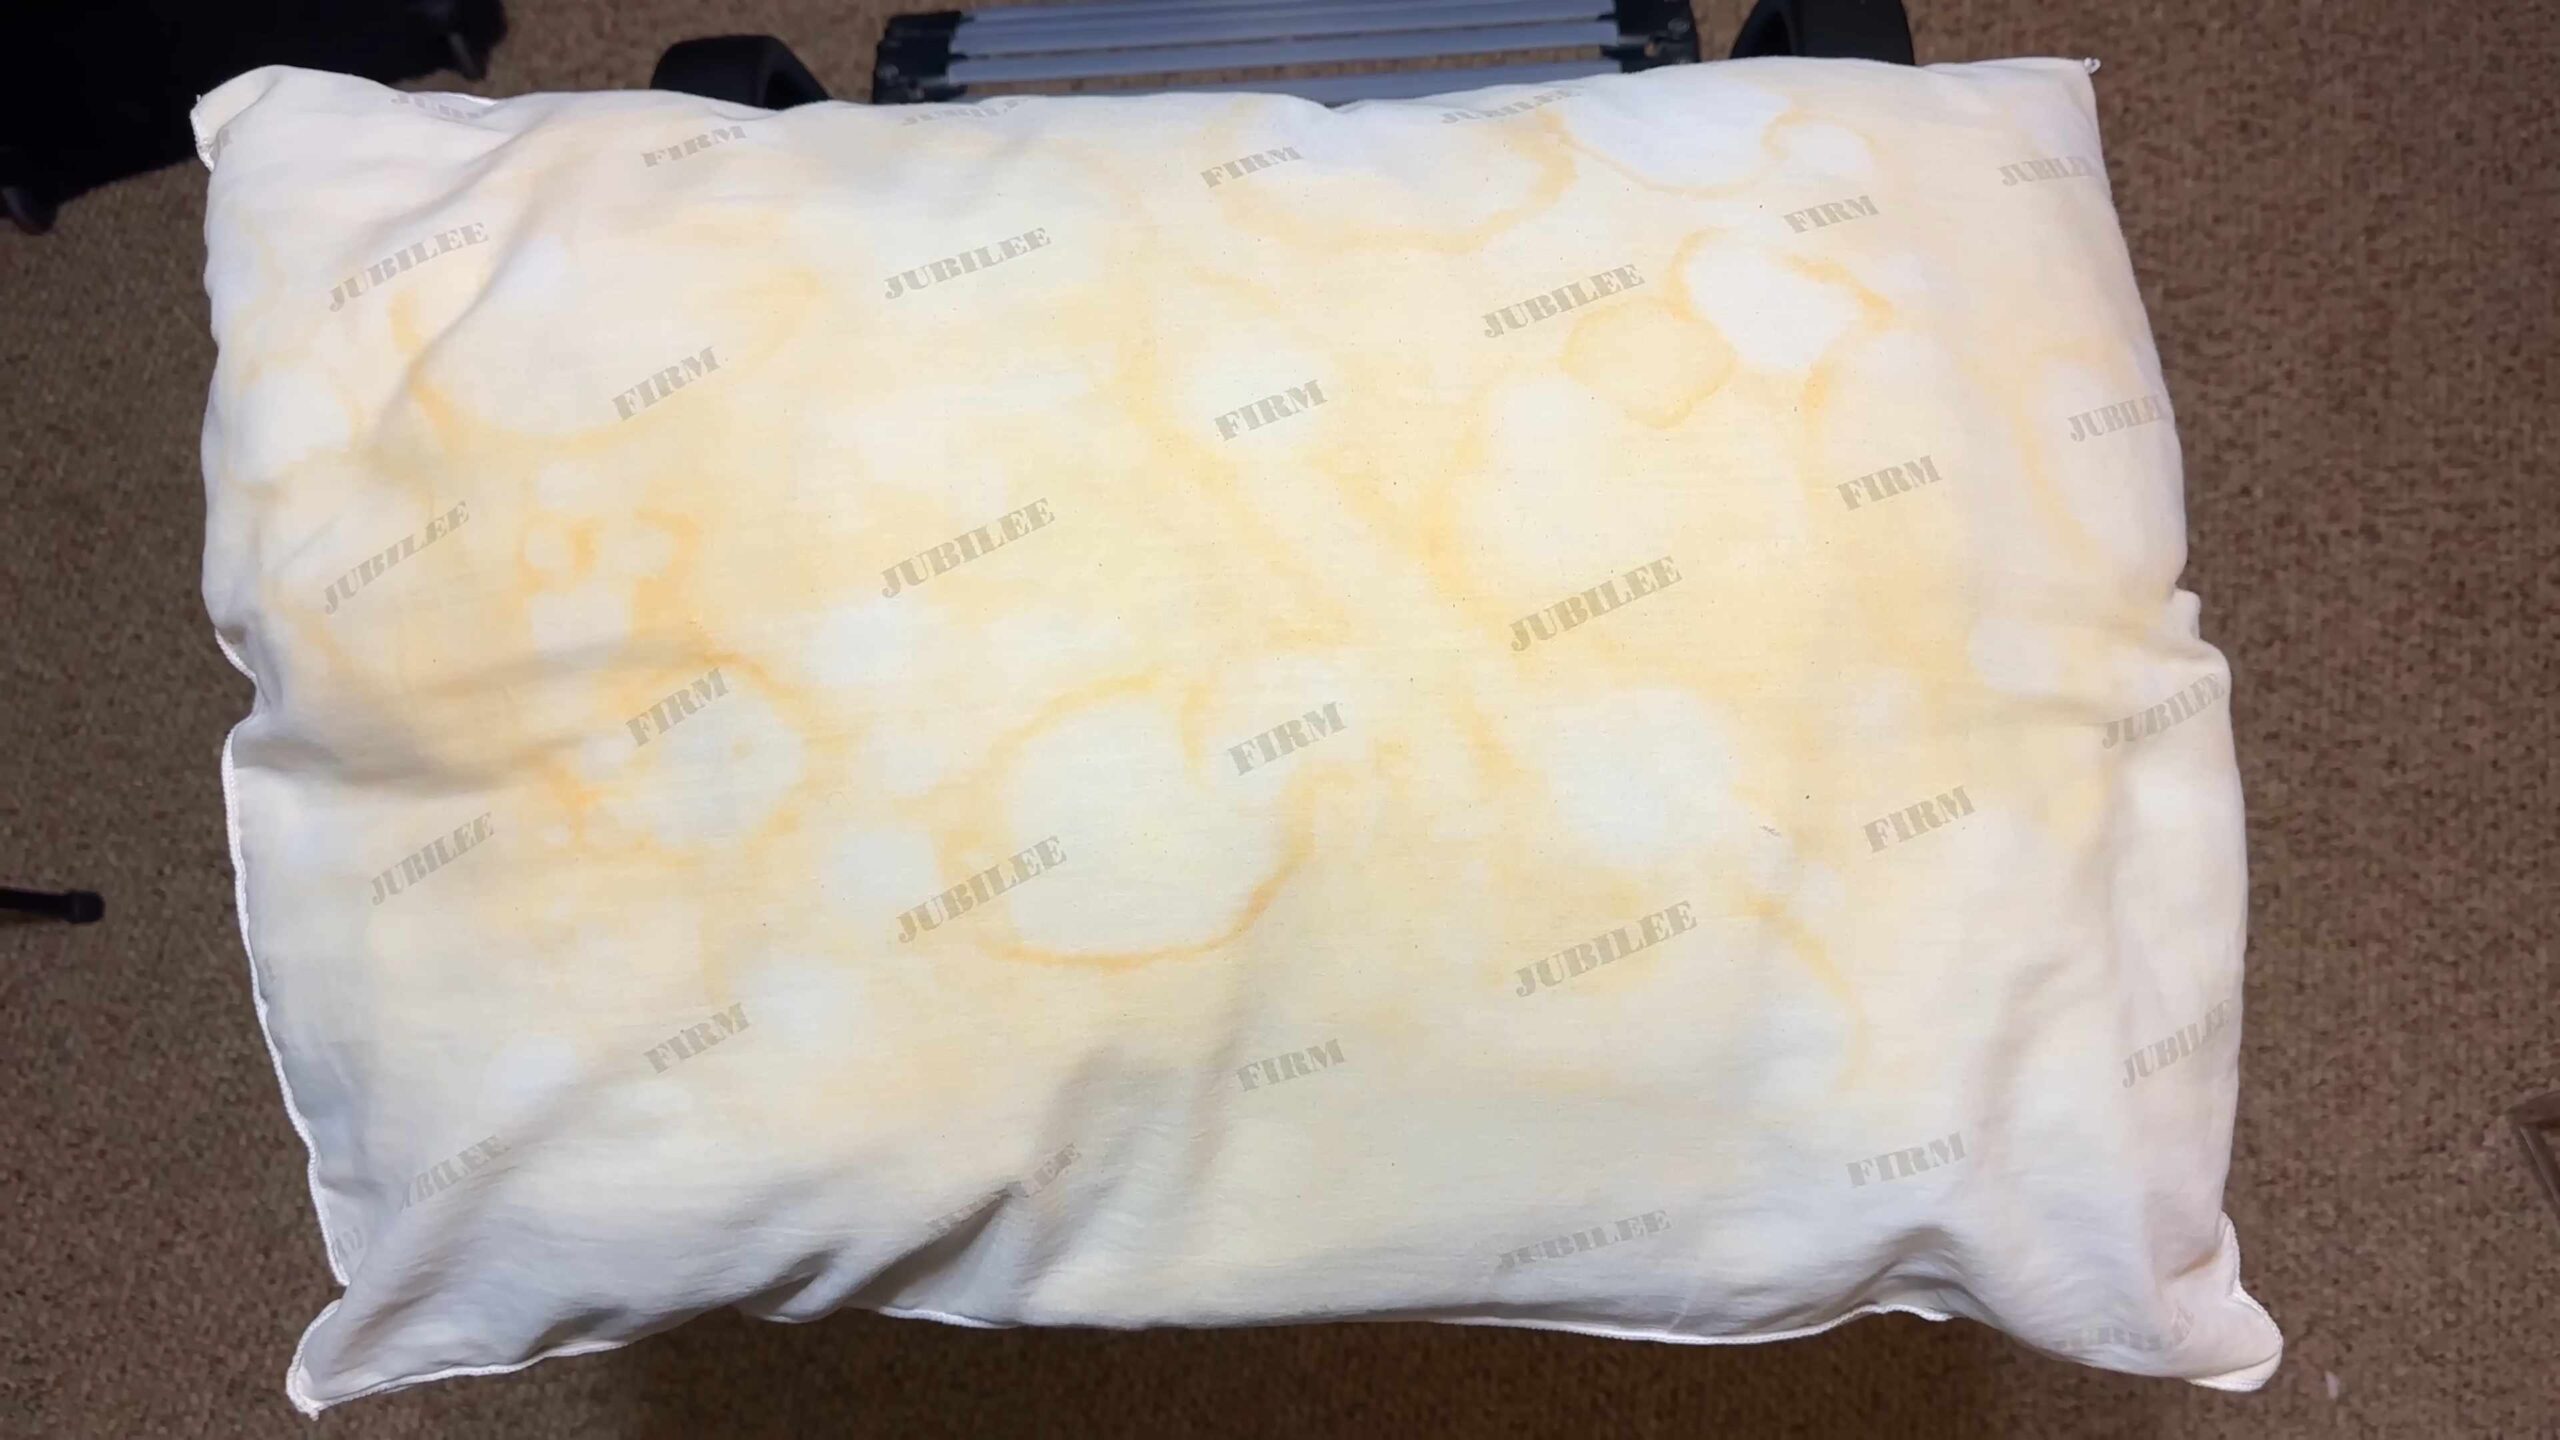
OxiClean Pillow Cleaning Guide: Are your pillows looking a little worse for wear? Stained, yellowed, and generally uninviting? Don’t resign them to the trash just yet! Before you spend a fortune replacing them, I’m going to share a simple, effective, and budget-friendly DIY trick that can breathe new life into your pillows using the power of OxiClean.
Throughout history, a clean and comfortable sleeping space has been a cornerstone of well-being. While our ancestors may not have had access to OxiClean, they certainly understood the importance of keeping bedding fresh. From sun-drying linens to using natural cleaning agents, the pursuit of a pristine pillow is a timeless tradition.
Let’s face it, pillows endure a lot. From nightly drool to lingering makeup, they absorb all sorts of grime. Regular washing is crucial, but sometimes, a deeper clean is needed to tackle stubborn stains and odors. That’s where this OxiClean Pillow Cleaning Guide comes in. I’ll walk you through a step-by-step process that will leave your pillows looking and smelling like new. Not only will this save you money, but it will also contribute to a healthier and more restful sleep. So, grab your OxiClean, and let’s get started!
DIY OxiClean Pillow Cleaning: A Comprehensive Guide
Hey everyone! Are your pillows looking a little… sad? Stained? Maybe even a little… yellow? Don’t worry, you’re not alone! Pillows are notorious for collecting sweat, drool (we’ve all been there!), and dust mites. But before you toss them in the trash, let me show you how to revive them using the power of OxiClean! This method is surprisingly effective, and it’s a whole lot cheaper than buying new pillows.
This guide will walk you through the entire process, step-by-step, ensuring you get the best possible results. I’ve tried this method myself countless times, and I’m confident you’ll be happy with the outcome.
What You’ll Need
Before we dive in, let’s gather our supplies. Having everything ready beforehand will make the process much smoother.
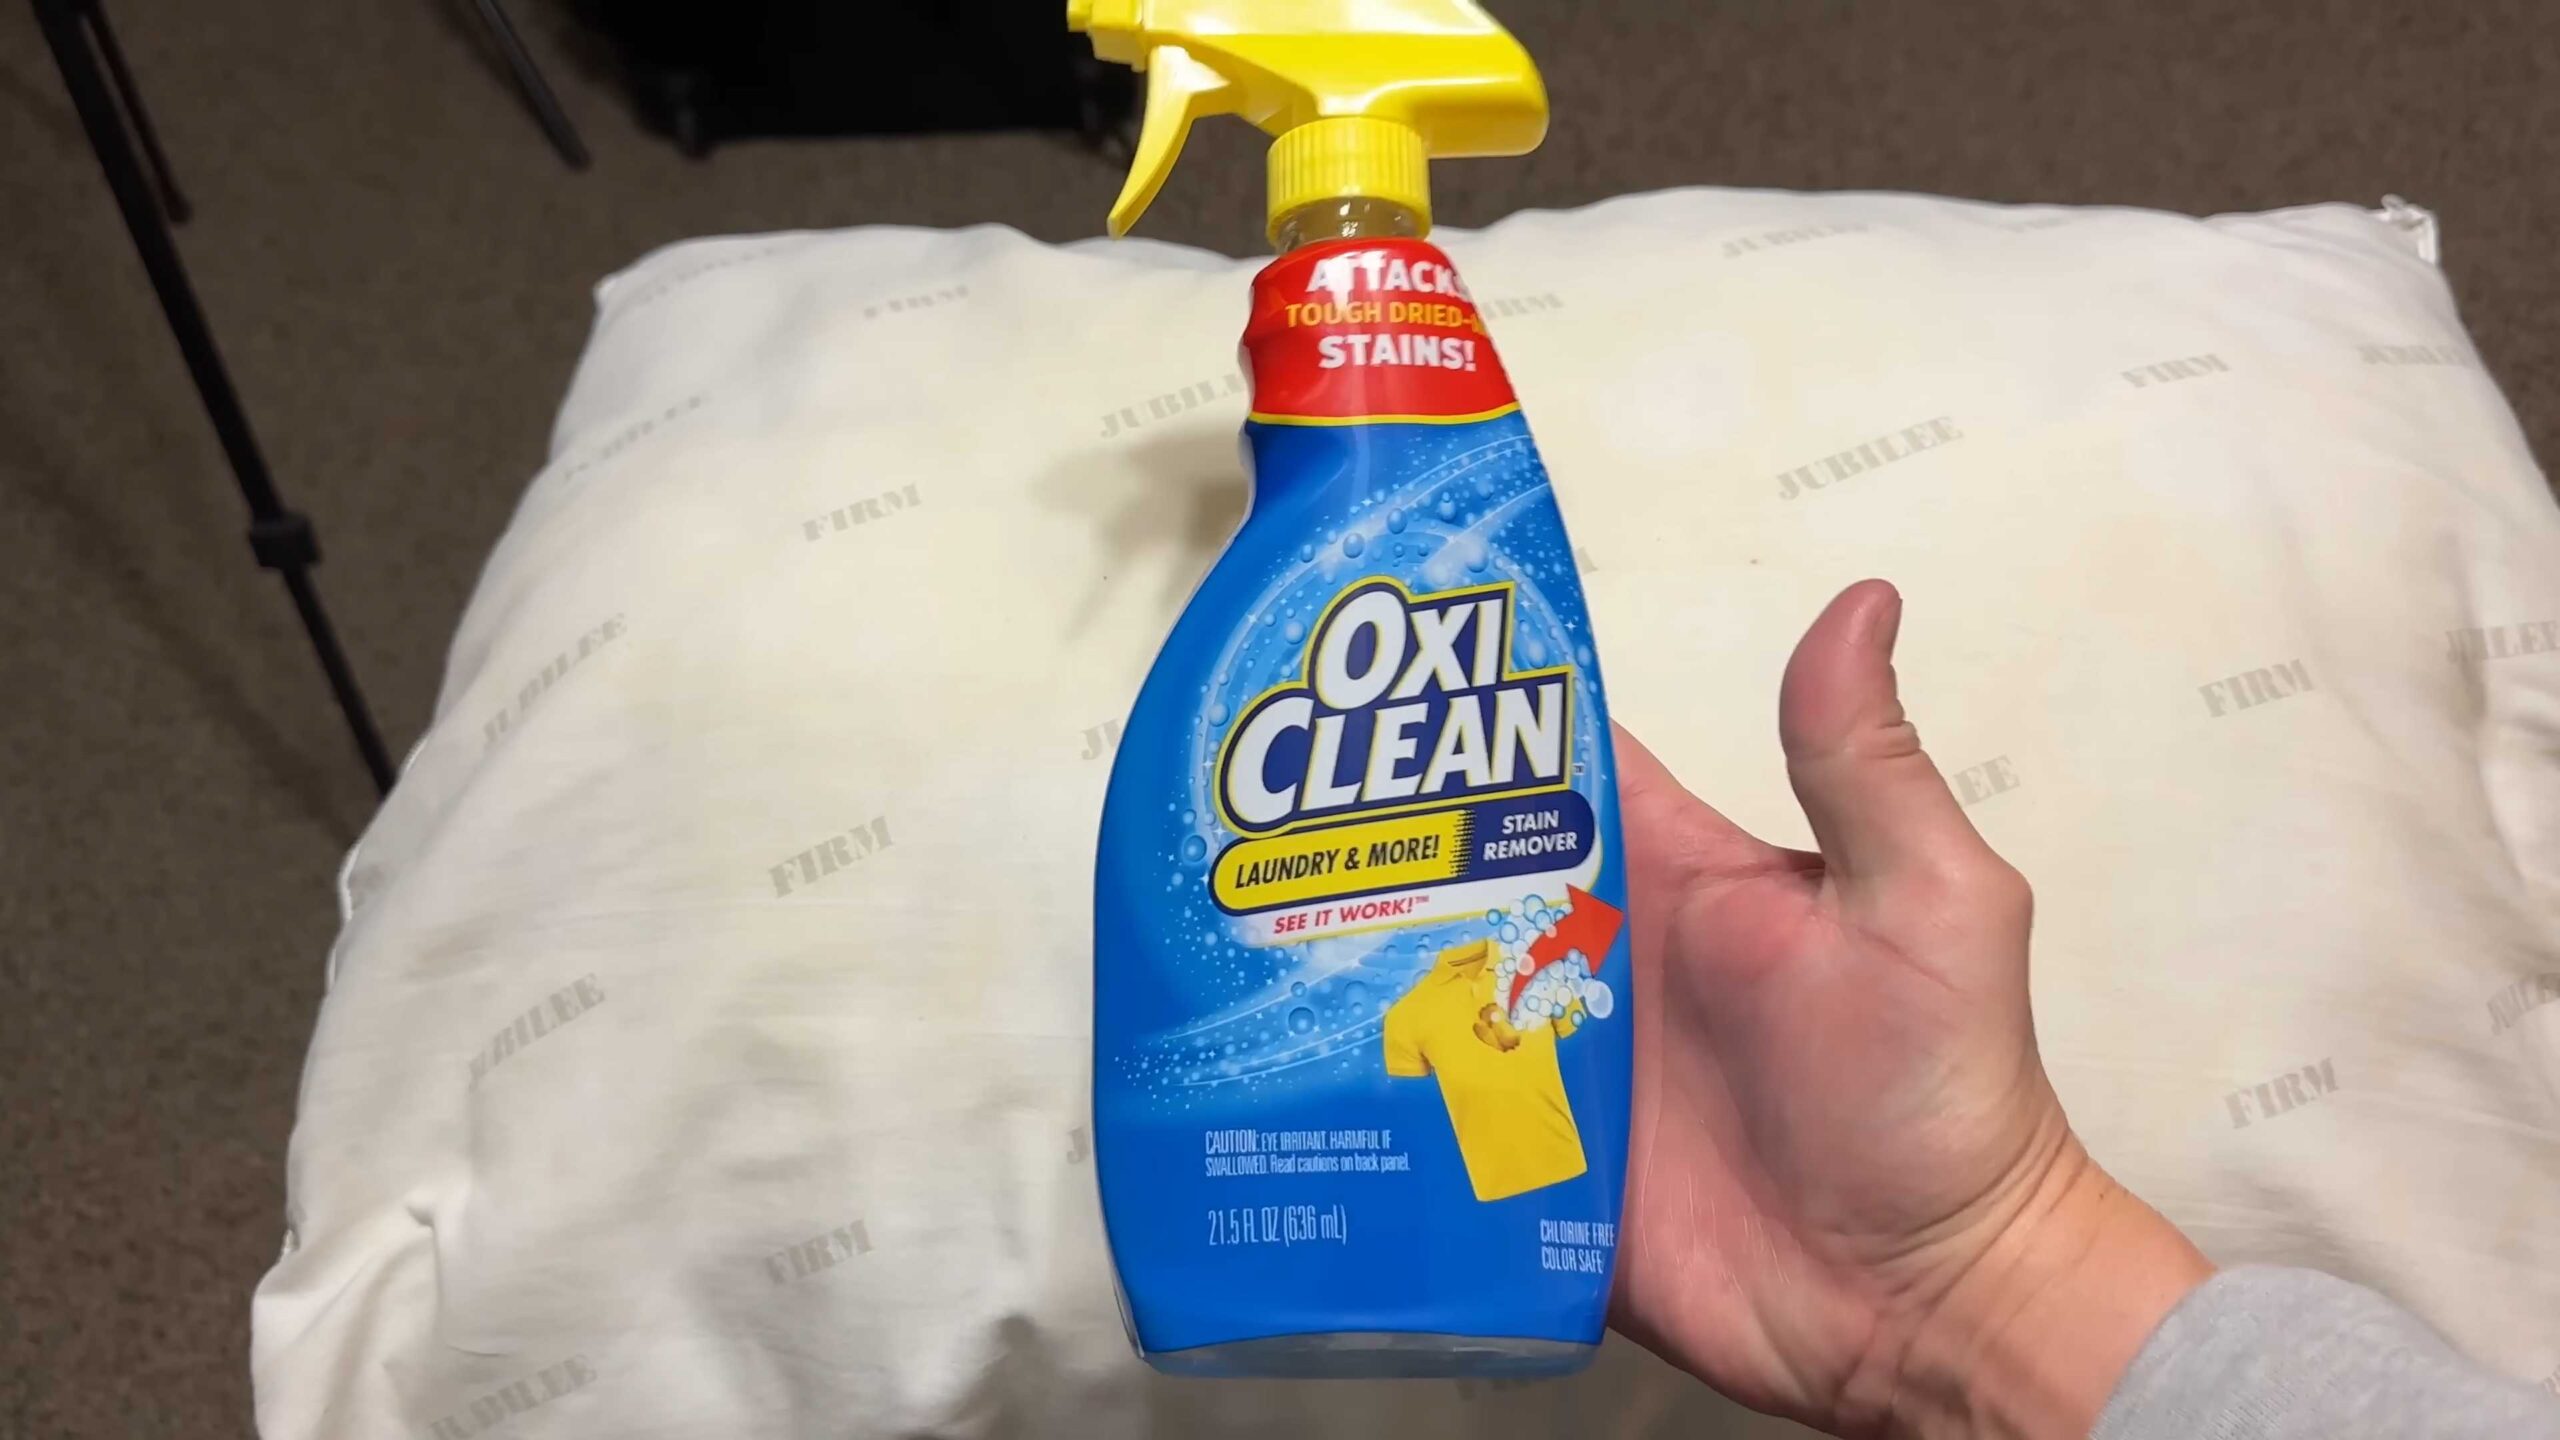
* **OxiClean Versatile Stain Remover:** This is the star of the show! Make sure you get the powder version, not the liquid.
* **Laundry Detergent:** Use your regular laundry detergent.
* **Borax (Optional):** Borax can boost the cleaning power and help with odor removal, but it’s not essential.
* **Washing Machine:** A top-loading washing machine is ideal, but a front-loader can work too (with some adjustments, which I’ll explain later).
* **Clean Towels:** You’ll need these for drying.
* **Tennis Balls or Dryer Balls:** These will help fluff the pillows during drying.
* **Laundry Bag (Optional):** If your pillows are delicate, a laundry bag can provide extra protection.
* **Measuring Cups and Spoons:** For accurate measurements.
* **Gloves (Optional):** If you have sensitive skin, gloves are a good idea.
* **A Well-Ventilated Area:** For drying the pillows.
Prepping Your Pillows
Before we throw those pillows into the washing machine, let’s do a little prep work.
1. **Remove Pillowcases and Protectors:** Take off all pillowcases and protectors. Wash these separately according to their care instructions.
2. **Inspect Your Pillows:** Take a good look at your pillows. Note any particularly stubborn stains or areas of discoloration. This will help you gauge the effectiveness of the cleaning process.
3. **Check the Care Label:** This is crucial! Make sure your pillows are machine washable. Most down and synthetic pillows are, but it’s always best to double-check. If the label says “dry clean only,” you’ll need to take them to a professional.
4. **Spot Treat (If Necessary):** If you have any really tough stains, you can pre-treat them with a paste of OxiClean and water. Apply the paste to the stain, let it sit for about 30 minutes, and then rinse thoroughly.
The Washing Process
Now for the main event! This is where the magic happens.
1. **Fill the Washing Machine:** Fill your washing machine with hot water. Hot water is more effective at removing dirt and stains.
2. **Add the Cleaning Agents:** This is where the measurements are important. For a standard top-loading washing machine, add the following:
* 1 cup of OxiClean Versatile Stain Remover
* 1/2 cup of Laundry Detergent
* 1/2 cup of Borax (Optional)
For a front-loading washing machine, use half the amount of each cleaning agent. Front-loaders use less water, so you don’t need as much detergent.
3. **Dissolve the Cleaning Agents:** Turn on the washing machine and let it run for a few minutes to dissolve the cleaning agents completely.
4. **Add the Pillows:** Place the pillows in the washing machine. It’s best to wash two pillows at a time to balance the load. If you only have one pillow, add a couple of towels to balance the load.
5. **Submerge the Pillows:** Make sure the pillows are fully submerged in the water. If they’re floating, gently push them down.
6. **Set the Washing Machine:** Set the washing machine to a gentle cycle and a cold water rinse. A gentle cycle will help prevent damage to the pillows.
7. **Run the Wash Cycle:** Let the washing machine run through the entire wash cycle.
8. **Extra Rinse (Important!):** This is super important! Pillows tend to hold onto detergent, so it’s crucial to run an extra rinse cycle to remove any residue. I usually run two extra rinse cycles just to be safe.
Drying Your Pillows
Drying is just as important as washing! Improper drying can lead to mildew and clumping.
1. **Gently Squeeze Out Excess Water:** After the wash cycle is complete, carefully remove the pillows from the washing machine. Gently squeeze out any excess water. Don’t twist or wring the pillows, as this can damage them.
2. **Tumble Dry on Low Heat:** Place the pillows in the dryer along with the tennis balls or dryer balls. The tennis balls will help fluff the pillows and prevent them from clumping. Use a low heat setting to avoid damaging the filling.
3. **Check for Dampness:** Check the pillows frequently to see if they’re dry. It may take several cycles to dry them completely.
4. **Air Dry (Optional):** If you prefer, you can air dry the pillows. Place them in a well-ventilated area, preferably in direct sunlight. Turn them frequently to ensure they dry evenly.
5. **Fluff Regularly:** While the pillows are drying, fluff them regularly to prevent clumping.
Dealing with Front-Loading Washing Machines
Front-loading washing machines are a bit different than top-loaders, so here are some adjustments you might need to make:
* **Use Less Detergent:** As I mentioned earlier, front-loaders use less water, so you’ll need to use half the amount of OxiClean, laundry detergent, and Borax.
* **Check for Soap Residue:** Front-loaders are notorious for leaving soap residue, so be extra vigilant about running extra rinse cycles.
* **Consider a Laundry Bag:** If your pillows are delicate, a laundry bag can provide extra protection in a front-loading machine.
Tips and Tricks for Success
Here are a few extra tips and tricks to help you get the best results:
* **Don’t Overload the Washing Machine:** Overloading the washing machine can prevent the pillows from getting properly cleaned.
* **Use a Mesh Laundry Bag:** If your pillows are particularly delicate, consider using a mesh laundry bag to protect them during washing.
* **Dry Thoroughly:** Make sure the pillows are completely dry before using them. Damp pillows can attract mold and mildew.
* **Sunlight is Your Friend:** Sunlight is a natural disinfectant and can help brighten white pillows. If possible, air dry your pillows in direct sunlight.
* **Regular Cleaning is Key:** To keep your pillows fresh and clean, wash them every few months.
Troubleshooting
Sometimes, things don’t go exactly as planned. Here are a few common problems and how to fix them:
* **Pillows are Still Stained:** If your pillows are still stained after washing, you can try repeating the washing process. You can also try using a stronger stain remover.
* **Pillows are Clumped:** If your pillows are clumped after drying, try putting them back in the dryer with the tennis balls and running another cycle. You can also try manually fluffing them.
* **Pillows Smell Musty:** If your pillows smell musty, it means they weren’t dried properly. Wash them again and make sure they’re completely dry this time.
* **Pillows are Flat:** If your pillows are flat, they may be worn out. It might be time to replace them.
Maintaining Your Clean Pillows
Now that you’ve gone through all the trouble of cleaning your pillows, you’ll want to keep them clean! Here are a few tips:
* **Use Pillow Protectors:** Pillow protectors are a great way to keep your pillows clean and protected from stains and dust mites.
* **Wash Pillowcases Regularly:** Wash your pillowcases at least once a week.
* **Fluff Your Pillows Daily:** Fluffing your pillows daily will help keep them from clumping and will also help circulate air.
* **Air Out Your Pillows Regularly:** Airing out your pillows in direct sunlight will help kill bacteria and freshen them up.
When to Replace Your Pillows
Even with regular cleaning, pillows eventually wear out. Here are a few signs that it’s time to replace your pillows:
* **They’re Flat and Lumpy:** If your pillows are flat and lumpy, they’re no longer providing adequate support.
* **They’re Stained and Discolored:** If your pillows are heavily stained and discolored, it’s probably time to replace them.
* **They Smell Musty:** If your pillows smell musty, even after washing, it’s a
Conclusion
So, there you have it! A simple, effective, and surprisingly affordable way to breathe new life into your pillows using the power of OxiClean. We’ve walked you through the process, highlighting the key steps to ensure a thorough and successful cleaning. But why is this DIY OxiClean pillow cleaning method a must-try?
Firstly, it’s about hygiene. Pillows are notorious for harboring dust mites, dead skin cells, and oils, creating a breeding ground for allergens and bacteria. Regularly cleaning your pillows is crucial for maintaining a healthy sleep environment and reducing allergy symptoms. While professional cleaning services can be costly, this DIY approach offers a budget-friendly alternative without compromising on cleanliness.
Secondly, it’s about extending the lifespan of your pillows. Over time, accumulated dirt and grime can cause pillow fibers to break down, leading to a loss of support and comfort. By cleaning your pillows with OxiClean, you’re not only removing the build-up but also helping to restore their fluffiness and prolong their usability. Think of it as an investment in your sleep quality and a way to avoid prematurely replacing your pillows.
Thirdly, it’s about convenience. You likely already have most of the necessary supplies on hand – OxiClean, laundry detergent, and a washing machine. The process is straightforward and doesn’t require any special equipment or expertise. You can easily incorporate this cleaning routine into your regular laundry schedule.
But don’t just take our word for it! We encourage you to try this DIY OxiClean pillow cleaning method for yourself. And feel free to experiment with variations to suit your specific needs and preferences. For instance, if you have particularly stubborn stains, you can pre-treat them with a paste of OxiClean and water before washing. Or, if you prefer a more natural scent, you can add a few drops of essential oil, such as lavender or eucalyptus, to the wash cycle. Just be sure to choose an oil that is safe for use in the washing machine and won’t stain your pillows.
Consider the type of pillow you are cleaning. Down and feather pillows can benefit greatly from this cleaning method, restoring their loft and fluffiness. However, always check the care label before washing any pillow, especially those made of memory foam or other specialty materials. Some pillows may require hand-washing or spot-cleaning only.
Another variation to consider is the drying method. While machine drying is convenient, air-drying can be gentler on your pillows, especially delicate ones. If you choose to air-dry, be sure to fluff your pillows regularly to prevent clumping and ensure they dry completely. You can also place them in direct sunlight for a natural sanitizing effect.
We are confident that you’ll be amazed by the results of this DIY OxiClean pillow cleaning trick. Imagine sinking into a freshly cleaned, fluffy pillow every night – a truly luxurious and rejuvenating experience.
So, go ahead and give it a try! We’re eager to hear about your experience. Share your before-and-after photos, tips, and variations in the comments section below. Let’s create a community of clean pillow enthusiasts and help each other achieve the best possible sleep. Your feedback will not only help other readers but also inspire us to continue sharing valuable DIY cleaning tips and tricks. Don’t hesitate to ask any questions you may have – we’re here to support you every step of the way. Happy cleaning!
Frequently Asked Questions (FAQ)
1. Is OxiClean safe to use on all types of pillows?
Generally, OxiClean is safe for most washable pillows, including those filled with down, feathers, cotton, or polyester. However, it’s crucial to always check the care label on your pillow before using any cleaning product. Some pillows, particularly those made of memory foam or latex, may require special cleaning methods, such as spot cleaning or hand washing. Using OxiClean on these types of pillows could potentially damage the material. If the care label advises against machine washing or using bleach alternatives, it’s best to follow those instructions to avoid ruining your pillow. When in doubt, test a small, inconspicuous area of the pillow with OxiClean solution before washing the entire pillow.
2. How often should I clean my pillows with OxiClean?
The frequency of cleaning your pillows depends on several factors, including how often you use them, your sleeping habits, and whether you have allergies or sensitivities. As a general guideline, it’s recommended to wash your pillows at least every six months. However, if you sweat heavily during sleep, have pets that sleep on your bed, or suffer from allergies, you may want to wash your pillows more frequently, such as every three months. Regular cleaning helps to remove dust mites, allergens, and oils that can accumulate over time, contributing to a healthier sleep environment. In between washes, you can also fluff your pillows regularly and air them out in the sun to help keep them fresh.
3. Can I use regular laundry detergent with OxiClean when cleaning my pillows?
Yes, you can and should use regular laundry detergent in conjunction with OxiClean when cleaning your pillows. The laundry detergent helps to remove dirt and grime, while OxiClean provides an extra boost of cleaning power to tackle stains and odors. When adding both products to your washing machine, follow the instructions on the packaging for the recommended amounts. It’s generally best to use a mild, fragrance-free detergent to avoid irritating sensitive skin or allergies. Also, avoid using too much detergent, as this can leave residue on your pillows, making them feel stiff or uncomfortable.
4. What is the best way to dry my pillows after cleaning them with OxiClean?
The best way to dry your pillows after cleaning them depends on the type of pillow and your personal preference. Machine drying is a convenient option for most pillows, but it’s important to use a low heat setting to prevent damage to the filling. Adding a few clean tennis balls or dryer balls to the dryer can help to fluff the pillows and prevent them from clumping. Alternatively, you can air-dry your pillows by laying them flat on a clean surface or hanging them on a clothesline. Air-drying can be gentler on delicate pillows, but it may take longer for them to dry completely. Regardless of the drying method you choose, be sure to fluff your pillows regularly to ensure they dry evenly and prevent mildew growth.
5. What if my pillows have stubborn stains that OxiClean doesn’t remove?
If your pillows have stubborn stains that OxiClean doesn’t remove during the regular wash cycle, you can try pre-treating the stains with a paste of OxiClean and water. Mix a small amount of OxiClean powder with enough water to form a thick paste. Apply the paste directly to the stain and gently rub it in with a soft cloth or brush. Let the paste sit on the stain for at least 30 minutes, or even longer for particularly stubborn stains. Then, rinse the area thoroughly with water and wash the pillow as usual. For very old or set-in stains, you may need to repeat this process several times. You can also try using a stain remover specifically designed for the type of stain you’re dealing with, such as a protein stain remover for blood or sweat stains.
6. Can I use this OxiClean pillow cleaning method for down and feather pillows?
Yes, this OxiClean pillow cleaning method is generally safe and effective for down and feather pillows. However, it’s important to take extra care when washing and drying these types of pillows to prevent damage to the delicate feathers. Use a gentle cycle on your washing machine and a low heat setting on your dryer. Adding a few clean tennis balls or dryer balls to the dryer can help to fluff the feathers and prevent them from clumping. It’s also crucial to ensure that down and feather pillows are completely dry before using them, as any remaining moisture can lead to mildew growth. You may need to dry them for several hours, or even overnight, to ensure they are thoroughly dry.
7. What are the signs that it’s time to replace my pillows, even if I’m cleaning them regularly?
Even with regular cleaning, pillows eventually wear out and need to be replaced. Some signs that it’s time to replace your pillows include:
* The pillow is flat and no longer provides adequate support.
* The pillow has lumps or bumps that cannot be removed.
* The pillow has a persistent odor, even after cleaning.
* You wake up with neck pain or stiffness.
* The pillow is stained or discolored beyond repair.
As a general guideline, it’s recommended to replace your pillows every one to two years, depending on the type of pillow and how well you care for them. Investing in new pillows can significantly improve your sleep quality and overall health.

Leave a Comment