

DIY Reed Diffuser: Tired of those overpowering, chemical-laden air fresheners that leave you with a headache? I know I am! There’s something so satisfying about creating a beautiful and fragrant ambiance in your home using natural ingredients and a little bit of elbow grease. That’s where the magic of a DIY reed diffuser comes in!
The concept of using reeds to diffuse scents has ancient roots, with variations found in different cultures throughout history. Think of the Egyptians using fragrant oils and porous materials to perfume their tombs, or the Romans employing similar techniques in their bathhouses. While our modern version might be a bit more streamlined, the underlying principle remains the same: harnessing the power of capillary action to gently disperse delightful aromas.
But why should you bother making your own reed diffuser? Well, for starters, it’s incredibly cost-effective! Store-bought diffusers can be surprisingly pricey, and you’re often paying for fancy packaging and synthetic fragrances. With a DIY reed diffuser, you have complete control over the ingredients, allowing you to choose your favorite essential oils and create custom blends that perfectly suit your mood and preferences. Plus, it’s a fantastic way to reduce waste by repurposing glass containers and avoiding single-use plastic packaging. I think you’ll find that crafting your own diffuser is not only a fun and rewarding project, but also a healthier and more sustainable way to freshen up your living space. Let’s get started!
DIY Reed Diffuser: Freshen Your Home Naturally
Okay, let’s ditch those store-bought air fresheners packed with who-knows-what chemicals and create our own amazing-smelling reed diffuser! It’s surprisingly easy, totally customizable, and a much healthier way to keep your home smelling fantastic. Plus, it’s a fun little project!
What You’ll Need
Before we dive in, let’s gather our supplies. This is what I usually use, but feel free to experiment!
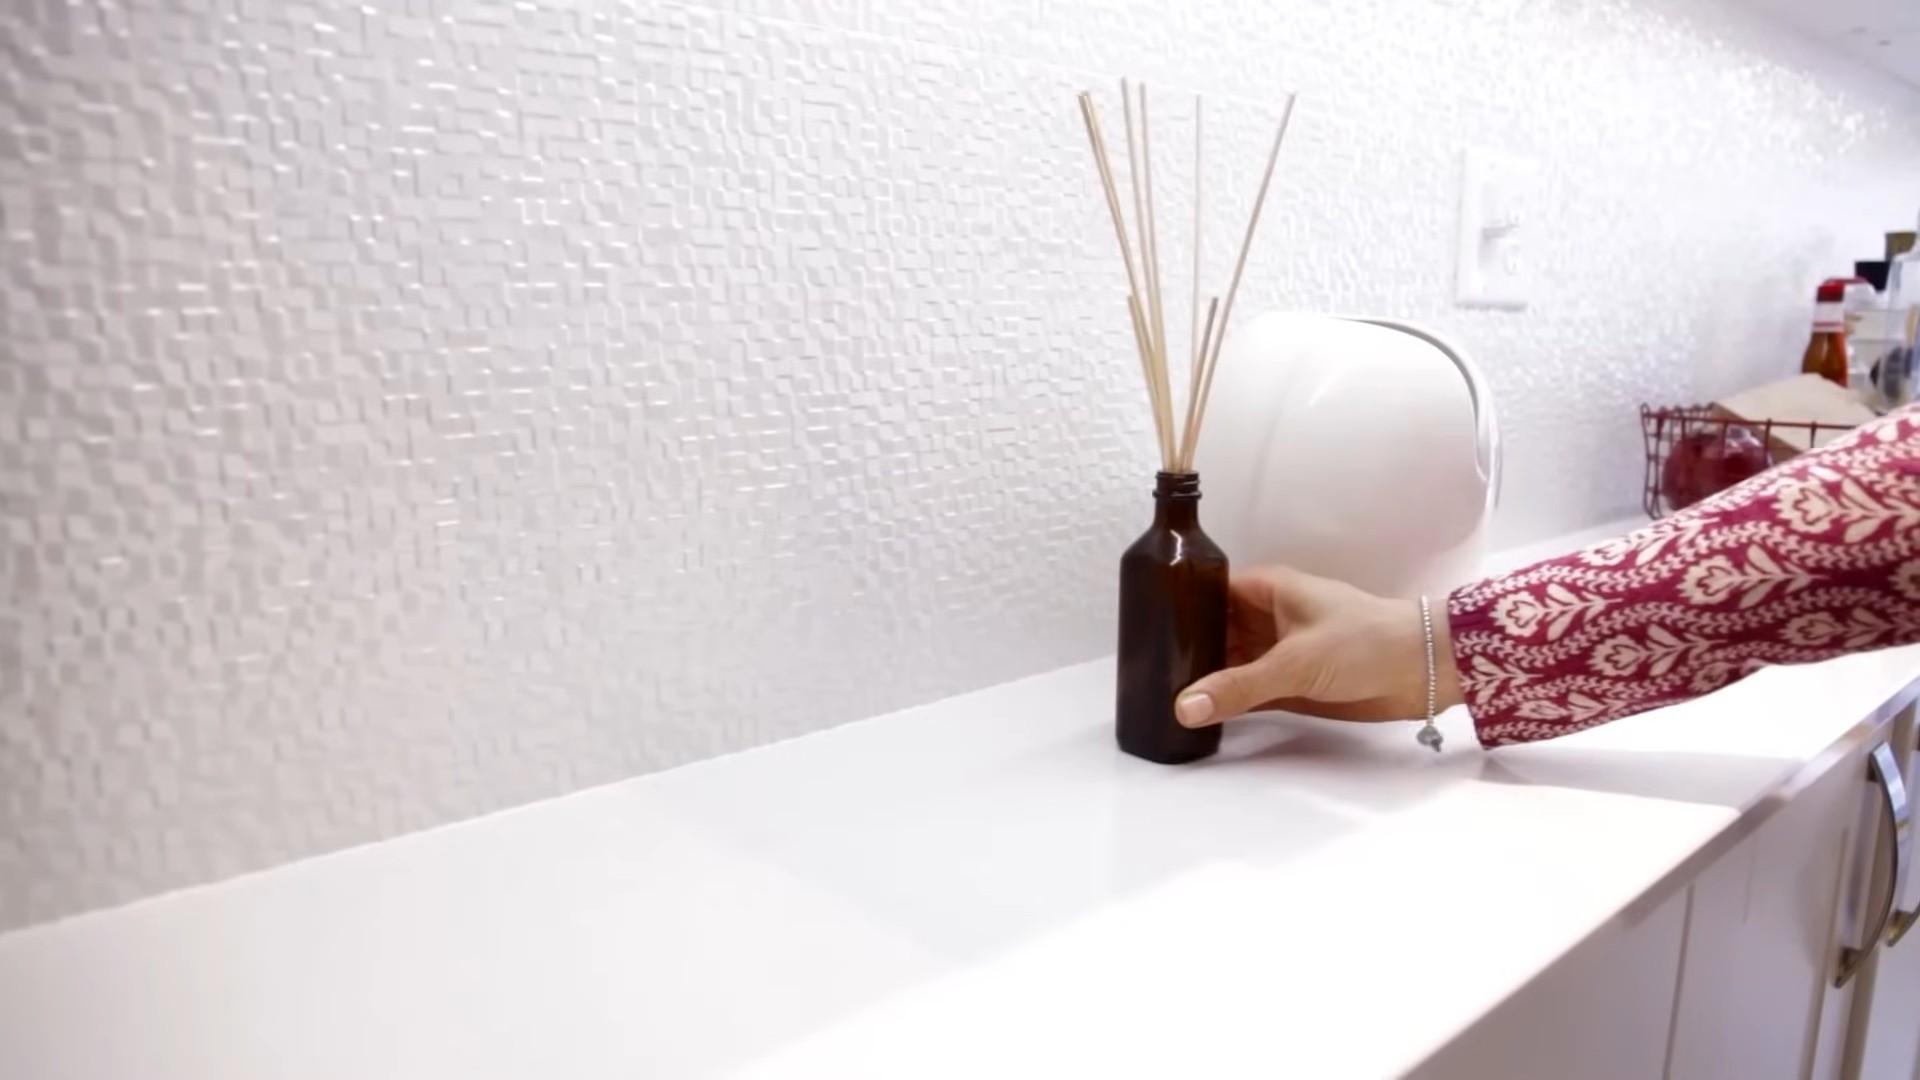
* **A Small Glass Container:** Think small vases, mason jars, or even repurposed bottles. Just make sure the opening isn’t too wide, or the fragrance will evaporate too quickly. I personally love using small apothecary bottles for a vintage look.
* **Reed Diffuser Reeds:** You can find these online or at craft stores. Rattan reeds are the most common and work really well. The length should be about twice the height of your container.
* **Carrier Oil:** This is the base of your diffuser and helps the fragrance travel up the reeds. I recommend using:
* **Fractionated Coconut Oil:** This is my go-to! It’s odorless, colorless, and has a long shelf life. It also doesn’t solidify like regular coconut oil.
* **Safflower Oil:** Another great option, also odorless and colorless.
* **Sweet Almond Oil:** Has a slightly nutty scent, so keep that in mind when choosing your essential oils.
* Avoid using olive oil or vegetable oil as they are too thick and can clog the reeds.
* **Essential Oils:** This is where you get to be creative! Choose your favorite scents or blend them together to create a custom fragrance. I’ll share some of my favorite blends later.
* **Isopropyl Alcohol (Optional):** A small amount of alcohol helps the essential oils and carrier oil mix better and thins the mixture slightly, aiding in wicking.
* **Measuring Spoons or Cups:** For accurate measurements.
* **A Small Funnel (Optional):** Makes pouring the mixture into the container easier.
* **Gloves (Optional):** To protect your hands from the essential oils, especially if you have sensitive skin.
Step-by-Step Instructions: Creating Your Reed Diffuser
Alright, let’s get to the fun part! Here’s how to assemble your very own reed diffuser:
1. **Prepare Your Container:** Make sure your glass container is clean and dry. Any residue inside could affect the scent. I usually wash mine with soap and water and then let it air dry completely.
2. **Mix Your Carrier Oil and Essential Oils:** This is where the magic happens! The ratio of carrier oil to essential oils is crucial for a good scent throw. I usually aim for a 75/25 or 80/20 split. That means:
* For every 100ml of carrier oil, add 25ml of essential oils (for a 75/25 ratio).
* For every 100ml of carrier oil, add 20ml of essential oils (for an 80/20 ratio).
If you’re using a smaller container, like a 50ml bottle, you’d use approximately 12.5ml of essential oils (for 75/25) or 10ml of essential oils (for 80/20).
Start with the lower concentration (80/20) and adjust if you want a stronger scent. Remember, you can always add more essential oils later!
If you’re using isopropyl alcohol, add a small amount – about 10% of the total volume. So, for a 100ml mixture, you’d add 10ml of alcohol. This isn’t essential, but it can help.
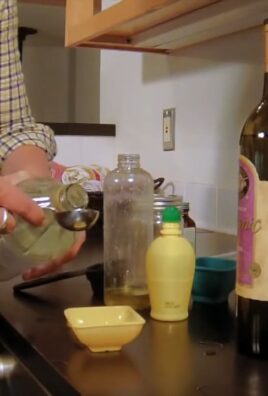
Carefully measure out your carrier oil and essential oils into a small bowl or measuring cup. Stir gently to combine them thoroughly.
3. **Pour the Mixture into Your Container:** Using a funnel (if you have one), carefully pour the oil mixture into your prepared glass container. Be careful not to spill!
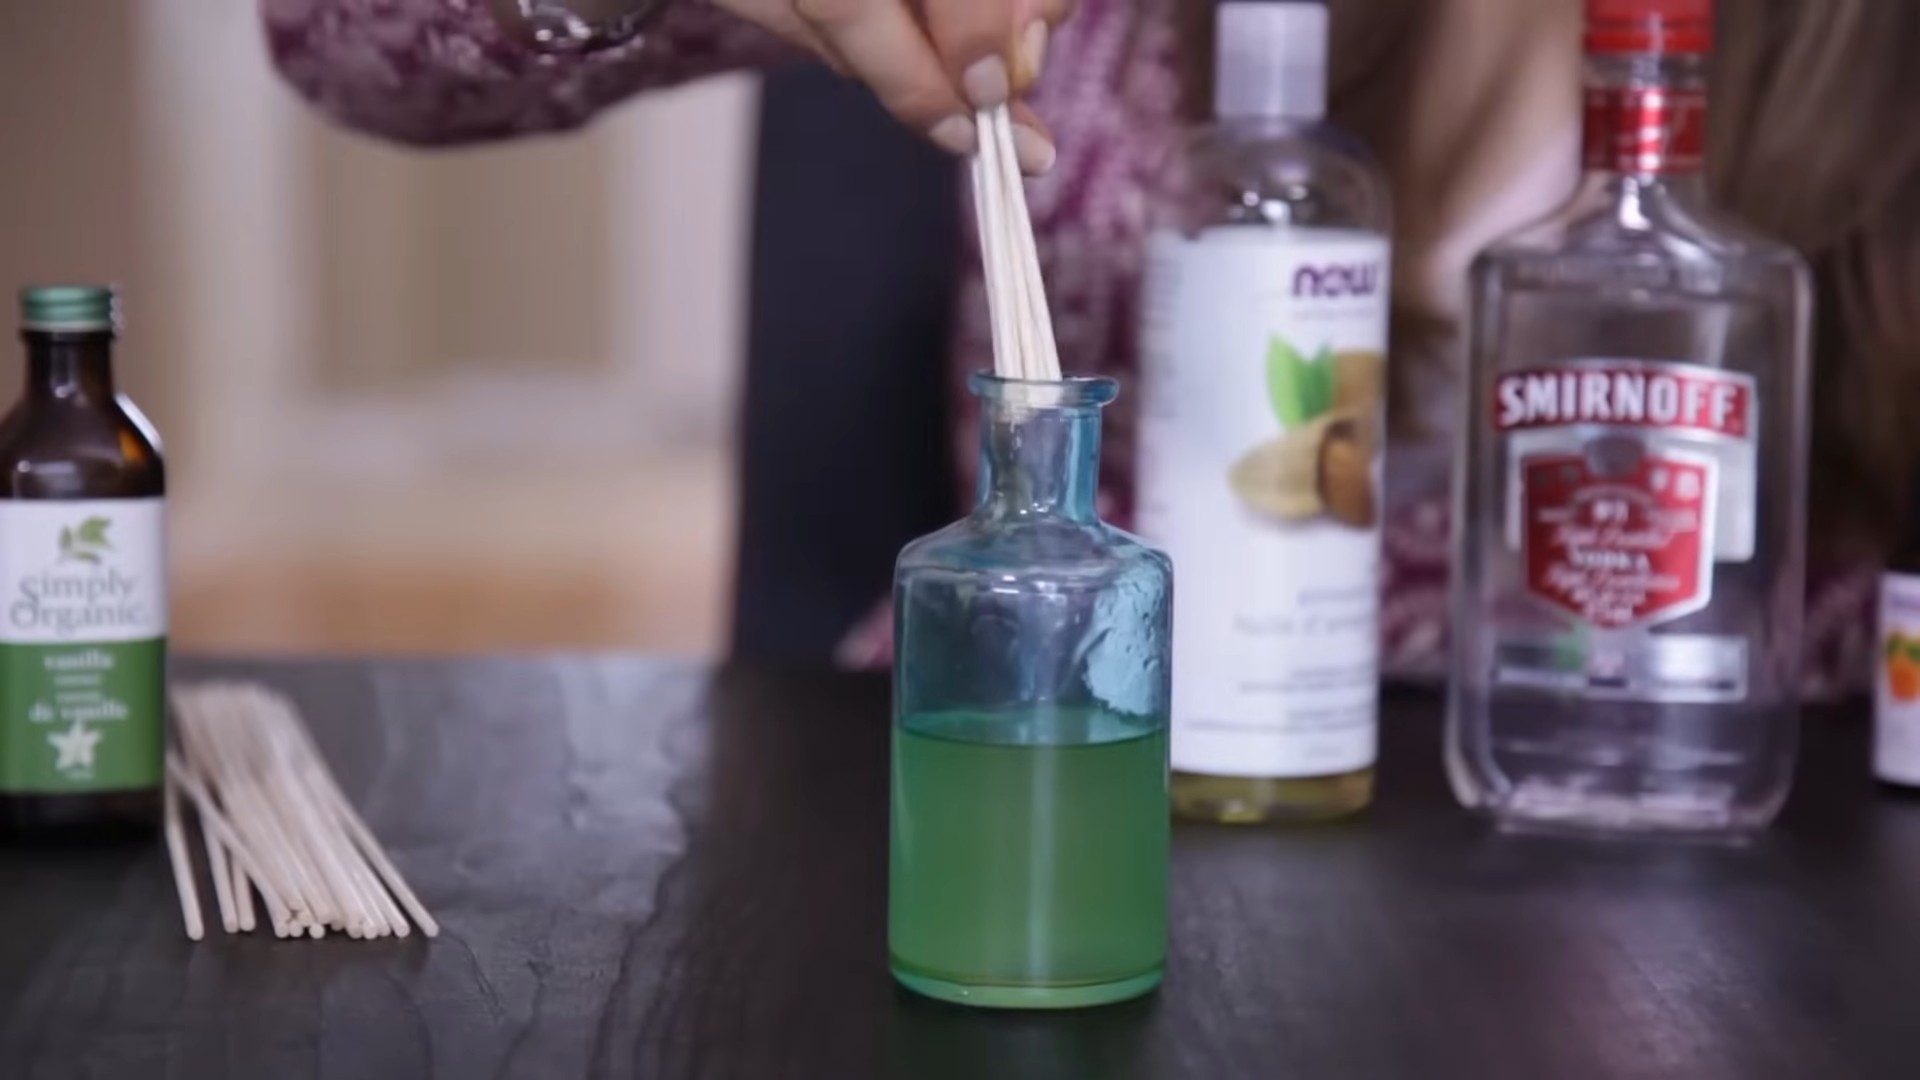
4. **Insert the Reeds:** Now, it’s time to add the reeds. Place the reeds into the container, making sure they are submerged in the oil mixture.
5. **Flip the Reeds (The Initial Soak):** This is important! After about an hour, flip the reeds so that the dry ends are now submerged in the oil. This helps to saturate the reeds and start the wicking process.
6. **Placement is Key:** Place your reed diffuser in a well-ventilated area. Air circulation helps to disperse the fragrance. Avoid placing it in direct sunlight or near heat sources, as this can cause the oil to evaporate too quickly.
7. **Maintain Your Diffuser:** To keep your diffuser smelling fresh, flip the reeds every week or two. This will help to refresh the scent. You may also need to replace the reeds every few months, as they can become clogged with dust and oil.
8. **Refilling Your Diffuser:** When the oil level gets low, simply refill the container with a fresh batch of your oil and essential oil mixture. You can reuse the same reeds, but I recommend replacing them every few refills for optimal performance.
Essential Oil Blend Ideas
Now for the fun part – choosing your scents! Here are some of my favorite essential oil blends for reed diffusers:
* **Relaxing Lavender:** Lavender (of course!) is a classic for relaxation. You can use it on its own or blend it with a touch of chamomile or bergamot.
* **Energizing Citrus:** A blend of lemon, grapefruit, and orange is perfect for a morning boost.
* **Cozy Spice:** Cinnamon, clove, and orange create a warm and inviting atmosphere, especially during the fall and winter months.
* **Eucalyptus and Peppermint:** Great for clearing sinuses and freshening the air. Perfect for bathrooms or during cold season.
* **Rosemary and Lemon:** This is my go-to for my office. Rosemary helps with focus, and lemon adds a bright, uplifting scent.
* **Woodsy Blend:** Cedarwood, pine, and sandalwood create a grounding and calming aroma.
* **Floral Bouquet:** A blend of rose, jasmine, and ylang-ylang creates a romantic and luxurious scent.
Experiment with different combinations to find your perfect signature scent! I often write down the ratios I use for each blend so I can recreate my favorites later.
Troubleshooting Your Reed Diffuser
Sometimes, things don’t go exactly as planned. Here are some common issues and how to fix them:
* **Not Enough Scent:**
* **Check the Essential Oil Concentration:** Make sure you’re using enough essential oils. Try increasing the ratio slightly.
* **Flip the Reeds More Often:** Flipping the reeds more frequently can help to refresh the scent.
* **Replace the Reeds:** Old reeds can become clogged and less effective.
* **Check the Location:** Make sure the diffuser is in a well-ventilated area.
* **The Room is Too Large:** A small diffuser might not be strong enough for a large room. Consider using multiple diffusers or a larger container.
* **Scent is Too Strong:**
* **Reduce the Essential Oil Concentration:** Use a lower ratio of essential oils to carrier oil.
* **Use Fewer Reeds:** Remove a few reeds to reduce the scent throw.
* **Move the Diffuser to a Less Central Location:** Placing the diffuser in a less trafficked area can help to tone down the scent.
* **Oil Evaporates Too Quickly:**
* **Avoid Direct Sunlight and Heat Sources:** These can cause the oil to evaporate faster.
* **Use a Container with a Narrower Opening:** A smaller opening will help to slow down evaporation.
* **Check for Leaks:** Make sure the container is sealed properly.
* **Reeds are Clogged:**
* **Replace the Reeds:** Clogged reeds can’t wick the oil properly.
* **Use a Higher Quality Carrier Oil:** Some carrier oils are thicker and more likely to clog the reeds.
Safety Tips
* **Keep Out of Reach of Children and Pets:** Essential oils can be harmful if ingested.
* **Avoid Contact with Skin and Eyes:** If contact occurs, rinse thoroughly with water.
* **Do Not Ingest:** Essential oils are for external use only.
* **Be Careful When Handling Essential Oils:** Some essential oils can be irritating to the skin. Wear gloves if you have sensitive skin.
* **Store Essential Oils Properly:** Keep them in a cool, dark place away from direct sunlight.
* **Be Mindful of Allergies:** If you have any allergies, be sure to check the ingredients of the essential oils before using them.
* Never place the diffuser on a surface that could be damaged by oil spills.
Final Thoughts
Creating your own reed diffuser is a simple and rewarding project. It’s a great way to personalize your
Conclusion
So, there you have it! Creating your own DIY reed diffuser is not only incredibly simple and cost-effective, but it also allows you to completely customize the scent profile to perfectly match your mood, your home’s décor, and even the changing seasons. Forget those generic, mass-produced air fresheners filled with questionable chemicals. With just a few readily available ingredients and a touch of creativity, you can craft a natural, long-lasting fragrance that will transform your living space into a haven of tranquility and delightful aromas.
Why is this a must-try? Because it empowers you to take control of your home’s fragrance in a way that store-bought options simply can’t. You’re no longer limited to pre-determined scents; you can blend your favorite essential oils to create unique and personalized aromas that reflect your individual style. Imagine a calming lavender and chamomile blend for your bedroom, a zesty citrus and mint combination for your kitchen, or a warm and inviting cinnamon and clove fragrance for your living room during the holidays. The possibilities are truly endless!
Beyond the customization aspect, a DIY reed diffuser is also a more sustainable and eco-friendly choice. You’re reducing your reliance on plastic packaging and potentially harmful chemicals found in commercial air fresheners. Plus, you can easily refill your diffuser as needed, further minimizing waste.
Looking for some variations to spice things up? Consider adding a few drops of vodka or rubbing alcohol to your base oil mixture. This helps to thin the oil and allows it to travel up the reeds more efficiently, resulting in a stronger and more consistent scent throw. You can also experiment with different types of carrier oils, such as safflower oil or sweet almond oil, to see which one works best for your chosen essential oils. For a visual touch, add dried flowers, decorative stones, or even a few drops of natural food coloring to your diffuser bottle. Just be mindful that these additions may slightly alter the scent or lifespan of your diffuser.
Don’t be afraid to get creative with your container selection as well. While a simple glass bottle works perfectly fine, you can also repurpose vintage bottles, mason jars, or even ceramic vases to add a touch of personality to your diffuser. Just make sure the opening is narrow enough to prevent excessive evaporation.
We wholeheartedly encourage you to give this DIY reed diffuser project a try. It’s a fun, rewarding, and incredibly practical way to enhance your home’s ambiance. Once you’ve created your own signature scent, we’d love to hear about your experience! Share your favorite essential oil combinations, any tips or tricks you discovered along the way, and photos of your beautiful DIY diffusers in the comments below. Let’s inspire each other to create fragrant and inviting homes, one reed diffuser at a time! We are confident that you will find this project to be a delightful and aromatic addition to your home crafting repertoire.
Frequently Asked Questions (FAQ)
What type of reeds should I use for my DIY reed diffuser?
Rattan reeds are the most commonly used and recommended type for reed diffusers. They have small channels that allow the fragrance oil to travel up and diffuse into the air. Bamboo skewers or other types of wood are not suitable as they lack these channels and won’t effectively wick the oil. You can find rattan reeds online or at craft stores. Make sure to choose reeds that are long enough to extend a few inches above the top of your diffuser bottle.
What is the best carrier oil to use for a DIY reed diffuser?
Several carrier oils work well for reed diffusers. Fractionated coconut oil is a popular choice because it’s odorless, colorless, and has a long shelf life. Safflower oil and sweet almond oil are also good options, but they may have a slight scent of their own, so consider this when choosing your essential oils. Mineral oil is another option, but some people prefer to avoid it due to its petroleum-based origin. Avoid using thick oils like olive oil or vegetable oil, as they won’t wick properly.
How many essential oil drops should I use in my DIY reed diffuser?
The amount of essential oil you use will depend on the size of your diffuser bottle and your personal preference. A general guideline is to use 15-30 drops of essential oil per 1/2 cup (4 ounces) of carrier oil. Start with a smaller amount and add more if you want a stronger scent. Remember that some essential oils are more potent than others, so adjust accordingly.
How often should I flip the reeds in my DIY reed diffuser?
Flipping the reeds helps to refresh the scent and prevent them from becoming saturated. A good rule of thumb is to flip the reeds every 1-2 weeks, or whenever you notice the scent fading. When flipping the reeds, be careful not to spill any oil. It’s best to do this over a sink or on a protected surface.
How long will my DIY reed diffuser last?
The lifespan of your reed diffuser will depend on several factors, including the size of the bottle, the type of carrier oil and essential oils used, and the ambient temperature and humidity. On average, a 4-ounce diffuser should last for 1-3 months. You’ll know it’s time to refill when the oil is depleted or the scent is no longer noticeable.
Can I reuse the reeds in my DIY reed diffuser?
It’s generally not recommended to reuse reeds, as they can become clogged with oil and dust over time, which can affect their ability to wick the fragrance. If you do want to reuse them, you can try soaking them in warm, soapy water and then rinsing them thoroughly. However, it’s best to replace them with fresh reeds for optimal performance.
What safety precautions should I take when making and using a DIY reed diffuser?
Always handle essential oils with care, as they can be irritating to the skin and eyes. Avoid direct contact and wash your hands thoroughly after handling them. Keep your reed diffuser out of reach of children and pets, as the oil can be harmful if ingested. Place the diffuser on a stable surface to prevent spills. Avoid placing it near heat sources or open flames. If you spill any oil, clean it up immediately to prevent damage to surfaces.
My DIY reed diffuser doesn’t seem to be diffusing much scent. What can I do?
There are several reasons why your diffuser might not be diffusing much scent. First, make sure you’re using enough essential oil. Second, try flipping the reeds more frequently. Third, check the reeds to make sure they’re not clogged. If they are, replace them with fresh reeds. Fourth, make sure your diffuser is placed in a well-ventilated area. Finally, consider adding a few drops of vodka or rubbing alcohol to your base oil mixture to help thin the oil and improve wicking.
Can I use fragrance oils instead of essential oils in my DIY reed diffuser?
While you can use fragrance oils, essential oils are generally preferred for their natural and therapeutic properties. Fragrance oils are synthetic and may contain chemicals that some people are sensitive to. If you do choose to use fragrance oils, make sure they are specifically designed for reed diffusers and are compatible with your chosen carrier oil.
How do I clean up spilled diffuser oil?
Spilled diffuser oil can be tricky to clean up, as it’s oily and can stain surfaces. The best approach is to blot up as much of the oil as possible with a clean cloth or paper towel. Then, sprinkle the area with baking soda or cornstarch to absorb the remaining oil. Let it sit for a few hours, then vacuum or sweep it up. Finally, clean the area with a mild detergent and warm water. You may need to repeat this process several times to completely remove the oil.

Leave a Comment