

Lipstick Stain Removal Baking Soda: Is your favorite blouse now sporting an unwanted kiss from your favorite lipstick? Don’t panic! We’ve all been there. That vibrant splash of color that looks so stunning on your lips can be a nightmare when it decides to relocate to your clothes. But before you resign yourself to wearing that shirt only around the house, let me tell you about a simple, effective, and surprisingly gentle solution: baking soda!
Throughout history, people have sought natural remedies for everyday problems. From ancient Egyptians using natron (a naturally occurring form of baking soda) for cleaning to our grandmothers relying on it for everything from baking to deodorizing, baking soda has been a trusted household staple. And its stain-fighting power is no exception!
Why do you need this DIY trick? Because harsh chemicals can damage delicate fabrics and leave behind their own residue. Plus, who wants to spend a fortune on specialized stain removers when the answer is likely already sitting in your pantry? This lipstick stain removal baking soda method is not only cost-effective but also environmentally friendly and safe for most fabrics. I’m going to show you how to banish those pesky lipstick stains with this simple, yet powerful, ingredient. Get ready to say goodbye to lipstick mishaps and hello to your revitalized wardrobe!
DIY Lipstick Stain Removal: Baking Soda Magic!
Hey there, fellow stain fighters! Lipstick stains – we’ve all been there, right? Whether it’s a rogue swipe on your favorite white shirt or a smudge on your car seat, those vibrant pigments can be a real pain to remove. But don’t despair! I’m here to share my go-to, super-effective method for banishing lipstick stains using a household hero: baking soda! This method is gentle enough for most fabrics and surfaces, and you probably already have everything you need in your pantry. Let’s get started!
What You’ll Need
Before we dive in, let’s gather our supplies. This is a pretty simple process, so the list is short and sweet:
* Baking Soda: The star of the show! Its mild abrasive properties help lift the stain without damaging the fabric.
* Water: Plain old water will do the trick.
* Clean Cloth or Sponge: You’ll need something to apply the baking soda paste and blot the stain. Microfiber cloths work great!
* Soft-Bristled Brush (Optional): An old toothbrush or a small cleaning brush can be helpful for working the baking soda into the fibers, especially for stubborn stains.
* Vacuum Cleaner (For upholstery or carpets): To remove any remaining baking soda residue.
* Spray Bottle (Optional): For pre-treating the stain with water.
Testing, Testing, 1, 2, 3…
Important! Before you go all-in on the stain, it’s crucial to test the baking soda mixture on an inconspicuous area of the fabric or surface. This will ensure that it doesn’t cause any discoloration or damage. Apply a small amount of the paste, let it sit for a few minutes, and then wipe it away. If everything looks good, you’re ready to proceed!
Step-by-Step Guide: Kiss Those Lipstick Stains Goodbye!
Okay, now for the main event! Follow these steps carefully, and you’ll be amazed at how easily baking soda can tackle those pesky lipstick stains.
1. Blot the Stain (If Fresh): If the lipstick stain is fresh, resist the urge to rub it! Rubbing will only spread the stain and make it harder to remove. Instead, gently blot the stain with a clean cloth or paper towel to absorb as much of the excess lipstick as possible. Work from the outside of the stain inward to prevent it from spreading further.
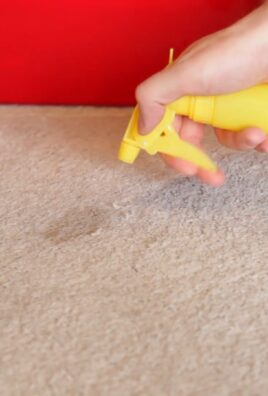
2. Pre-Treat with Water (Optional): For older or dried-in stains, lightly dampen the stained area with water. You can use a spray bottle for this, or simply dab the area with a damp cloth. This will help to loosen the stain and allow the baking soda to penetrate more effectively.
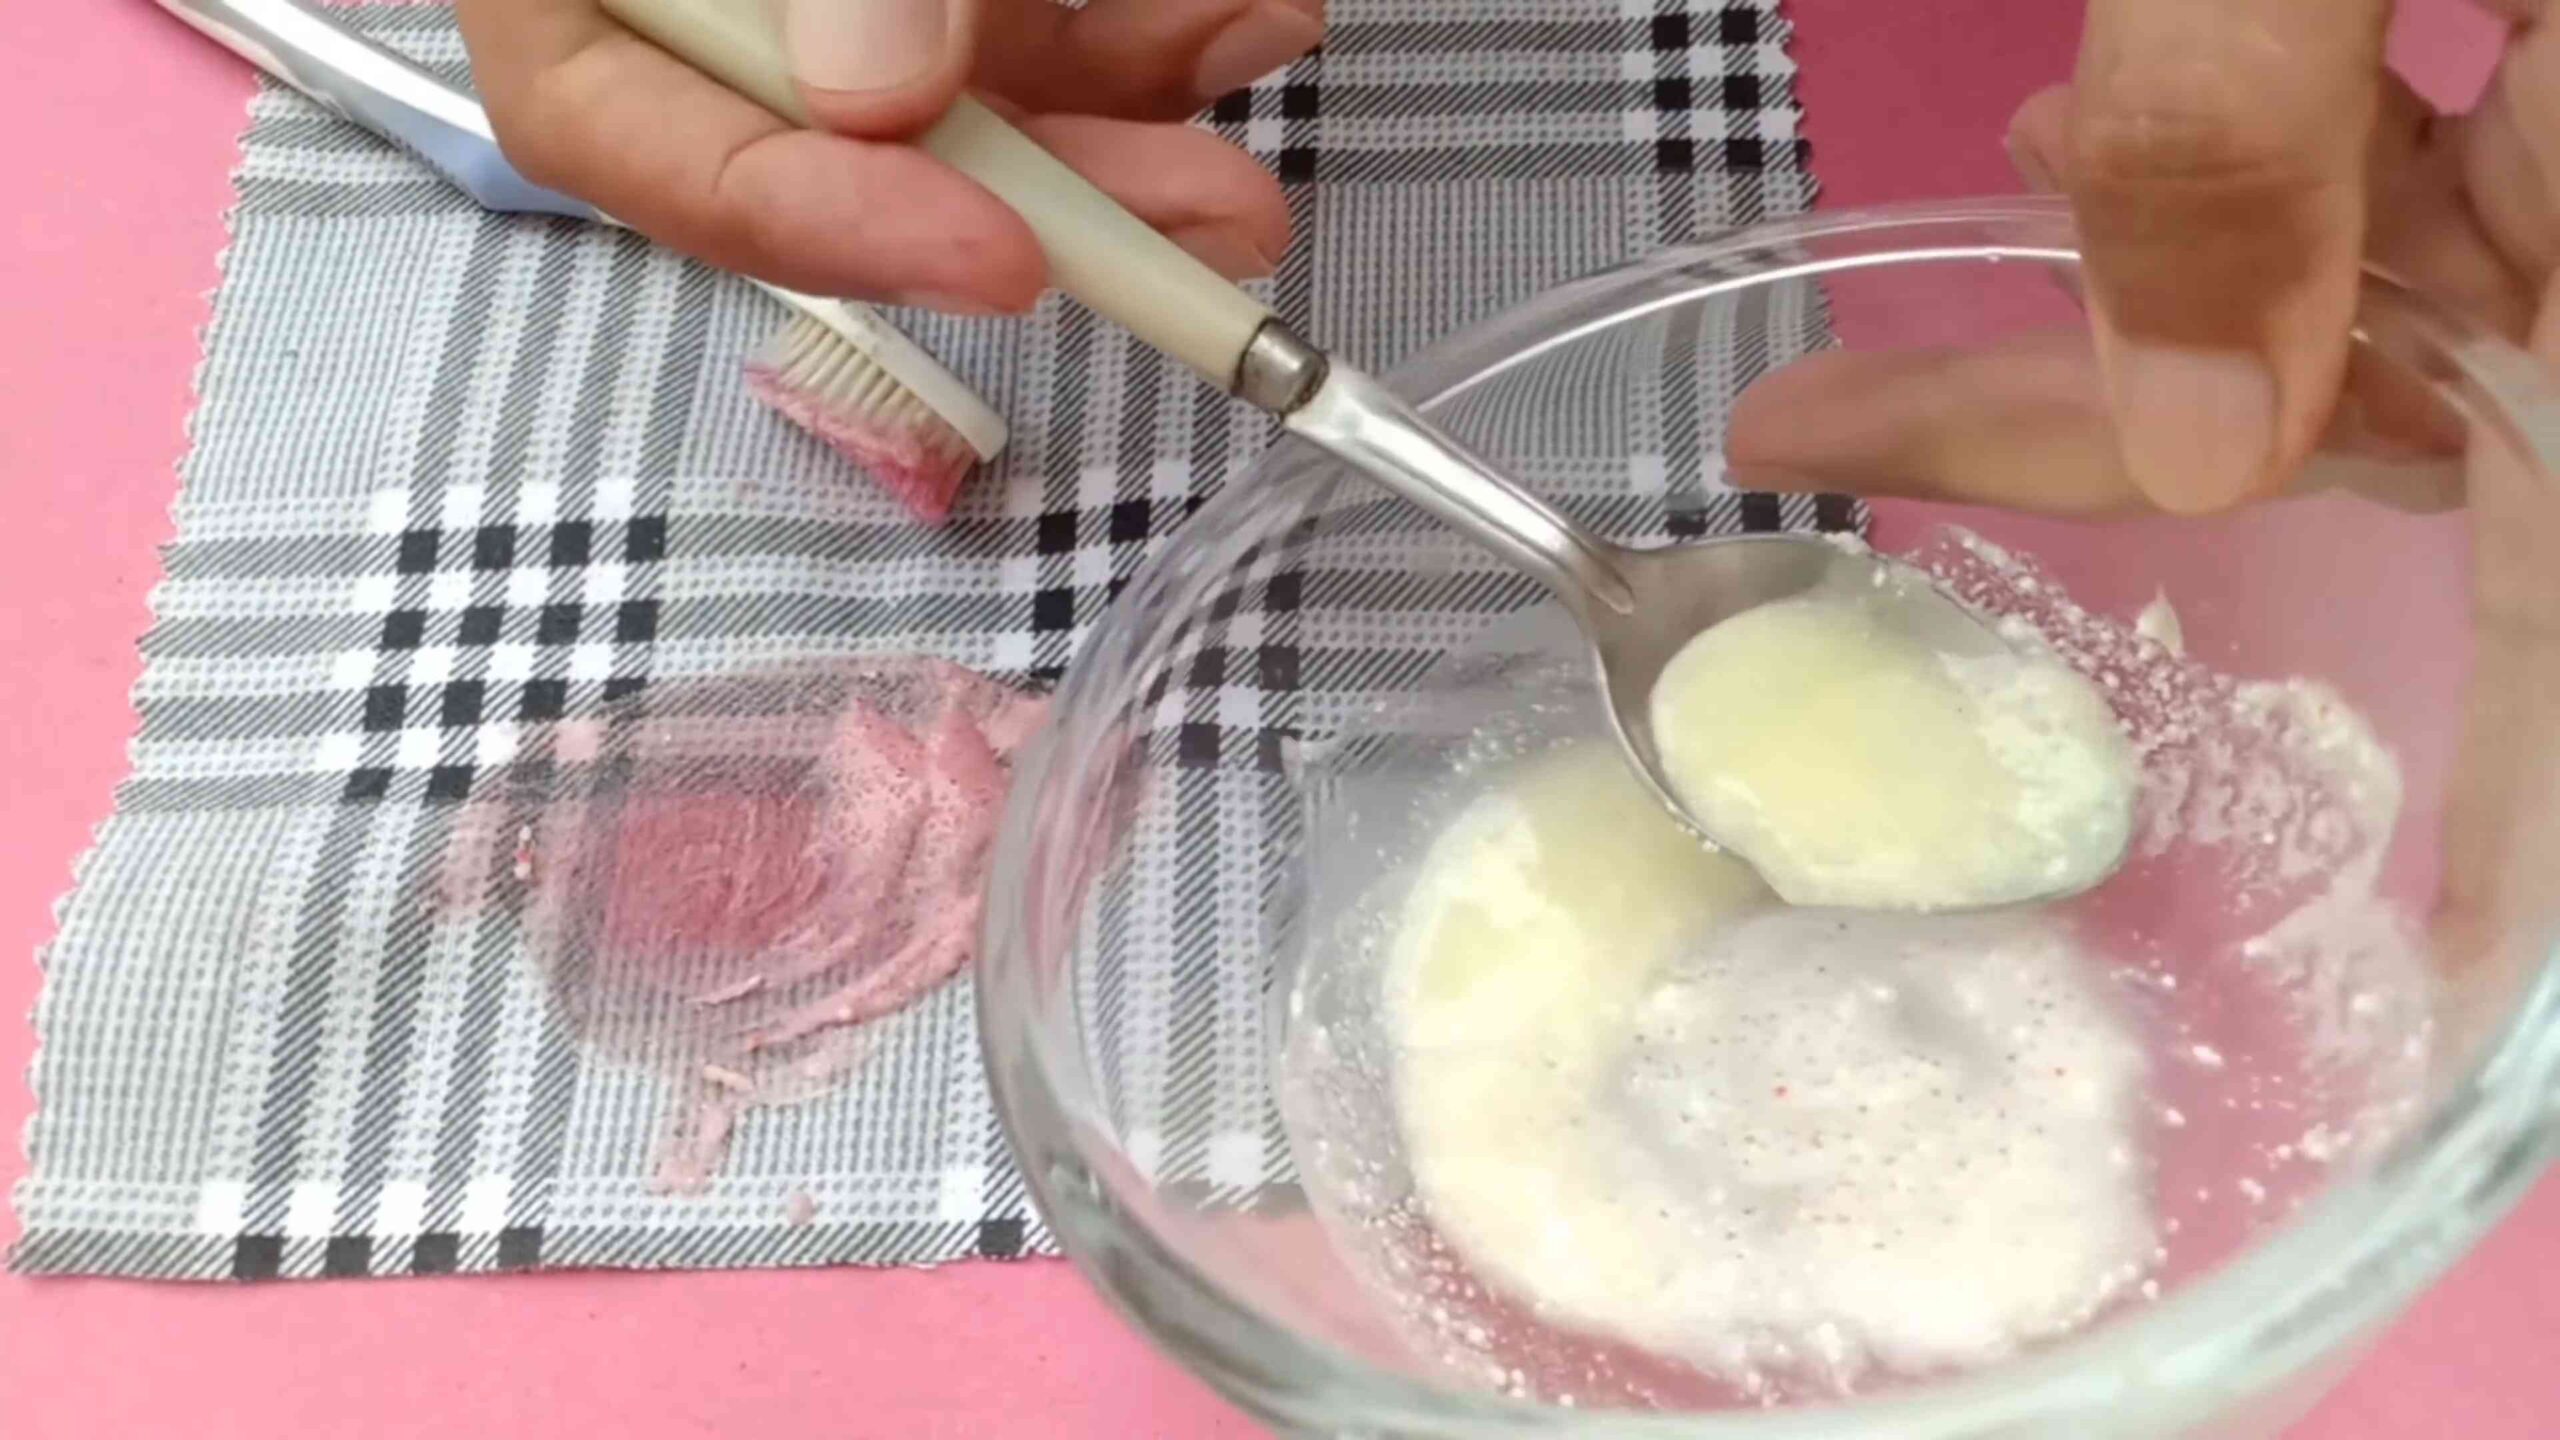
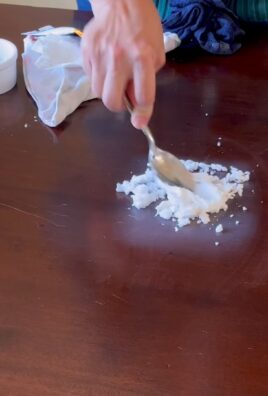
3. Make a Baking Soda Paste: In a small bowl, mix baking soda with just enough water to form a thick paste. The consistency should be similar to toothpaste. You don’t want it too runny, or it won’t stay on the stain.
4. Apply the Baking Soda Paste: Using a clean cloth, sponge, or your fingers, gently apply the baking soda paste to the lipstick stain. Make sure to cover the entire stained area completely.
5. Work the Paste into the Stain: Using a soft-bristled brush (like an old toothbrush) or your fingers, gently work the baking soda paste into the fibers of the fabric or surface. Use small, circular motions to help lift the stain. Be careful not to scrub too hard, as this could damage the material.
6. Let it Sit: This is where patience comes in! Allow the baking soda paste to sit on the stain for at least 30 minutes, or even longer for stubborn stains. I often leave it on for a few hours or even overnight for really tough stains. The longer it sits, the more time it has to absorb the stain.
7. Rinse or Wipe Away the Paste: After the waiting period, rinse the area thoroughly with clean water. If you’re working with a washable fabric, you can rinse it under running water. For upholstery or carpets, use a damp cloth to wipe away the baking soda paste. Be sure to remove all traces of the paste.
8. Blot Dry: Gently blot the area with a clean, dry cloth to remove excess water. Again, avoid rubbing, as this could damage the fabric.
9. Vacuum (For Upholstery/Carpets): Once the area is completely dry, vacuum it thoroughly to remove any remaining baking soda residue.
10. Repeat if Necessary: If the stain is still visible after the first attempt, repeat the process. Sometimes, it takes a few tries to completely remove a stubborn lipstick stain.
Dealing with Different Surfaces
The general steps above apply to most surfaces, but here are a few specific tips for dealing with different materials:
Fabric (Clothing, Linens, etc.)
* Delicate Fabrics: For delicate fabrics like silk or lace, be extra gentle when working the baking soda paste into the fibers. You may also want to reduce the amount of time you let the paste sit on the stain.
* Washable Fabrics: After rinsing the baking soda paste, you can launder the garment as usual. Be sure to check the care label for specific washing instructions.
* Colored Fabrics: While baking soda is generally safe for colored fabrics, it’s always a good idea to test it on an inconspicuous area first to ensure that it doesn’t cause any fading.
Upholstery
* Avoid Over-Wetting: When cleaning upholstery, it’s important to avoid over-wetting the fabric. Use a damp cloth to apply and remove the baking soda paste, and blot the area thoroughly with a dry cloth.
* Vacuum Thoroughly: After the area is dry, vacuum it thoroughly to remove any remaining baking soda residue. This will help to prevent the upholstery from becoming stiff or attracting dirt.
Carpets
* Work in Sections: When cleaning carpets, work in small sections to prevent the baking soda paste from drying out.
* Vacuum Thoroughly: As with upholstery, vacuum the area thoroughly after it’s dry to remove any remaining baking soda residue.
Leather
* Use with Caution: Baking soda can be drying to leather, so use it with caution. Test it on an inconspicuous area first, and use a very small amount of paste.
* Condition the Leather: After cleaning the stain, condition the leather with a leather conditioner to restore its moisture and prevent it from cracking.
Extra Tips and Tricks
* Hydrogen Peroxide Boost: For extra stubborn stains on white fabrics, you can add a small amount of hydrogen peroxide to the baking soda paste. However, be sure to test this mixture on an inconspicuous area first, as hydrogen peroxide can sometimes cause discoloration.
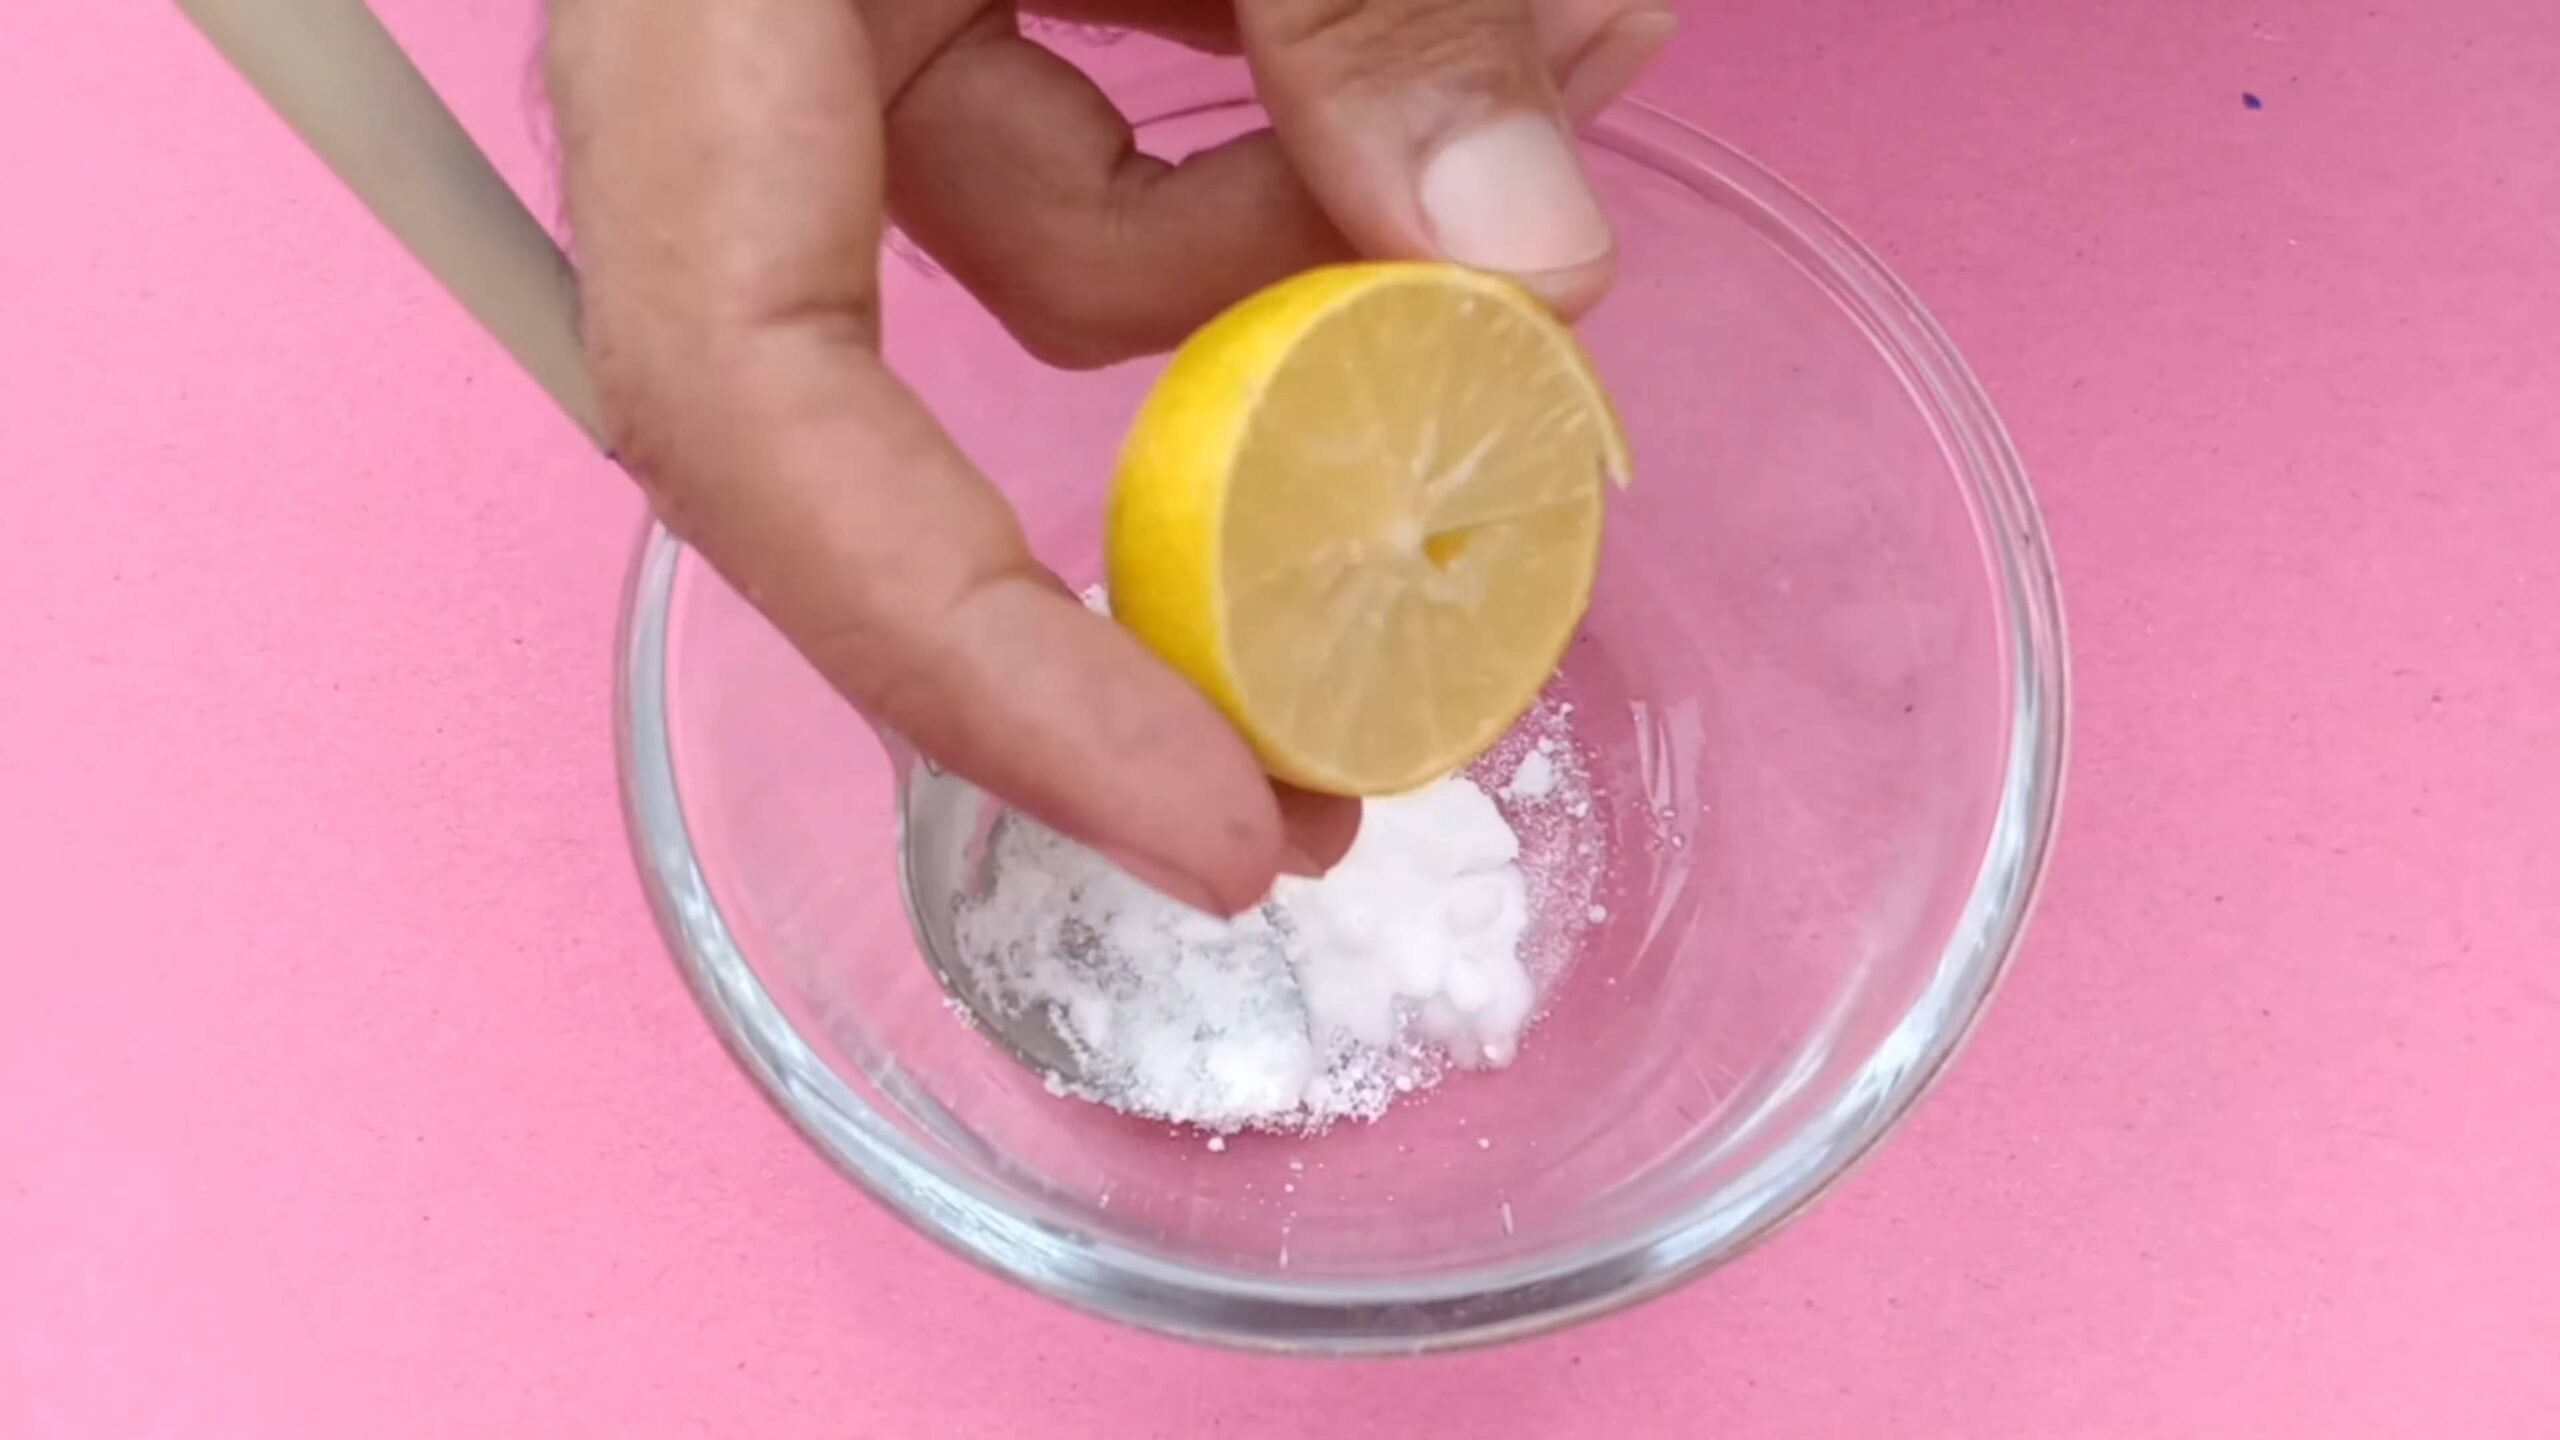
* Lemon Juice Power: Lemon juice is another natural stain remover that can be used in conjunction with baking soda. Mix a few drops of lemon juice into the baking soda paste for added cleaning power.
* Act Fast: The sooner you treat a lipstick stain, the easier it will be to remove. Don’t let the stain sit for too long before tackling it.
* Sunlight Help: After treating the stain, you can hang the item in direct sunlight to help fade any remaining discoloration. Sunlight is a natural bleaching agent.
Why Baking Soda Works So Well
You might be wondering, “Why does baking soda work so well on lipstick stains?” Well, baking soda is a mild alkali, which means it can help to break down and dissolve grease and oils. Lipstick often contains oils and waxes, which are what make it adhere to surfaces. The baking soda helps to lift these oils and waxes away from the fabric or surface, making it easier to remove the stain. Additionally, baking soda is a mild abrasive, which means it can gently scrub away the stain without damaging the material.
Prevention is Key!
Of course, the best way to deal with lipstick stains is to prevent them from happening in the first place! Here are a few tips to help you avoid those dreaded smudges:
* Apply Lipstick Carefully: Take your time when applying lipstick, and use a lip liner to help prevent it from bleeding.
* Blot Your Lips: After applying lipstick, blot your lips with a tissue to remove any excess product. This will help to prevent it from transferring to other surfaces.
* Use a Setting Spray: A setting spray can help to lock your lipstick in place and prevent it from smudging.
* Be Mindful: Be mindful of your surroundings and avoid touching your face unnecessarily.
So there you have it! My tried-and-true method for removing lipstick stains with baking soda. I hope this guide has been helpful, and that you’re now armed with the knowledge to conquer those pesky stains. Happy cleaning!
Conclusion
So, there you have it! This simple yet incredibly effective DIY trick using baking soda for lipstick stain removal is a game-changer. No more panicking over accidental smudges on your favorite clothes, upholstery, or even your car seats. The beauty of this method lies in its accessibility and affordability. You likely already have baking soda in your pantry, making it a readily available solution for those unexpected lipstick mishaps.
Why is this a must-try? Because it works! Unlike harsh chemical cleaners that can damage fabrics or leave behind unsightly residue, baking soda gently lifts the stain without compromising the integrity of the material. It’s a natural, eco-friendly alternative that’s safe for your home and your family. Plus, it’s incredibly versatile. While we’ve focused on lipstick stains, baking soda can also be effective on other types of stains, making it a valuable addition to your stain-fighting arsenal.
But don’t just take our word for it. We encourage you to try this DIY trick and see the amazing results for yourself. Experiment with different application methods to find what works best for the specific fabric and the severity of the stain. For delicate fabrics, you might want to create a more diluted paste or use a gentler scrubbing motion. For stubborn stains, consider letting the baking soda paste sit for a longer period before rinsing.
Looking for variations? Consider adding a few drops of white vinegar to the baking soda paste for an extra boost of cleaning power. The vinegar’s acidity can help break down the stain even further. Alternatively, you can pre-treat the stain with a mild dish soap before applying the baking soda paste. This can help loosen the stain and make it easier to remove. For colored fabrics, always test the baking soda paste on an inconspicuous area first to ensure it doesn’t cause any discoloration.
We’re confident that this baking soda method will become your go-to solution for lipstick stain removal. It’s easy, effective, and environmentally friendly. But the real magic happens when you share your experiences with others. Let us know in the comments below how this trick worked for you. Did you try any variations? Did you encounter any challenges? Your feedback will help other readers learn and benefit from this simple yet powerful DIY solution. So go ahead, give it a try, and share your success stories! Let’s banish those lipstick stains together, one baking soda application at a time!
Frequently Asked Questions (FAQ)
1. What types of lipstick stains does this baking soda method work best on?
This baking soda method is generally effective on a wide range of lipstick stains, including those from creamy lipsticks, matte lipsticks, and even some long-lasting formulas. However, its effectiveness can vary depending on the age and severity of the stain, as well as the type of fabric. Fresh stains are typically easier to remove than older, set-in stains. For particularly stubborn or old stains, you may need to repeat the process or try a combination of techniques, such as pre-treating with dish soap or adding vinegar to the baking soda paste. It’s always a good idea to test the method on an inconspicuous area of the fabric first, especially for delicate or colored materials.
2. Can I use this method on all types of fabrics? Are there any fabrics I should avoid?
While baking soda is generally safe for most fabrics, it’s always best to exercise caution and test the method on an inconspicuous area first, especially for delicate or colored materials. Avoid using this method on fabrics that are known to be sensitive to alkaline substances, such as silk, wool, or leather. For these types of fabrics, it’s best to consult a professional cleaner or use a specialized stain remover designed for delicate materials. When in doubt, err on the side of caution and test the baking soda paste on a hidden area before applying it to the entire stain.
3. How long should I leave the baking soda paste on the stain?
The amount of time you should leave the baking soda paste on the stain depends on the severity of the stain and the type of fabric. For fresh, light stains, 15-30 minutes may be sufficient. For older, more stubborn stains, you may need to leave the paste on for several hours or even overnight. However, it’s important to monitor the stain regularly and check for any signs of discoloration or damage to the fabric. If you notice any adverse effects, remove the paste immediately and rinse the area thoroughly.
4. What if the baking soda method doesn’t completely remove the lipstick stain?
If the baking soda method doesn’t completely remove the lipstick stain on the first try, don’t give up! You can try repeating the process, allowing the baking soda paste to sit for a longer period, or adding a few drops of white vinegar to the paste for an extra boost of cleaning power. You can also try pre-treating the stain with a mild dish soap before applying the baking soda paste. If the stain persists after multiple attempts, it may be necessary to consult a professional cleaner or use a specialized stain remover designed for the specific type of fabric and stain.
5. Will baking soda damage the color of my clothes?
Baking soda is generally considered safe for colored fabrics, but it’s always a good idea to test it on an inconspicuous area first to ensure it doesn’t cause any discoloration. To minimize the risk of color fading, avoid using excessive amounts of baking soda and limit the amount of time the paste is in contact with the fabric. Rinse the area thoroughly after removing the paste to remove any remaining baking soda residue. If you’re concerned about color fading, you can also try using a color-safe stain remover instead of baking soda.
6. Can I use this method on upholstery or carpets?
Yes, this baking soda method can be used on upholstery and carpets, but it’s important to take extra precautions to avoid damaging the material. Before applying the baking soda paste, vacuum the area thoroughly to remove any loose dirt or debris. Apply the paste sparingly and gently rub it into the stain using a soft cloth or brush. Allow the paste to dry completely before vacuuming it up. It’s also a good idea to test the method on an inconspicuous area of the upholstery or carpet first to ensure it doesn’t cause any discoloration or damage.
7. Is there anything else I can add to the baking soda paste to make it more effective?
Yes, there are several ingredients you can add to the baking soda paste to make it more effective. As mentioned earlier, adding a few drops of white vinegar can help break down the stain even further. You can also try adding a small amount of hydrogen peroxide to the paste, but be sure to test it on an inconspicuous area first, as it can cause discoloration on some fabrics. Another option is to add a few drops of lemon juice to the paste, which can help brighten the fabric and remove any lingering odors.
8. How do I prevent lipstick stains in the first place?
Prevention is always better than cure! To prevent lipstick stains, try blotting your lips after applying lipstick to remove any excess product. You can also use a lip liner to create a barrier that prevents the lipstick from bleeding or smudging. When eating or drinking, be mindful of your lipstick and avoid touching your lips to your clothes or other surfaces. Finally, consider using a long-lasting lipstick formula that is less likely to transfer.

Leave a Comment