

Clean silver with baking soda? Absolutely! I know what you’re thinking: “Baking soda? Really?” But trust me, this isn’t your grandma’s old wives’ tale (though, grandmas are usually right!). It’s a surprisingly effective and gentle way to restore the shine to your tarnished silverware, jewelry, and other silver items.
Silver has been prized for centuries, not just for its beauty, but also for its perceived ability to ward off evil spirits and even purify water. From ancient Egyptian adornments to elegant Victorian tea sets, silver has always held a special place in our homes and hearts. But let’s face it, that beautiful luster doesn’t last forever. Tarnish, that dull, dark coating, is silver’s natural enemy.
Now, you could spend a fortune on commercial silver cleaners, but why would you when you likely have a powerful, eco-friendly solution sitting right in your pantry? This DIY trick is not only cost-effective, but it’s also incredibly easy and avoids harsh chemicals that can damage your precious silver pieces. I’m going to show you how to clean silver with baking soda and bring back that dazzling sparkle, all with ingredients you probably already have on hand. Get ready to say goodbye to tarnish and hello to gleaming silver!
DIY Silver Cleaning with Baking Soda: A Sparkling Transformation!
Hey there, fellow DIY enthusiasts! Are you tired of looking at your tarnished silver jewelry, silverware, or decorative pieces? Don’t despair! You don’t need harsh chemicals or expensive cleaning solutions to bring back their shine. I’m going to show you a super easy and effective way to clean your silver using baking soda – a common household ingredient that works wonders. Trust me, you’ll be amazed at the results!
What You’ll Need:
Before we dive in, let’s gather our supplies. This is a pretty simple project, so the list is short and sweet:
* Baking Soda: The star of the show!
* Aluminum Foil: This is crucial for the chemical reaction that removes tarnish.
* Boiling Water: Hot water speeds up the cleaning process.
* A Non-Reactive Container: A glass or plastic bowl works perfectly. Avoid metal containers (except for the aluminum foil, of course!).
* Soft Cloth or Microfiber Cloth: For gently polishing your silver after cleaning.
* Tongs or Kitchen Utensil: To safely remove the hot silver items from the solution.
* Optional: Dish soap (for pre-cleaning heavily soiled items).
Understanding the Science Behind the Sparkle
Okay, so why does this baking soda and aluminum foil trick work so well? It’s all about a chemical reaction called “ion exchange.” Tarnish on silver is actually silver sulfide, formed when silver reacts with sulfur in the air. The aluminum foil is more reactive than silver, so when it’s submerged in the hot baking soda solution, it attracts the sulfur away from the silver and onto itself. Basically, the tarnish transfers from your silver to the aluminum foil! Pretty cool, right?
Step-by-Step Instructions: Let’s Get Cleaning!
Alright, let’s get down to business. Follow these steps carefully, and you’ll have your silver sparkling in no time.
1. Prepare Your Cleaning Station: Find a well-ventilated area to work in. Lay down some newspaper or a towel to protect your work surface.
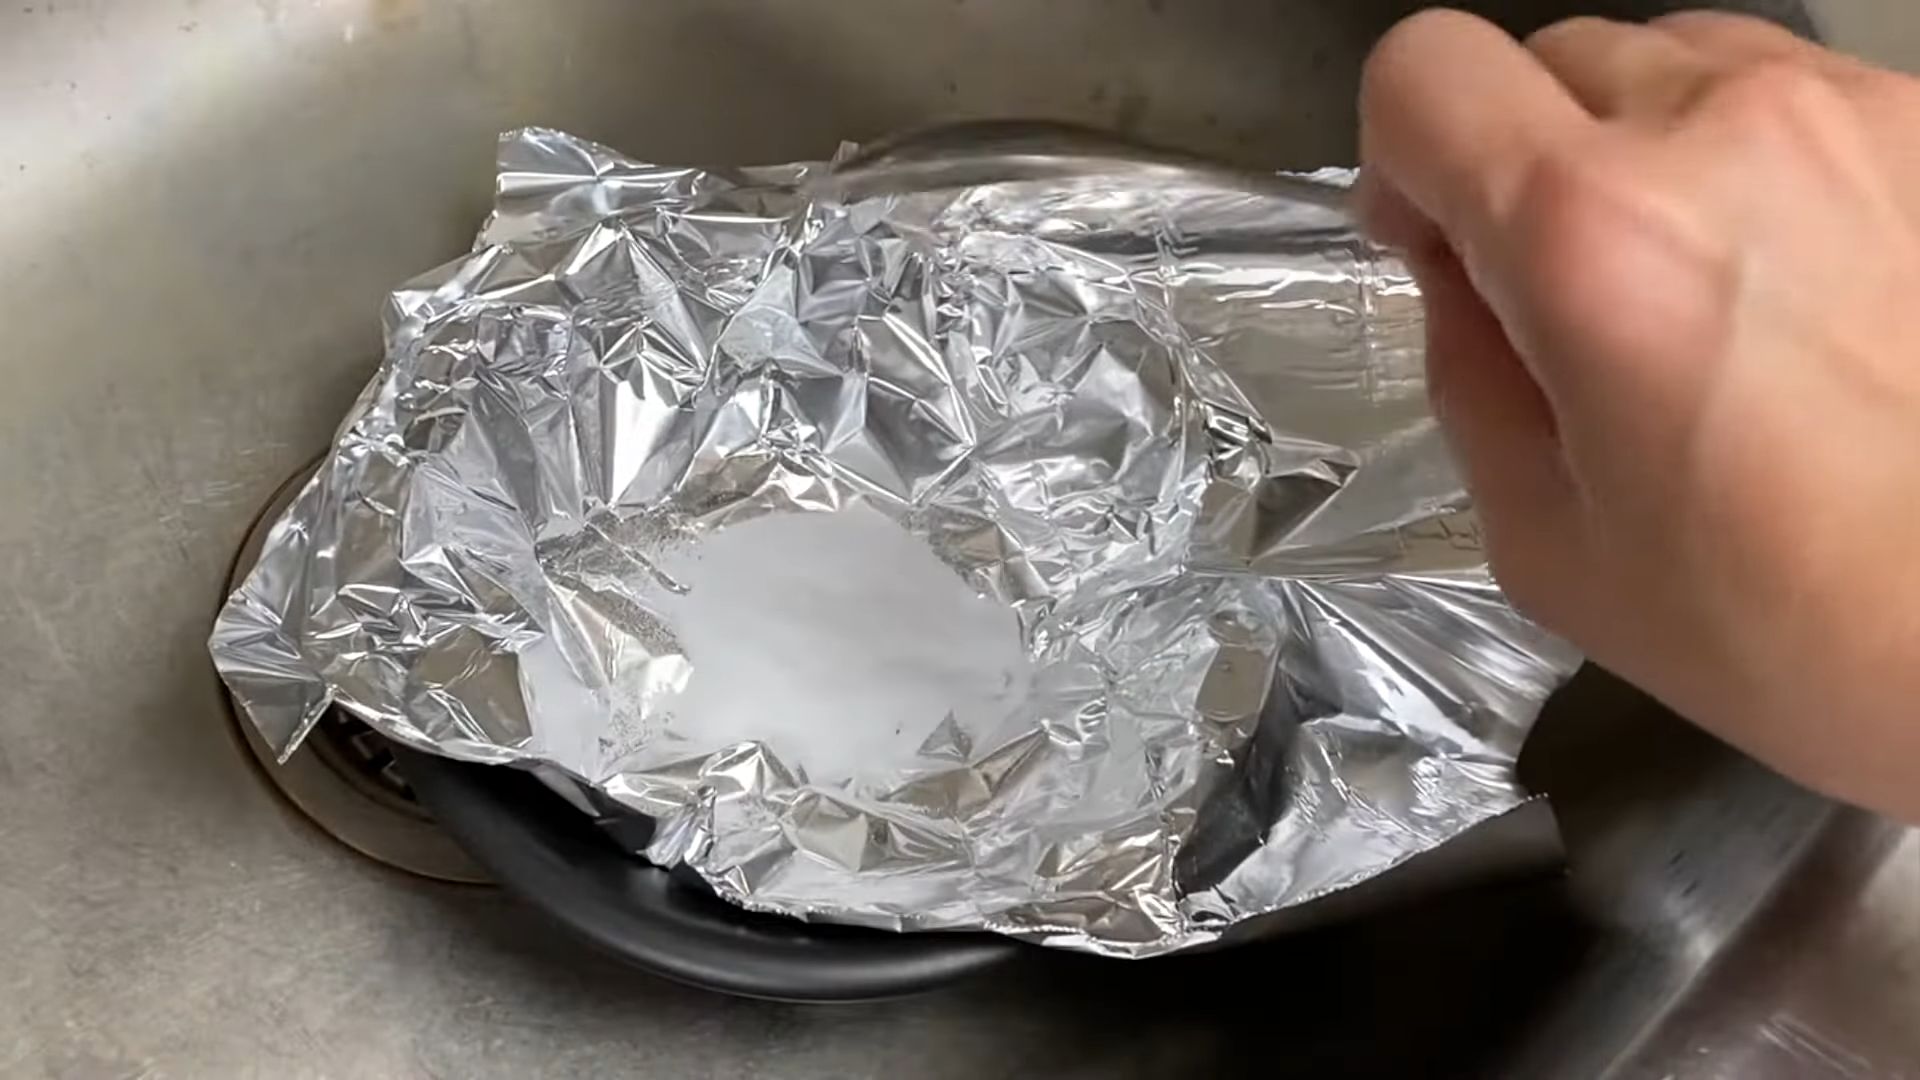
2. Line Your Container with Aluminum Foil: This is a really important step. Make sure the entire bottom and sides of your container are completely covered with aluminum foil. The shiny side of the foil should be facing up, towards where you’ll place the silver.
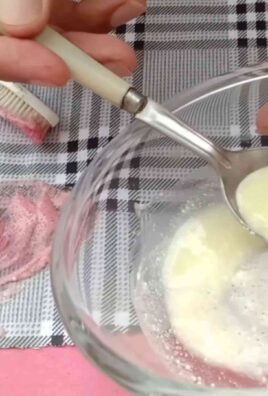
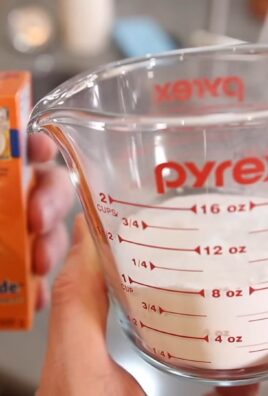
3. Add Baking Soda: Pour about 1 tablespoon of baking soda per cup of water into the foil-lined container. The amount of baking soda you need will depend on the size of your container and the amount of silver you’re cleaning. A good rule of thumb is to use enough baking soda to create a noticeable solution.
4. Pour in the Boiling Water: Carefully pour the boiling water into the container. Be extremely cautious to avoid burns. The baking soda will start to dissolve and may fizz a little.
5. Submerge Your Silver: Gently place your silver items into the solution, making sure they are touching the aluminum foil. This contact is essential for the ion exchange to occur. If you have a lot of items, you might need to do this in batches to ensure everything gets good contact with the foil.
6. Wait and Watch the Magic Happen: Now comes the waiting game. The amount of time it takes to clean your silver will depend on the severity of the tarnish. For lightly tarnished items, a few minutes might be enough. For heavily tarnished pieces, you might need to wait 10-15 minutes, or even longer. You’ll start to see the tarnish disappearing from the silver and transferring to the aluminum foil. The water may also turn a yellowish or brownish color as the tarnish is removed.
7. Remove and Rinse: Once you’re satisfied with the level of cleaning, carefully remove the silver items from the solution using tongs or a kitchen utensil. Rinse them thoroughly under warm running water to remove any remaining baking soda residue.
8. Dry and Polish: Use a soft cloth or microfiber cloth to dry your silver completely. As you dry it, you can also gently polish it to bring out its shine even more.
Dealing with Stubborn Tarnish:
Sometimes, the tarnish is just too stubborn for a single treatment. If you find that your silver isn’t as clean as you’d like it to be after the first attempt, don’t worry! You can repeat the process. Here are a few tips for tackling tough tarnish:
* Increase the Baking Soda Concentration: Try adding a little more baking soda to the water for a stronger cleaning solution.
* Use Fresh Aluminum Foil: If the aluminum foil has become heavily tarnished, it might not be as effective. Replace it with a fresh piece for the second treatment.
* Extend the Soaking Time: Let the silver soak in the solution for a longer period of time, checking it periodically to see if the tarnish is lifting.
* Pre-Clean Heavily Soiled Items: If your silver is covered in dirt or grime, wash it with warm water and dish soap before using the baking soda method. This will help the baking soda solution work more effectively on the tarnish.
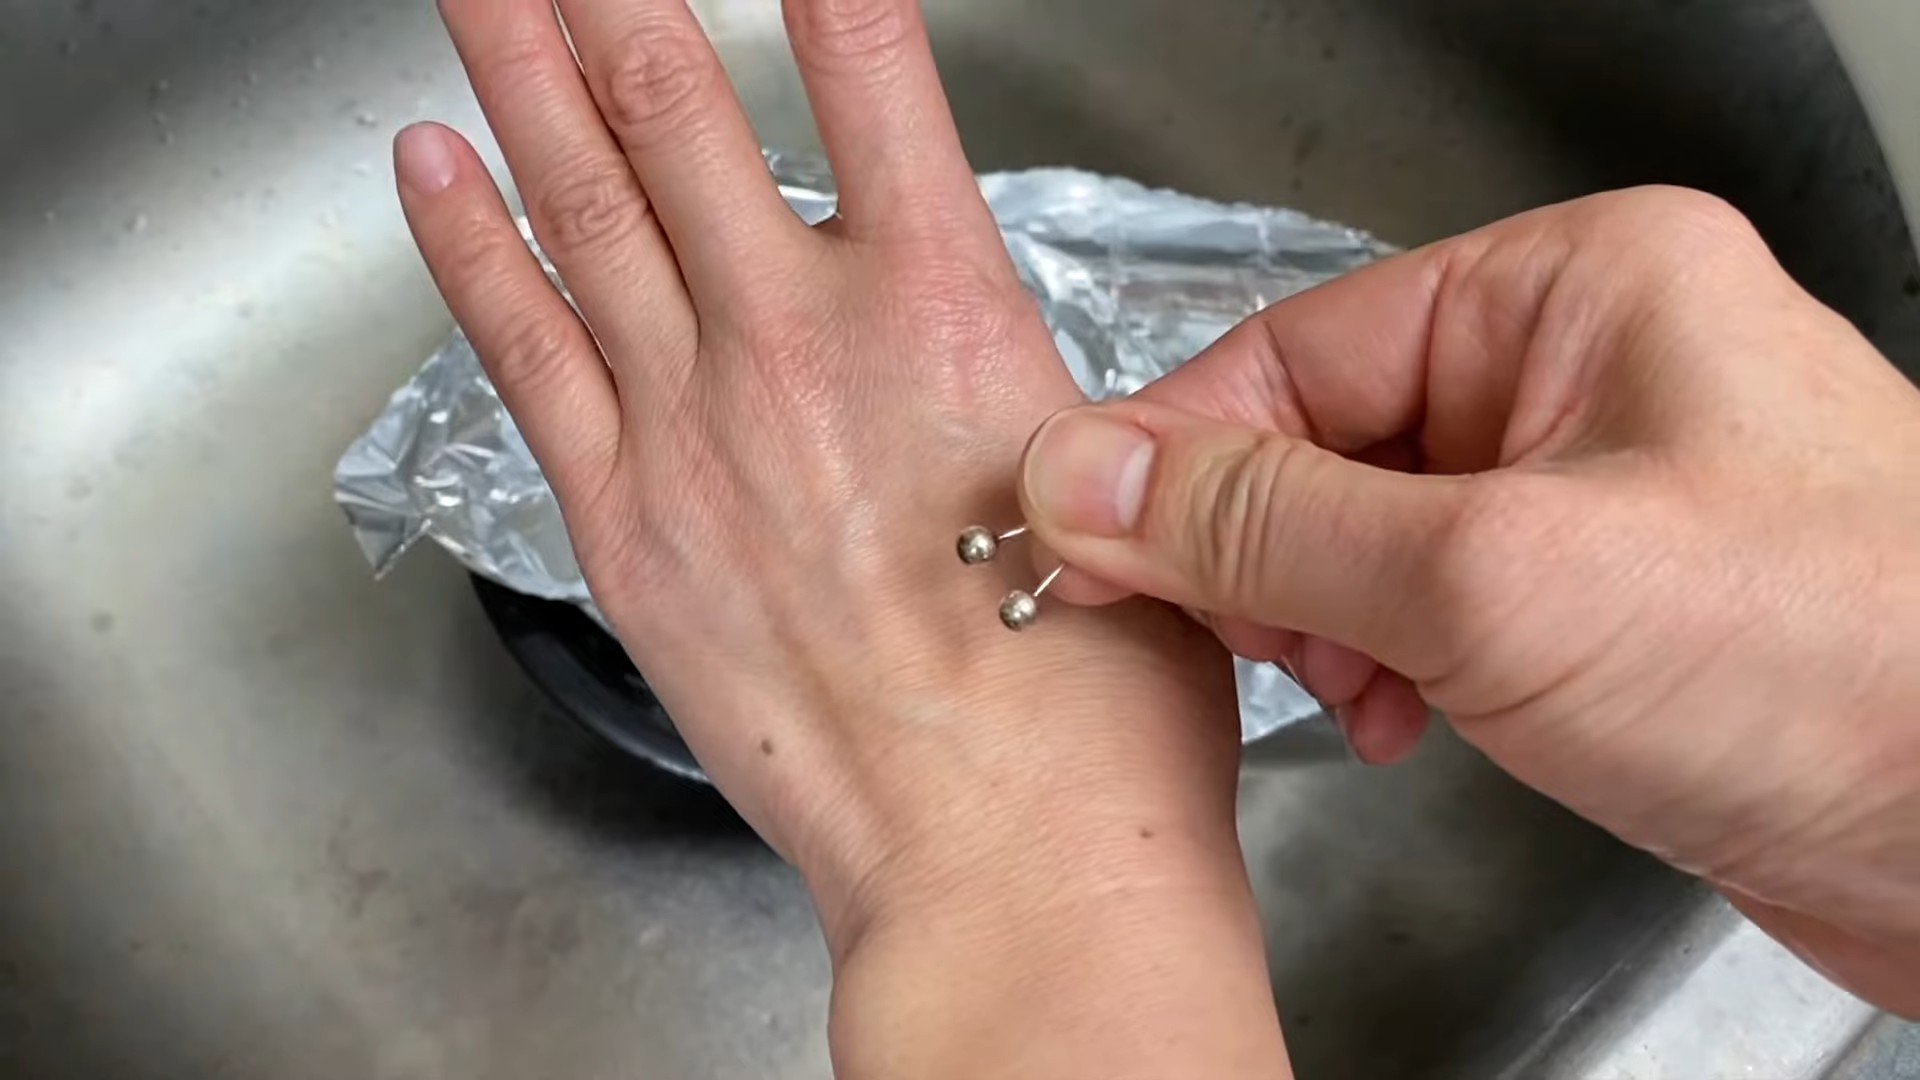
Cleaning Silver Jewelry with Gemstones:
If you’re cleaning silver jewelry that has gemstones, you need to be a little more careful. Some gemstones are porous and can be damaged by the baking soda solution. Here’s what I recommend:
* Avoid Submerging Gemstones: Try to keep the gemstones out of the solution as much as possible. You can use a cotton swab dipped in the baking soda solution to gently clean the silver around the gemstones.
* Rinse Thoroughly: Make sure to rinse the jewelry very thoroughly after cleaning to remove any baking soda residue that might have gotten on the gemstones.
* Test in an Inconspicuous Area: If you’re unsure about how a particular gemstone will react to the baking soda solution, test it in an inconspicuous area first.
Preventing Future Tarnish:
Once you’ve cleaned your silver, you’ll want to keep it looking shiny for as long as possible. Here are a few tips for preventing future tarnish:
* Store Silver Properly: Store your silver in airtight containers or tarnish-resistant bags. You can also add a piece of chalk or a silica gel packet to the container to absorb moisture, which can contribute to tarnish.
* Avoid Contact with Sulfur: Sulfur is a major culprit when it comes to tarnish. Avoid exposing your silver to sulfur-containing products like rubber bands, wool, and certain cleaning agents.
* Regular Polishing: Regularly polish your silver with a soft cloth to remove any early signs of tarnish.
* Wear Silver Regularly: Believe it or not, wearing your silver jewelry can actually help prevent tarnish! The friction from your skin can help keep the surface clean.
Important Safety Precautions:
While this DIY method is generally safe, it’s always a good idea to take a few precautions:
* Use Caution with Boiling Water: Be extremely careful when handling boiling water to avoid burns.
* Wear Gloves: If you have sensitive skin, you might want to wear gloves to protect your hands from the baking soda solution.
* Ventilation: Work in a well-ventilated area to avoid inhaling any fumes.
* Keep Out of Reach of Children and Pets: Store baking soda and boiling water out of reach of children and pets.
Troubleshooting:
* Why isn’t my silver cleaning? Make sure the silver is touching the aluminum foil. Also, ensure the water is hot enough and that you’re using enough baking soda. The tarnish might also be too severe, requiring multiple treatments or a stronger cleaning method.
* The aluminum foil is turning black! Is that normal? Yes! That’s a good sign. It means the sulfur is being transferred from the silver to the aluminum foil.
* My silver has a dull finish after cleaning. What can I do? This is usually due to a residue of baking soda. Make sure you rinse the silver thoroughly and polish it with a soft cloth to restore its shine.
Alternative Cleaning Methods (When Baking Soda Isn’t Enough):
While the baking soda method is usually effective, there might be times when you need a stronger cleaning solution. Here are a few alternatives:
* Commercial Silver Cleaners: There are many commercial silver cleaners available on the market. Follow the instructions carefully and always test the cleaner in an inconspicuous area first.
* Silver Polishing Cloths: These cloths are impregnated with a mild polishing agent and can be used to remove light tarnish.
* Toothpaste (Use with Caution!): Some people use toothpaste to clean silver, but I generally don’t recommend it. Toothpaste can be abrasive and scratch the surface of the silver. If you do use toothpaste, make sure it’s a non-gel, non-whitening formula and apply it very gently with a soft cloth.
So there you have it! A simple, effective, and affordable way to clean your
Conclusion
So, there you have it! Cleaning silver with baking soda isn’t just a clever hack; it’s a game-changer for anyone who wants to keep their precious silverware sparkling without resorting to harsh chemicals or expensive professional cleaning services. This simple, effective method leverages the power of readily available ingredients to gently lift tarnish and restore your silver’s natural luster.
Why is this DIY trick a must-try? Because it’s economical, environmentally friendly, and incredibly effective. Think about it: you probably already have baking soda and aluminum foil in your kitchen. That’s all you need to unlock the secret to brilliantly clean silver. No more trips to the store for specialized cleaners, no more worrying about damaging your delicate pieces with abrasive compounds. This method is gentle enough for even antique silver, yet powerful enough to tackle stubborn tarnish.
Beyond the basic method, there are a few variations you can explore to tailor the process to your specific needs. For heavily tarnished items, you might want to increase the concentration of baking soda in the water. Alternatively, you can add a small amount of salt to the solution to further boost its cleaning power. For intricate pieces with hard-to-reach areas, consider using a soft-bristled brush, like an old toothbrush, to gently scrub away any remaining tarnish after the initial soak. Remember to always rinse your silver thoroughly and dry it completely to prevent water spots.
Consider experimenting with different types of aluminum. While regular aluminum foil works perfectly well, some people find that using aluminum baking pans can also be effective, especially for larger items. The key is to ensure that the silver is in direct contact with the aluminum during the cleaning process.
We understand that trying a new cleaning method can be a little daunting, especially when it involves valuable items like silverware. But we’re confident that once you see the results of cleaning silver with baking soda, you’ll be amazed. It’s a truly transformative experience to watch years of tarnish disappear before your eyes, revealing the beautiful shine that lies beneath.
Don’t just take our word for it, though. We wholeheartedly encourage you to give this DIY trick a try. Gather your tarnished silver, grab your baking soda and aluminum foil, and prepare to be impressed. And most importantly, we want to hear about your experience! Share your before-and-after photos, your tips and tricks, and any variations you discovered in the comments below. Your feedback will not only help other readers but also contribute to a community of silver-cleaning enthusiasts who are passionate about keeping their silverware looking its best. Let’s unlock the secrets to sparkling silver together!
Frequently Asked Questions
What kind of silver can I clean with baking soda?
This method is generally safe for most types of sterling silver, silver-plated items, and even some antique silver pieces. However, it’s always a good idea to test a small, inconspicuous area first, especially if you’re dealing with delicate or valuable antiques. Avoid using this method on items with gemstones, pearls, or other delicate embellishments, as the baking soda solution could potentially damage them. If you’re unsure about a particular item, consult with a professional silver cleaner or jeweler.
How does cleaning silver with baking soda actually work?
The magic lies in a chemical reaction called ion exchange. Tarnish, which is silver sulfide, forms when silver reacts with sulfur in the air. When you immerse the tarnished silver in a hot water solution containing baking soda and aluminum, a chemical reaction occurs. The aluminum attracts the sulfur ions from the silver sulfide, effectively reversing the tarnishing process. The sulfur ions transfer from the silver to the aluminum, leaving behind clean silver. The baking soda acts as an electrolyte, facilitating the movement of ions between the silver and the aluminum.
How much baking soda should I use?
A good starting point is to use about 1 tablespoon of baking soda per cup of hot water. For heavily tarnished items, you can increase the concentration to 2 tablespoons per cup. The key is to ensure that the baking soda is fully dissolved in the water before adding the silver.
How long should I soak the silver?
The soaking time will vary depending on the severity of the tarnish. For lightly tarnished items, a few minutes may be sufficient. For heavily tarnished pieces, you may need to soak them for up to 30 minutes or even longer. Check the silver periodically to monitor the progress. You’ll notice the tarnish gradually disappearing and the silver regaining its shine.
What if the tarnish doesn’t come off completely?
If some tarnish remains after the initial soak, you can try a few things. First, ensure that the silver is in direct contact with the aluminum foil. You may need to rearrange the items in the container to ensure proper contact. Second, you can try increasing the concentration of baking soda in the water. Finally, you can use a soft-bristled brush, like an old toothbrush, to gently scrub away any remaining tarnish. Be careful not to scratch the silver.
Can I reuse the baking soda solution?
It’s generally not recommended to reuse the baking soda solution. As the solution cleans the silver, it becomes saturated with sulfur ions, which reduces its effectiveness. It’s best to make a fresh batch of solution for each cleaning session.
Is it safe to clean silver with baking soda?
Yes, cleaning silver with baking soda is generally considered safe, as long as you follow the instructions carefully. The method is non-toxic and doesn’t involve harsh chemicals. However, it’s always a good idea to wear gloves to protect your hands from the hot water and baking soda solution. Also, avoid using this method on items with delicate embellishments, as mentioned earlier.
How can I prevent my silver from tarnishing in the future?
To prevent your silver from tarnishing, store it in a cool, dry place, away from direct sunlight and humidity. You can also wrap your silver in tarnish-resistant cloths or store it in airtight containers. Another tip is to place a piece of chalk or a silica gel packet in your silverware drawer or container to absorb moisture. Regularly polishing your silver with a silver polish can also help to prevent tarnish buildup.
What if my silver has gemstones or other delicate materials?
As mentioned before, this method is not recommended for silver items with gemstones, pearls, or other delicate materials. The baking soda solution could potentially damage these materials. For these items, it’s best to consult with a professional silver cleaner or jeweler who can recommend a safe and effective cleaning method.
Does the type of aluminum foil matter?
While regular aluminum foil works perfectly well, some people find that using heavy-duty aluminum foil can be more effective, especially for heavily tarnished items. The key is to ensure that the silver is in direct contact with the aluminum during the cleaning process. You can also use aluminum baking pans, but make sure they are clean and free of any food residue.
Leave a Comment