

Sticker residue removal with salt – sounds too good to be true, right? I know, I thought so too! But trust me, this simple DIY trick is a game-changer when it comes to banishing those sticky, unsightly remnants left behind by stickers. We’ve all been there, struggling with stubborn glue clinging to our favorite items, whether it’s a price tag on a new vase or a child’s sticker masterpiece adorning your furniture.
For generations, people have battled the bane of sticker residue, resorting to harsh chemicals and endless scrubbing, often damaging the surface underneath in the process. But what if I told you the solution was likely already in your pantry? Salt, a humble kitchen staple, possesses surprising abrasive qualities that can gently lift away adhesive without harming delicate surfaces.
Why is this DIY trick so essential? Because nobody wants to live with sticky messes! Not only is sticker residue unsightly, but it also attracts dust and grime, making it even harder to remove over time. This simple sticker residue removal with salt method is not only effective but also eco-friendly and cost-effective. So, ditch the harsh chemicals and get ready to say goodbye to sticky situations with this easy, natural solution. Let’s get started!
“`html
DIY Sticker Residue Removal with Salt: A Surprisingly Effective Hack!
Hey everyone! We’ve all been there, right? You peel off a sticker, feeling all accomplished, only to be greeted by that sticky, gooey residue that just won’t budge. Ugh! I’ve tried countless methods over the years, from harsh chemicals to tedious scrubbing, with varying degrees of success. But recently, I stumbled upon a truly amazing and surprisingly simple solution: salt! Yes, plain old table salt. I was skeptical at first, but trust me, this works wonders. It’s cheap, readily available, and surprisingly effective. Let me walk you through how to banish that sticky menace for good!
What You’ll Need
Before we dive in, let’s gather our supplies. The beauty of this hack is that you probably already have everything you need!
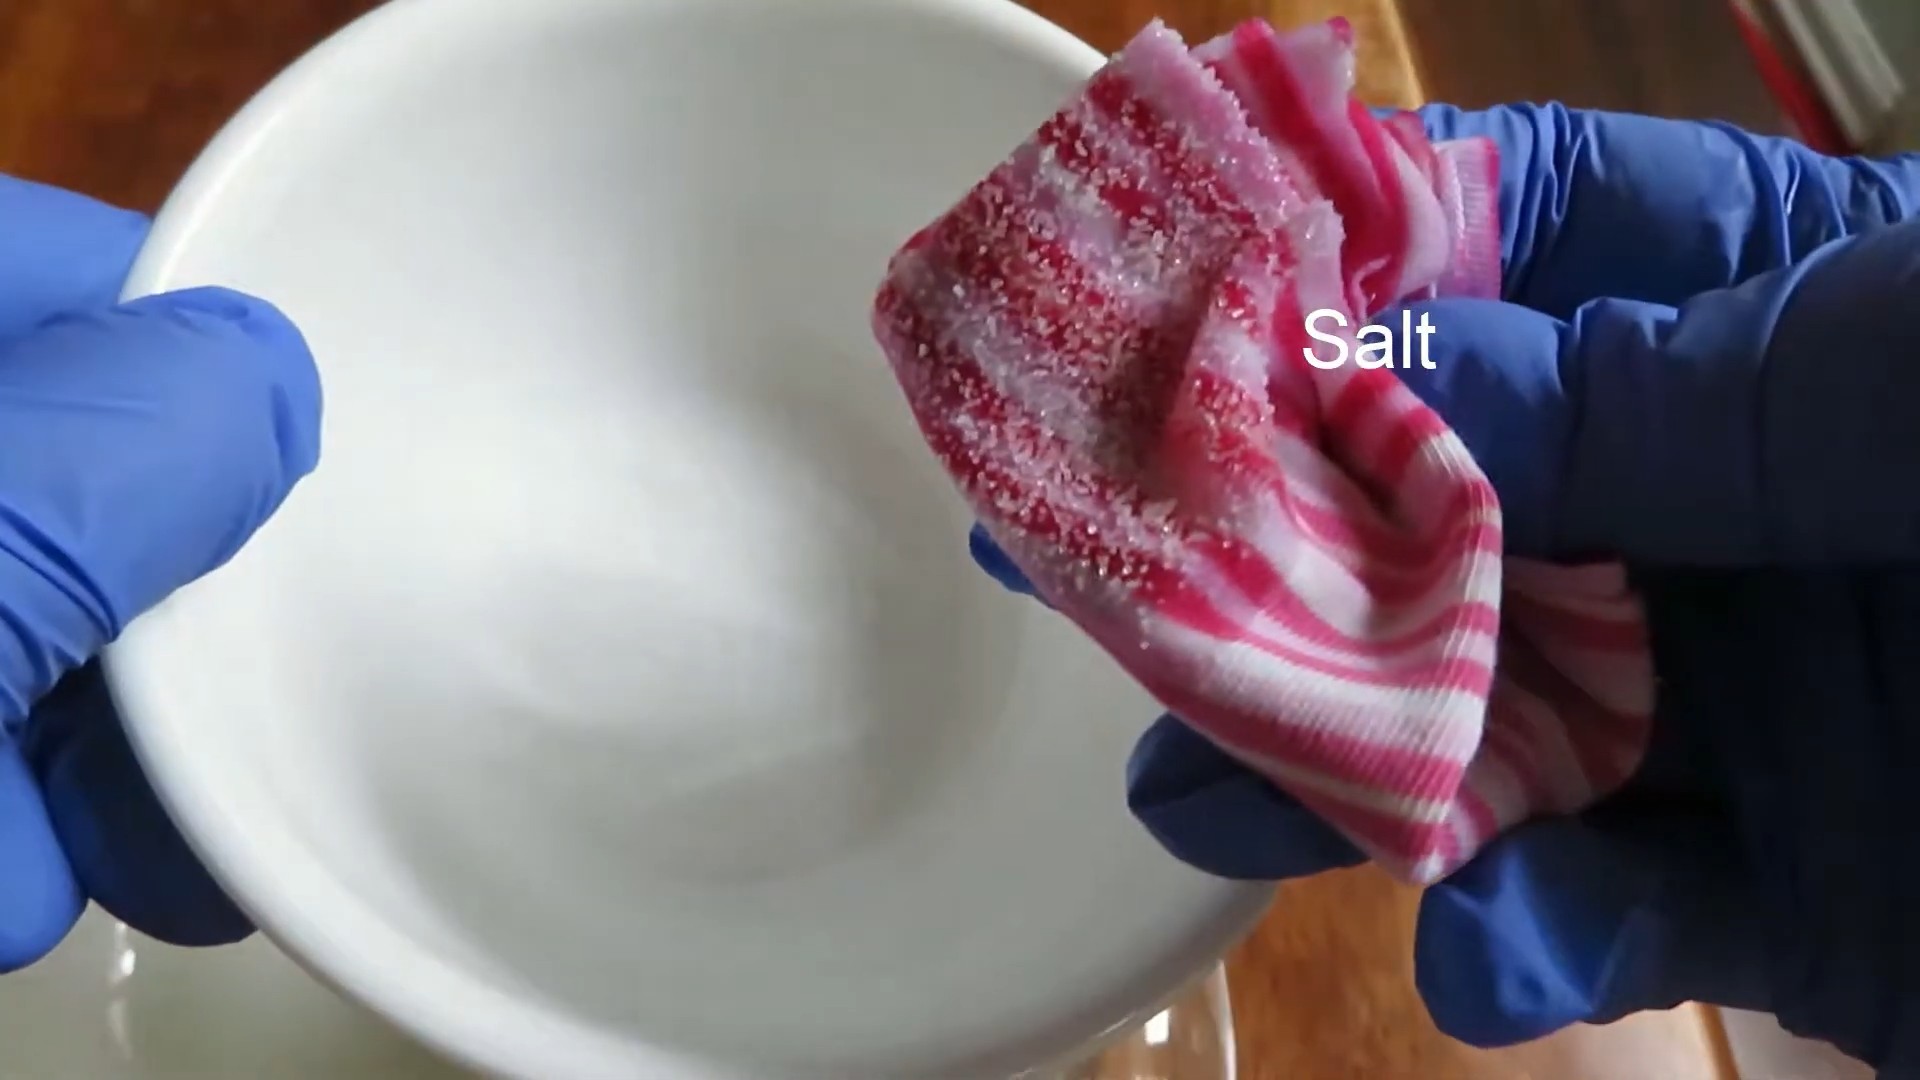
* **Table Salt:** The coarser, the better. Think kosher salt or sea salt, but regular table salt will work in a pinch.
* **Cooking Oil:** Any cooking oil will do – vegetable oil, olive oil, canola oil, even coconut oil. I usually grab whatever’s closest to the stove.
* **Soft Cloth or Sponge:** Microfiber cloths are my go-to, but any soft cloth or sponge will work. Avoid anything too abrasive, especially on delicate surfaces.
* **Warm Water:** Just regular tap water will do.
* **Optional: Plastic Scraper or Credit Card:** This can be helpful for gently lifting stubborn residue.
* **Optional: Dish Soap:** For cleaning up any oily residue afterwards.
The Magic of Salt: Why It Works
You might be wondering, “Salt? Really?” Well, the magic lies in the abrasive nature of the salt crystals combined with the dissolving power of the oil. The oil helps to loosen the adhesive, while the salt gently scrubs away the residue without scratching most surfaces. It’s a winning combination!
Step-by-Step Instructions: Getting Rid of That Sticky Stuff
Alright, let’s get down to business! Here’s how to use salt to remove sticker residue like a pro:
1. **Prepare the Area:** Before you start, make sure the area you’re working on is clean and dry. Wipe away any loose dirt or debris with a dry cloth. This will prevent the salt from grinding dirt into the surface.
2. **Apply the Oil:** Generously apply a layer of cooking oil to the sticker residue. Make sure the entire sticky area is covered. Let the oil sit for at least 5-10 minutes. This allows the oil to penetrate the adhesive and start breaking it down. For really stubborn residue, you can let it soak for even longer – up to an hour!
3. **Sprinkle on the Salt:** Now, sprinkle a generous amount of salt onto the oiled residue. Make sure the salt covers the entire area. Don’t be shy! The more salt, the better the scrubbing power.
4. **Gentle Scrubbing:** Using your soft cloth or sponge, gently scrub the salt and oil mixture onto the residue in a circular motion. Apply light to medium pressure. Avoid scrubbing too hard, especially on delicate surfaces, as you could scratch them. Keep scrubbing for a few minutes, checking periodically to see if the residue is lifting.
5. **Assess and Repeat (If Necessary):** After a few minutes of scrubbing, take a look at the residue. Is it starting to break down and lift? If so, keep scrubbing! If not, you might need to add a little more oil and salt and let it sit for a few more minutes before continuing.
6. **Use a Scraper (Optional):** If the residue is particularly stubborn, you can use a plastic scraper or an old credit card to gently lift the edges of the residue as you scrub. Be careful not to scratch the surface! Hold the scraper at a shallow angle and gently work it under the edge of the residue.
7. **Wipe Away the Residue:** Once the sticker residue is gone (or mostly gone!), wipe away the salt and oil mixture with a clean, damp cloth. You might need to rinse the cloth several times to remove all the residue.
8. **Clean with Dish Soap (Optional):** If there’s still a slight oily residue left behind, you can wash the area with a mild dish soap and warm water. This will remove any remaining oil and leave the surface clean and shiny.
9. **Dry the Surface:** Finally, dry the surface with a clean, dry cloth. And that’s it! Your sticker residue should be gone, leaving behind a clean and smooth surface.
Dealing with Different Surfaces
The salt and oil method is generally safe for most surfaces, but it’s always a good idea to test it in an inconspicuous area first, especially on delicate materials. Here’s a quick guide for different surfaces:
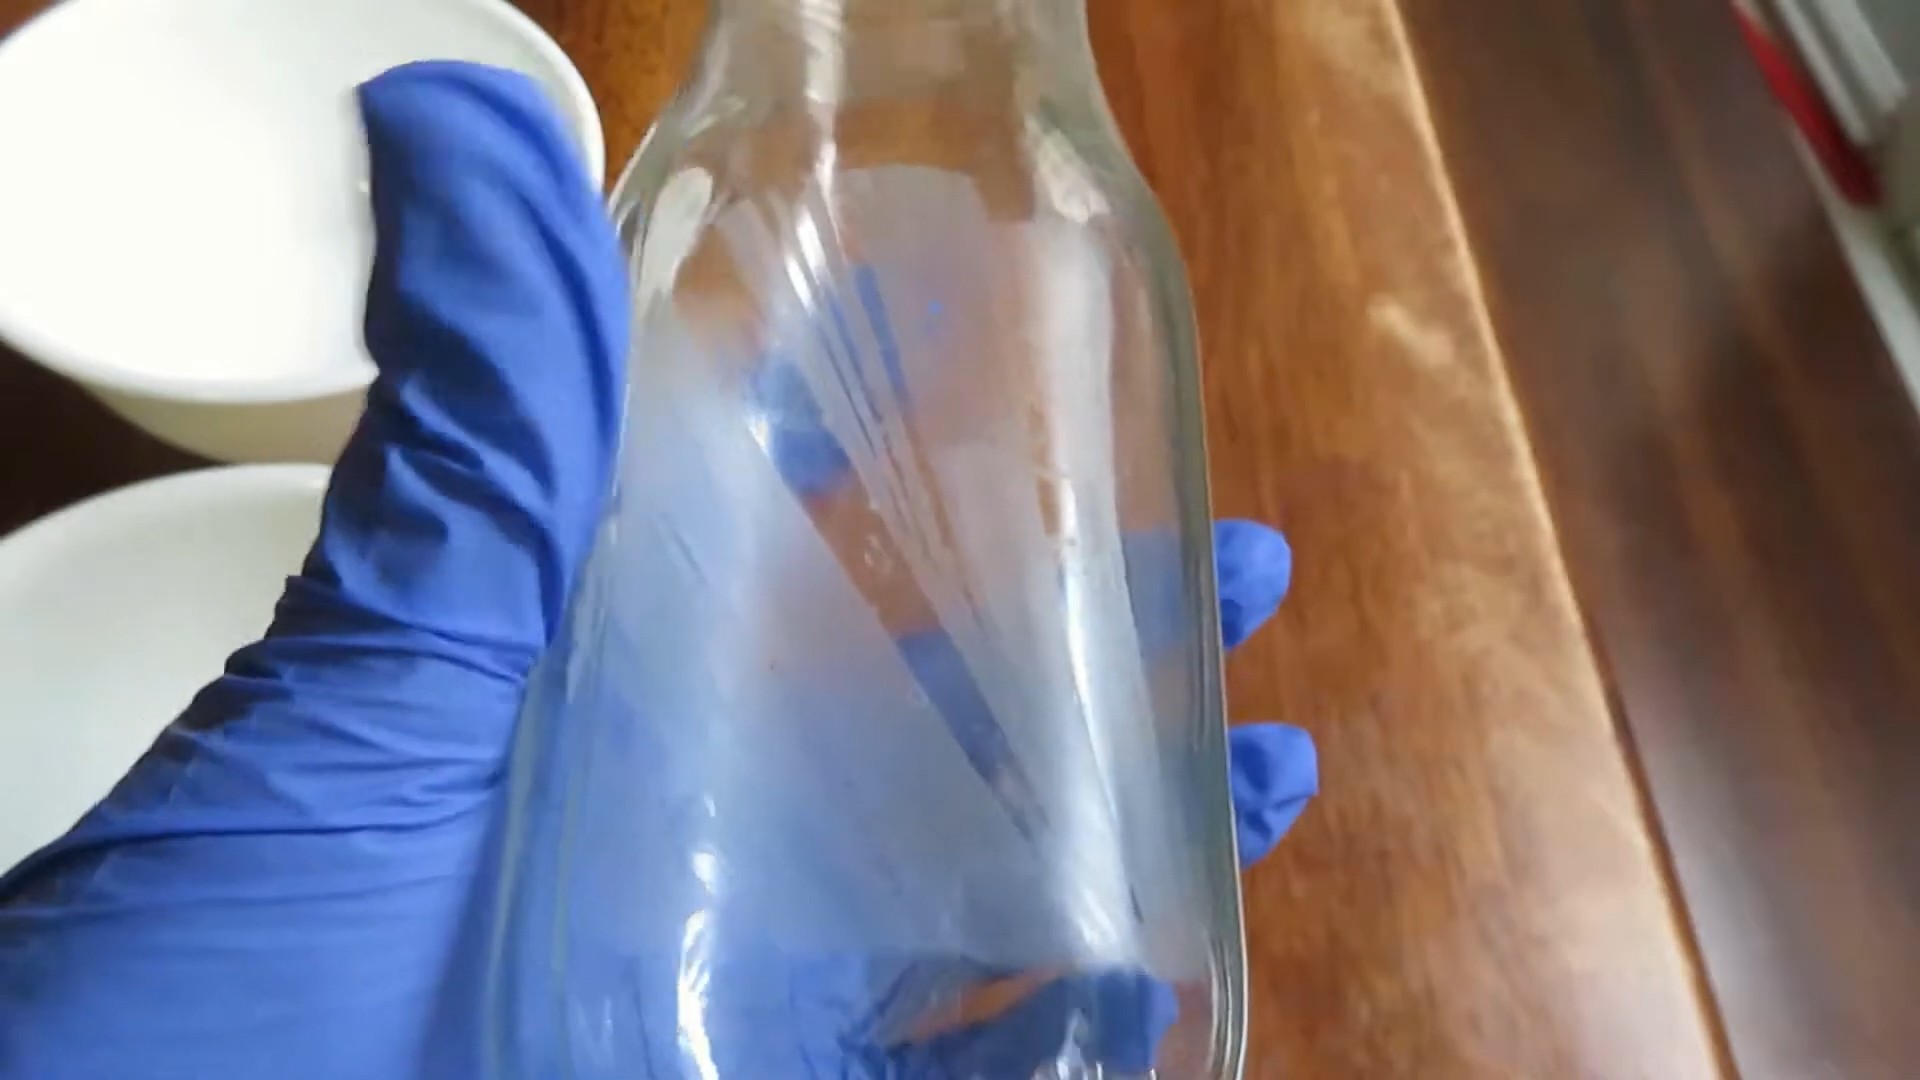
* **Glass:** This method works great on glass! Just be careful not to scrub too hard, as you could scratch the surface.
* **Plastic:** Most plastics are fine, but test in a hidden area first to make sure the oil doesn’t damage the finish.
* **Wood:** Be careful with unfinished wood, as the oil can stain it. Test in a hidden area first. For finished wood, this method usually works well, but avoid excessive scrubbing.
* **Metal:** This method is generally safe for metal, but avoid using abrasive scrubbers that could scratch the surface.
* **Fabric:** I wouldn’t recommend using this method on fabric, as the oil can be difficult to remove.
Troubleshooting: What to Do If It’s Not Working
Sometimes, even the best methods don’t work perfectly the first time. Here are a few troubleshooting tips:
* **Residue is Too Stubborn:** If the residue is really stubborn, try letting the oil soak for a longer period of time – even overnight. You can also try using a slightly coarser salt.
* **Surface is Too Delicate:** If you’re worried about scratching the surface, use a very soft cloth and apply very light pressure. You can also try using a less abrasive salt, like finely ground table salt.
* **Oily Residue Remains:** If you’re having trouble removing the oily residue, try using a stronger dish soap or a degreaser. You can also try wiping the area with a cloth dampened with rubbing alcohol.
Other Uses for This Hack
Besides removing sticker residue, this salt and oil method can also be used to remove other sticky substances, such as:
* **Tape residue**
* **Gum**
* **Crayon marks**
* **Glue**
My Personal Experience and Tips
I’ve used this method on everything from glass jars to plastic containers to even my car windows (carefully, of course!). I’ve found that the key is patience and persistence. Don’t give up if it doesn’t work immediately! Just keep scrubbing and adding more oil and salt as needed.
One tip I’ve learned is to use a toothbrush for hard-to-reach areas. The bristles can get into small crevices and help to scrub away the residue.
Another tip is to always test in an inconspicuous area first, especially on delicate surfaces. This will help you avoid any unwanted damage.
And finally, remember to have fun! Removing sticker residue doesn’t have to be a chore. Put on some music, grab your supplies, and get ready to banish that sticky stuff for good! I hope this helps you as much as it has helped me! Happy cleaning!
“`
Conclusion
So, there you have it! Removing stubborn sticker residue doesn’t require harsh chemicals or expensive specialized products. This simple, effective, and surprisingly satisfying DIY trick using salt is a game-changer for anyone who’s ever battled sticky messes. It’s a testament to the power of everyday ingredients and a reminder that often, the best solutions are the simplest.
Why is this a must-try? Because it works! It’s gentle on most surfaces, readily available, and incredibly cost-effective. Think of all the time and frustration you’ll save by ditching those ineffective sprays and scrubs. Plus, it’s a more environmentally friendly option compared to many commercial adhesive removers. You’re reducing your exposure to potentially harmful chemicals while achieving sparkling clean results.
But the beauty of this method lies in its adaptability. While plain table salt is a fantastic starting point, feel free to experiment! For particularly stubborn residue, try using a coarser salt like sea salt or kosher salt for added abrasive power. Just be mindful of the surface you’re cleaning and test in an inconspicuous area first to avoid scratching.
Another variation to consider is the type of oil you use. While vegetable oil is a reliable choice, you can also try olive oil, coconut oil, or even baby oil. Each oil has slightly different properties, and one might work better than another depending on the type of adhesive you’re dealing with. Coconut oil, for instance, has a pleasant scent and can leave a slightly moisturizing effect on some surfaces.
For delicate surfaces like glass or painted wood, exercise extra caution. Use a finer salt and apply very gentle pressure. You might also want to dilute the oil slightly with water to reduce its concentration. Remember, patience is key! Don’t rush the process, and allow the salt and oil mixture to work its magic.
We’re confident that this DIY sticker residue removal method will become your go-to solution for tackling sticky situations. It’s a simple, effective, and eco-friendly way to keep your belongings looking their best.
Now, it’s your turn! We encourage you to try this DIY trick and see the amazing results for yourself. Don’t just take our word for it – experience the satisfaction of effortlessly removing sticker residue with salt. And most importantly, share your experience with us! Let us know what worked best for you, what variations you tried, and any tips or tricks you discovered along the way. Your feedback will help us refine this method and make it even better for everyone. Share your before-and-after photos, your success stories, and your creative adaptations in the comments below. Let’s build a community of sticker residue-busting experts!
Frequently Asked Questions (FAQ)
What kind of salt works best for removing sticker residue?
While plain table salt is generally effective, coarser salts like sea salt or kosher salt can provide more abrasive power for stubborn residue. However, always test in an inconspicuous area first, especially on delicate surfaces, to avoid scratching. Finer salts are preferable for glass or painted wood. The key is to find a balance between abrasiveness and gentleness to effectively remove the residue without damaging the underlying surface.
Can I use this method on all surfaces?
This method is generally safe for most surfaces, but it’s crucial to exercise caution and test in an inconspicuous area first, especially on delicate materials like painted wood, glass, plastic, or certain fabrics. Avoid using coarse salt on easily scratched surfaces. For sensitive surfaces, dilute the oil with water and use very gentle pressure. If you’re unsure, consult the manufacturer’s instructions for the specific surface you’re cleaning.
What type of oil is best to use?
Vegetable oil is a reliable and readily available option. However, you can also experiment with other oils like olive oil, coconut oil, or baby oil. Each oil has slightly different properties, and one might work better than another depending on the type of adhesive you’re dealing with. Coconut oil, for example, has a pleasant scent and can leave a slightly moisturizing effect. Olive oil is another good choice due to its availability and mildness. Baby oil is particularly gentle and suitable for delicate surfaces.
How long should I let the salt and oil mixture sit on the residue?
The amount of time depends on the stubbornness of the residue. For light residue, a few minutes may be sufficient. For more stubborn residue, let the mixture sit for 15-30 minutes, or even longer. The longer the mixture sits, the more time it has to break down the adhesive. You can also gently rub the mixture into the residue to help it penetrate.
What if the residue is still there after trying this method?
If the residue persists, try repeating the process. You can also try using a slightly more abrasive salt or applying more pressure (if the surface allows). Another option is to use a different type of oil. For extremely stubborn residue, you might need to resort to a commercial adhesive remover, but always test it in an inconspicuous area first. You can also try gently heating the area with a hairdryer before applying the salt and oil mixture to soften the adhesive.
Will this method damage the surface I’m cleaning?
When used correctly, this method is generally gentle and shouldn’t damage most surfaces. However, it’s crucial to test in an inconspicuous area first, especially on delicate materials. Avoid using excessive pressure or abrasive salts on easily scratched surfaces. Diluting the oil with water can also help reduce the risk of damage. Always follow the manufacturer’s instructions for cleaning specific surfaces.
Can I use this method to remove sticker residue from clothing?
This method can be used on some fabrics, but it’s essential to test in an inconspicuous area first to ensure the oil doesn’t stain or damage the material. Apply the salt and oil mixture gently and blot the area with a clean cloth. After removing the residue, wash the garment according to the care instructions. For delicate fabrics, consider using a specialized stain remover designed for adhesives.
Is this method environmentally friendly?
Yes, this method is more environmentally friendly than using many commercial adhesive removers, which often contain harsh chemicals. Salt and oil are natural ingredients that are less harmful to the environment. By using this DIY trick, you’re reducing your exposure to potentially harmful chemicals and minimizing your environmental impact.
What are some other uses for this salt and oil mixture?
Besides removing sticker residue, this salt and oil mixture can also be used to remove other types of adhesive residue, such as tape residue, glue residue, and even some types of paint splatters. It can also be used to clean sticky messes on kitchen surfaces, such as countertops and stovetops. The abrasive properties of the salt combined with the solvent properties of the oil make it a versatile cleaning solution.
How do I prevent sticker residue in the first place?
The best way to deal with sticker residue is to prevent it from happening in the first place. When applying stickers, choose stickers with removable adhesive. When removing stickers, peel them off slowly and carefully, trying to avoid tearing them. If you know you’ll need to remove a sticker later, consider using a heat gun or hairdryer to soften the adhesive before peeling it off. You can also apply a layer of protective film or tape over the sticker to prevent it from sticking directly to the surface.

Leave a Comment