

Grow Sponge Gourd like a pro, even if you’re a beginner! Have you ever dreamed of harvesting your own fresh, delicious sponge gourds right from your backyard? Imagine the satisfaction of serving a home-cooked meal featuring this unique and flavorful vegetable, knowing you nurtured it from seed to table. This isn’t just a pipe dream; it’s entirely achievable with a few simple tricks and DIY techniques.
Sponge gourd, also known as luffa, has a rich history, particularly in Asian cultures, where it’s been cultivated for centuries not only for its culinary uses but also for its incredible versatility. From bath sponges to natural scrubbers, this amazing plant offers so much more than just a tasty addition to your stir-fries. I’ve always been fascinated by its dual purpose!
But why should you bother learning how to grow sponge gourd yourself? Well, store-bought sponge gourds can sometimes be expensive or lack the freshness and flavor of homegrown varieties. Plus, let’s be honest, there’s something incredibly rewarding about nurturing a plant from seed to harvest. In this article, I’m going to share my favorite DIY tricks and hacks to help you cultivate a thriving sponge gourd garden, regardless of your experience level. Get ready to roll up your sleeves and embark on a fun and rewarding gardening adventure!
DIY: Growing Sponge Gourd Like a Pro (Even if You’re a Beginner!)
Okay, so you want to grow sponge gourd? Awesome! It’s a rewarding plant to cultivate, and nothing beats using your own homegrown loofah in the shower. I’m going to walk you through everything you need to know, from seed to sponge. Trust me, it’s easier than you think!
Choosing Your Sponge Gourd Variety
First things first, let’s talk about varieties. There are two main types of sponge gourd:
* **Angled Luffa (Luffa acutangula):** This one has prominent ridges running along its length. It’s often preferred for cooking when young.
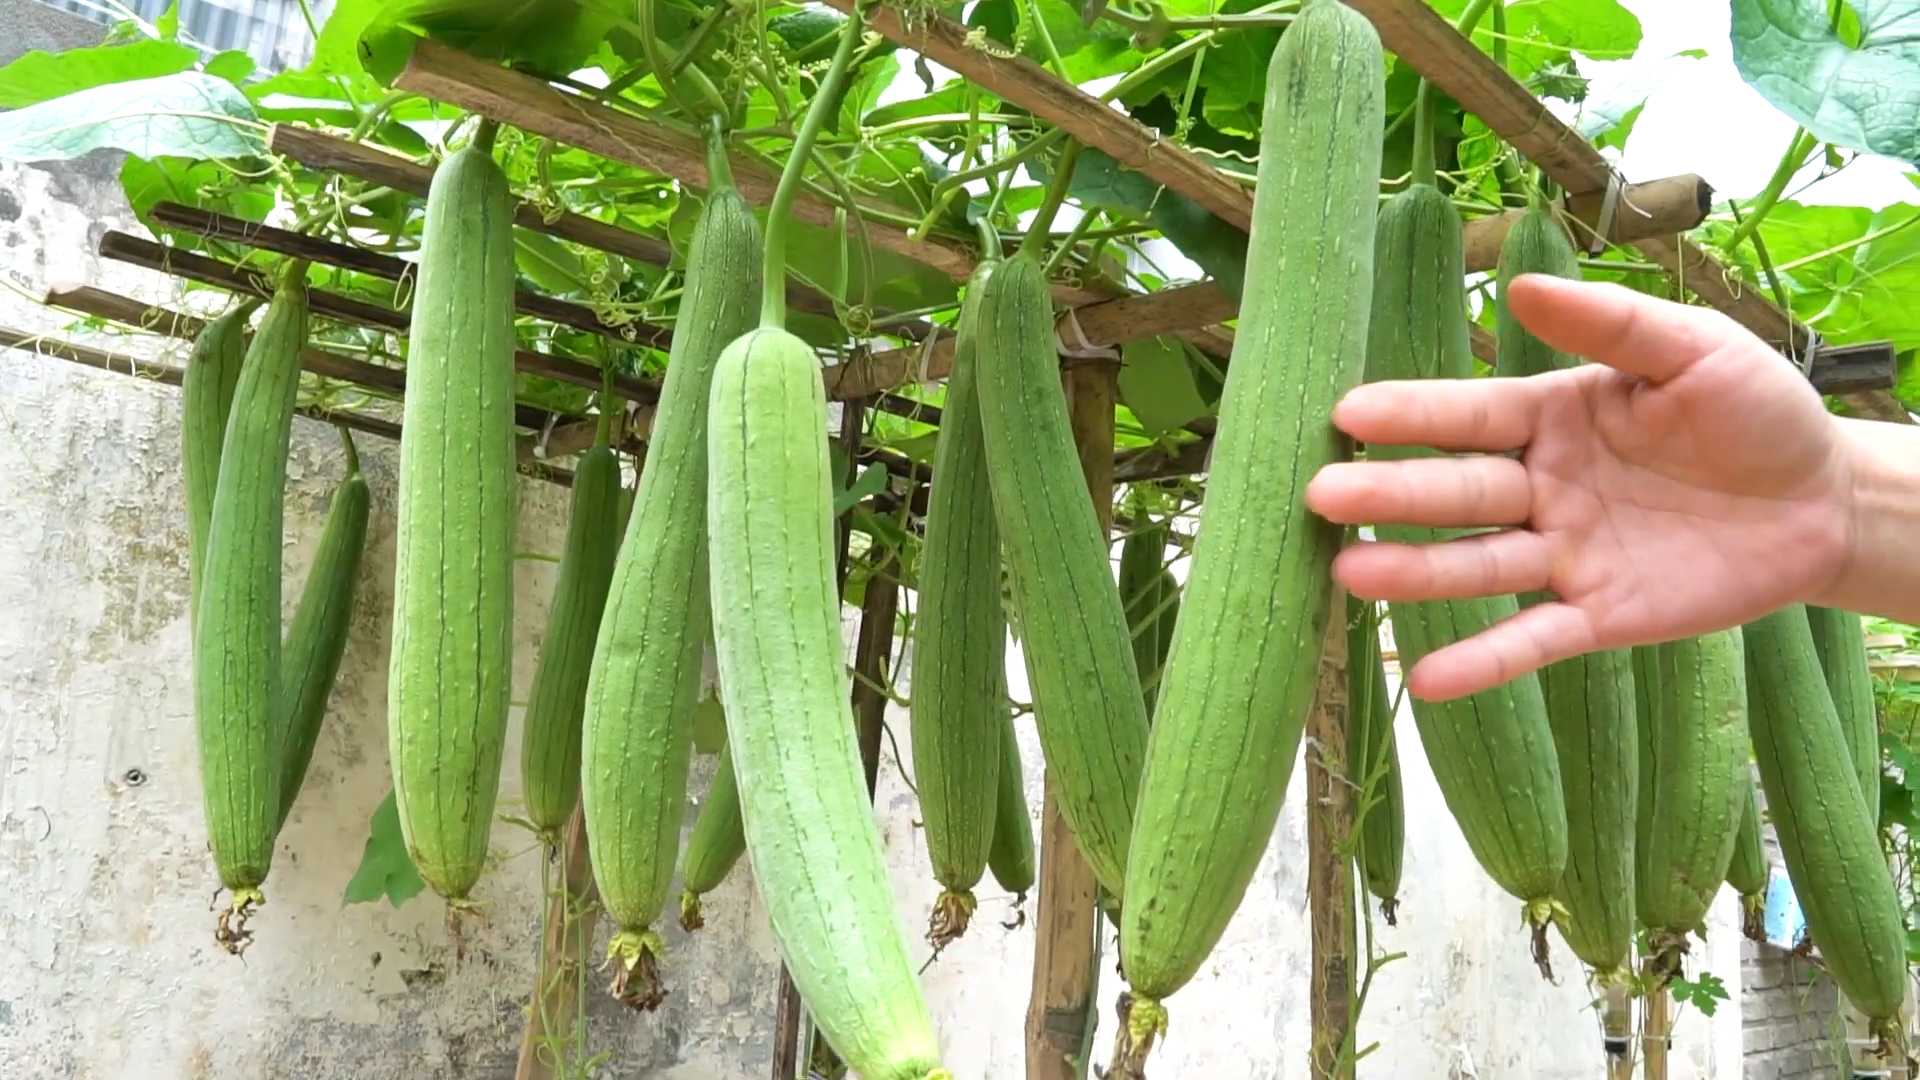
* **Smooth Luffa (Luffa aegyptiaca):** This type is smoother and more cylindrical. It’s the one most commonly used for making bath sponges.
I personally prefer the smooth luffa for sponges, but both are delicious when young and tender. Consider your climate and what you plan to use the gourd for when making your choice.
Getting Started: Seed Germination
Sponge gourd seeds have a tough outer shell, so germination can be a bit tricky. But don’t worry, I’ve got some tricks up my sleeve!
* **Soaking the Seeds:** This is crucial! Soak your seeds in warm water for 24-48 hours. This helps soften the outer shell and encourages sprouting. I like to use a small bowl and change the water every 12 hours.
* **Scarification (Optional):** Gently nick the seed coat with a nail file or sandpaper. Be careful not to damage the inner part of the seed! This helps water penetrate more easily. I usually skip this step if soaking works well.
* **Paper Towel Method:** Place the soaked seeds between two damp paper towels. Put the paper towels in a plastic bag or container to keep them moist. Store in a warm place (around 80-85°F or 27-29°C). Check daily and mist with water if needed.
* **Direct Sowing (Warm Climates):** If you live in a warm climate with a long growing season, you can sow the seeds directly into the ground. Make sure the soil is warm (at least 70°F or 21°C).
I highly recommend starting your seeds indoors, especially if you have a shorter growing season.
Step-by-Step: Starting Seeds Indoors
1. **Prepare Your Seed Starting Mix:** Use a well-draining seed starting mix. I like to make my own by mixing equal parts peat moss, perlite, and vermiculite.
2. **Fill Your Seed Trays or Pots:** Fill your seed trays or small pots with the seed starting mix.
3. **Plant the Seeds:** Make a small hole (about 1 inch deep) in the center of each pot or cell. Place one seed in each hole and cover with soil.
4. **Water Gently:** Water the soil gently to moisten it. Avoid overwatering, which can lead to rot.
5. **Provide Warmth and Light:** Place the seed trays or pots in a warm location (around 80-85°F or 27-29°C). Use a heat mat if needed. Provide plenty of light, either natural sunlight or grow lights.
6. **Keep the Soil Moist:** Check the soil daily and water when the top inch feels dry.
7. **Transplant Seedlings:** Once the seedlings have developed a few sets of true leaves (usually after 2-3 weeks), they’re ready to be transplanted outdoors.
Preparing Your Garden Bed
Sponge gourds are vigorous growers and need plenty of space and sunshine.
* **Choose a Sunny Location:** Select a spot in your garden that receives at least 6-8 hours of direct sunlight per day.
* **Prepare the Soil:** Sponge gourds prefer well-drained, fertile soil. Amend the soil with compost or well-rotted manure to improve drainage and fertility.
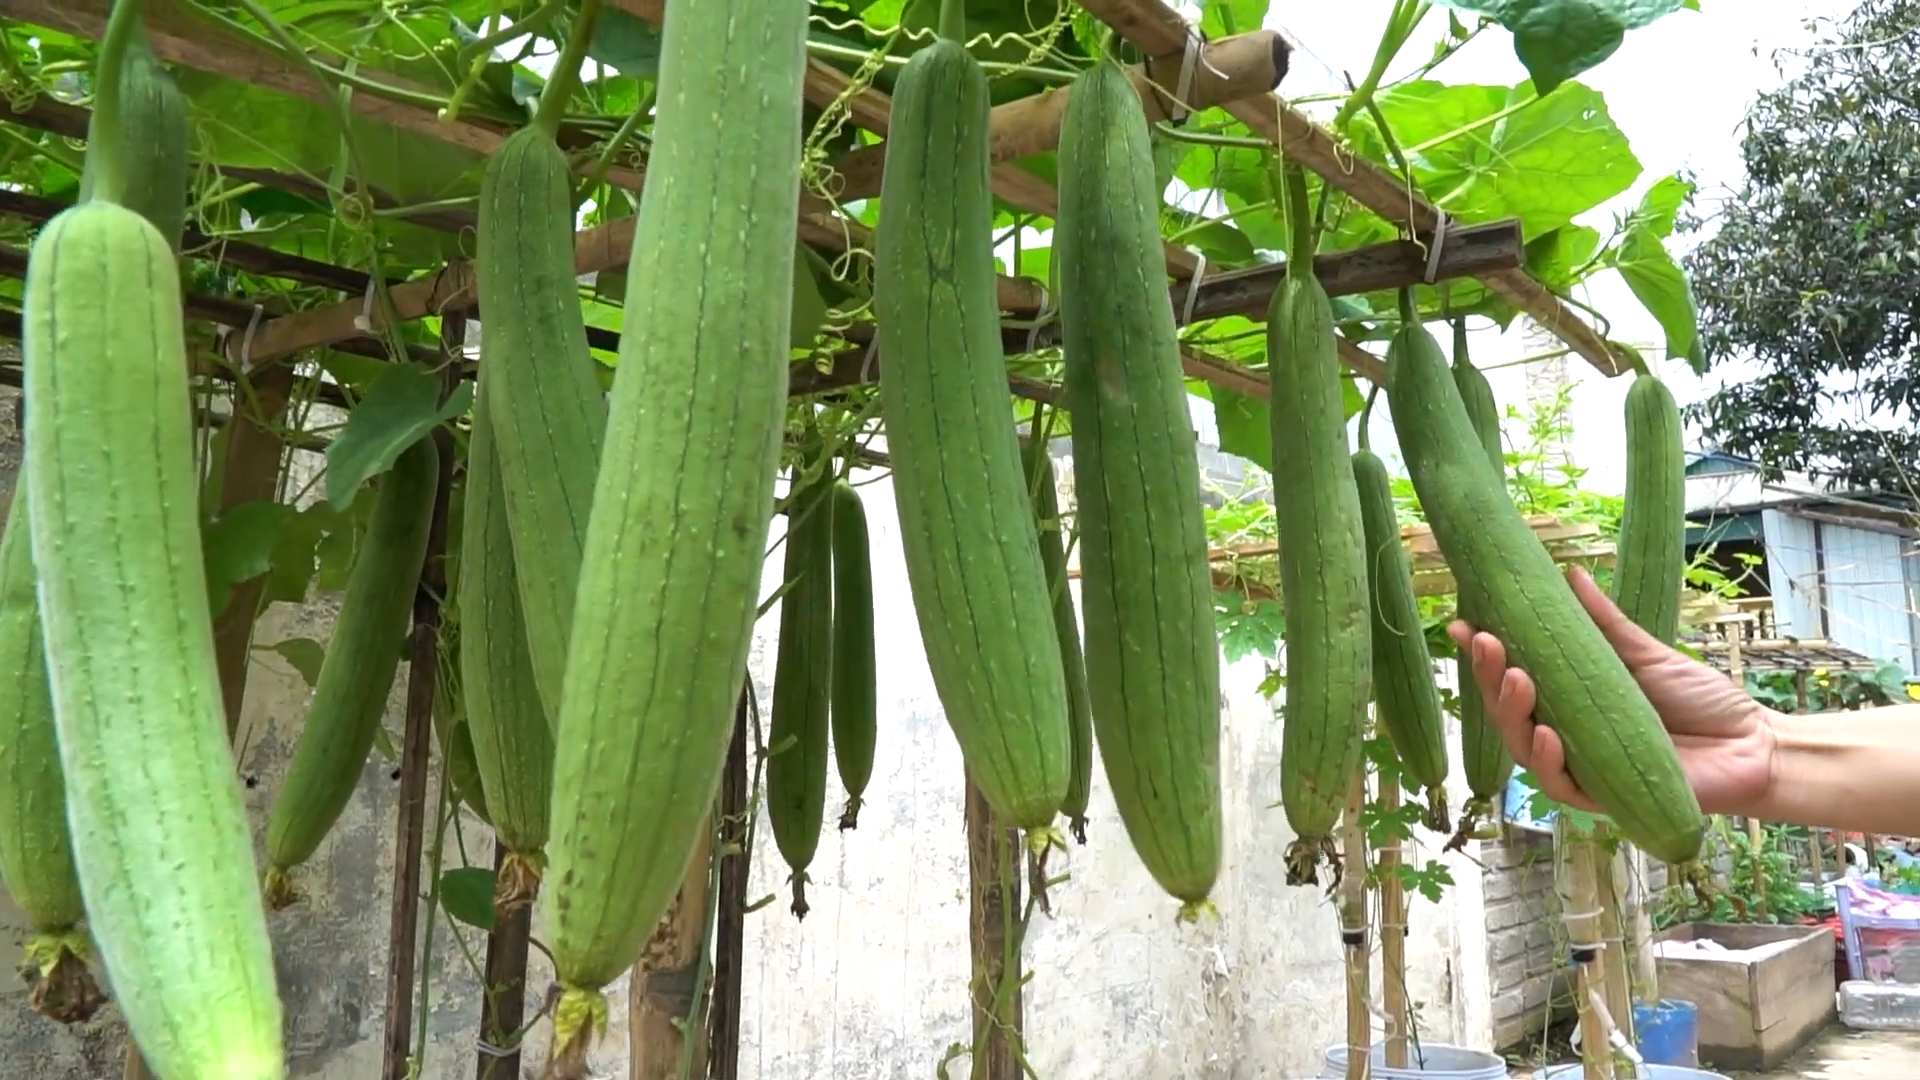
* **Provide Support:** Sponge gourds are vines and need strong support to climb on. A sturdy trellis, fence, or pergola works well. I’ve even seen people use old ladders! Make sure the support is at least 6-8 feet tall.
* **Space the Plants:** Space the plants at least 2-3 feet apart. This allows them plenty of room to grow and prevents overcrowding.
Proper soil preparation is key to a successful harvest!
Transplanting Your Seedlings
1. **Harden Off the Seedlings:** Before transplanting, gradually acclimate the seedlings to outdoor conditions. This process is called “hardening off.” Start by placing the seedlings outdoors in a sheltered location for a few hours each day, gradually increasing the amount of time they spend outdoors over a week or two.
2. **Choose a Cloudy Day:** Transplant the seedlings on a cloudy day or in the late afternoon to avoid shocking them.
3. **Dig the Holes:** Dig holes that are slightly larger than the root balls of the seedlings.
4. **Gently Remove the Seedlings:** Carefully remove the seedlings from their pots or trays, being careful not to damage the roots.
5. **Place the Seedlings in the Holes:** Place the seedlings in the holes and backfill with soil.
6. **Water Thoroughly:** Water the seedlings thoroughly after transplanting.
7. **Mulch Around the Plants:** Apply a layer of mulch around the plants to help retain moisture and suppress weeds.
Caring for Your Sponge Gourd Plants
* **Watering:** Water regularly, especially during dry periods. Sponge gourds need consistent moisture to thrive. Aim for about 1-2 inches of water per week.
* **Fertilizing:** Fertilize every 2-3 weeks with a balanced fertilizer. I like to use a liquid fertilizer diluted to half strength.
* **Pruning:** Prune the vines to encourage branching and fruit production. Remove any dead or diseased leaves.
* **Pollination:** Sponge gourds have separate male and female flowers. Bees and other pollinators usually take care of pollination, but you can hand-pollinate if needed. To hand-pollinate, use a small brush to transfer pollen from the male flower to the female flower. The female flower has a small gourd-like structure behind it.
* **Pest and Disease Control:** Keep an eye out for pests and diseases. Common pests include squash bugs, aphids, and cucumber beetles. Common diseases include powdery mildew and downy mildew. Use organic pest control methods whenever possible. Neem oil is a great all-purpose solution.
Consistent care is essential for a bountiful harvest!
Harvesting Your Sponge Gourds
The timing of your harvest depends on what you plan to use the gourds for.
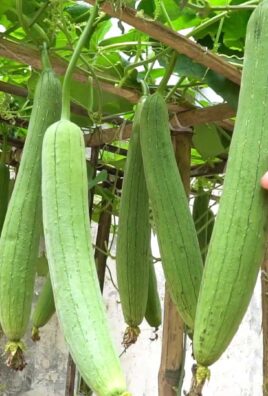
* **For Eating:** Harvest the gourds when they are young and tender, usually about 6-8 inches long. The skin should be smooth and easily pierced with your fingernail.
* **For Sponges:** Allow the gourds to mature on the vine until the skin turns brown and dry. This usually takes several months. The gourd will feel light and hollow.
Patience is key when growing sponge gourds for sponges!
Processing Your Sponge Gourds into Sponges
This is the fun part!
1. **Harvest the Mature Gourds:** Harvest the gourds when they are completely dry and brown.
2. **Soak the Gourds:** Soak the gourds in water for several days to loosen the skin. I use a large tub or bucket. You might need to weigh them down to keep them submerged.
3. **Remove the Skin:** Once the skin is softened, you can peel it off. This can be a bit messy, so wear gloves.
4. **Remove the Seeds:** Shake out the seeds. You can save them for planting next year!
5. **Rinse the Sponge:** Rinse the sponge thoroughly to remove any remaining pulp or debris.
6. **Dry the Sponge:** Dry the sponge in the sun or in a well-ventilated area.
7. **Cut to Size (Optional):** Cut the sponge to the desired size.
Congratulations! You’ve made your own natural sponge!
Troubleshooting
* **Poor Germination:** Make sure your seeds are fresh and viable. Try scarifying the seeds before soaking. Ensure the soil is warm enough.
* **Slow Growth:** Make sure the plants are getting enough sunlight, water, and nutrients. Amend the soil with compost or fertilizer.
* **Lack of Fruit:** Ensure proper pollination. Hand-pollinate if necessary. Check for pests and diseases.
* **Yellowing Leaves:** This could be a sign of overwatering, underwatering, or nutrient deficiency. Adjust your watering and fertilizing accordingly.
Final Thoughts
Growing sponge gourd is a rewarding experience. It takes a little patience and effort, but the results are well worth it. You’ll have your own supply of natural sponges and delicious vegetables! Don’t be afraid to experiment and learn from your mistakes. Happy gardening!
Conclusion
So, there you have it! Cultivating your own sponge gourd is not only achievable but also incredibly rewarding. From the satisfaction of nurturing a plant from seed to the joy of harvesting your own natural sponges, this DIY project offers a unique and sustainable experience. Forget those mass-produced, chemically treated sponges from the store. With a little patience and effort, you can have a readily available supply of eco-friendly cleaning tools right from your backyard.
This method of growing your own sponge gourd is a must-try for several reasons. First, it’s environmentally friendly. You’re reducing your reliance on plastic sponges and contributing to a more sustainable lifestyle. Second, it’s cost-effective. Once you have your initial seeds and setup, the ongoing costs are minimal. Third, it’s a fascinating learning experience. You’ll gain a deeper understanding of plant growth and the natural processes involved in producing this unique crop. Finally, and perhaps most importantly, the quality of a homegrown sponge gourd is simply unmatched. They are more durable, absorbent, and long-lasting than their store-bought counterparts.
Looking for variations? Consider experimenting with different growing techniques. Try vertical gardening to maximize space, or explore companion planting to enhance growth and deter pests. You can also adjust the harvesting time to achieve different textures in your sponges. Harvesting earlier will result in a softer sponge, while waiting longer will produce a more abrasive one. Another fun variation is to save seeds from your best-performing plants each year to develop your own unique strain of sponge gourd.
Don’t be intimidated by the process. Growing sponge gourd is surprisingly straightforward, and the rewards are well worth the effort. We encourage you to give this DIY trick a try. Start small, learn as you go, and don’t be afraid to experiment. The feeling of using a sponge you grew yourself is truly special.
We’re confident that you’ll find this project both enjoyable and beneficial. So, grab your seeds, prepare your garden, and get ready to embark on your sponge gourd growing adventure! And most importantly, we want to hear about your experiences. Share your tips, tricks, and photos in the comments below. Let’s build a community of sponge gourd enthusiasts and learn from each other’s successes and challenges. Let us know what kind of soil you used, what kind of fertilizer you used, and any other tips that you might have. Your insights could be invaluable to other aspiring sponge gourd growers. Happy gardening!
Frequently Asked Questions (FAQ)
What exactly is a sponge gourd, and how is it different from a regular gourd?
Sponge gourd, also known as loofah or luffa, is a type of gourd that is grown for its fibrous interior. Unlike other gourds that are primarily used for decoration or consumption of their flesh, the sponge gourd is allowed to mature fully on the vine. As it dries, the flesh decomposes, leaving behind a network of fibers that can be used as a natural sponge. Regular gourds, on the other hand, are typically harvested before they fully mature and are used for a variety of purposes, including crafting, decoration, and even as containers. The key difference lies in the intended use and the stage at which the gourd is harvested.
How long does it take to grow a sponge gourd from seed to harvest?
The time it takes to grow a sponge gourd from seed to harvest can vary depending on several factors, including climate, soil conditions, and the specific variety of sponge gourd. Generally, it takes around 120 to 150 days from planting the seeds to harvesting mature gourds suitable for sponges. In warmer climates with longer growing seasons, you may be able to harvest sooner. It’s important to start the seeds indoors a few weeks before the last expected frost to give them a head start. Keep an eye on the gourds as they mature, and harvest them when they turn brown and feel lightweight.
What are the best growing conditions for sponge gourd?
Sponge gourds thrive in warm, sunny locations with well-drained soil. They require at least 6-8 hours of direct sunlight per day. The soil should be rich in organic matter and have a pH between 6.0 and 7.0. Sponge gourds are heavy feeders, so it’s important to amend the soil with compost or well-rotted manure before planting. They also need plenty of water, especially during hot, dry periods. Providing a trellis or other support structure is essential, as sponge gourds are climbing vines that can grow quite long.
How do I know when my sponge gourd is ready to be harvested for sponges?
The best time to harvest sponge gourds for sponges is when they are fully mature and have turned brown or yellowish-brown. The skin should be dry and brittle, and the gourd should feel lightweight. You can gently shake the gourd to listen for the seeds rattling inside. If the gourd is still green and firm, it’s not ready to be harvested. Leaving the gourd on the vine until it’s fully mature ensures that the fibers are fully developed and will create a durable and absorbent sponge.
What is the process of turning a harvested sponge gourd into a usable sponge?
The process of turning a harvested sponge gourd into a usable sponge involves several steps. First, soak the gourd in water for a few days to soften the skin. Once the skin is soft, you can peel it off by hand or with a knife. After the skin is removed, rinse the gourd thoroughly to remove any remaining flesh and seeds. You can shake the gourd vigorously or use a hose to flush out the debris. Next, soak the cleaned gourd in a solution of water and bleach (approximately 1 part bleach to 10 parts water) for about 30 minutes to disinfect it. Finally, rinse the gourd thoroughly with clean water and allow it to dry completely in the sun. Once dry, you can cut the sponge into smaller pieces if desired.
Are there any common pests or diseases that affect sponge gourd plants, and how can I prevent or treat them?
Sponge gourd plants can be susceptible to several pests and diseases, including squash bugs, squash vine borers, aphids, powdery mildew, and downy mildew. To prevent these problems, practice good garden hygiene by removing plant debris and weeds regularly. Encourage beneficial insects, such as ladybugs and lacewings, which prey on aphids and other pests. If you notice signs of pests or diseases, treat them promptly with appropriate organic or chemical controls. For example, you can use insecticidal soap to control aphids or copper fungicide to prevent powdery mildew. Crop rotation can also help to prevent soilborne diseases.
Can I eat sponge gourd?
Yes, you can eat sponge gourd, but it’s best when harvested young, before the fibers develop. Young sponge gourds have a mild, slightly sweet flavor and can be used in a variety of dishes, such as stir-fries, soups, and stews. They can be prepared similarly to zucchini or other summer squash. However, as the gourd matures, the fibers become tougher and less palatable. Once the gourd is fully mature and the fibers are well-developed, it’s no longer suitable for eating.
How can I save seeds from my sponge gourd for future planting?
To save seeds from your sponge gourd, allow the gourd to fully mature on the vine until it’s completely dry and brown. Once harvested, shake the gourd vigorously to loosen the seeds. Cut open the gourd and remove the seeds. Rinse the seeds thoroughly with water to remove any remaining flesh. Spread the seeds out on a paper towel to dry completely in a cool, dry place. Once the seeds are dry, store them in an airtight container in a cool, dark location. Properly stored sponge gourd seeds can remain viable for several years.
What are some creative uses for sponge gourd besides cleaning?
Besides cleaning, sponge gourd has a variety of other creative uses. It can be used as a natural exfoliant for the skin, promoting circulation and removing dead skin cells. It can also be used in crafts, such as making decorative soaps, bath mats, and even artwork. Some people use sponge gourd as a natural filter in aquariums or ponds. The possibilities are endless!
Is growing sponge gourd worth the effort?
Absolutely! Growing sponge gourd is a rewarding and sustainable way to produce your own natural sponges. It’s an environmentally friendly alternative to synthetic sponges and offers a unique connection to nature. The process of nurturing a plant from seed to harvest is both educational and fulfilling. Plus, the satisfaction of using a sponge you grew yourself is truly unmatched. So, if you’re looking for a fun, eco-friendly, and rewarding gardening project, growing sponge gourd is definitely worth the effort.

Leave a Comment