

Grout Cleaning with Toothbrush: Are you tired of staring at dingy, discolored grout lines that seem impossible to clean? I know I was! It felt like no matter how much I scrubbed, those stubborn stains just wouldn’t budge. But what if I told you the secret to sparkling grout was hiding right in your bathroom – your trusty toothbrush?
Grout, that porous material between your tiles, has been a staple in homes for centuries, dating back to ancient Roman times. While it provides essential structural support and a clean, finished look, it’s also a magnet for dirt, mildew, and grime. Over time, this buildup can make your beautiful tiles look dull and uninviting. Many people resort to harsh chemicals or expensive professional cleaning services, but there’s a simpler, more affordable solution.
That’s where this DIY grout cleaning trick comes in! Using a toothbrush for grout cleaning with toothbrush might sound too simple to be effective, but trust me, it’s a game-changer. The small bristles are perfect for getting into those tight spaces and dislodging stubborn dirt. Plus, it’s an eco-friendly and budget-friendly alternative to harsh chemicals. I’m going to show you exactly how to use this everyday tool to achieve professional-level results and restore your grout to its former glory. Get ready to say goodbye to dingy grout and hello to a sparkling clean home!
DIY Grout Cleaning with a Toothbrush: A Sparkling Solution!
Hey there, fellow DIY enthusiasts! Are you tired of staring at dingy, discolored grout lines? I know I was! It can really bring down the whole look of your bathroom or kitchen. But don’t worry, you don’t need to call in a professional or spend a fortune on fancy cleaners. I’ve got a simple, effective, and budget-friendly solution for you: cleaning your grout with a toothbrush! Yes, you read that right. This method is surprisingly powerful, and I’m going to walk you through exactly how to do it.
Why a Toothbrush?
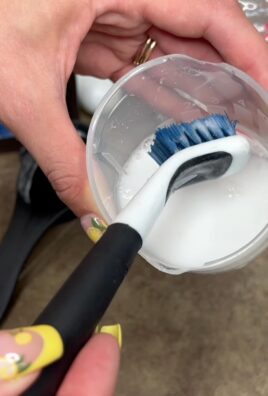
Before we dive in, you might be wondering why a toothbrush is so effective. Well, the small head and sturdy bristles are perfect for getting into those narrow grout lines. They provide just the right amount of scrubbing power without damaging your tiles. Plus, you probably already have an old toothbrush lying around, making this a super accessible project.
What You’ll Need
Here’s a list of everything you’ll need to get your grout sparkling:
* An old toothbrush (or several, depending on the size of your project)
* Baking soda
* White vinegar
* Spray bottle
* Warm water
* Rubber gloves (optional, but recommended)
* Eye protection (optional, but recommended, especially when using vinegar)
* Paper towels or a clean cloth
Preparing Your Grout for Cleaning
Before you start scrubbing, it’s important to prep your grout. This will help loosen any dirt and grime, making the cleaning process much easier.
1. Clear the Area: Remove any rugs, bath mats, or other items that might be in the way. You want to have clear access to the grout lines you’ll be cleaning.
2. Sweep or Vacuum: Get rid of any loose debris, like dust, hair, or crumbs. This will prevent you from just pushing the dirt around while you’re scrubbing.
3. Warm Water Rinse: Give the area a quick rinse with warm water. This will help to soften any stubborn stains and prepare the grout for the cleaning solution.
Making Your Grout Cleaning Paste
Now, let’s get to the good stuff: making the cleaning paste! I’ve found that a simple baking soda and vinegar paste is incredibly effective at removing dirt and grime from grout.
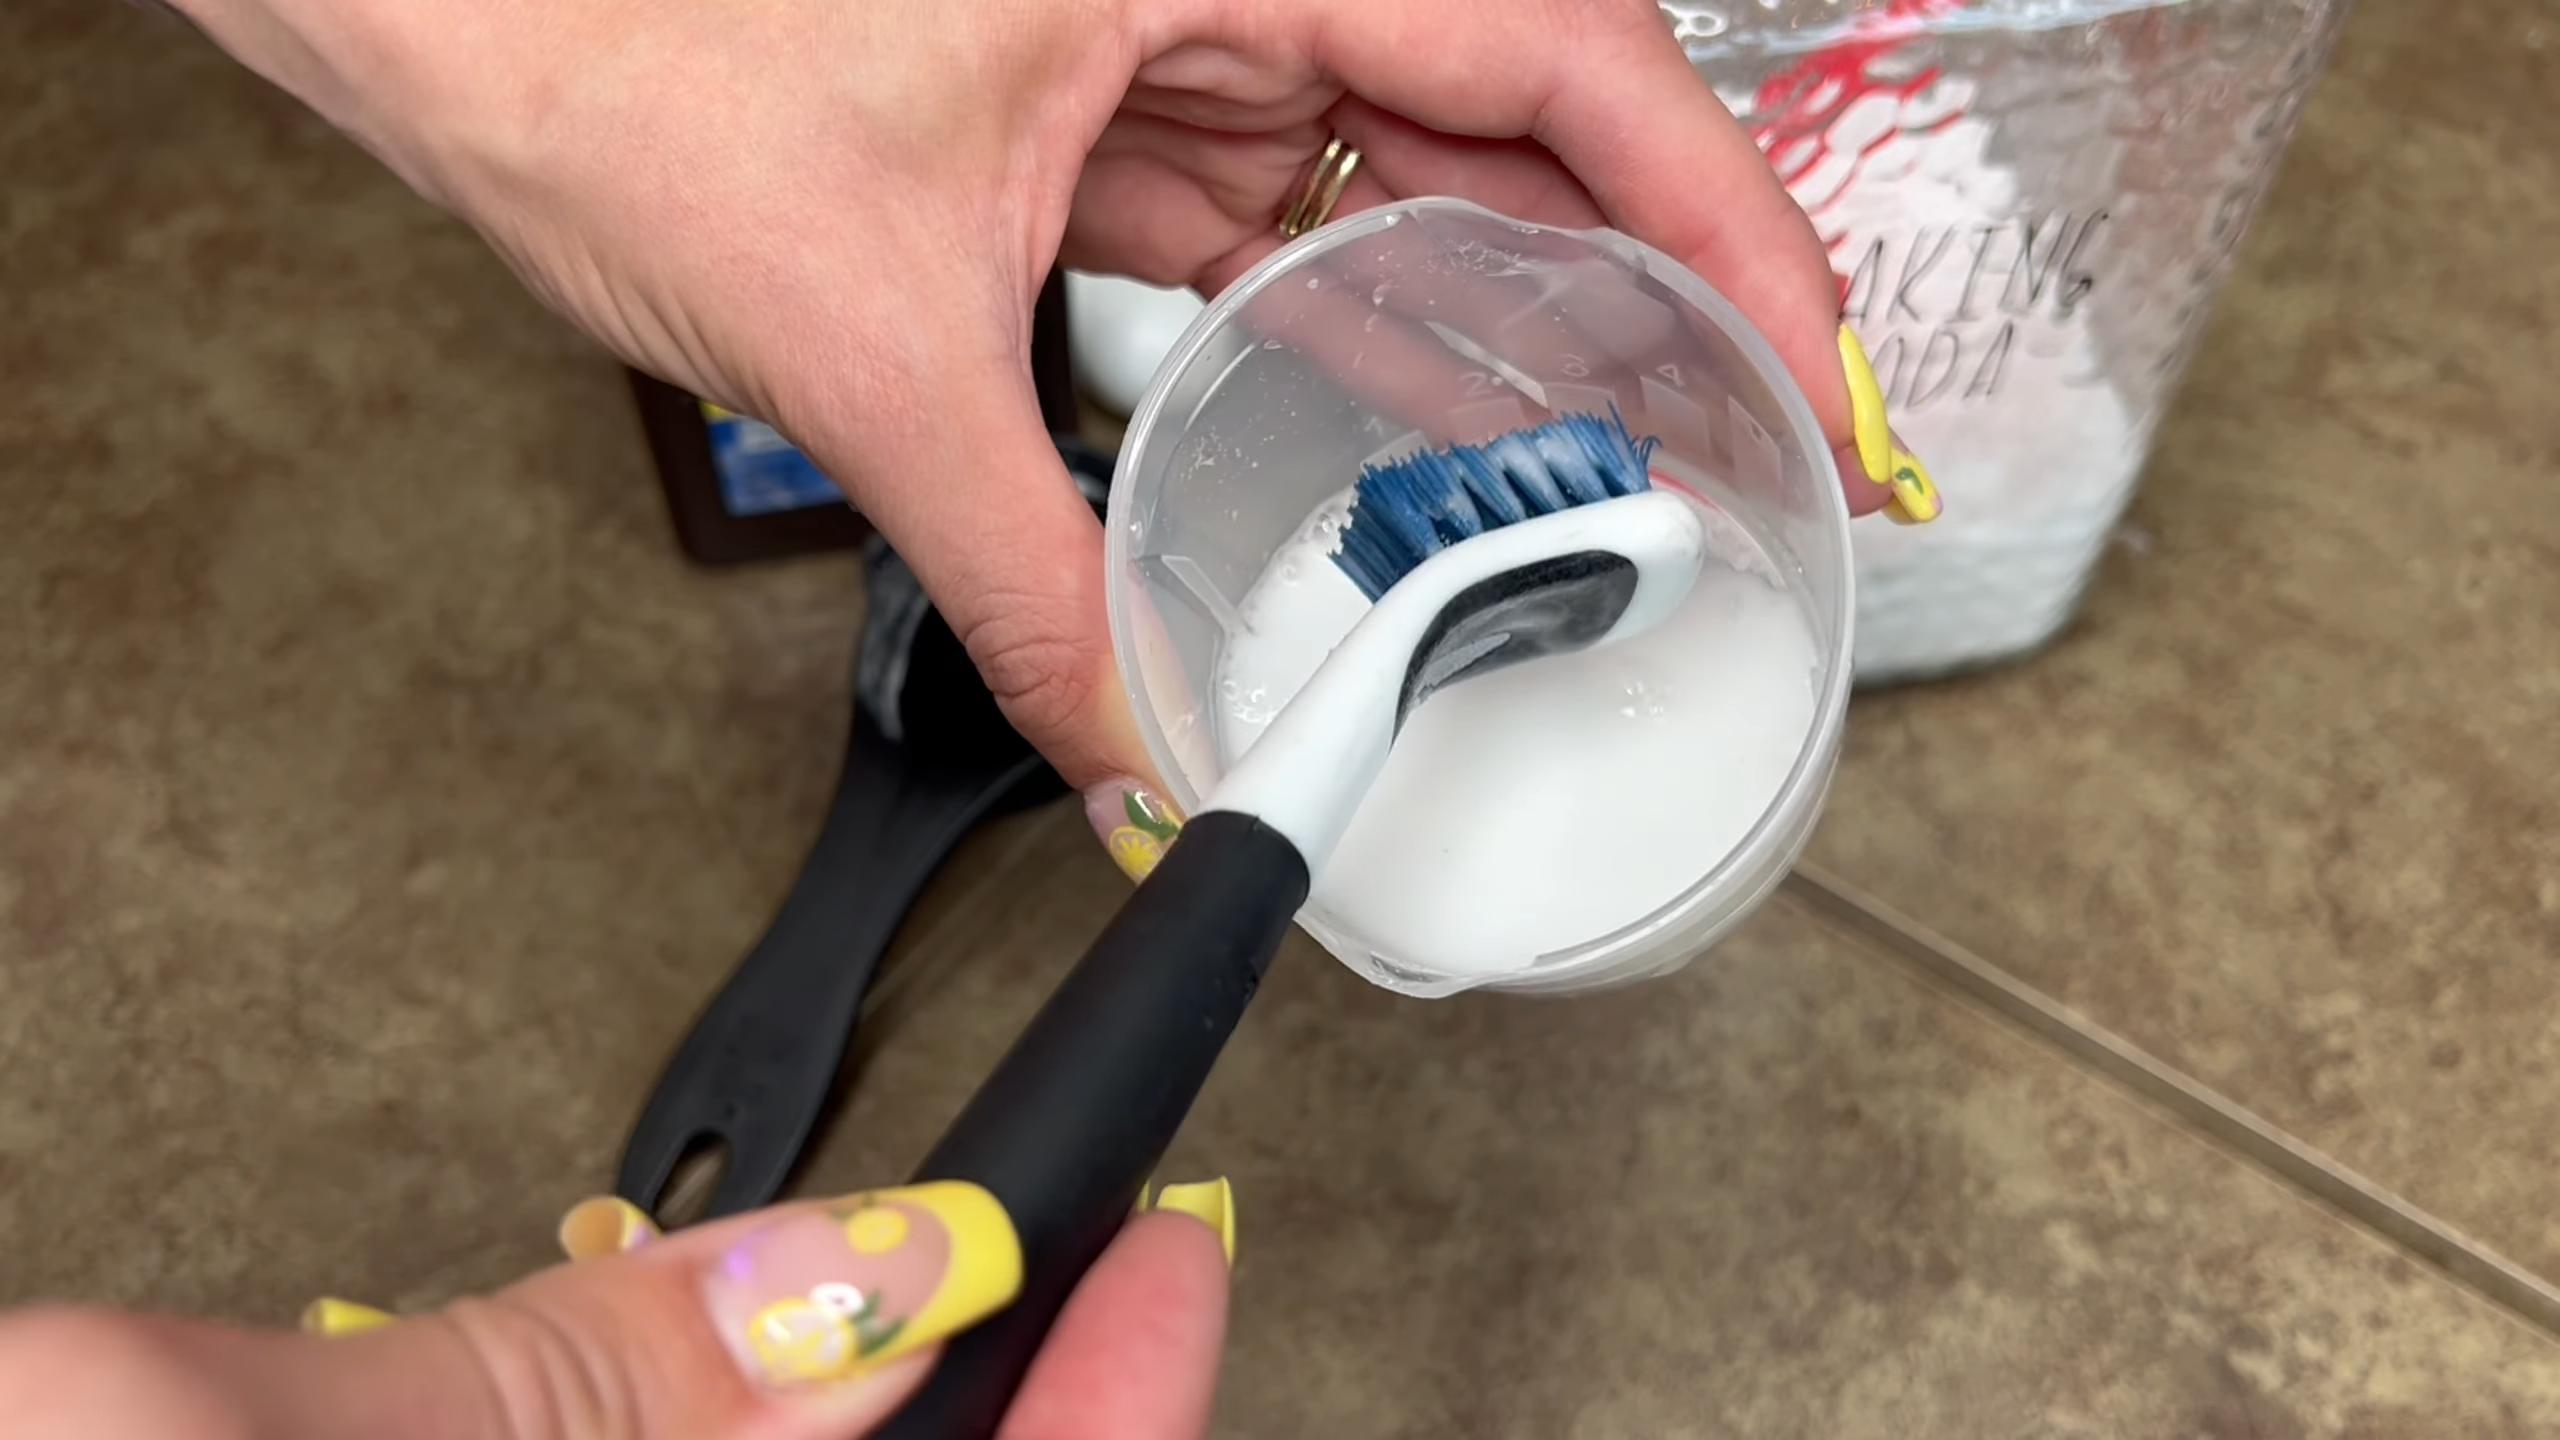
1. Combine Baking Soda and Water (Optional): In a small bowl, mix baking soda with a little water to form a paste. The consistency should be similar to toothpaste. This step is optional, but I find it helps the baking soda adhere to the grout better.
2. Prepare the Vinegar Spray: Fill your spray bottle with white vinegar. You can dilute it with a little water if you’re concerned about the acidity, but I usually use it straight for maximum cleaning power.
Cleaning the Grout: Step-by-Step
Alright, it’s time to get scrubbing! Here’s the step-by-step process I use to clean my grout with a toothbrush:
1. Apply the Baking Soda Paste: Using your fingers or a small spoon, apply the baking soda paste to the grout lines. Make sure to cover the entire area you want to clean.
2. Spray with Vinegar: Now, spray the baking soda-covered grout lines with white vinegar. You’ll notice a fizzing reaction – this is a good thing! It means the baking soda and vinegar are working together to break down the dirt and grime.
3. Let it Sit: Allow the mixture to sit on the grout for about 5-10 minutes. This will give it time to really penetrate the stains.
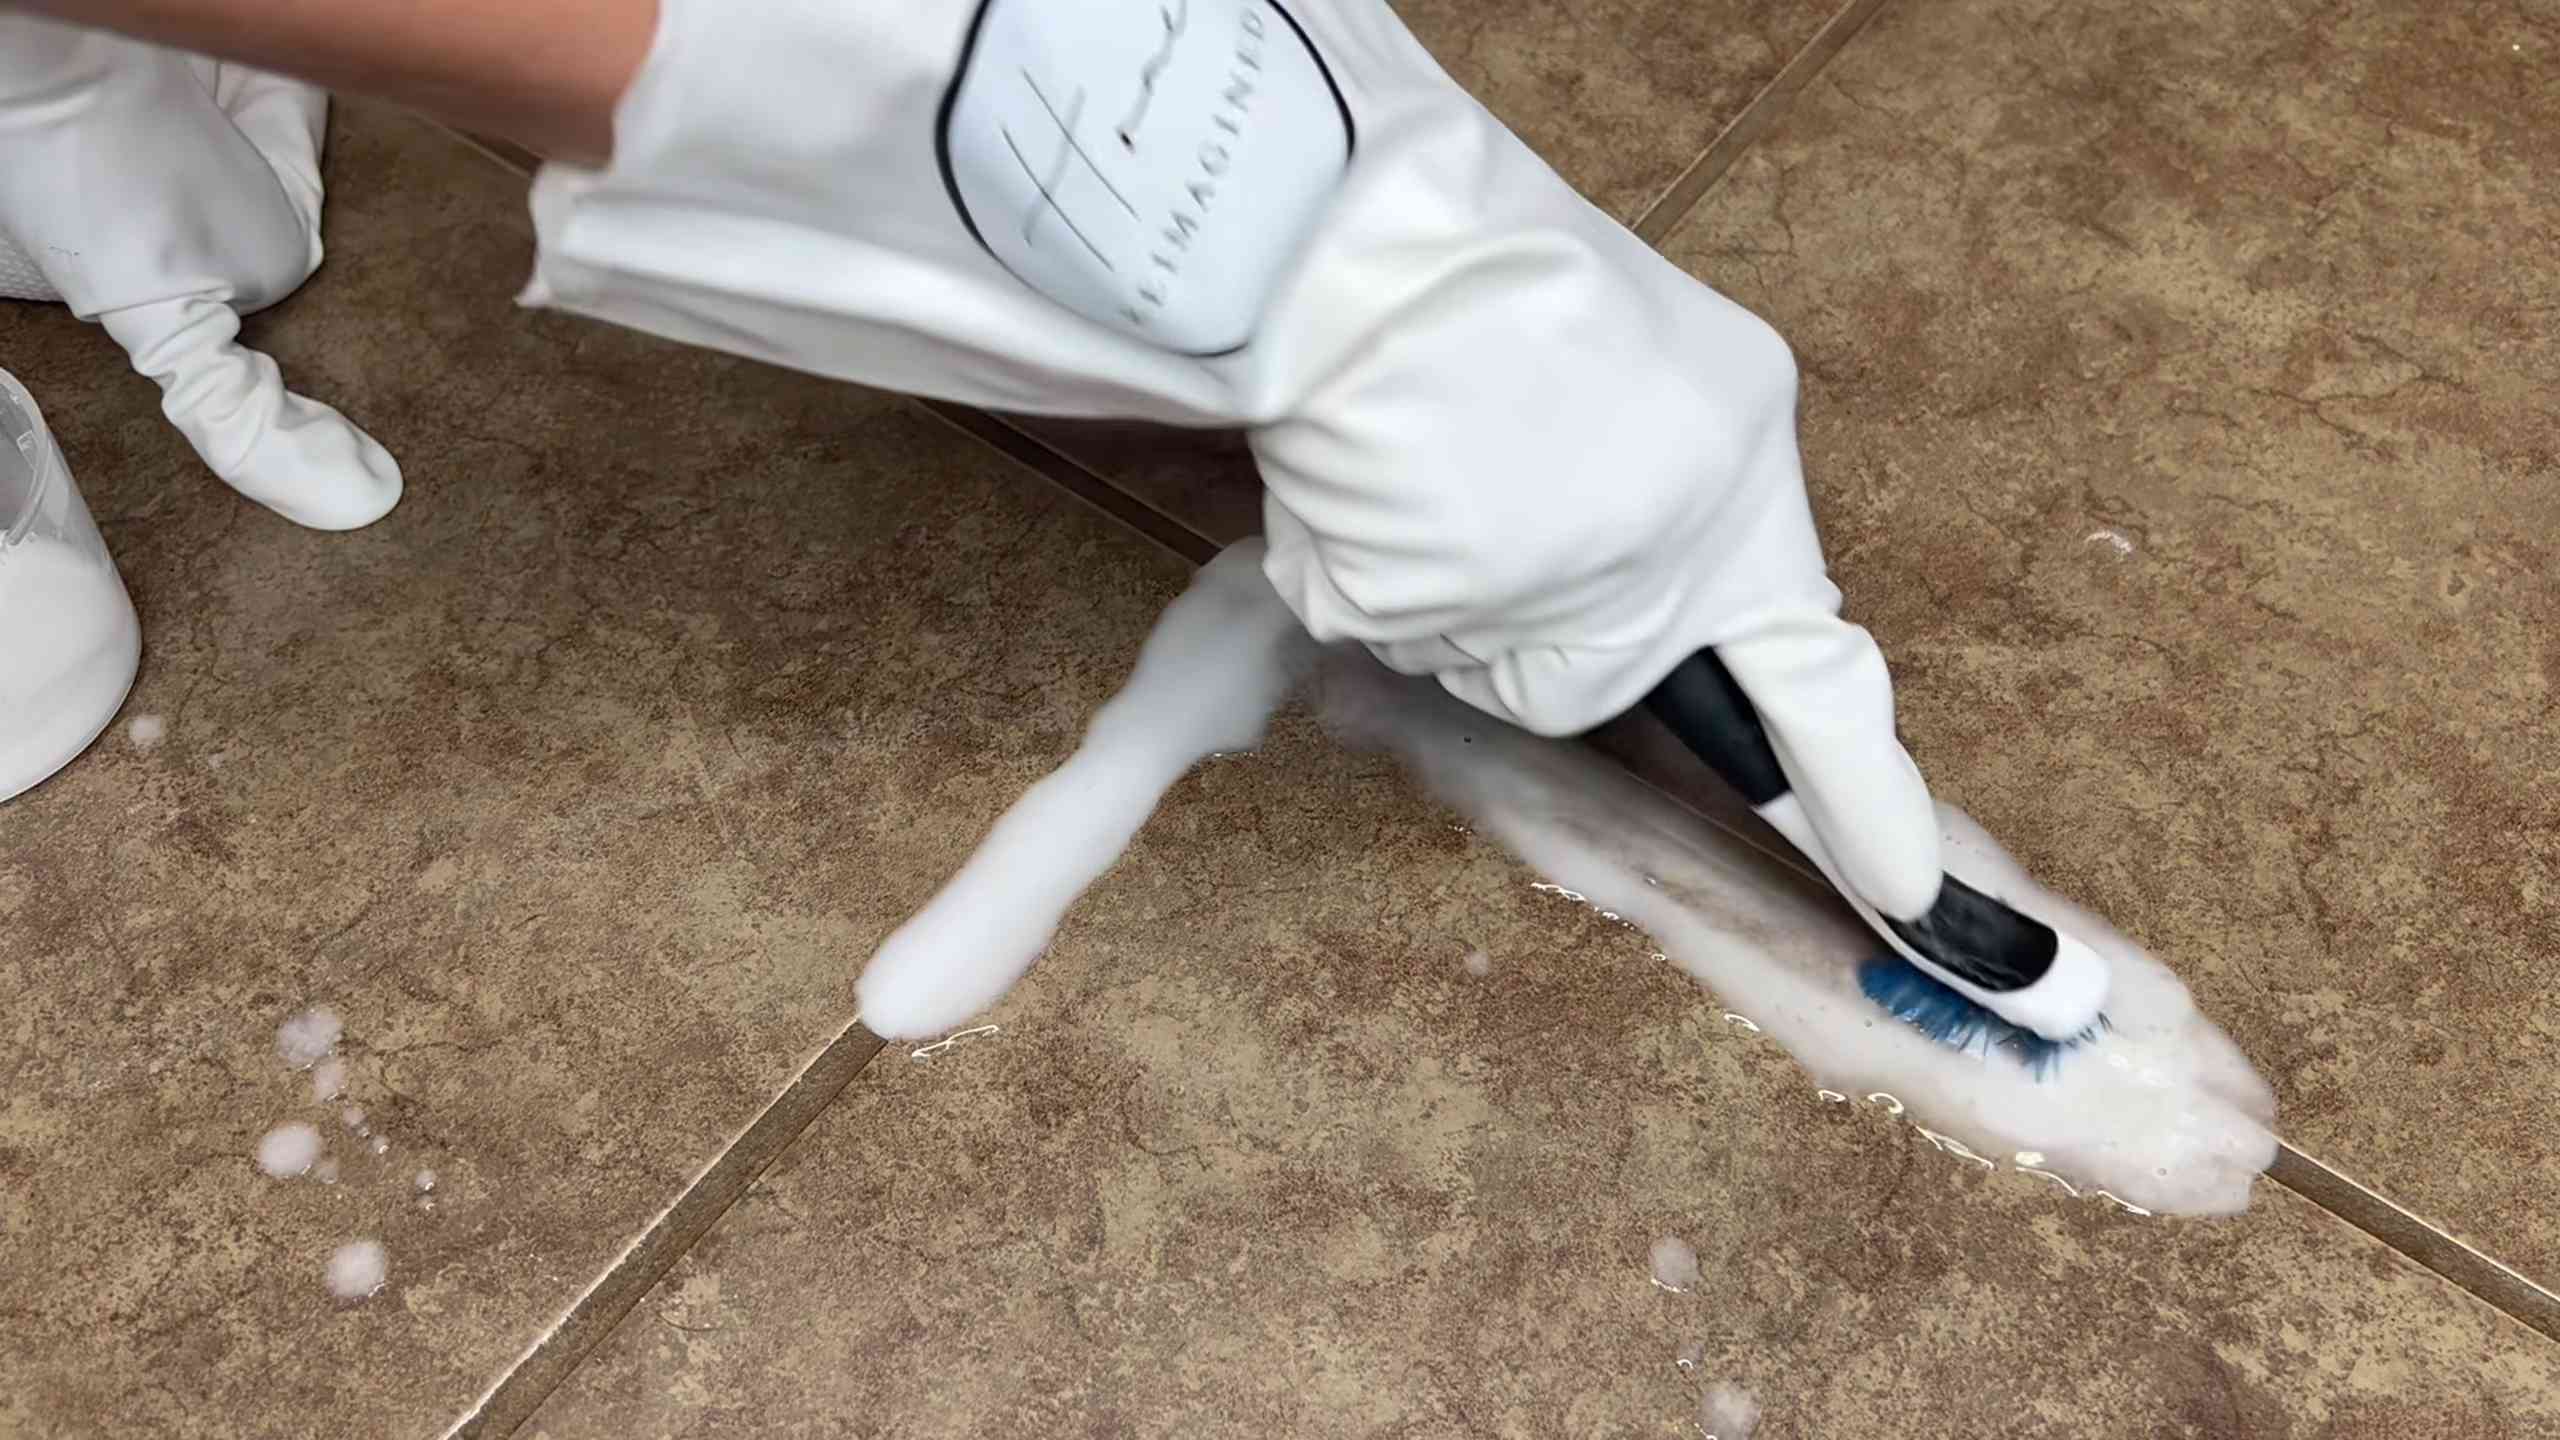
4. Scrub with the Toothbrush: Using your old toothbrush, scrub the grout lines in a back-and-forth motion. Apply firm pressure, but be careful not to damage the tiles. Pay extra attention to areas with stubborn stains.
5. Rinse with Warm Water: Once you’ve scrubbed the entire area, rinse it thoroughly with warm water. You can use a sponge or a clean cloth to wipe away any remaining residue.
6. Dry the Area: Finally, dry the area with paper towels or a clean cloth. This will help prevent water spots and mildew growth.
Alternative Cleaning Solutions
While the baking soda and vinegar method is my go-to, there are other cleaning solutions you can use with a toothbrush. Here are a few alternatives:
* Dish Soap and Water: For light cleaning, a simple solution of dish soap and warm water can be effective. Just apply the solution to the grout, scrub with a toothbrush, and rinse.
* Hydrogen Peroxide: Hydrogen peroxide is a natural bleaching agent that can help remove stubborn stains. Apply it directly to the grout, let it sit for a few minutes, scrub with a toothbrush, and rinse.
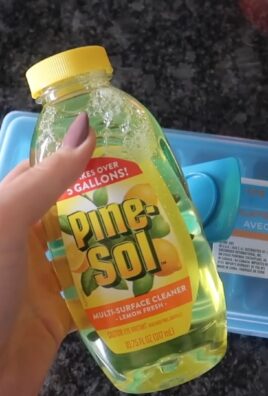
* Commercial Grout Cleaners: If you prefer to use a commercial grout cleaner, make sure to choose one that’s safe for your type of tile. Follow the instructions on the product label, and always test it in an inconspicuous area first.
Dealing with Stubborn Stains
Sometimes, you might encounter grout stains that are particularly stubborn. Don’t worry, there are a few things you can try to tackle them:
* Repeat the Cleaning Process: Sometimes, all it takes is a second round of cleaning to remove stubborn stains. Repeat the baking soda and vinegar method, or try one of the alternative cleaning solutions.
* Make a Stronger Paste: For really tough stains, you can make a stronger cleaning paste by adding a little bit of bleach to the baking soda and water mixture. Be very careful when using bleach, and always wear gloves and eye protection.
* Use a Grout Pen: If you’ve tried everything and the stains still won’t budge, you can use a grout pen to cover them up. Grout pens are available in a variety of colors, so you can find one that matches your grout.
Preventing Future Grout Stains
Once you’ve got your grout looking sparkling clean, you’ll want to keep it that way! Here are a few tips for preventing future grout stains:
* Seal Your Grout: Sealing your grout will help protect it from stains and moisture. You can purchase grout sealant at most home improvement stores.
* Wipe Up Spills Immediately: The sooner you wipe up spills, the less likely they are to stain your grout.
* Ventilate Your Bathroom: Proper ventilation will help prevent mildew growth, which can stain your grout. Run the exhaust fan while you’re showering, and open a window if possible.
* Clean Regularly: Regular cleaning will help prevent dirt and grime from building up on your grout. Aim to clean your grout at least once a month.
Safety First!
Before you start cleaning, it’s important to take a few safety precautions:
* Wear Gloves: Rubber gloves will protect your hands from harsh chemicals and prevent skin irritation.
* Protect Your Eyes: Eye protection is especially important when using vinegar or bleach.
* Ventilate the Area: Make sure the area is well-ventilated to avoid inhaling fumes.
* Test in an Inconspicuous Area: Before using any cleaning solution, test it in an inconspicuous area to make sure it doesn’t damage your tiles.
Final Thoughts
Cleaning grout with a toothbrush might seem like a small task, but it can make a huge difference in the overall appearance of your home. It’s a simple, affordable, and effective way to keep your tiles looking their best. So grab your old toothbrush, gather your supplies, and get ready to transform your grout from dingy to dazzling! I hope this guide has been helpful, and happy cleaning!
Conclusion
So, there you have it! This simple, yet incredibly effective, DIY grout cleaning trick using a toothbrush is a game-changer for anyone battling dingy, stained grout. Forget spending a fortune on harsh chemicals or specialized cleaning tools. This method is not only budget-friendly but also environmentally conscious, utilizing items you likely already have in your home.
Why is this a must-try? Because it delivers visible results with minimal effort. The toothbrush’s small head and sturdy bristles allow you to precisely target the grout lines, scrubbing away grime and discoloration that larger cleaning tools simply can’t reach. You’ll be amazed at how quickly your tiles transform, breathing new life into your kitchen, bathroom, or any other tiled space.
But don’t stop there! Feel free to experiment with variations to find what works best for your specific grout and stain types. For particularly stubborn stains, consider adding a paste of baking soda and water to your cleaning arsenal. Let the paste sit on the grout for a few minutes before scrubbing with the toothbrush. Another option is to use a mixture of vinegar and water, but be cautious when using vinegar on certain types of stone tiles, as it can be acidic and potentially damage the surface. Always test in an inconspicuous area first. You can also try using different types of toothbrushes – an electric toothbrush with a small, round head can provide extra scrubbing power.
This DIY grout cleaning method is more than just a cleaning hack; it’s a way to take pride in your home and create a cleaner, healthier living environment. The satisfaction of seeing your grout lines return to their original glory is truly rewarding.
We wholeheartedly encourage you to give this DIY grout cleaning trick a try. It’s easy, affordable, and effective. Once you’ve experienced the transformative power of a simple toothbrush, you’ll wonder why you didn’t try it sooner!
And most importantly, we want to hear about your experience! Share your before-and-after photos, your favorite cleaning solution combinations, and any tips or tricks you discover along the way. Let’s create a community of sparkling clean grout enthusiasts! Leave your comments and stories below – we can’t wait to see your amazing results! Let us know if this DIY grout cleaning method worked for you!
Frequently Asked Questions (FAQs)
What kind of toothbrush should I use for grout cleaning?
The best type of toothbrush for grout cleaning is one with firm bristles and a small head. An old toothbrush is perfectly fine, as you’ll likely be discarding it after cleaning grout. A toothbrush with an angled head can also be helpful for reaching tight corners and edges. Some people prefer electric toothbrushes with small, round heads for extra scrubbing power. Ultimately, the choice is yours, but prioritize firm bristles for effective grime removal.
What cleaning solutions can I use with the toothbrush?
There are several effective cleaning solutions you can use with a toothbrush for grout cleaning. Here are a few popular options:
* **Baking Soda Paste:** Mix baking soda with a small amount of water to create a thick paste. Apply the paste to the grout lines, let it sit for a few minutes, and then scrub with the toothbrush.
* **Vinegar and Water Solution:** Mix equal parts white vinegar and water in a spray bottle. Spray the solution onto the grout lines, let it sit for a few minutes, and then scrub with the toothbrush. Be cautious when using vinegar on certain types of stone tiles, as it can be acidic.
* **Dish Soap and Water:** A simple solution of dish soap and water can be effective for light cleaning. Apply the solution to the grout lines and scrub with the toothbrush.
* **Commercial Grout Cleaners:** If you prefer to use a commercial grout cleaner, choose one that is specifically designed for your type of tile and grout. Follow the manufacturer’s instructions carefully.
How often should I clean my grout?
The frequency of grout cleaning depends on several factors, including the location of the tile, the amount of foot traffic, and your personal preferences. In general, it’s a good idea to clean your grout at least once a month to prevent dirt and grime from building up. High-traffic areas, such as kitchens and bathrooms, may require more frequent cleaning. If you notice stains or discoloration, clean the grout immediately to prevent them from becoming permanent.
Can I use this method on all types of grout?
This method is generally safe for most types of grout, including cement-based grout and epoxy grout. However, it’s always a good idea to test the cleaning solution in an inconspicuous area first to ensure that it doesn’t damage the grout or tile. Be particularly cautious when using acidic cleaners, such as vinegar, on certain types of stone tiles, as they can be etched or discolored.
What if the stains are really stubborn?
For particularly stubborn stains, you may need to use a stronger cleaning solution or repeat the cleaning process several times. Here are a few tips for dealing with tough stains:
* **Let the cleaning solution sit longer:** Allow the cleaning solution to sit on the grout lines for a longer period of time before scrubbing. This will give the solution more time to penetrate the stain and loosen the grime.
* **Use a stronger cleaning solution:** Consider using a commercial grout cleaner that is specifically designed for removing stubborn stains.
* **Use a grout brush:** A grout brush with stiff bristles can provide more scrubbing power than a toothbrush.
* **Steam cleaning:** A steam cleaner can be effective for removing stubborn stains and killing mold and mildew.
* **Re-grouting:** In extreme cases, you may need to re-grout the tile to completely remove the stains.
Is this method safe for colored grout?
Yes, this method is generally safe for colored grout, but it’s important to test the cleaning solution in an inconspicuous area first to ensure that it doesn’t fade or discolor the grout. Avoid using harsh chemicals or abrasive cleaners, as they can damage the color.
How can I prevent grout from getting dirty in the first place?
Preventing grout from getting dirty is easier than cleaning it after it’s stained. Here are a few tips for keeping your grout clean:
* **Seal the grout:** Sealing the grout will help to protect it from stains and moisture. Reapply sealant every year or two, or as needed.
* **Wipe up spills immediately:** Clean up spills as soon as they happen to prevent them from soaking into the grout.
* **Use mats and rugs:** Place mats and rugs in high-traffic areas to protect the grout from dirt and grime.
* **Ventilate the area:** Proper ventilation can help to prevent mold and mildew growth.
* **Regular cleaning:** Clean the grout regularly to prevent dirt and grime from building up.
Can I use bleach to clean grout?
While bleach can be effective for cleaning grout, it’s important to use it with caution. Bleach can be harsh and can damage certain types of grout and tile. It can also release harmful fumes, so it’s important to ventilate the area well when using bleach. If you choose to use bleach, dilute it with water and test it in an inconspicuous area first. Wear gloves and eye protection when using bleach.
What about mold and mildew?
If you have mold or mildew growing on your grout, you can use a solution of bleach and water to kill it. Mix one part bleach with ten parts water and apply the solution to the grout lines. Let it sit for a few minutes, then scrub with a toothbrush or grout brush. Rinse thoroughly with water. Be sure to ventilate the area well when using bleach. You can also use commercial mold and mildew removers.

Leave a Comment