

Grow Shallots at Home? Absolutely! Imagine stepping into your kitchen and snipping fresh, flavorful shallots straight from your own garden. No more last-minute grocery runs or settling for subpar shallots from the store. This isn’t just a dream; it’s an achievable reality with a few simple DIY tricks, and I’m here to guide you every step of the way.
Shallots, with their delicate onion-garlic flavor, have been a culinary staple for centuries. Originating in Central or Southwest Asia, they’ve journeyed across continents, enriching dishes from French sauces to Southeast Asian stir-fries. Their versatility and unique taste have made them a beloved ingredient in kitchens worldwide.
But why should you bother growing your own? Well, for starters, homegrown shallots taste infinitely better than store-bought ones. Plus, you have complete control over their growing conditions, ensuring they’re free from harmful pesticides and chemicals. More importantly, learning how to grow shallots at home is incredibly rewarding. It’s a chance to connect with nature, learn new skills, and enjoy the satisfaction of harvesting your own food. In this article, I’ll share my favorite DIY tricks and hacks to help you cultivate a thriving shallot patch, even if you have limited space or gardening experience. Let’s get started!
Grow Shallots at Home: A Beginner’s Guide
Hey there, fellow gardening enthusiasts! Ever dreamt of having a constant supply of fresh, flavorful shallots right at your fingertips? Well, dream no more! Growing shallots at home is surprisingly easy, even if you’re a complete beginner. I’m going to walk you through the whole process, from choosing the right shallots to harvesting your bountiful crop. Let’s get our hands dirty!
Choosing Your Shallots
Before we dive into the planting process, let’s talk about selecting the right shallots. You have a couple of options here:
* Shallot Sets: These are small, immature shallots specifically grown for planting. They’re readily available at garden centers and online. This is the easiest route for beginners. Look for sets that are firm, dry, and free from any signs of mold or rot.
* Shallots from the Grocery Store: Yes, you can actually grow shallots from the ones you buy at the grocery store! Just make sure they are organic. Non-organic shallots are often treated to prevent sprouting. Choose shallots that are firm and healthy-looking. Avoid any that are soft, mushy, or have already started to sprout excessively. A little bit of green growth is okay, though!
Preparing for Planting
Okay, you’ve got your shallots. Now, let’s get the planting area ready. Shallots need a sunny spot and well-drained soil.
* Sunlight: Shallots need at least 6 hours of sunlight per day. Choose a location in your garden that gets plenty of sunshine.
* Soil: Well-drained soil is crucial. Shallots don’t like to sit in soggy soil, as this can lead to rot. If your soil is heavy clay, amend it with compost, well-rotted manure, or other organic matter to improve drainage.
* Soil pH: Shallots prefer a soil pH between 6.0 and 7.0. You can test your soil pH with a simple soil testing kit, available at most garden centers. If your soil is too acidic, you can add lime to raise the pH. If it’s too alkaline, you can add sulfur to lower it.
* Fertilizing: Before planting, work a balanced fertilizer into the soil. A 10-10-10 fertilizer is a good option. Follow the instructions on the fertilizer package for application rates.
Planting Your Shallots
Alright, the moment we’ve been waiting for! Let’s get those shallots in the ground.
1. Timing is Key: The best time to plant shallots is in the fall (September-October in most regions) for a summer harvest. You can also plant them in early spring (March-April) for a late summer harvest. I prefer fall planting because it gives the shallots a head start.
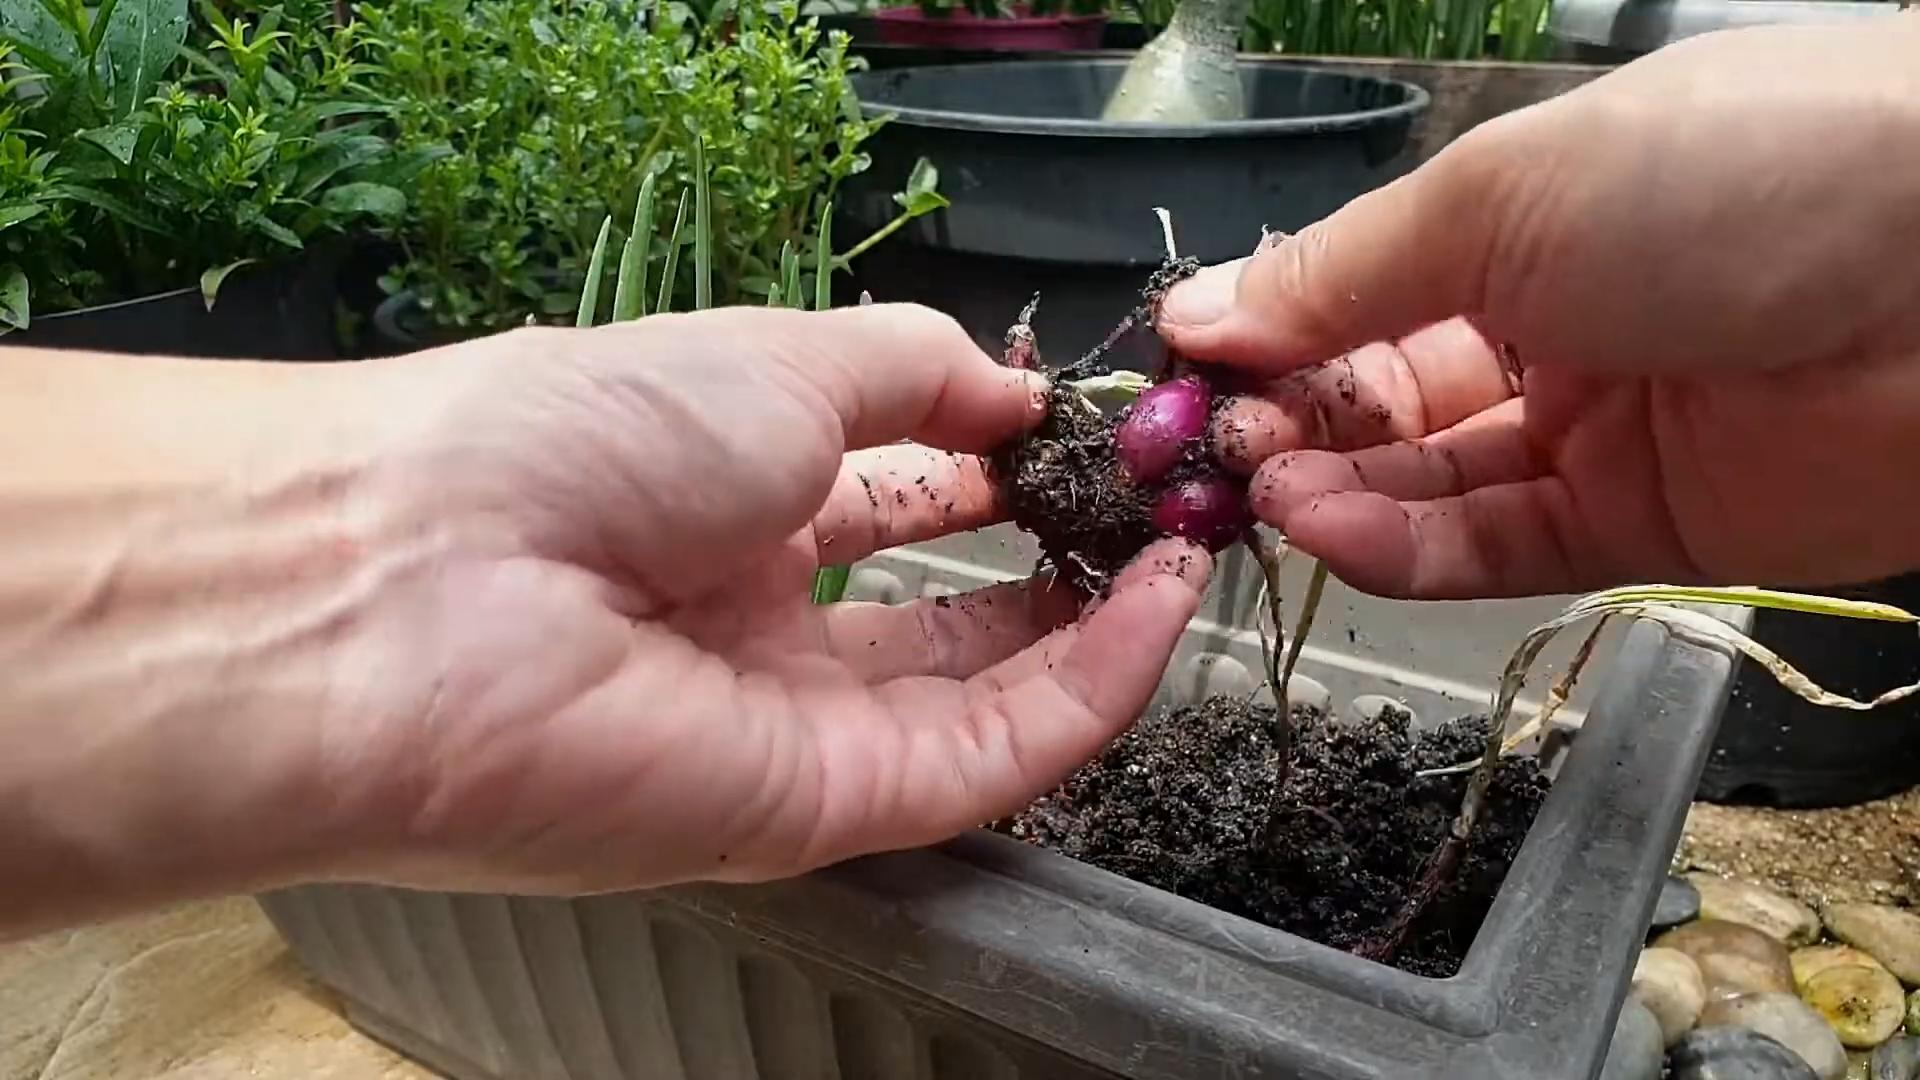
2. Preparing the Shallots: If you’re using shallots from the grocery store, you can gently separate the individual cloves. If you’re using shallot sets, you can plant them as is.
3. Planting Depth: Plant the shallots about 1-2 inches deep, with the pointed end facing up.
4. Spacing: Space the shallots about 6-8 inches apart in rows that are 12-18 inches apart. This gives them enough room to grow and develop.
5. Watering: After planting, water the shallots thoroughly. This helps settle the soil and encourages root growth.
Caring for Your Shallots
Now that your shallots are planted, it’s important to provide them with the care they need to thrive.
* Watering: Water regularly, especially during dry periods. Shallots need consistent moisture to grow well, but avoid overwatering, which can lead to rot. Aim for about 1 inch of water per week.
* Weeding: Keep the area around your shallots free of weeds. Weeds compete with the shallots for nutrients and water. Hand-pull weeds carefully to avoid disturbing the shallot roots.
* Fertilizing: Side-dress your shallots with a nitrogen-rich fertilizer about a month after planting. This will help promote leafy growth. Use a fertilizer like ammonium nitrate or urea, following the instructions on the package.
* Mulching: Apply a layer of mulch around your shallots. Mulch helps retain moisture, suppress weeds, and regulate soil temperature. Straw, hay, or wood chips are good options for mulch.
* Pest and Disease Control: Shallots are generally resistant to pests and diseases, but keep an eye out for common garden pests like aphids and onion thrips. If you notice any pests, you can treat them with insecticidal soap or neem oil. Diseases like downy mildew can also affect shallots. To prevent diseases, ensure good air circulation and avoid overwatering. If you notice any signs of disease, remove the affected plants immediately.
Harvesting Your Shallots
The most rewarding part! Harvesting your homegrown shallots.
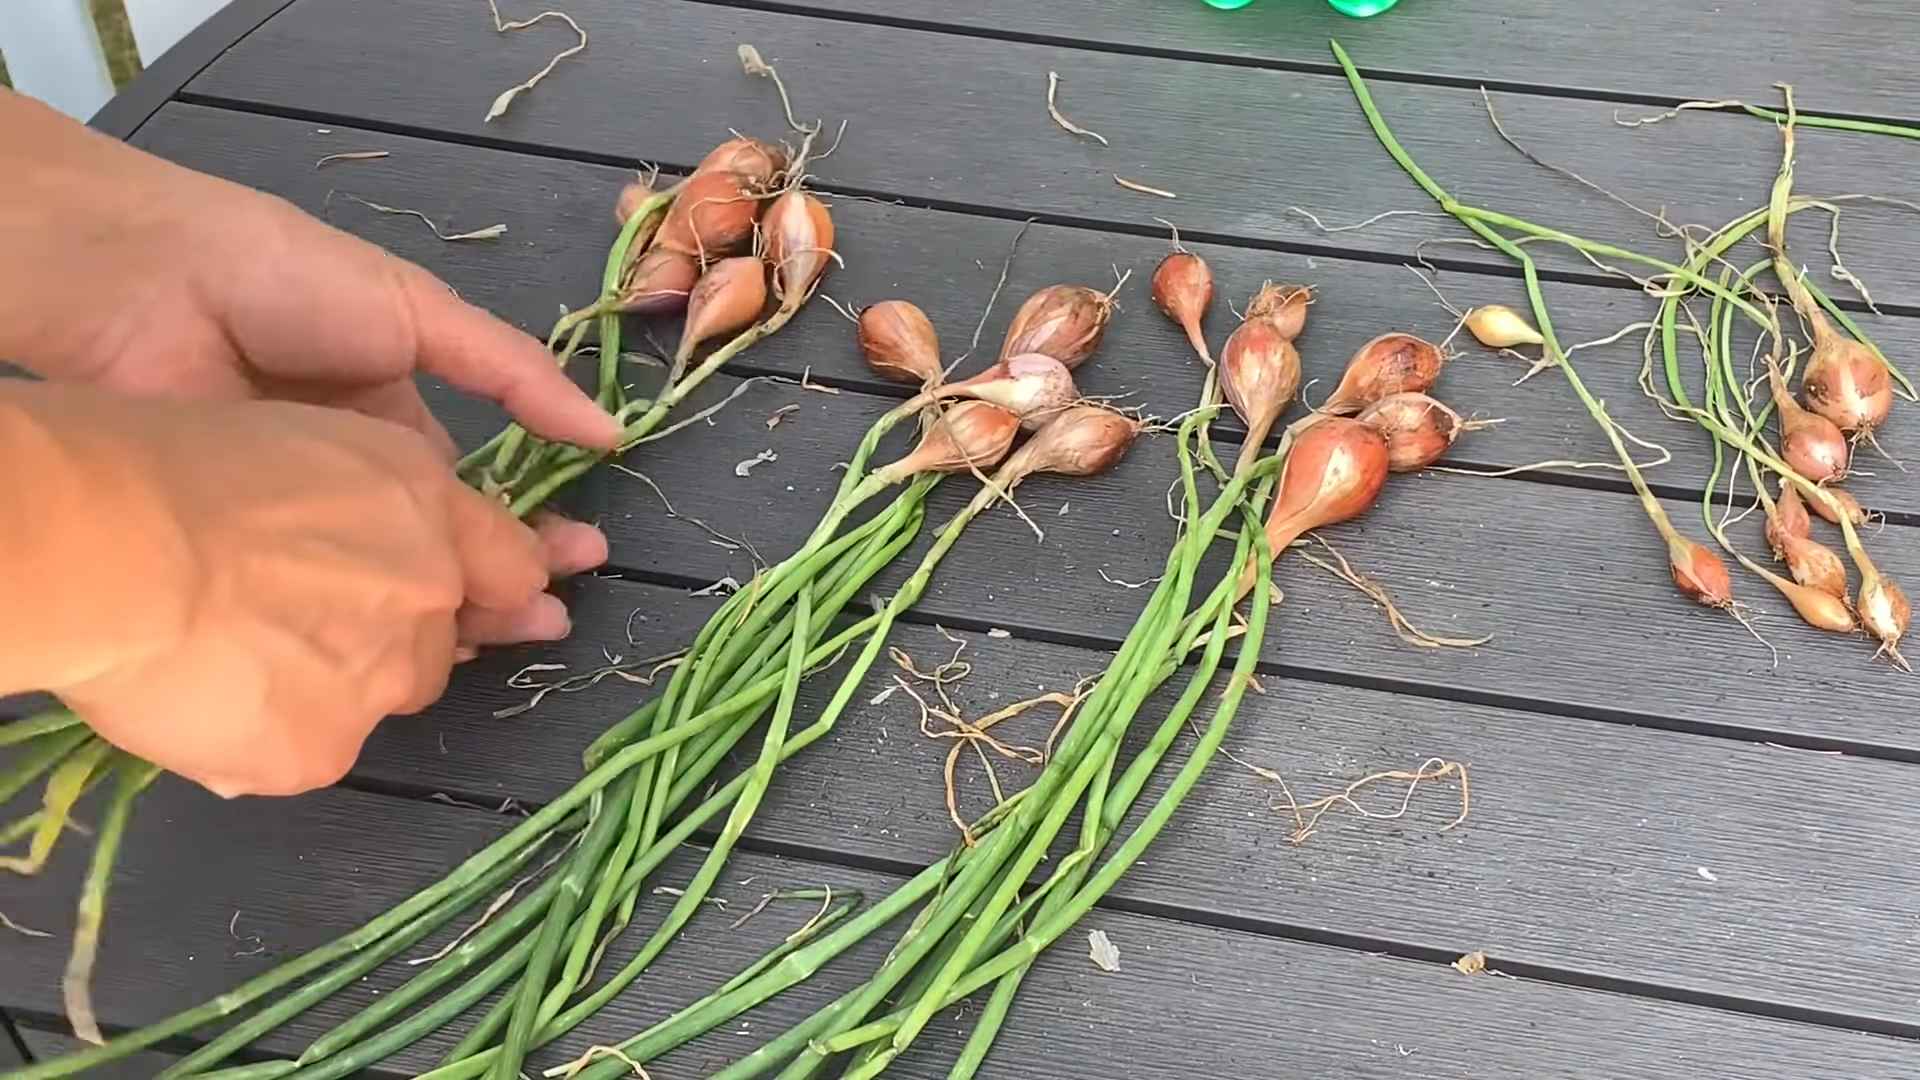
1. When to Harvest: Shallots are typically ready to harvest when the tops start to turn yellow and fall over. This usually happens in mid-summer for fall-planted shallots and late summer for spring-planted shallots.
2. Harvesting Technique: Gently loosen the soil around the shallots with a garden fork or trowel. Carefully lift the shallots from the ground.
3. Curing: After harvesting, cure the shallots in a warm, dry, well-ventilated place for about 2-3 weeks. This allows the outer layers to dry and toughen, which helps prevent rot during storage. You can cure the shallots by spreading them out on a screen or hanging them in mesh bags.
4. Storing: Once the shallots are cured, store them in a cool, dry, dark place. A pantry or basement is ideal. Properly cured and stored shallots can last for several months.
Troubleshooting
Even with the best care, you might encounter some challenges along the way. Here are a few common problems and how to address them:
* Shallots Not Bulbing: If your shallots are not forming bulbs, it could be due to several factors, including insufficient sunlight, poor soil, or lack of nutrients. Make sure your shallots are getting at least 6 hours of sunlight per day, and amend your soil with compost or other organic matter. Fertilize regularly with a balanced fertilizer.
* Shallots Rotting: Shallot rot is usually caused by overwatering or poor drainage. Make sure your soil is well-drained, and avoid overwatering. If you notice any signs of rot, remove the affected plants immediately.
* Pest Infestations: Keep an eye out for common garden pests like aphids and onion thrips. Treat infestations with insecticidal soap or neem oil.
Enjoying Your Harvest
Congratulations! You’ve successfully grown your own shallots. Now it’s time to enjoy the fruits (or rather, bulbs) of your labor. Shallots can be used in a variety of dishes, from soups and stews to sauces and salads. They have a milder, sweeter flavor than onions, making them a versatile ingredient in the kitchen.
Here are a few ideas for using your homegrown shallots:
* Caramelized Shallots: Slice shallots thinly and sauté them in butter or olive oil until they are golden brown and caramelized. These are delicious on burgers, sandwiches, or as a topping for grilled meats.
* Shallot Vinaigrette: Mince shallots finely and whisk them together with olive oil, vinegar, mustard, and herbs to make a flavorful vinaigrette for salads.
* Shallot Soup: Use shallots as the base for a creamy and delicious shallot soup.
* Shallot Butter: Mix minced shallots with softened butter, herbs, and spices to create a flavorful compound butter for spreading on bread or topping grilled meats and vegetables.
Growing shallots at home is a rewarding experience that allows you to enjoy fresh, flavorful ingredients right from your own garden. With a little bit of care and attention, you can have a bountiful harvest of shallots to enjoy all season long. Happy gardening!
Conclusion
So, there you have it! Growing shallots at home is not only surprisingly simple, but it’s also incredibly rewarding. Imagine stepping into your garden or onto your balcony and harvesting fresh, flavorful shallots whenever you need them. No more last-minute trips to the grocery store or settling for subpar, store-bought options. You’ll have a constant supply of these culinary gems right at your fingertips.
This DIY trick is a must-try for several reasons. First, it’s cost-effective. A single shallot bulb can yield multiple new shallots, providing you with a continuous harvest for months to come. Second, it’s environmentally friendly. By growing your own shallots, you’re reducing your carbon footprint and supporting sustainable practices. Third, it’s incredibly satisfying. There’s nothing quite like the feeling of nurturing a plant from a single bulb to a thriving crop.
But the benefits don’t stop there. Homegrown shallots often boast a superior flavor compared to their commercially grown counterparts. The taste is more intense, the texture is crisper, and the aroma is simply divine. Plus, you have complete control over the growing process, ensuring that your shallots are free from harmful pesticides and chemicals.
Looking for variations? Consider experimenting with different varieties of shallots. Some are milder, while others are more pungent. Try growing French grey shallots for their delicate flavor or Dutch yellow shallots for their robust taste. You can also plant shallots in containers if you have limited space. Just make sure to choose a pot that’s at least 6 inches deep and wide to accommodate the growing bulbs.
Another fun variation is to grow shallot greens. These tender shoots are delicious in salads, soups, and stir-fries. Simply snip them off as needed, and the shallots will continue to produce more greens. You can even grow shallots indoors during the winter months, providing you with a year-round supply of fresh produce.
We’ve covered the basics, but don’t be afraid to get creative and adapt the process to suit your specific needs and preferences. The key is to experiment and learn from your experiences. Remember to provide your shallots with plenty of sunlight, well-drained soil, and consistent watering. With a little bit of care and attention, you’ll be rewarded with a bountiful harvest of delicious, homegrown shallots.
So, what are you waiting for? Grab a shallot bulb, follow our simple instructions, and start growing your own shallots at home today! We’re confident that you’ll be amazed by the results. And don’t forget to share your experiences with us. We’d love to hear about your successes, your challenges, and any tips or tricks that you’ve discovered along the way. Share your photos and stories on social media using #HomegrownShallots and let’s inspire others to join the fun. Let’s all embrace the joy of growing shallots at home and savor the delicious rewards of our labor. This simple DIY trick will transform your cooking and connect you with the earth in a meaningful way.
Frequently Asked Questions (FAQ)
What are the best conditions for growing shallots?
Shallots thrive in well-drained soil and require at least six hours of sunlight per day. The ideal soil pH is between 6.0 and 7.0. Amend heavy clay soils with compost or other organic matter to improve drainage. Consistent watering is essential, especially during dry periods. Avoid overwatering, as this can lead to bulb rot.
When is the best time to plant shallots?
The best time to plant shallots depends on your climate. In colder regions, plant shallots in early spring, as soon as the ground can be worked. In warmer regions, plant shallots in the fall for a spring harvest. This allows the shallots to establish roots before the onset of winter.
How do I know when my shallots are ready to harvest?
Shallots are typically ready to harvest when the tops begin to turn yellow and fall over. This usually occurs about 90-120 days after planting. Gently lift the bulbs from the soil and allow them to dry in a well-ventilated area for a week or two before storing.
Can I grow shallots in containers?
Yes, shallots can be successfully grown in containers. Choose a pot that’s at least 6 inches deep and wide to accommodate the growing bulbs. Use a well-draining potting mix and provide your shallots with plenty of sunlight and water. Container-grown shallots may require more frequent watering than those grown in the ground.
How do I store shallots after harvesting?
After harvesting, allow the shallots to dry in a well-ventilated area for a week or two. Once the outer skins are dry and papery, trim the roots and tops. Store the shallots in a cool, dry, and dark place, such as a pantry or basement. Properly stored shallots can last for several months.
What are some common problems when growing shallots?
Some common problems when growing shallots include bulb rot, onion maggots, and thrips. Bulb rot can be prevented by ensuring good drainage and avoiding overwatering. Onion maggots can be controlled with insecticidal soap or by covering the plants with row covers. Thrips can be managed with neem oil or by introducing beneficial insects, such as ladybugs.
Can I grow shallots from seed?
While it’s possible to grow shallots from seed, it’s more common and easier to grow them from bulbs. Shallot seeds can be slow to germinate and may not produce bulbs in the first year. Growing from bulbs ensures a quicker and more reliable harvest.
How many shallots will I get from one bulb?
One shallot bulb can typically produce a cluster of 5-10 new shallots. The exact number will depend on the variety of shallot, the growing conditions, and the overall health of the plant.
What are some uses for shallots in cooking?
Shallots are a versatile ingredient that can be used in a wide variety of dishes. They can be sautéed, roasted, grilled, or used raw in salads and dressings. Shallots add a delicate, onion-like flavor to soups, sauces, stews, and stir-fries. They are also a key ingredient in many French and Asian cuisines.
Can I eat the shallot greens?
Yes, shallot greens are edible and delicious. They have a mild, oniony flavor and can be used in salads, soups, and stir-fries. Simply snip them off as needed, and the shallots will continue to produce more greens.
What if my shallots don’t seem to be growing?
If your shallots aren’t growing, consider a few factors. Are they getting enough sunlight? Is the soil well-drained? Are you watering them consistently? Check for pests or diseases that may be affecting their growth. Amend the soil with compost or fertilizer to provide them with the nutrients they need.
Are shallots the same as onions?
No, shallots are not the same as onions, although they are related. Shallots have a milder, more delicate flavor than onions. They also grow in clusters, while onions typically grow as single bulbs. Shallots are often used in dishes where a subtle onion flavor is desired.
Leave a Comment