

Growing Pumpkins at Home – imagine stepping into your backyard and harvesting plump, vibrant pumpkins that you nurtured from tiny seeds! It’s not just a whimsical dream; it’s an achievable reality with a little know-how and some simple DIY tricks. For centuries, pumpkins have held a special place in our hearts and cultures, from their use in ancient agricultural practices to their starring role in modern-day Halloween celebrations. Think about the satisfaction of carving a jack-o’-lantern from a pumpkin *you* grew!
But beyond the festive fun, growing pumpkins at home offers a rewarding connection to nature and a sustainable way to enjoy this versatile fruit (yes, it’s technically a fruit!). Many people shy away from the idea, thinking it’s too complicated or requires vast amounts of space. That’s where this DIY guide comes in! I’m here to debunk those myths and share easy-to-follow tips and hacks that will empower you to cultivate your own pumpkin patch, no matter the size of your garden. Whether you’re dreaming of baking a delicious pumpkin pie, creating stunning fall decorations, or simply enjoying the beauty of these magnificent gourds, this article will provide you with the knowledge and inspiration you need to succeed. Let’s get growing!
Growing Pumpkins at Home: A DIY Guide for a Bountiful Harvest
Hey there, fellow gardening enthusiasts! Ever dreamed of carving your own homegrown pumpkin for Halloween? Or maybe baking a delicious pumpkin pie with ingredients straight from your backyard? Well, you’ve come to the right place! I’m going to walk you through everything you need to know to successfully grow pumpkins at home, from seed to glorious gourd. It’s easier than you think, and the satisfaction of harvesting your own pumpkins is truly rewarding.
Choosing Your Pumpkin Variety
Before we get our hands dirty, let’s talk pumpkins! There are tons of different varieties, each with its own unique characteristics. Consider what you want to use your pumpkins for – carving, baking, or decoration – and choose accordingly.
* Jack-o’-Lantern Pumpkins: These are your classic carving pumpkins, like ‘Connecticut Field’ or ‘Howden’. They’re large, round, and have a sturdy stem.
* Pie Pumpkins: Also known as sugar pumpkins, these are smaller and sweeter, perfect for baking. ‘Baby Pam’ and ‘New England Pie’ are popular choices.
* Ornamental Pumpkins: These come in all shapes, sizes, and colors! Think ‘Gourds’, ‘Mini White’, and ‘Turk’s Turban’. They’re great for adding visual interest to your fall displays.
* Giant Pumpkins: If you’re feeling ambitious, try growing a giant pumpkin like ‘Atlantic Giant’. Be warned, these require a lot of space and effort!
I personally love growing a mix of pie pumpkins and jack-o’-lanterns. That way, I have pumpkins for both carving and baking!
Preparing Your Pumpkin Patch
Pumpkins are hungry plants, so they need rich, well-drained soil. They also need plenty of sunlight – at least 6 hours a day. Here’s how to prepare your pumpkin patch:
* Choose a Sunny Location: Find a spot in your yard that gets plenty of sunlight. Remember, pumpkins need a lot of space to spread out, so choose a location that can accommodate their sprawling vines.
* Improve the Soil: Pumpkins thrive in soil that’s rich in organic matter. Amend your soil with compost, aged manure, or other organic materials. This will improve drainage and provide essential nutrients.
* Test the Soil pH: Pumpkins prefer a soil pH between 6.0 and 6.8. You can test your soil pH with a home testing kit or send a sample to your local extension office. If your soil is too acidic, add lime to raise the pH. If it’s too alkaline, add sulfur to lower the pH.
* Create Mounds or Hills: Plant your pumpkin seeds in mounds or hills that are about 12 inches high and 3 feet in diameter. This will improve drainage and warm the soil, which is especially important in cooler climates.
Planting Your Pumpkin Seeds
Now for the fun part – planting! You can either start your pumpkin seeds indoors or direct sow them in your garden. I prefer direct sowing because it’s less work and the seedlings tend to be stronger.
* Timing is Key: Pumpkins need a long growing season, so it’s important to plant them at the right time. In most areas, you can plant pumpkin seeds after the last frost, when the soil has warmed to at least 60°F (15°C). Check your local frost dates to determine the best time to plant in your area.
* Direct Sowing: Sow 3-5 seeds per hill, about 1 inch deep. Space the hills about 4-6 feet apart, depending on the variety. Water the seeds thoroughly after planting.
* Starting Seeds Indoors (Optional): If you live in a colder climate with a shorter growing season, you can start your pumpkin seeds indoors about 2-3 weeks before the last frost. Sow the seeds in peat pots or biodegradable containers, as pumpkins don’t like to have their roots disturbed. Transplant the seedlings into your garden after the last frost, spacing them as you would direct-sown seeds.
* Thinning Seedlings: Once the seedlings emerge, thin them to the strongest one or two plants per hill. This will give the remaining plants plenty of room to grow.
Caring for Your Pumpkin Plants
Once your pumpkin plants are established, it’s important to provide them with the care they need to thrive.
* Watering: Pumpkins need consistent moisture, especially during hot, dry weather. Water deeply and regularly, aiming for about 1 inch of water per week. Avoid overhead watering, as this can lead to fungal diseases. Drip irrigation or soaker hoses are ideal for watering pumpkins.
* Fertilizing: Pumpkins are heavy feeders, so they need regular fertilization. Apply a balanced fertilizer (e.g., 10-10-10) every 2-3 weeks. You can also side-dress your plants with compost or aged manure.
* Weeding: Keep your pumpkin patch free of weeds, which can compete with your plants for nutrients and water. Hand-pull weeds or use a hoe to cultivate the soil around your plants. Be careful not to damage the pumpkin vines.
* Pest and Disease Control: Pumpkins are susceptible to a variety of pests and diseases, including squash bugs, squash vine borers, powdery mildew, and downy mildew. Monitor your plants regularly for signs of pests or diseases. Use organic pest control methods, such as insecticidal soap or neem oil, to control pests. Apply a fungicide to prevent or treat fungal diseases.
* Pollination: Pumpkins have separate male and female flowers. The female flowers need to be pollinated in order to produce pumpkins. Bees are the primary pollinators of pumpkins, so it’s important to attract them to your garden. You can plant bee-friendly flowers, such as sunflowers, zinnias, and lavender, near your pumpkin patch. If you’re not seeing enough bees, you can hand-pollinate your pumpkins. To hand-pollinate, use a small paintbrush to transfer pollen from the male flowers to the female flowers.
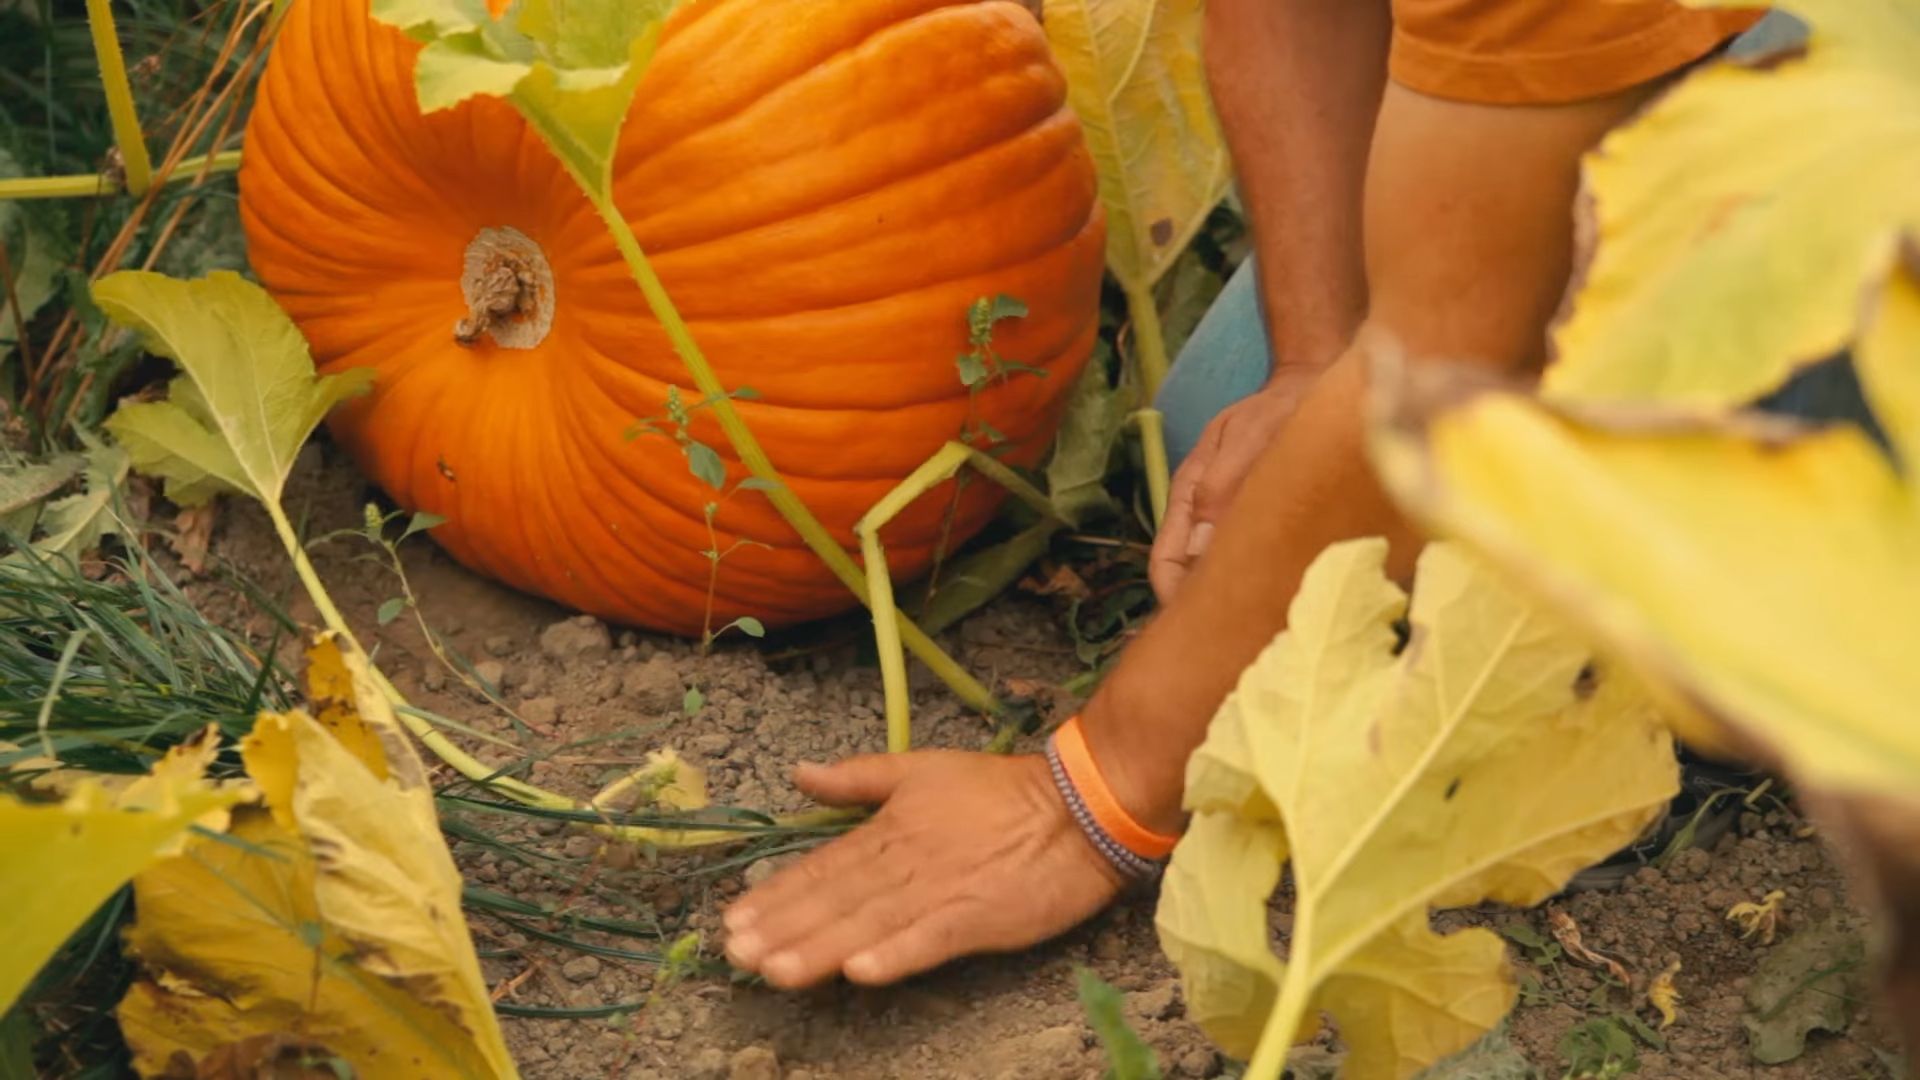
* Protecting Developing Pumpkins: As your pumpkins grow, they may need some extra protection. Place a piece of cardboard or straw under each pumpkin to prevent it from rotting. You can also cover the pumpkins with a blanket or tarp during cold snaps to protect them from frost damage.
Harvesting Your Pumpkins
The moment we’ve all been waiting for – harvesting! Knowing when to harvest your pumpkins is crucial for ensuring they’re ripe and ready to store.
* Check the Color: Ripe pumpkins will have a deep, uniform color. The color will vary depending on the variety, but generally, you’re looking for a rich orange or yellow hue.
* Tap the Pumpkin: A ripe pumpkin will sound hollow when you tap it.
* Check the Stem: The stem of a ripe pumpkin will be hard and dry. It should also be starting to crack or shrivel.
* Harvest Before Frost: It’s important to harvest your pumpkins before the first frost. Frost can damage the pumpkins and shorten their storage life.
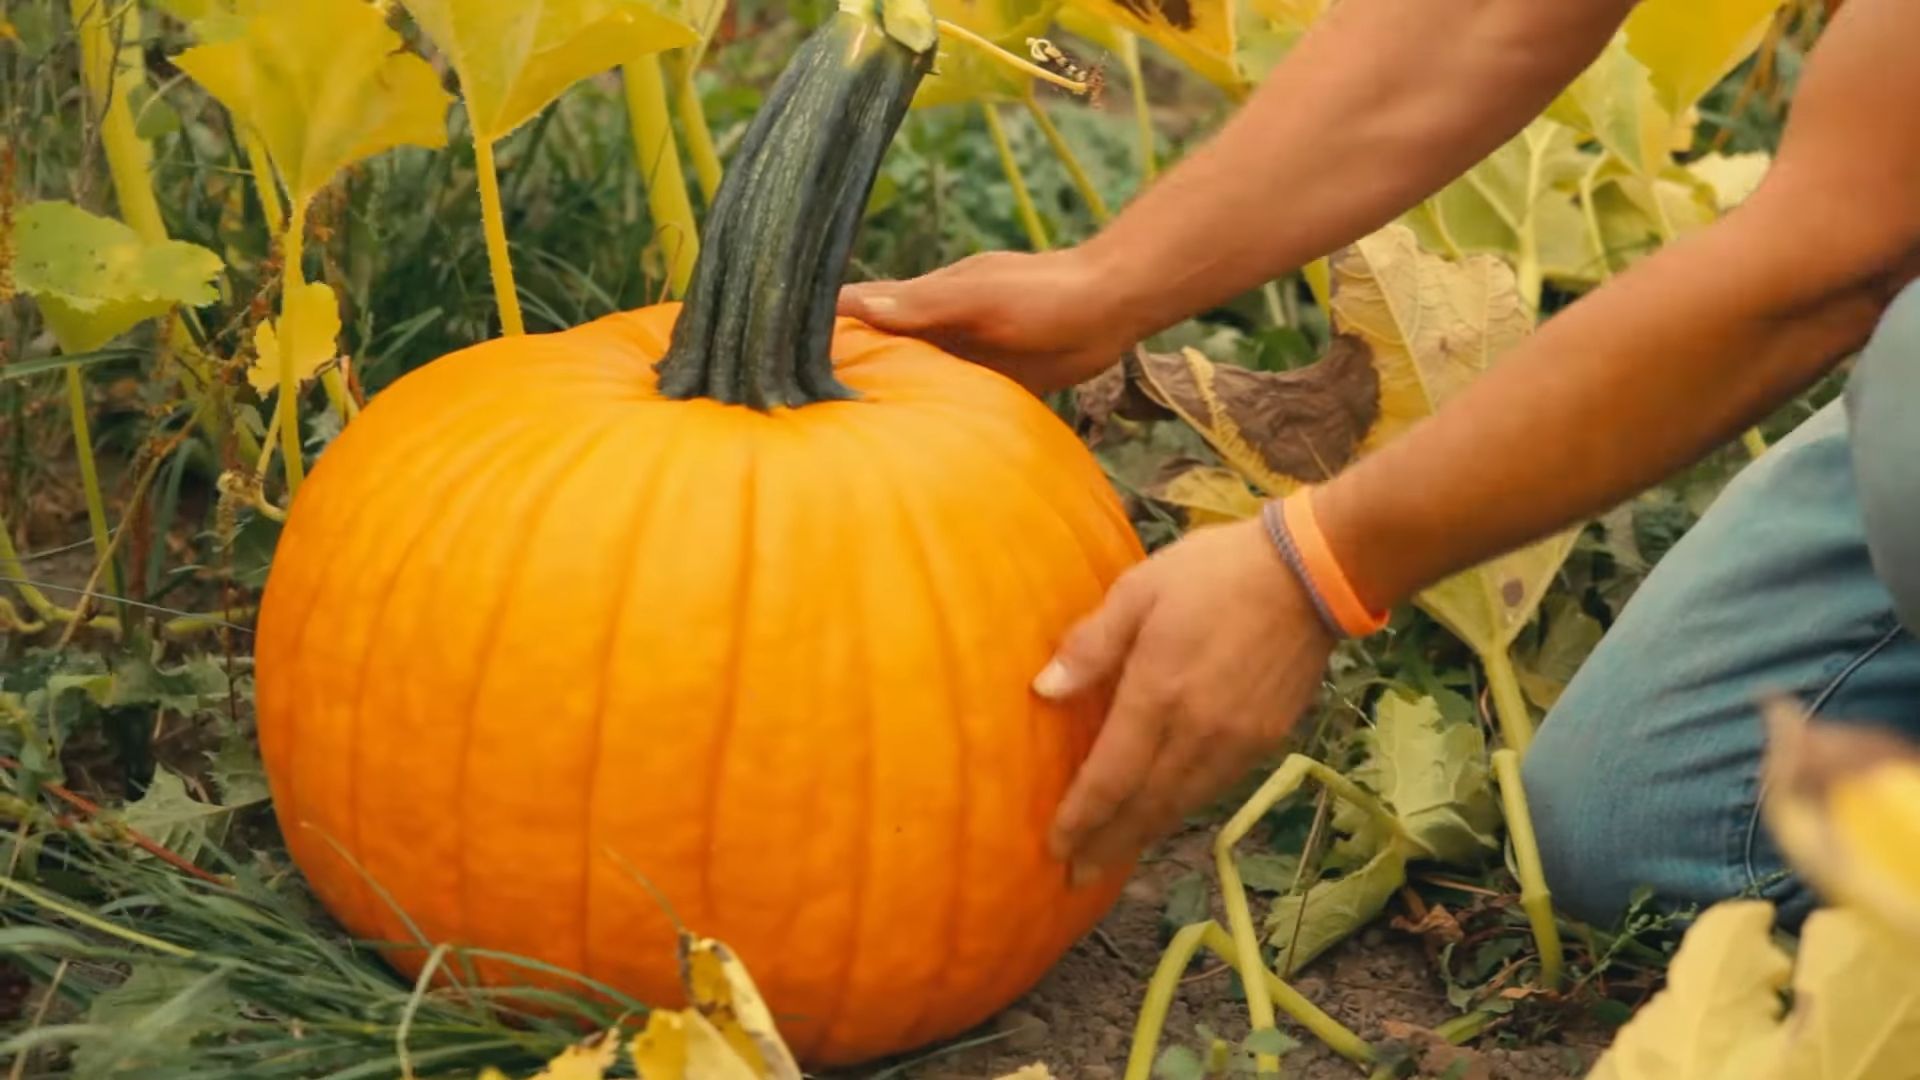
* Cut the Stem: Use a sharp knife or pruning shears to cut the stem of the pumpkin, leaving about 3-4 inches of stem attached. Avoid pulling or twisting the pumpkin, as this can damage the stem and make it more susceptible to rot.
* Curing Your Pumpkins: After harvesting, cure your pumpkins in a warm, dry place for about 1-2 weeks. This will help to harden the skin and improve their storage life. Place the pumpkins in a single layer, making sure they’re not touching each other.
Storing Your Pumpkins
Proper storage is essential for keeping your pumpkins fresh and preventing them from rotting.
* Choose a Cool, Dry Place: Store your pumpkins in a cool, dry place with good ventilation. A basement, garage, or shed is ideal.
* Avoid Freezing Temperatures: Don’t store your pumpkins in a place where they’ll be exposed to freezing temperatures.
* Elevate the Pumpkins: Place the pumpkins on a pallet or rack to improve air circulation and prevent them from sitting in moisture.
* Check Regularly: Check your pumpkins regularly for signs of rot or decay. Remove any pumpkins that are starting to spoil to prevent the rot from spreading to other pumpkins.
* Storage Life: Properly stored pumpkins can last for several months. Pie pumpkins tend to have a shorter storage life than jack-o’-lantern pumpkins.
Troubleshooting Common Pumpkin Problems
Even with the best care, you may encounter some problems while growing pumpkins. Here are some common issues and how to address them:
* Poor Germination: If your pumpkin seeds aren’t germinating, make sure the soil is warm enough and moist. You can also try soaking the seeds in water for 24 hours before planting.
* Lack of Pollination: If your pumpkins aren’t setting fruit, it could be due to a lack of pollination. Attract more bees to your garden or hand-pollinate the flowers.
*
Conclusion
So, there you have it! Growing pumpkins at home, while it might seem daunting at first, is an incredibly rewarding experience that brings a touch of autumnal magic right to your backyard. We’ve covered everything from seed selection and soil preparation to pollination and pest control, equipping you with the knowledge you need to cultivate your own patch of orange glory.
But why is this DIY trick a must-try? Beyond the sheer satisfaction of nurturing a plant from seed to harvest, growing your own pumpkins offers several compelling advantages. Firstly, you have complete control over the growing process, ensuring your pumpkins are free from harmful pesticides and herbicides. This is particularly important if you plan on using your pumpkins for cooking or baking. Secondly, you can choose from a wider variety of pumpkin types than you might find at your local grocery store. Imagine growing heirloom varieties with unique colors, shapes, and flavors! Finally, and perhaps most importantly, growing pumpkins at home is a fantastic way to connect with nature, learn about the life cycle of plants, and create lasting memories with family and friends.
Think about the possibilities! You could host a pumpkin carving party with pumpkins you grew yourself. You could bake a delicious pumpkin pie using your homegrown ingredients. You could even enter your largest pumpkin in a local competition! The options are endless.
Don’t be afraid to experiment with variations. Try growing different pumpkin varieties each year to discover your favorites. Consider companion planting to attract beneficial insects and deter pests. Explore different trellising methods to maximize space and improve air circulation. The beauty of gardening is that there’s always something new to learn and try.
We encourage you to take the plunge and embark on your own pumpkin-growing adventure. It’s a project that’s suitable for gardeners of all skill levels, and the rewards are well worth the effort. Remember to start small, be patient, and don’t be afraid to ask for help along the way.
And most importantly, we want to hear about your experiences! Share your photos, tips, and stories with us in the comments section below. Let us know what worked for you, what challenges you faced, and what you learned along the way. Together, we can create a community of pumpkin-growing enthusiasts and inspire others to embrace the joy of homegrown produce. So, get your hands dirty, plant those seeds, and get ready to harvest a bountiful crop of beautiful, homegrown pumpkins! This is truly the best way to ensure you have the perfect pumpkin for all your fall festivities.
Frequently Asked Questions (FAQ)
Q: How much space do I really need to grow pumpkins?
A: This is a common concern, and the answer depends on the variety of pumpkin you choose. Miniature pumpkins can thrive in containers or small raised beds, requiring as little as 4 square feet per plant. However, larger varieties, like those grown for carving or competition, need significantly more space – often 50 to 100 square feet per plant. Consider vertical gardening techniques, such as trellising, to maximize space if you have limited room. Just be sure your trellis is sturdy enough to support the weight of the growing pumpkins. Also, remember that adequate spacing is crucial for air circulation, which helps prevent fungal diseases.
Q: What’s the best type of soil for growing pumpkins?
A: Pumpkins are heavy feeders and thrive in rich, well-drained soil. Ideally, your soil should be loamy, meaning it’s a balanced mix of sand, silt, and clay. Before planting, amend your soil with plenty of organic matter, such as compost, aged manure, or leaf mold. This will improve drainage, aeration, and nutrient content. A soil pH between 6.0 and 7.0 is ideal. You can test your soil pH with a home testing kit or by sending a sample to your local agricultural extension office. If your soil is too acidic, you can add lime to raise the pH. If it’s too alkaline, you can add sulfur to lower the pH.
Q: How often should I water my pumpkin plants?
A: Pumpkins need consistent moisture, especially during flowering and fruit development. Water deeply and regularly, aiming for about 1 inch of water per week. Avoid overhead watering, as this can promote fungal diseases. Instead, water at the base of the plants, using a soaker hose or drip irrigation system. Mulching around the plants can help retain moisture and suppress weeds. Check the soil moisture regularly by sticking your finger about an inch into the soil. If it feels dry, it’s time to water.
Q: How do I know when my pumpkins are ripe and ready to harvest?
A: Several signs indicate that your pumpkins are ripe. The most obvious is the color – the pumpkin should be a deep, uniform orange (or the characteristic color of the variety you’re growing). The rind should be hard and resistant to scratching. The stem should be dry and brown. You can also try the “thump test” – a ripe pumpkin will sound hollow when tapped. Use pruning shears or a sharp knife to cut the pumpkin from the vine, leaving about 3-4 inches of stem attached. This helps prevent rot.
Q: What are some common pests and diseases that affect pumpkins, and how can I control them?
A: Common pumpkin pests include squash bugs, squash vine borers, and aphids. Squash bugs can be handpicked or controlled with insecticidal soap. Squash vine borers can be difficult to control, but you can try wrapping the base of the stems with aluminum foil to prevent them from laying eggs. Aphids can be controlled with a strong spray of water or insecticidal soap. Common pumpkin diseases include powdery mildew and downy mildew. These fungal diseases can be prevented by ensuring good air circulation, avoiding overhead watering, and applying a fungicide if necessary.
Q: Can I grow pumpkins in containers?
A: Yes, you can grow pumpkins in containers, but you’ll need to choose a smaller variety and use a large container – at least 20 gallons. Make sure the container has drainage holes. Use a high-quality potting mix and fertilize regularly. Container-grown pumpkins may require more frequent watering than those grown in the ground.
Q: How can I encourage pollination in my pumpkin patch?
A: Pumpkins have separate male and female flowers, and pollination is essential for fruit development. Bees are the primary pollinators, so attract them to your garden by planting flowers that they love, such as sunflowers, zinnias, and lavender. If you’re not seeing enough bee activity, you can hand-pollinate the flowers. Use a small paintbrush to transfer pollen from the male flowers to the female flowers. Female flowers have a small, immature pumpkin at the base of the flower.
Q: What can I do with my pumpkins after I harvest them?
A: The possibilities are endless! You can carve them for Halloween, bake them into pies and other treats, roast the seeds for a healthy snack, or use them to decorate your home. Pumpkin puree can be frozen for later use. You can also compost the leftover pumpkin flesh after carving.
Q: How do I store my pumpkins after harvesting?
A: To store pumpkins for an extended period, cure them in a warm, dry place for about two weeks. This will harden the rind and help prevent rot. Store cured pumpkins in a cool, dry, well-ventilated area, such as a basement or garage. Avoid storing them in direct sunlight or near freezing temperatures. Properly stored pumpkins can last for several months.
Leave a Comment