

Living Room Cleaning Hacks: Let’s face it, our living rooms are the heart of our homes. They’re where we unwind after a long day, entertain friends and family, and create lasting memories. But let’s be honest, they can also quickly become a magnet for clutter and dirt! Are you tired of spending hours scrubbing and tidying, only to find it looking messy again in a matter of days? I know I am!
Throughout history, a clean and welcoming living space has been a sign of hospitality and well-being. From the meticulously swept hearths of ancient homes to the carefully arranged parlors of the Victorian era, people have always strived to create a comfortable and inviting atmosphere in their living areas. But in today’s busy world, who has time for all that elaborate cleaning?
That’s where these amazing living room cleaning hacks come in! I’m going to share some simple, yet incredibly effective, DIY tricks that will help you keep your living room sparkling clean without spending all your free time on chores. These aren’t just quick fixes; they’re clever solutions designed to tackle common living room cleaning challenges, from stubborn stains on your favorite couch to dusty shelves and grimy windows. Get ready to reclaim your living room and enjoy a cleaner, more relaxing space with these easy-to-implement strategies!
Living Room Cleaning Hacks: A DIY Guide to a Sparkling Space
Okay, let’s face it, the living room. It’s the heart of the home, but also the place where life *really* happens. Movie nights, game days, impromptu dance parties – it all goes down in the living room. And with all that activity, comes… well, a mess. But don’t worry! I’m here to share my favorite DIY living room cleaning hacks that will have your space sparkling in no time. We’re talking deep cleaning without breaking the bank or spending all weekend scrubbing. Let’s get started!
Tackling the Dust Bunnies: A Strategic Approach
Dust. The eternal enemy of a clean home. It settles everywhere, making surfaces look dull and triggering allergies. But fear not, we can conquer it!
* Microfiber is Your Best Friend: Ditch the feather duster (it just spreads the dust around!). Microfiber cloths are amazing at trapping dust and dirt.
* Top-Down Cleaning: Always start cleaning from the highest points in the room (like ceiling fans and shelves) and work your way down. This prevents dust from falling onto already cleaned surfaces.
* Don’t Forget the Hidden Spots: Dust loves to hide in corners, behind furniture, and under rugs. Be thorough!
Step-by-Step Dusting Guide:
1. Ceiling Fan First: Before you do anything else, grab a step stool and a microfiber cloth. Gently wipe down each fan blade, making sure to get both sides. You can even use an old pillowcase – slip it over each blade and wipe, trapping the dust inside. Less mess!
2. Shelves and Decor: Remove all items from your shelves. Dust each item individually with a microfiber cloth. Then, wipe down the shelves themselves. Consider using a slightly damp cloth for stubborn dust.
3. Furniture Frames and Legs: Dust the frames of your sofas, chairs, and tables. Pay special attention to the legs, as they tend to accumulate dust and grime.
4. Window Treatments: Dust your blinds or curtains. For blinds, use a duster attachment on your vacuum cleaner or wipe each slat individually. For curtains, vacuum them with the upholstery attachment or, if they’re washable, give them a good wash according to the care instructions.
5. Baseboards: These are often overlooked, but they collect a surprising amount of dust. Wipe them down with a damp cloth or a microfiber mop.
6. Vacuum, Vacuum, Vacuum: After you’ve dusted everything else, vacuum the entire room, including under furniture and along the edges of the walls. This will pick up all the dust that has settled on the floor.
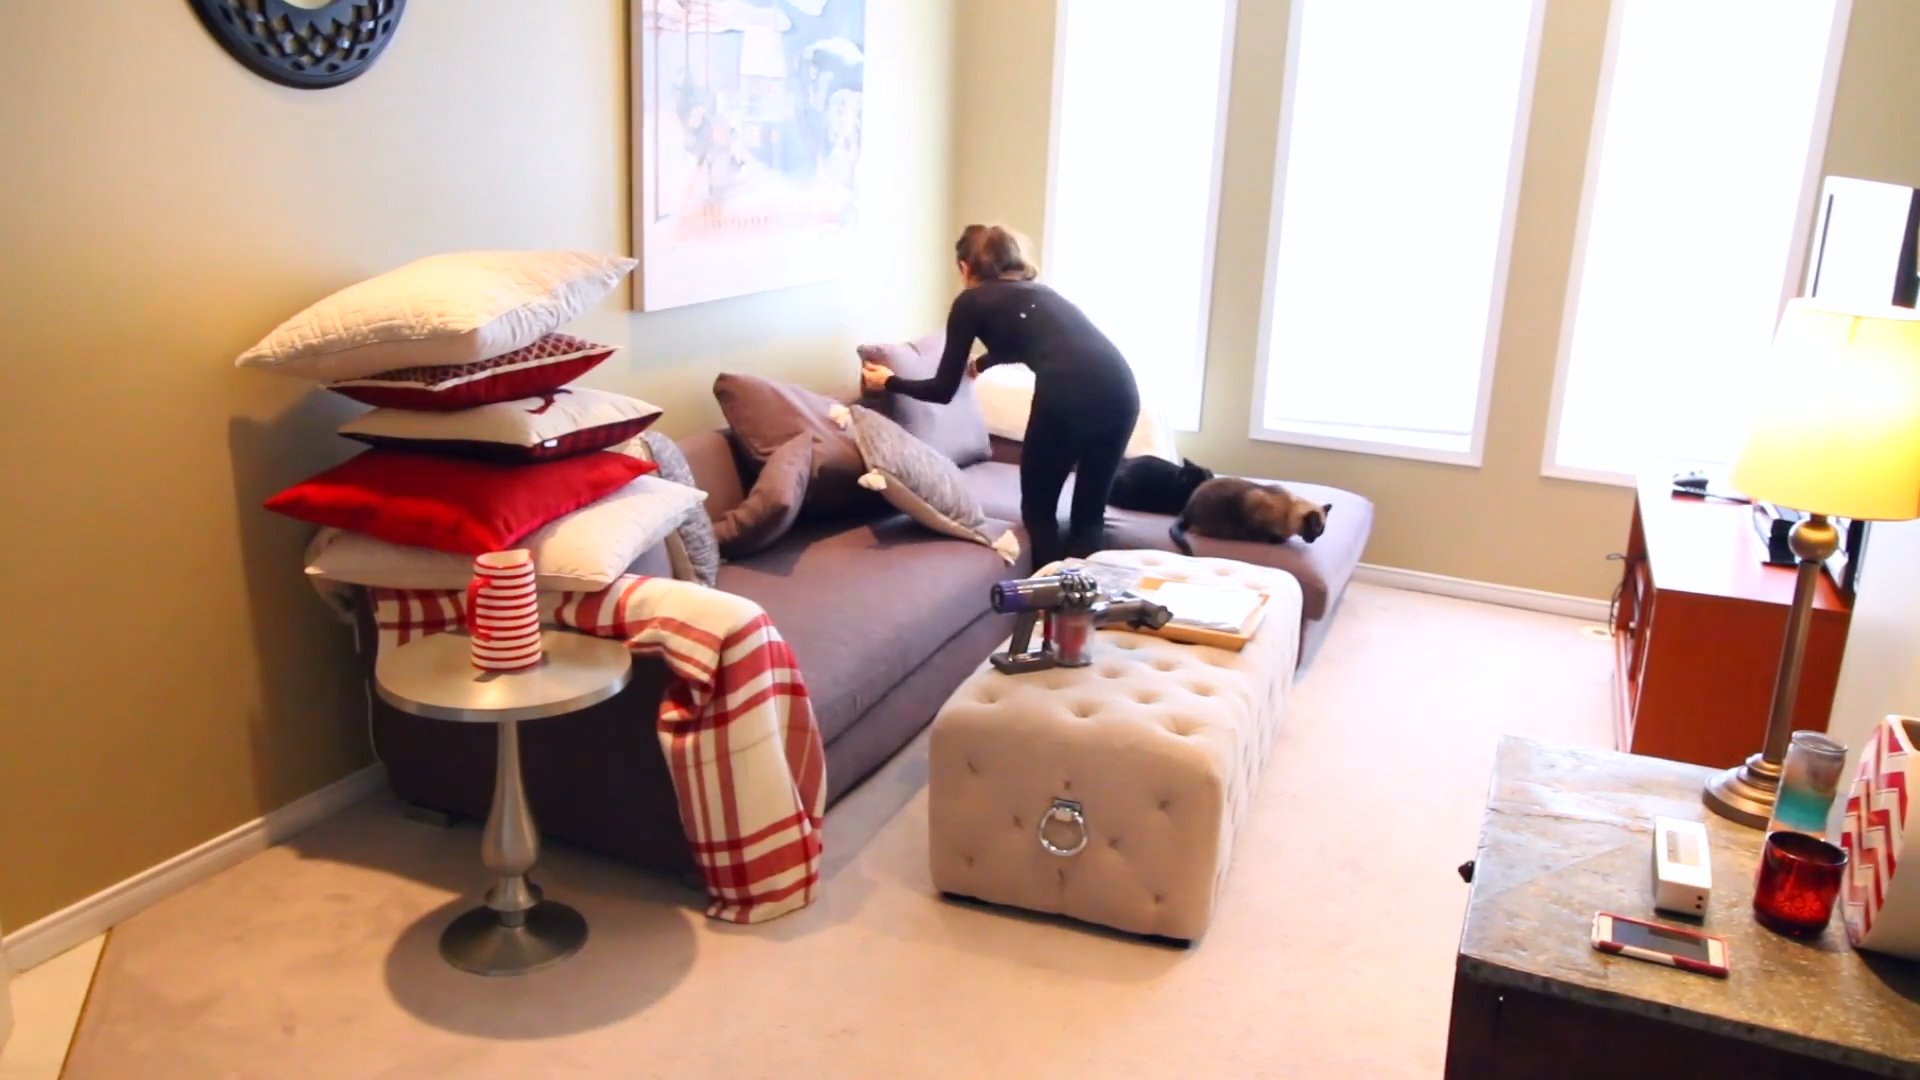
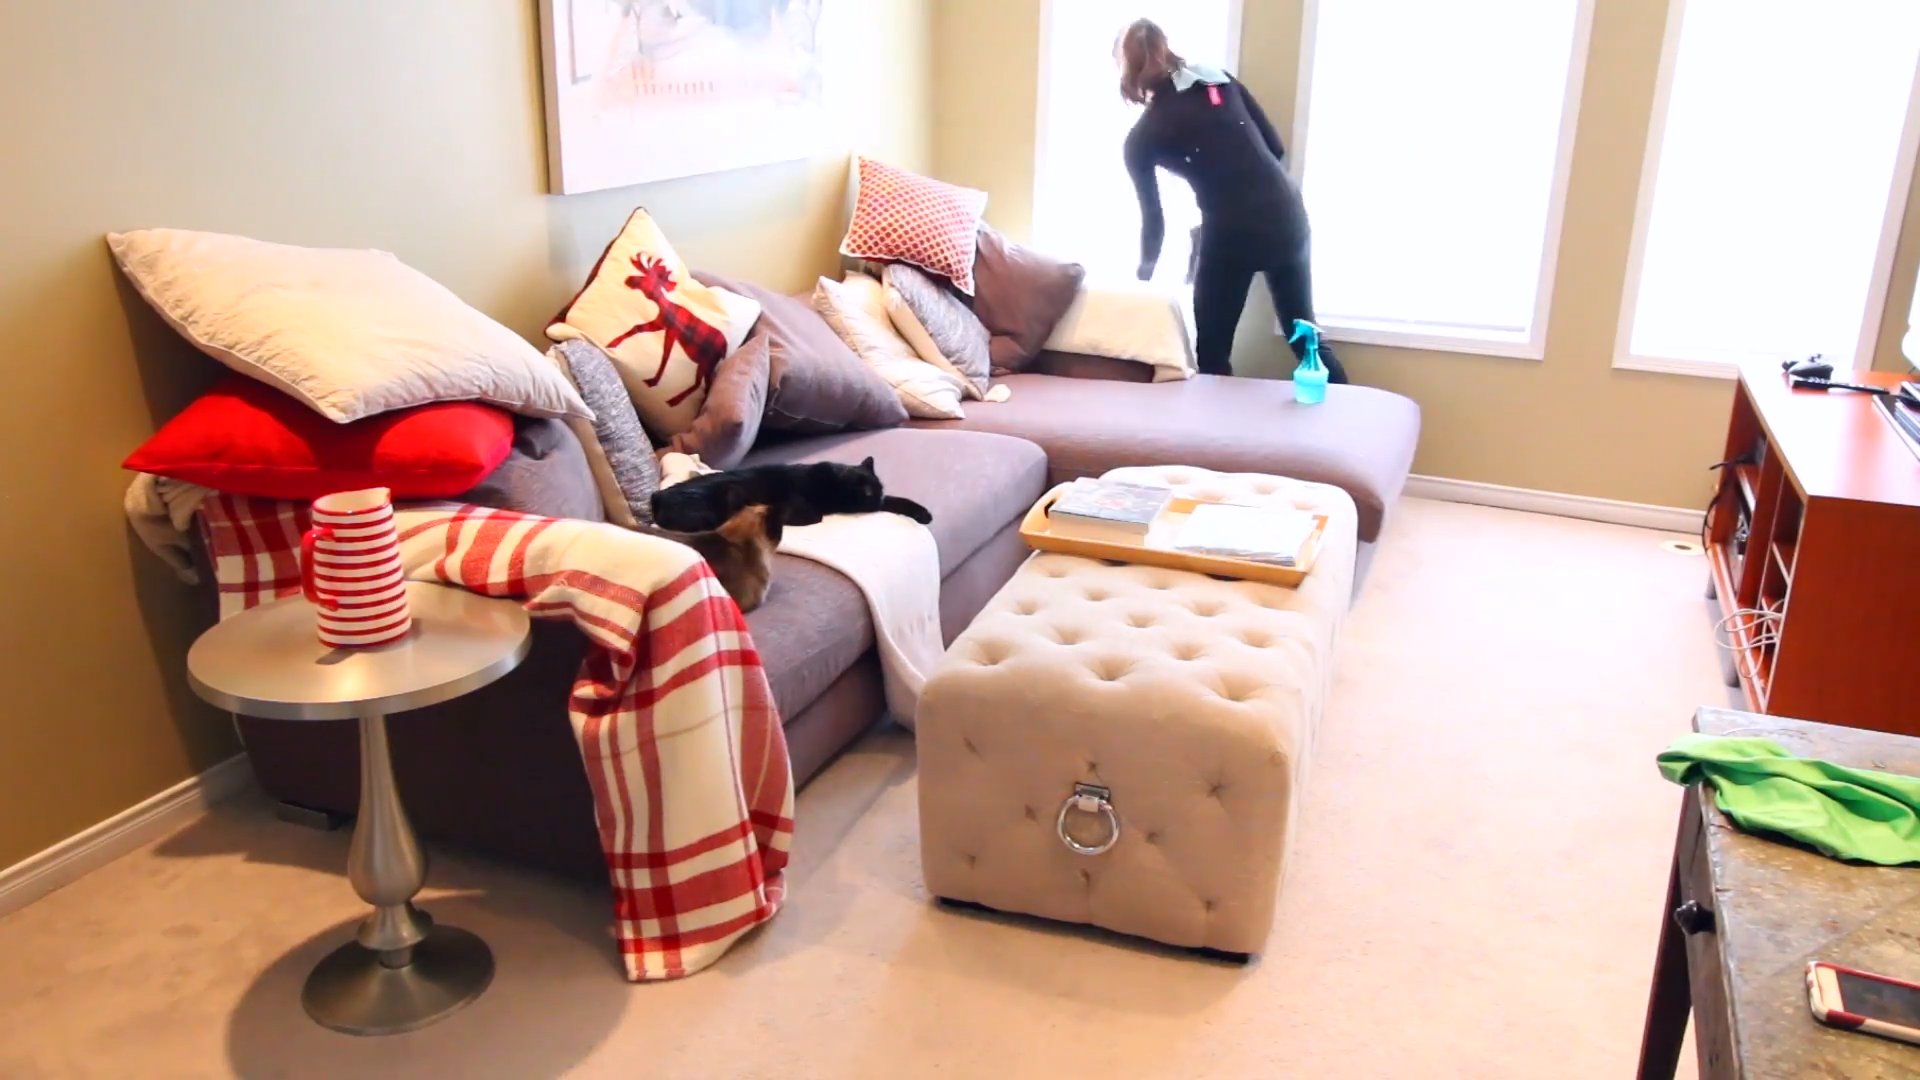
Conquering Couch Chaos: Upholstery Cleaning Made Easy
The couch. The epicenter of relaxation, but also a magnet for crumbs, spills, and pet hair. Keeping it clean can feel like a constant battle, but these hacks will make it much easier.
* Know Your Fabric: Before you start cleaning, check the tag on your couch to identify the fabric type. This will help you choose the right cleaning method.
* Vacuum Regularly: Vacuum your couch at least once a week to remove loose dirt, crumbs, and pet hair. Use the upholstery attachment to get into all the nooks and crannies.
* Spot Clean Immediately: Don’t let spills sit! Blot them up immediately with a clean cloth. Avoid rubbing, as this can spread the stain.
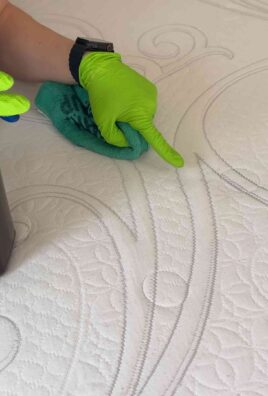
* DIY Upholstery Cleaner: For a gentle and effective cleaner, mix equal parts white vinegar and water in a spray bottle. Test it on an inconspicuous area first to make sure it doesn’t damage the fabric.
Step-by-Step Couch Cleaning Guide:
1. Vacuum Thoroughly: Start by vacuuming the entire couch, paying special attention to the cushions, seams, and crevices. Remove the cushions and vacuum underneath them as well.
2. Spot Clean Stains: For fresh stains, blot them up with a clean cloth. For older stains, spray them with your DIY upholstery cleaner (or a commercial upholstery cleaner) and let it sit for a few minutes. Then, blot the stain with a clean cloth until it’s gone.
3. Deodorize with Baking Soda: Sprinkle baking soda liberally over the entire couch. Let it sit for at least 30 minutes (or even overnight) to absorb odors. Then, vacuum it up thoroughly.
4. Steam Clean (Optional): If you have a steam cleaner, you can use it to deep clean your couch. Follow the manufacturer’s instructions carefully. Steam cleaning can help to remove stubborn stains and kill bacteria.
5. Air Dry: Allow your couch to air dry completely before using it. You can speed up the drying process by opening windows or using a fan.
Reviving Rugs and Carpets: From Dull to Dazzling
Rugs and carpets can make a room feel cozy and inviting, but they also trap a lot of dirt and allergens. Regular cleaning is essential to keep them looking their best.
* Vacuum Frequently: Vacuum your rugs and carpets at least twice a week, especially in high-traffic areas.
* Address Spills Immediately: Just like with upholstery, blot up spills as soon as they happen.
* DIY Carpet Cleaner: For a natural carpet cleaner, mix equal parts white vinegar and water in a spray bottle. You can also add a few drops of essential oil for a fresh scent.
* Deep Clean Regularly: Rent a carpet cleaner or hire a professional to deep clean your carpets at least once a year.
Step-by-Step Rug and Carpet Cleaning Guide:
1. Vacuum Thoroughly: Start by vacuuming the entire rug or carpet, making sure to overlap your strokes.
2. Spot Clean Stains: For stains, spray them with your DIY carpet cleaner (or a commercial carpet cleaner) and let it sit for a few minutes. Then, blot the stain with a clean cloth until it’s gone. For tough stains, you may need to repeat this process several times.
3. Deodorize with Baking Soda: Sprinkle baking soda liberally over the entire rug or carpet. Let it sit for at least 30 minutes (or even overnight) to absorb odors. Then, vacuum it up thoroughly.
4. Deep Clean (Optional): If you’re deep cleaning your carpets, follow the instructions on your carpet cleaner. Be sure to use the appropriate cleaning solution for your carpet type.
5. Air Dry: Allow your rug or carpet to air dry completely before walking on it. You can speed up the drying process by opening windows or using a fan.
Polishing Surfaces: Making Everything Shine
From coffee tables to entertainment centers, your living room surfaces deserve some attention too.
* Use the Right Cleaner: Choose a cleaner that’s appropriate for the surface you’re cleaning. For wood surfaces, use a wood cleaner. For glass surfaces, use a glass cleaner.
* Dust Regularly: Dust your surfaces regularly to prevent dust from building up.
* Protect Your Surfaces: Use coasters and placemats to protect your surfaces from scratches and spills.
Step-by-Step Surface Cleaning Guide:
1. Clear the Surface: Remove all items from the surface you’re cleaning.
2. Dust the Surface: Dust the surface with a microfiber cloth.
3. Clean the Surface: Spray the surface with your chosen cleaner and wipe it down with a clean cloth.
4. Dry the Surface: Dry the surface with a clean, dry cloth.
5. Replace the Items: Replace the items you removed from the surface.
Window Wonders: Sparkling Glass for a Brighter Room
Clean windows can make a huge difference in the overall brightness and appearance of your living room.
* DIY Window Cleaner: Mix equal parts white vinegar and water in a spray bottle.
* Use Microfiber Cloths: Microfiber cloths are great for cleaning windows because they don’t leave streaks.
* Clean on a Cloudy Day: Avoid cleaning windows on a sunny day, as the sun can cause the cleaner to dry too quickly and leave streaks.
Step-by-Step Window Cleaning Guide:
1. Spray the Window: Spray the window with your DIY window cleaner.
2. Wipe the Window: Wipe the window with a microfiber cloth, using overlapping strokes.
3. Dry the Window: Dry the window with a clean, dry microfiber cloth.
4. Clean the Window Tracks: Use a small brush or a cotton swab to clean the window tracks.
The Finishing Touches: Making it Feel Like Home
Once you’ve cleaned all the major areas of your living room, it’s time to add the finishing touches that will make it feel truly clean and inviting.
* Fluff the Cushions: Fluff the cushions on your couch and chairs to make them look plump and inviting.
* Arrange the Pillows: Arrange the pillows on your
Conclusion
So, there you have it – a collection of living room cleaning hacks designed to transform your space from chaotic to calming, all without breaking the bank or spending hours scrubbing. We’ve covered everything from quick daily tidying tips to tackling those deep-seated dust bunnies that seem to multiply overnight. But the real magic lies in the power of these simple, effective strategies to create a more inviting and enjoyable living environment.
Why is this DIY approach a must-try? Because it’s not just about cleaning; it’s about reclaiming your living space. It’s about creating a haven where you can relax, entertain, and truly feel at home. Store-bought cleaners often come with harsh chemicals and hefty price tags. These hacks, on the other hand, utilize readily available ingredients and focus on preventative measures, saving you time, money, and exposure to potentially harmful substances. Plus, the satisfaction of knowing you’ve created a sparkling clean space using your own ingenuity is incredibly rewarding.
Consider these variations to personalize your cleaning routine:
* **Scent Sensations:** Infuse your homemade cleaning solutions with essential oils like lavender for relaxation, lemon for a fresh, clean scent, or eucalyptus for an invigorating boost. Just a few drops can make a world of difference.
* **Fabric Refresh:** For upholstery and carpets, sprinkle baking soda mixed with a few drops of your favorite essential oil. Let it sit for at least 30 minutes (or even overnight) before vacuuming. This will deodorize and freshen up your fabrics beautifully.
* **Dusting Power-Up:** Dampen your microfiber cloth with a solution of water and a tiny amount of white vinegar for extra dusting power. The vinegar helps to cut through grime and leave surfaces sparkling.
* **Kid-Friendly Cleaning:** If you have little ones, involve them in the cleaning process! Make it a game, assign age-appropriate tasks, and celebrate their contributions. This not only helps you get the job done but also instills good habits from a young age.
Ultimately, the best living room cleaning hacks are the ones that work for you and your lifestyle. Don’t be afraid to experiment, adapt these suggestions to your specific needs, and discover what makes your cleaning routine more efficient and enjoyable.
We are confident that these **living room cleaning hacks** will revolutionize the way you approach cleaning your living space. But don’t just take our word for it. We encourage you to try these tips and tricks for yourself. See how they transform your living room and free up your time for the things you truly enjoy.
And most importantly, we want to hear about your experience! Share your before-and-after photos, your favorite variations, and any other cleaning hacks you’ve discovered in the comments below. Let’s create a community of clean living enthusiasts and inspire each other to maintain beautiful and inviting homes. Your insights could be exactly what someone else needs to conquer their cleaning challenges! So, get cleaning, get sharing, and get ready to enjoy a sparkling clean living room.
FAQ
Frequently Asked Questions About Living Room Cleaning Hacks
1. How often should I be cleaning my living room?
The frequency of cleaning depends on your lifestyle and how much the room is used. A quick tidy-up (clearing clutter, wiping surfaces) should ideally be done daily or every other day. A more thorough cleaning (vacuuming, dusting, mopping) should be done weekly. Deep cleaning tasks like cleaning upholstery and carpets can be done every few months or as needed.
2. What are some essential cleaning supplies for the living room?
Essential cleaning supplies include:
* Microfiber cloths (for dusting and wiping surfaces)
* Vacuum cleaner (with attachments for upholstery and crevices)
* Mop and bucket (or a steam mop)
* All-purpose cleaner (or homemade cleaning solutions)
* Glass cleaner
* Baking soda
* White vinegar
* Essential oils (optional, for scent)
* Dustpan and brush
* Trash bags
3. How can I get rid of stubborn stains on my carpet?
For most carpet stains, blot (don’t rub!) the stain with a clean cloth. Then, try a solution of equal parts white vinegar and water. Spray the solution onto the stain, let it sit for a few minutes, and then blot again with a clean cloth. For tougher stains, you may need to use a commercial carpet cleaner or consult a professional. Always test any cleaning solution on an inconspicuous area of the carpet first to ensure it doesn’t cause discoloration.
4. How do I clean upholstery without damaging it?
Always check the manufacturer’s instructions for cleaning your upholstery. If there are no instructions, test a small, hidden area first. For general cleaning, vacuum the upholstery regularly to remove dust and debris. For stains, try a mild soap and water solution. Apply the solution to a clean cloth and gently blot the stain. Avoid over-wetting the fabric. You can also use a commercial upholstery cleaner, following the instructions carefully.
5. How can I prevent dust from accumulating so quickly in my living room?
Preventing dust build-up is key to maintaining a clean living room. Here are some tips:
* Dust regularly (at least once a week).
* Use a microfiber cloth, which traps dust more effectively than a regular cloth.
* Change your air filters regularly.
* Vacuum frequently, especially in high-traffic areas.
* Consider using an air purifier.
* Keep windows closed during peak pollen seasons.
* Declutter your living room, as clutter attracts dust.
6. What is the best way to clean glass surfaces in my living room (windows, mirrors, coffee tables)?
A simple solution of equal parts white vinegar and water works wonders for cleaning glass surfaces. Spray the solution onto the glass and wipe clean with a microfiber cloth or paper towel. For streak-free results, use a clean, dry cloth to buff the glass after wiping. Avoid cleaning glass surfaces in direct sunlight, as this can cause streaks.
7. Are there any natural alternatives to commercial cleaning products?
Yes, many natural ingredients can be used to clean your living room effectively. White vinegar is a great all-purpose cleaner and disinfectant. Baking soda is a natural deodorizer and abrasive cleaner. Lemon juice can be used to clean and disinfect surfaces. Essential oils can be added to cleaning solutions for a pleasant scent and added cleaning power.
8. How can I make my living room smell fresh and clean?
There are several ways to freshen up your living room:
* Open windows to air out the room.
* Use an air freshener or diffuser.
* Place bowls of baking soda around the room to absorb odors.
* Simmer a pot of water with citrus peels and spices on the stove.
* Use essential oils in a diffuser or spray bottle.
* Clean your carpets and upholstery regularly.
9. How do I clean electronics in my living room (TV, remote controls, game consoles)?
Unplug electronics before cleaning. Use a soft, dry cloth to dust the screens and surfaces. For stubborn smudges, dampen the cloth slightly with water. Avoid using harsh chemicals or abrasive cleaners, as these can damage the electronics. For remote controls, remove the batteries and clean the battery compartment with a cotton swab dipped in rubbing alcohol.
10. What are some quick and easy ways to tidy up my living room before guests arrive?
Here are some quick tidying tips:
* Clear clutter from surfaces (coffee table, shelves, etc.).
* Fluff pillows and straighten blankets.
* Quickly vacuum or sweep the floor.
* Empty trash cans.
* Light a candle or use an air freshener.
* Arrange magazines and books neatly.

Leave a Comment