

DIY Cardboard Table Fan: Beat the heat this summer without breaking the bank! Are you tired of sweltering in the summer heat, but dread the thought of a hefty electricity bill from running your AC all day? I totally get it! That’s why I’m so excited to share this incredibly simple and effective DIY project with you: building your very own cardboard table fan.
Humans have been seeking ways to cool down for centuries, from using hand fans in ancient Egypt to developing complex air conditioning systems. But sometimes, the simplest solutions are the best! This project taps into that ingenuity, offering a low-cost, eco-friendly way to create a refreshing breeze.
Why do you need this DIY Cardboard Table Fan trick? Well, beyond the obvious cost savings, it’s a fantastic way to repurpose materials you likely already have lying around your home. Plus, it’s a fun and engaging project for the whole family! Imagine the satisfaction of creating something useful and sustainable with your own two hands. In this article, I’ll guide you through each step, ensuring you can construct your own personal cooling device in no time. Let’s get started and say goodbye to those sweaty summer days!
DIY Cardboard Table Fan: Stay Cool on a Budget!
Hey there, fellow DIY enthusiasts! Are you sweltering in the summer heat but don’t want to break the bank on an expensive fan? Well, I’ve got just the project for you! We’re going to build a surprisingly effective table fan using cardboard, a few basic electronics, and a little bit of elbow grease. Trust me, it’s easier than you think, and the satisfaction of creating something useful from recycled materials is totally worth it.
What You’ll Need: The Supply List
Before we dive in, let’s gather our supplies. Here’s what you’ll need to build your very own cardboard table fan:
* Cardboard: Lots of it! Think old boxes from deliveries, cereal boxes, or anything sturdy enough to hold its shape. The thicker, the better.
* Small DC Motor: You can salvage one from an old toy, or purchase one online. A 3-6V motor works perfectly.
* 9V Battery: To power our fan.
* 9V Battery Connector: This will allow us to easily connect the battery to the motor.
* Switch (Optional): A small on/off switch is handy for controlling the fan without disconnecting the battery every time.
* Wire: For connecting the motor, battery connector, and switch (if using).
* Hot Glue Gun and Glue Sticks: Our primary adhesive for this project.
* Craft Knife or Scissors: For cutting the cardboard. Be careful!
* Ruler or Measuring Tape: For accurate measurements.
* Pencil or Marker: For marking our cuts.
* Compass or Circular Object: To draw circles for the fan blades.
* Safety Glasses: Protect your eyes from cardboard dust and hot glue splatters.
* Soldering Iron and Solder (Optional): If you’re using a switch, soldering the connections will make them more secure. You can also use wire connectors or simply twist the wires together and tape them securely.
* Decorative Materials (Optional): Paint, markers, stickers, etc., to personalize your fan.
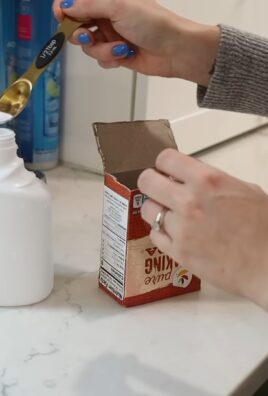
Building the Fan Base: A Solid Foundation
The base is crucial for stability, so let’s start there. We’ll create a sturdy box-like structure to house the motor and battery.
1. Cut the Base Pieces: Cut out six pieces of cardboard according to these dimensions:
* Bottom: 6 inches x 6 inches
* Top: 6 inches x 6 inches
* Sides (4 pieces): 6 inches x 4 inches
2. Assemble the Box: Using your hot glue gun, glue the four side pieces to the bottom piece, forming a box. Make sure the edges are aligned for a clean look.
3. Attach the Top: Glue the top piece onto the box, closing it up. Leave one side partially open for now – we’ll need access to the inside later.
4. Reinforce the Base: For extra stability, cut out small cardboard triangles and glue them into the corners of the box, both inside and outside. This will strengthen the joints.
5. Create the Motor Mount: Cut a small square (about 2 inches x 2 inches) in the center of the top piece of the base. This is where the motor will be mounted.
6. Secure the Motor: Place the motor in the square hole. You might need to adjust the size of the hole to ensure a snug fit. Use hot glue to secure the motor in place. Make sure the motor shaft is pointing upwards.
7. Close the Base: Now, glue the remaining side of the top piece to fully close the base.
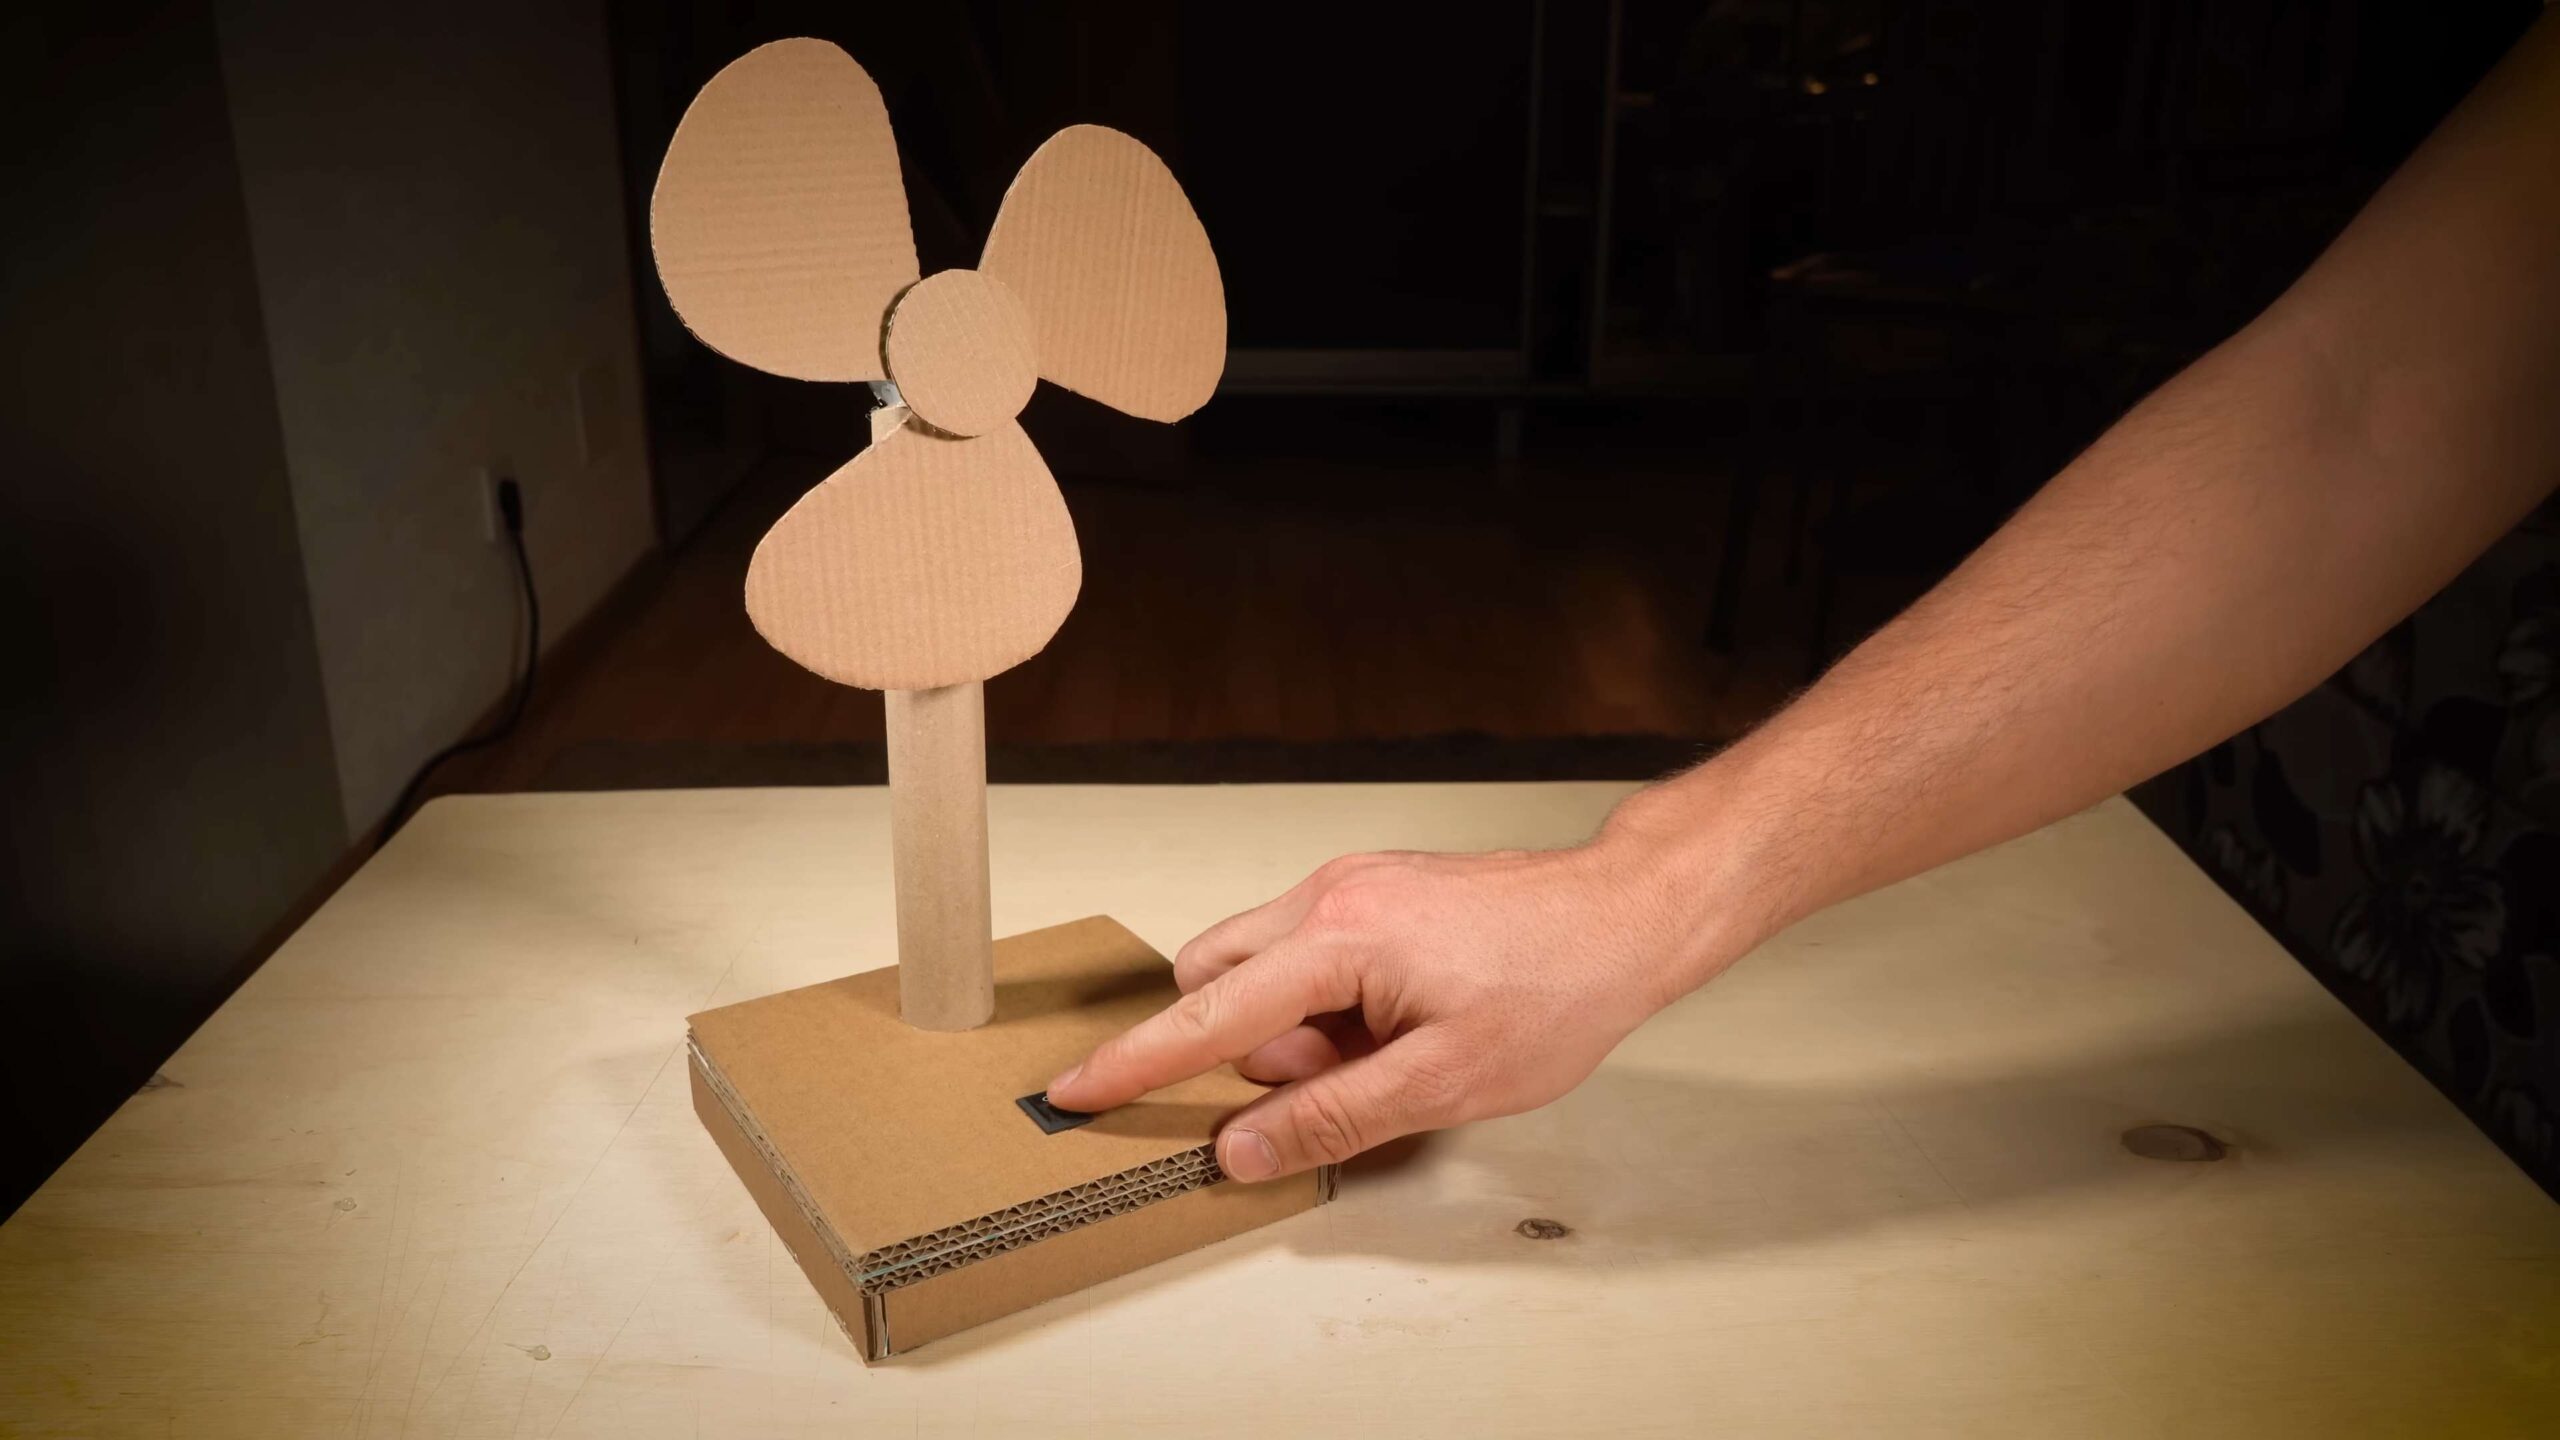
Crafting the Fan Blades: The Heart of the Fan
Now for the fun part – creating the fan blades! We’ll use cardboard to make lightweight but effective blades.
1. Draw the Blade Circles: Using your compass or a circular object, draw a circle on a piece of cardboard. The diameter of the circle should be about 6 inches.
2. Cut Out the Circle: Carefully cut out the circle using your craft knife or scissors.
3. Divide the Circle: Draw lines from the center of the circle to the edge, dividing it into four equal sections.
4. Cut Along the Lines: Cut along each of the lines, stopping about 1 inch from the center of the circle. This will create four flaps.
5. Bend the Blades: Gently bend each flap in the same direction, creating a slight angle. This angle is what will catch the air and create the airflow. Experiment with different angles to see what works best.
6. Attach to the Motor: Carefully attach the center of the fan blade circle to the motor shaft. You can use hot glue, but be careful not to get glue inside the motor. A small dab of glue is all you need. Make sure the blades are securely attached.
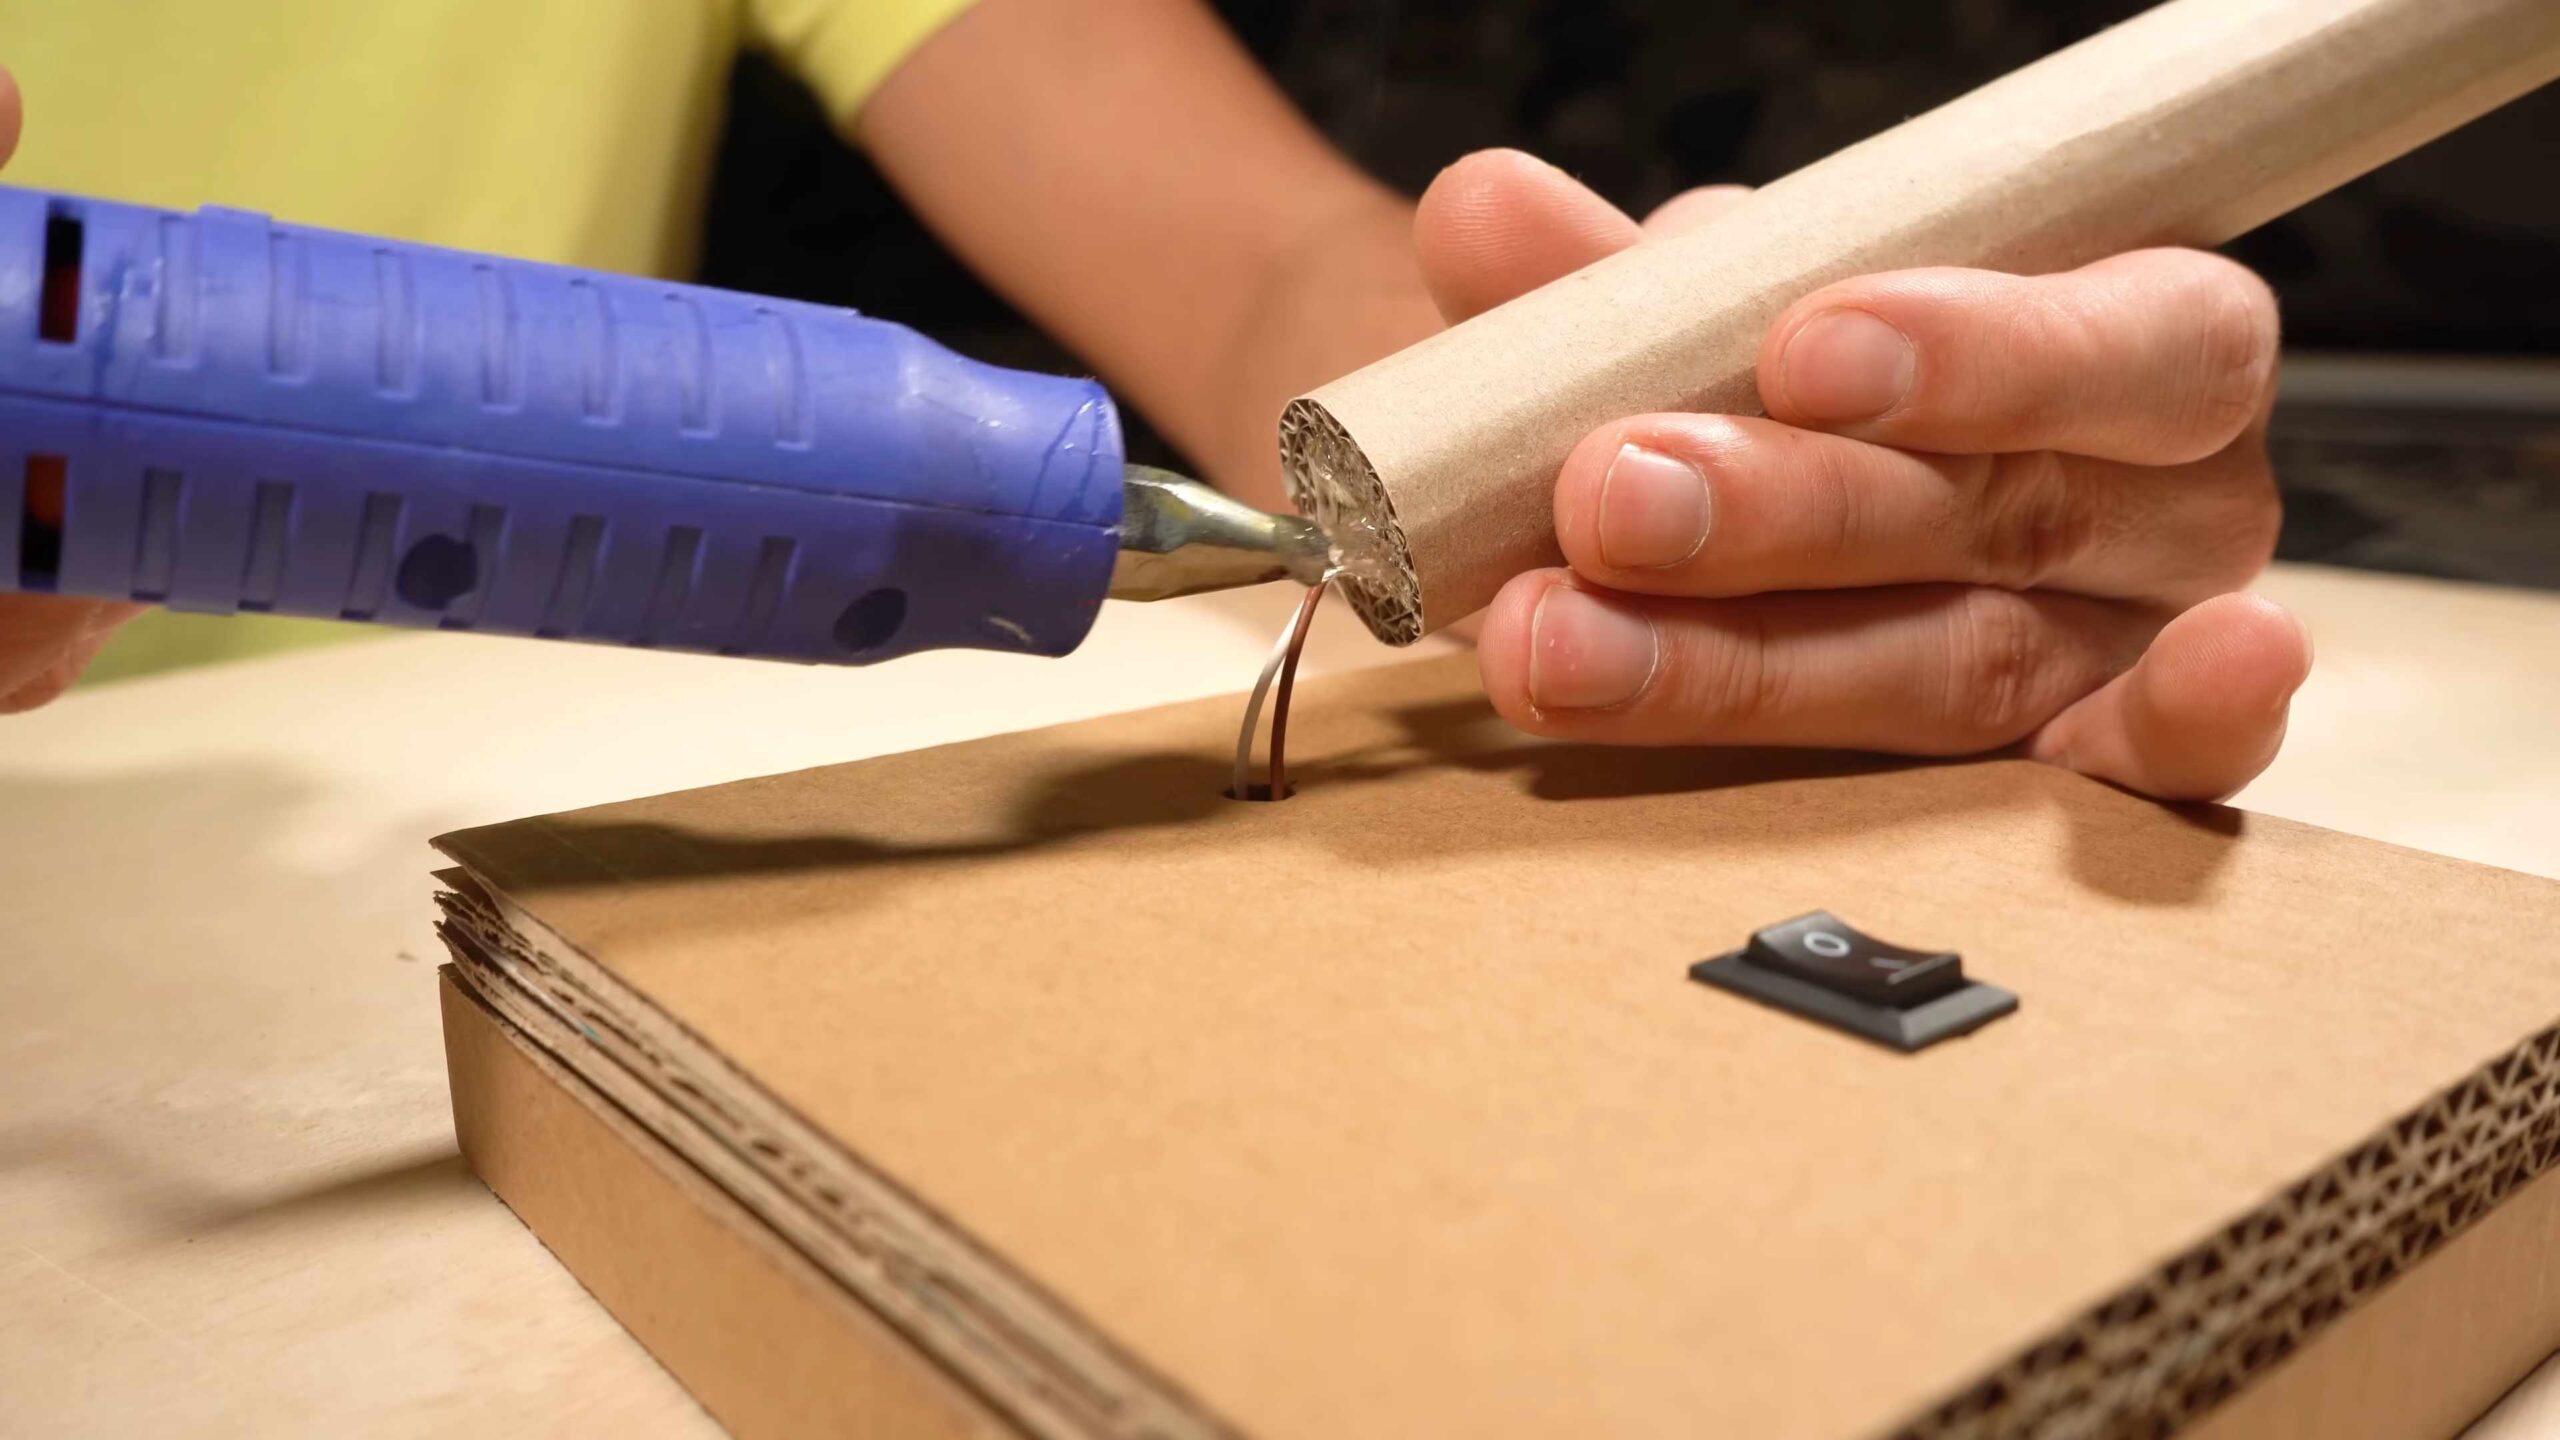
Wiring It Up: Powering the Fan
Time to connect the motor to the battery and bring our fan to life!
1. Connect the Battery Connector: Attach the red wire of the 9V battery connector to one of the motor terminals. You can solder it for a secure connection, use a wire connector, or simply twist the wires together and tape them well.
2. Add the Switch (Optional): If you’re using a switch, cut the black wire of the battery connector. Connect one end of the cut wire to one terminal of the switch, and the other end to the other terminal. This will allow you to turn the fan on and off.
3. Connect the Remaining Wire: Connect the remaining wire from the motor to the black wire of the battery connector (or to the switch, if you’re using one). Again, solder, use a wire connector, or twist and tape the wires securely.
4. Test the Connection: Insert the 9V battery into the battery connector. The fan should start spinning! If it doesn’t, double-check your wiring connections.
5. Secure the Battery: Place the battery inside the base of the fan. You can use hot glue or tape to secure it in place.
Adding a Fan Guard (Optional but Recommended): Safety First!
To prevent accidental finger injuries, let’s add a simple fan guard.
1. Cut the Guard Pieces: Cut out several strips of cardboard, about 1 inch wide and long enough to reach from the base to slightly above the fan blades.
2. Arrange the Strips: Arrange the strips around the fan blades, creating a cage-like structure.
3. Glue the Strips: Use hot glue to attach the strips to the base and to each other, forming a secure fan guard. Make sure the guard doesn’t touch the fan blades.
Personalizing Your Fan: Make It Your Own!
Now that your fan is functional, let’s add some personal touches!
1. Paint the Base: Use acrylic paint to decorate the base of the fan. You can choose a single color, create a pattern, or even add some artwork.
2. Decorate the Blades: Use markers, stickers, or paint to decorate the fan blades. Be careful not to add too much weight, as this could affect the fan’s performance.
3. Add Stickers: Stickers are a quick and easy way to personalize your fan.
4. Get Creative: Let your imagination run wild! There are no limits to how you can decorate your fan.
Troubleshooting Tips: When Things Don’t Go as Planned
Sometimes, things don’t work perfectly the first time. Here are a few troubleshooting tips:
* Fan Not Spinning:
* Check the battery: Make sure the battery is charged.
* Check the wiring: Ensure all connections are secure.
* Check the motor: Make sure the motor is working properly. You can test it by connecting it directly to the battery.
* Check the blades: Make sure the blades are not obstructed and can spin freely.
* Fan Spinning Slowly:
* Check the battery: A weak battery can cause the fan to spin slowly.
* Check the blades: Heavy blades can slow down the fan.
* Check the motor: A weak motor may not be able to spin the blades effectively.
* Fan Vibrating:
* Check the blades: Unevenly bent blades can cause vibrations.
* Check the motor: A loose motor can cause vibrations.
* Check the base: An unstable base can cause vibrations.
Final Thoughts: Enjoy Your Cool Creation!
And there you have it! Your very own DIY cardboard table fan. It’s a fun, affordable, and eco-friendly way to stay cool this summer. Plus, you get the satisfaction of knowing you built it yourself. So, grab your cardboard, gather your supplies, and get crafting! I hope you enjoy your new
Conclusion
So, there you have it! A simple, effective, and incredibly budget-friendly way to create your own DIY cardboard table fan. In a world increasingly conscious of sustainability and cost-effectiveness, this project ticks all the right boxes. It’s not just about saving money; it’s about embracing resourcefulness and understanding that you don’t always need expensive gadgets to solve everyday problems. This DIY cardboard table fan is a testament to the power of ingenuity and a reminder that sometimes, the simplest solutions are the best.
Why is this a must-try? Because it’s more than just a fan; it’s a learning experience. Building this fan teaches basic principles of aerodynamics and electricity in a hands-on, engaging way. It’s a fantastic project for kids, fostering creativity and problem-solving skills. Plus, it’s incredibly satisfying to create something functional from recycled materials. Imagine the pride you’ll feel knowing you built your own cooling device!
But the benefits don’t stop there. This DIY cardboard table fan is also incredibly portable. Take it to your desk at work, use it while camping, or keep it handy during power outages. Its lightweight design makes it easy to move around, ensuring you always have a personal breeze within reach.
Looking for variations? Absolutely! Get creative with the design of your fan blades. Experiment with different shapes and sizes to see how they affect airflow. You can also paint or decorate the cardboard to personalize your fan and make it a unique piece of art. Consider adding a small solar panel to power your fan, making it even more eco-friendly. Another fun variation is to incorporate essential oils by attaching a small, scented cloth near the fan blades for a refreshing aroma. You can even add a speed control by using a potentiometer to regulate the voltage going to the motor.
This DIY cardboard table fan project is a win-win situation. It’s fun, educational, sustainable, and practical. It’s a fantastic way to beat the heat without breaking the bank or harming the environment.
We wholeheartedly encourage you to try this DIY trick. Gather your materials, follow the instructions, and unleash your inner engineer. Don’t be afraid to experiment and customize your fan to suit your needs and preferences.
Once you’ve built your own DIY cardboard table fan, we’d love to hear about your experience! Share your photos, tips, and modifications in the comments below. Let’s create a community of resourceful makers and inspire others to embrace the power of DIY. Let us know what challenges you faced and how you overcame them. Your feedback will help us improve the instructions and make this project even more accessible to everyone. So, go ahead, give it a try, and let us know what you think!
Frequently Asked Questions (FAQ)
What kind of cardboard is best for this project?
The ideal cardboard is corrugated cardboard, which is the type commonly used for shipping boxes. It’s sturdy enough to provide the necessary support for the fan blades and the base. Avoid using thin cardboard like cereal boxes, as it may not be strong enough to withstand the stress of the rotating blades. If you only have thinner cardboard, you can reinforce it by layering multiple pieces together with glue. Make sure the glue is completely dry before proceeding with the project. Experiment with different thicknesses to find the optimal balance between weight and durability.
What type of motor should I use?
A small DC motor, typically in the range of 3-6V, is perfect for this project. You can often find these motors in old toys or electronic devices. Alternatively, you can purchase them online or at electronics stores. Ensure the motor has enough torque to spin the fan blades effectively. A motor with a higher RPM (revolutions per minute) will generally produce a stronger airflow. Consider using a motor with a built-in gearbox for increased torque at lower speeds. Always check the voltage and current requirements of the motor before connecting it to a power source.
How do I power the fan?
You can power the fan using a variety of sources, such as batteries (AA or AAA), a USB cable connected to a computer or power bank, or a small AC adapter. If using batteries, make sure to use a battery holder for easy replacement. When using a USB cable, you may need to cut off the end and expose the wires to connect them to the motor. Be careful when working with electricity and ensure proper insulation of the wires. For a more sustainable option, consider using a small solar panel to power the fan.
How can I make the fan blades more efficient?
The shape and angle of the fan blades significantly impact the fan’s performance. Experiment with different blade designs to find what works best. A slightly curved blade with a small angle of attack will generally produce good airflow. You can also try adding a small lip to the edge of the blades to help direct the air. Ensure the blades are balanced to prevent wobbling and vibrations. Use a protractor to ensure all blades have the same angle. Consider using a lightweight material for the blades to reduce the load on the motor.
Is this project safe for children?
While this project is a great learning experience for children, adult supervision is required, especially when using sharp tools like scissors or knives. Ensure children understand the importance of safety and follow the instructions carefully. The motor and battery connections should be handled by an adult. It’s also important to secure the fan properly to prevent it from tipping over. Consider using a low-voltage motor and a battery holder with a safety cover. Always disconnect the power source when the fan is not in use.
How can I make the fan more stable?
A wide and sturdy base is crucial for preventing the fan from tipping over. Use a large piece of cardboard for the base and reinforce it with additional layers if necessary. You can also add weights to the base, such as small rocks or metal washers, to increase its stability. Ensure the motor is securely attached to the base to prevent vibrations. Consider using rubber feet on the bottom of the base to prevent it from sliding. Test the fan on different surfaces to ensure it remains stable.
Can I add a speed control to the fan?
Yes, you can easily add a speed control by using a potentiometer. A potentiometer is a variable resistor that allows you to adjust the voltage going to the motor, thereby controlling its speed. Connect the potentiometer in series with the motor and the power source. Experiment with different potentiometer values to find the optimal range for speed control. Ensure the potentiometer is rated for the voltage and current of the motor. You can also use a simple switch to turn the fan on and off.
How long will the fan last?
The lifespan of the fan depends on the quality of the materials used and how well it’s constructed. With proper care, the fan can last for several months or even years. Avoid exposing the fan to moisture or extreme temperatures. Regularly check the motor and battery connections to ensure they are secure. If the fan blades become damaged, replace them promptly. Consider using a more durable material for the blades, such as plastic or thin metal, for increased longevity.
What if the motor gets too hot?
If the motor gets too hot, it could indicate that it’s being overloaded or that there’s a problem with the wiring. Disconnect the power source immediately and allow the motor to cool down. Check the voltage and current requirements of the motor to ensure it’s being powered correctly. Make sure the fan blades are not too heavy or too large, as this can put excessive strain on the motor. If the problem persists, consider using a different motor or reducing the size of the fan blades.
Where can I find the materials needed for this project?
Most of the materials needed for this project can be found around your home or at local stores. Cardboard boxes are readily available from shipping companies or recycling centers. Small DC motors can be salvaged from old toys or purchased online or at electronics stores. Batteries, USB cables, and AC adapters can be found at most electronics retailers. Potentiometers and switches can also be purchased online or at electronics stores. Consider checking thrift stores or garage sales for inexpensive materials.


Leave a Comment