

Grow tomatoes at home, and unlock a world of fresh, flavorful possibilities right in your backyard! Imagine biting into a sun-ripened tomato, bursting with juicy sweetness, knowing you nurtured it from seed to table. Forget those bland, store-bought varieties – with a few simple tricks and DIY hacks, you can cultivate a thriving tomato garden, no matter your experience level.
The history of tomato cultivation is rich and fascinating, stretching back to the Aztecs and Incas who first domesticated this vibrant fruit. Over centuries, tomatoes have journeyed across continents, becoming a staple in cuisines worldwide. But somewhere along the way, the joy of growing our own food has been lost for many.
That’s where this DIY guide comes in! I believe everyone deserves the satisfaction of harvesting their own delicious tomatoes. Whether you have a sprawling garden or a tiny balcony, I’m here to share easy-to-follow techniques that will help you grow tomatoes at home successfully. From choosing the right varieties to troubleshooting common problems, I’ll equip you with the knowledge and confidence to create a bountiful tomato harvest. Let’s get our hands dirty and transform your space into a tomato paradise!
Growing Tomatoes at Home: A Beginner’s Guide to a Bountiful Harvest
Okay, so you want to grow tomatoes at home? Awesome! There’s nothing quite like biting into a sun-warmed, juicy tomato that you grew yourself. It’s easier than you might think, and I’m here to walk you through every step. Let’s get started!
Choosing the Right Tomato Variety
Before we even think about soil, we need to pick the right tomato variety. This is crucial because different tomatoes thrive in different conditions. Here’s a breakdown to help you decide:
* **Determinate vs. Indeterminate:** This is the big one!
* **Determinate tomatoes** grow to a certain size and then produce all their fruit at once. They’re great for canning or making sauce because you’ll have a large harvest all at the same time. They’re also bushier and more compact, making them suitable for smaller spaces or containers. Popular determinate varieties include Roma, Celebrity, and Rutgers.
* **Indeterminate tomatoes** keep growing and producing fruit throughout the season. They need staking or caging because they can get quite large and sprawling. These are perfect if you want a continuous supply of fresh tomatoes for salads and sandwiches. Popular indeterminate varieties include Beefsteak, Early Girl, and Cherry tomatoes.
* **Heirloom vs. Hybrid:** Another important consideration.
* **Heirloom tomatoes** are open-pollinated varieties that have been passed down for generations. They often have unique flavors, colors, and shapes. They can be a bit more finicky to grow than hybrids, but the taste is often worth it! Examples include Brandywine, Cherokee Purple, and Mortgage Lifter.
* **Hybrid tomatoes** are created by cross-pollinating two different varieties to combine desirable traits like disease resistance and high yield. They’re generally easier to grow and more reliable than heirlooms. Look for varieties like Better Boy, Big Beef, and Early Girl.
* **Consider your climate:** Some tomatoes are better suited for cooler climates, while others thrive in hot weather. Check the seed packet or plant label for information on the ideal growing conditions for your chosen variety.
* **Think about your space:** If you’re growing in containers, choose a compact or dwarf variety. If you have plenty of space in your garden, you can go for a larger, more sprawling variety.
Starting Your Tomato Seeds (or Buying Seedlings)
You have two main options here: starting your own seeds indoors or buying seedlings from a nursery. Starting seeds gives you more control over the process and allows you to choose from a wider variety of tomatoes. Buying seedlings is quicker and easier, but you’ll be limited to what’s available at your local nursery.
Starting Seeds Indoors (Recommended for Best Results)
Starting seeds indoors gives you a head start on the growing season, especially if you live in a cooler climate. I usually start my seeds about 6-8 weeks before the last expected frost.
1. **Gather your supplies:**
* Seed starting trays or small pots
* Seed starting mix (this is different from regular potting soil – it’s lighter and better for delicate seedlings)
* Tomato seeds
* Spray bottle
* Heat mat (optional, but helpful)
* Grow lights (essential for strong seedlings)
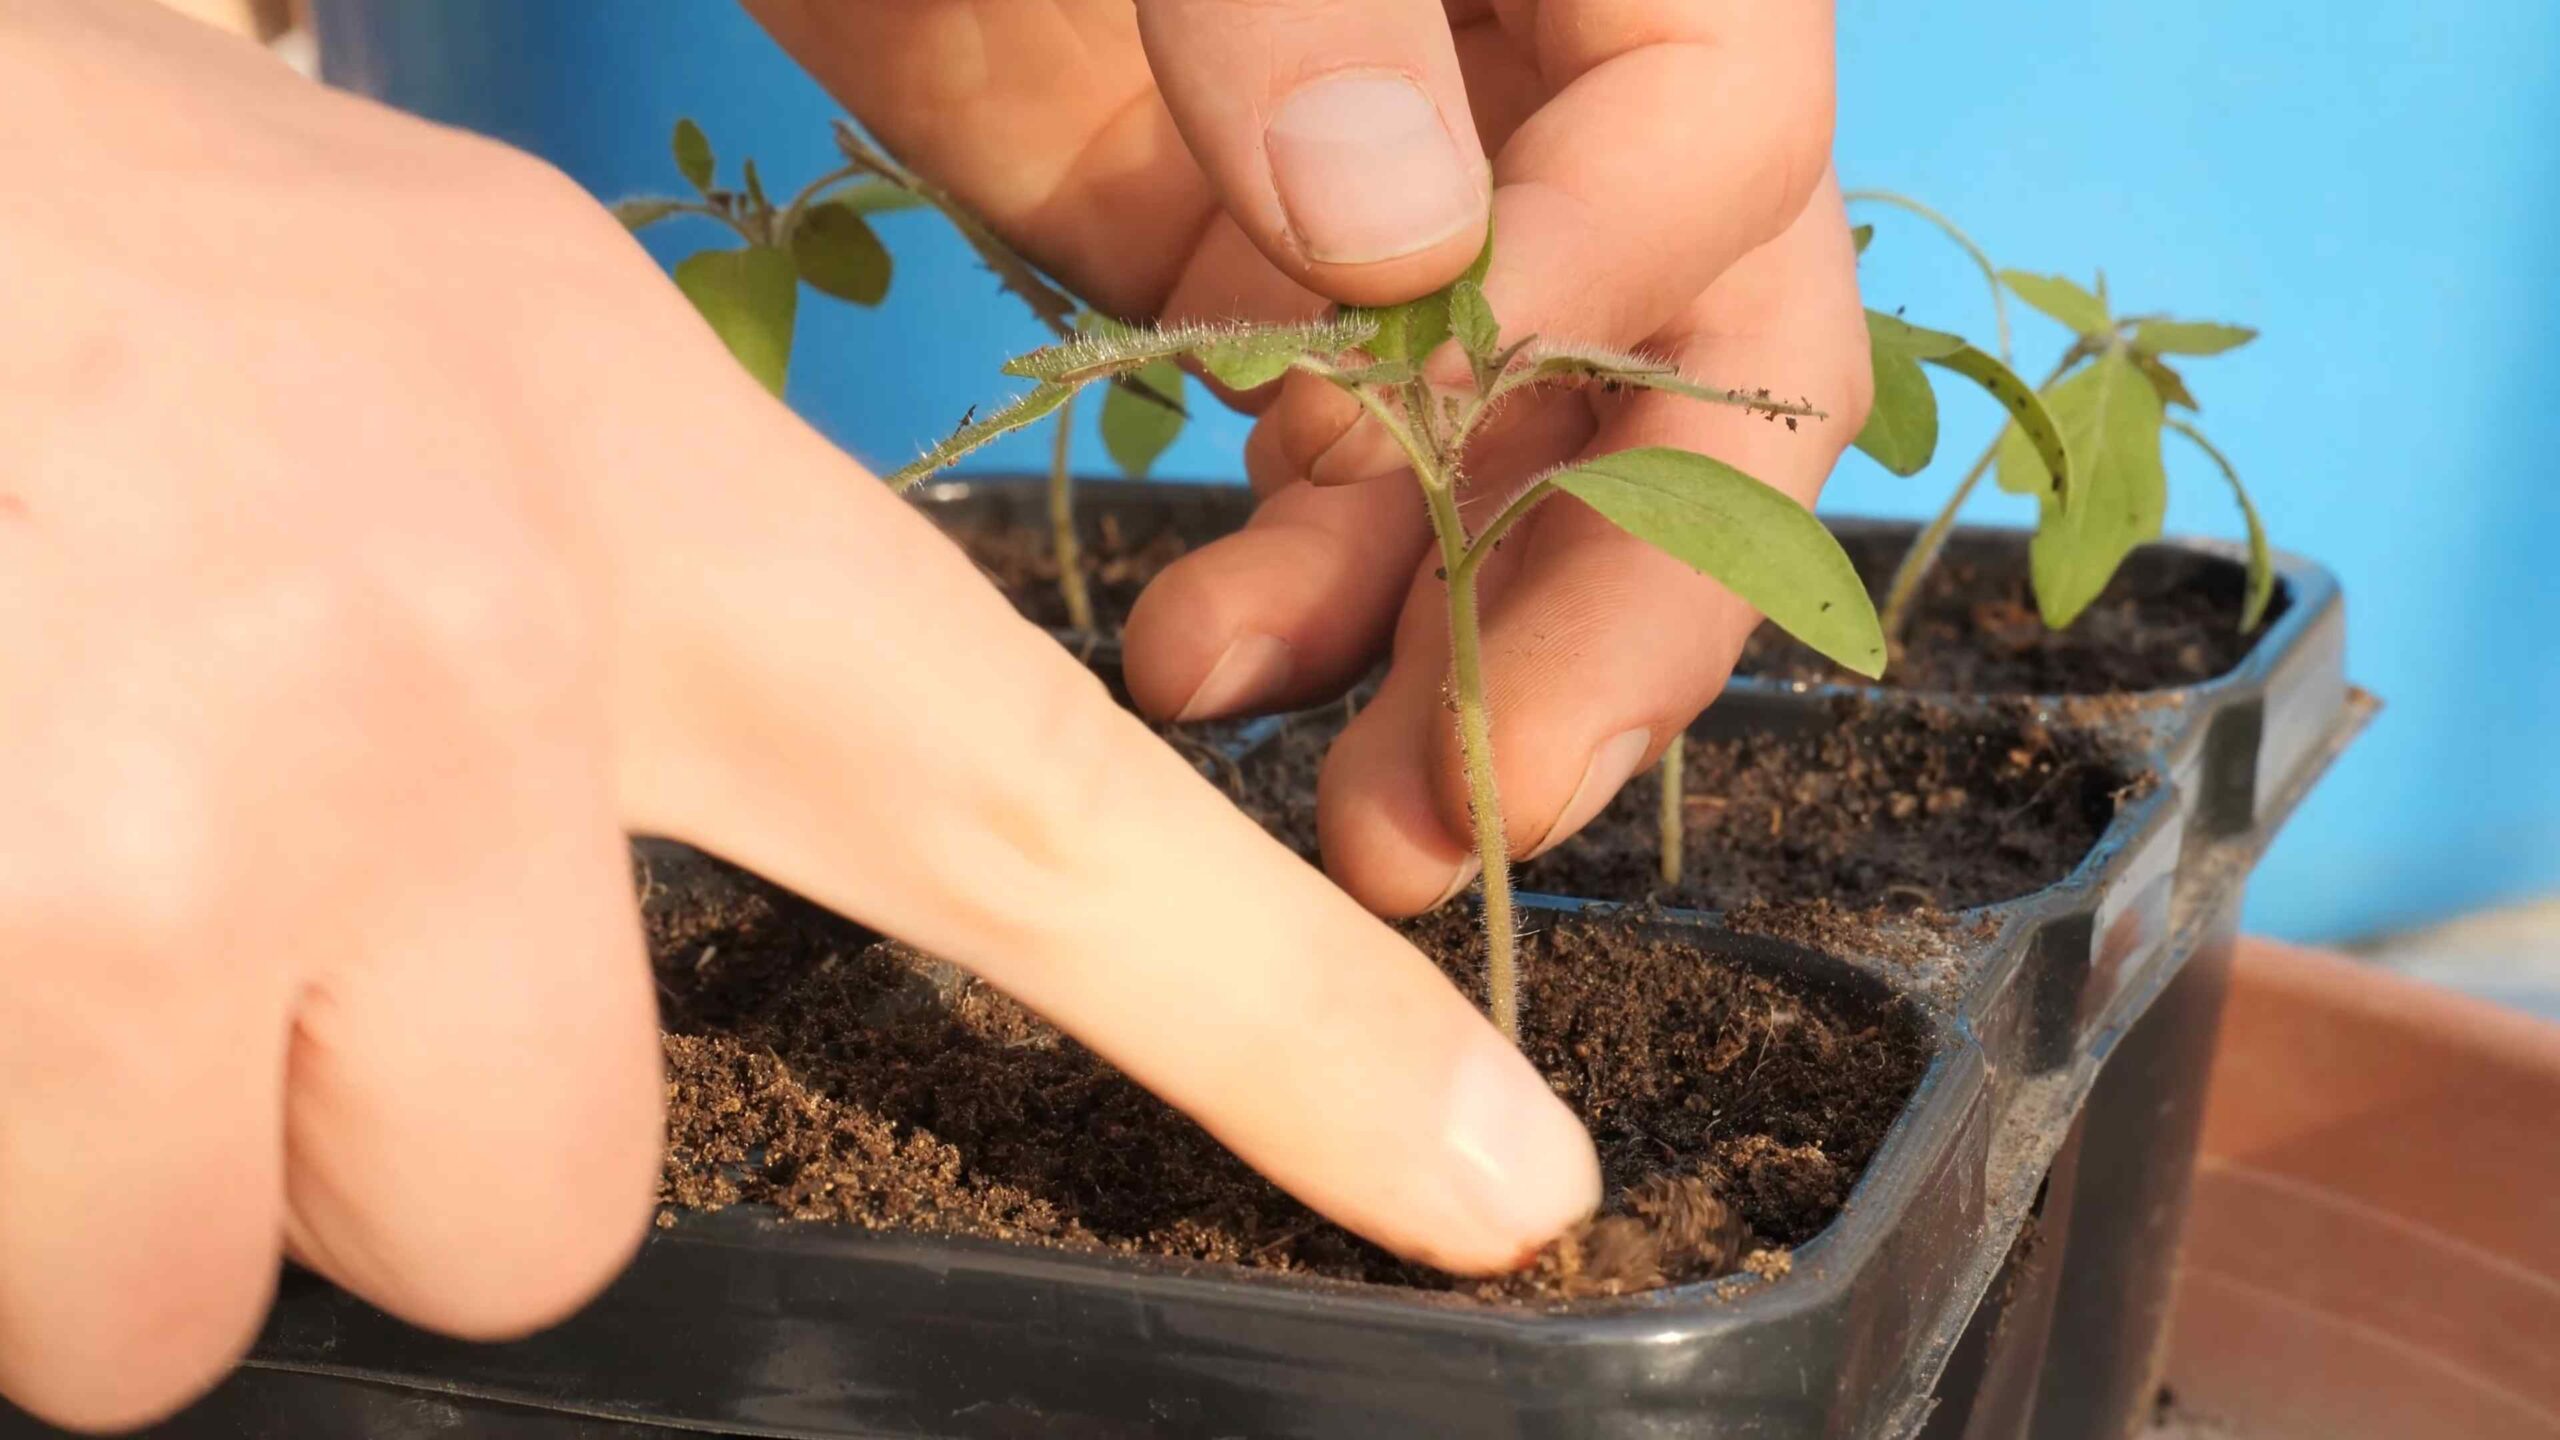
2. **Sow the seeds:** Fill your seed starting trays or pots with seed starting mix. Moisten the mix with a spray bottle. Sow 2-3 seeds per cell or pot, about ¼ inch deep. Gently cover the seeds with more seed starting mix.
3. **Water and provide warmth:** Gently water the seeds with a spray bottle. Place the trays or pots on a heat mat (if using) and cover them with a clear plastic dome or plastic wrap to create a humid environment.
4. **Provide light:** Once the seeds germinate (usually within 5-10 days), remove the plastic dome or wrap and place the seedlings under grow lights. Keep the lights on for 14-16 hours per day.
5. **Water regularly:** Keep the seed starting mix moist, but not soggy. Water when the top inch of soil feels dry to the touch.
6. **Thin the seedlings:** Once the seedlings have their first true leaves (the second set of leaves that appear after the initial seed leaves), thin them to one seedling per cell or pot. Choose the strongest, healthiest-looking seedling and snip off the others at the soil line.
7. **Harden off the seedlings:** About a week before you plan to transplant the seedlings outdoors, you need to “harden them off.” This means gradually exposing them to outdoor conditions so they can adjust to the sun, wind, and temperature changes. Start by placing the seedlings outdoors in a sheltered location for an hour or two each day, gradually increasing the amount of time they spend outside each day.
Buying Seedlings
If you’re buying seedlings, choose plants that are healthy and vigorous, with sturdy stems and dark green leaves. Avoid plants that are leggy, yellowed, or have spots on their leaves.
Preparing the Soil
Tomatoes need well-drained soil that is rich in organic matter. Here’s how to prepare your soil:
1. **Choose a sunny location:** Tomatoes need at least 6-8 hours of sunlight per day.
2. **Test your soil:** A soil test will tell you the pH level and nutrient content of your soil. Tomatoes prefer a slightly acidic soil with a pH of 6.0-6.8. You can buy a soil testing kit at most garden centers.
3. **Amend the soil:** Based on your soil test results, amend the soil with compost, aged manure, or other organic matter to improve drainage, fertility, and water retention. I usually add a generous amount of compost to my tomato beds.
4. **Consider raised beds or containers:** If your soil is poor or you have limited space, you can grow tomatoes in raised beds or containers. Use a high-quality potting mix that is specifically formulated for vegetables.
Transplanting Your Tomato Seedlings
Once the danger of frost has passed and your seedlings are hardened off (or you’ve purchased healthy seedlings), it’s time to transplant them into the garden.
1. **Dig a hole:** Dig a hole that is deep enough to bury the bottom third of the tomato plant’s stem. This encourages the plant to develop more roots along the buried stem, resulting in a stronger, healthier plant.
2. **Add fertilizer:** Add a handful of slow-release tomato fertilizer to the bottom of the hole. This will provide the plant with the nutrients it needs to get off to a good start.
3. **Plant the seedling:** Gently remove the seedling from its pot and place it in the hole. Backfill the hole with soil, gently firming it around the plant.
4. **Water thoroughly:** Water the newly transplanted seedling thoroughly.
5. **Add support:** Install a stake or cage to support the tomato plant as it grows. This will prevent the plant from falling over and keep the fruit off the ground. I prefer using cages because they provide all-around support.
6. **Mulch:** Apply a layer of mulch around the base of the plant to help retain moisture, suppress weeds, and regulate soil temperature. Straw, shredded leaves, or wood chips are all good options.
Caring for Your Tomato Plants
Once your tomato plants are in the ground, it’s important to provide them with the care they need to thrive.
1. **Water regularly:** Tomatoes need consistent moisture, especially during hot, dry weather. Water deeply and regularly, aiming for about 1-2 inches of water per week. Avoid watering the foliage, as this can encourage disease. Drip irrigation or soaker hoses are ideal for watering tomatoes.
2. **Fertilize:** Fertilize your tomato plants every 2-3 weeks with a balanced tomato fertilizer. Follow the instructions on the fertilizer package.
3. **Prune:** Pruning can help improve air circulation, reduce disease, and encourage fruit production. For indeterminate tomatoes, prune off the “suckers” that grow between the main stem and the branches. These suckers will eventually produce their own stems and fruit, but they can also overcrowd the plant and reduce overall yield.
4. **Pest and disease control:** Keep an eye out for pests and diseases. Common tomato pests include aphids, tomato hornworms, and whiteflies. Common tomato diseases include early blight, late blight, and blossom end rot. There are many organic and conventional methods for controlling pests and diseases. I prefer to use organic methods whenever possible.
5. **Blossom End Rot Prevention:** Blossom end rot, characterized by a dark, leathery spot on the bottom of the tomato, is often caused by calcium deficiency or inconsistent watering. To prevent it, ensure consistent watering and consider adding calcium to the soil (bone meal is a good option).
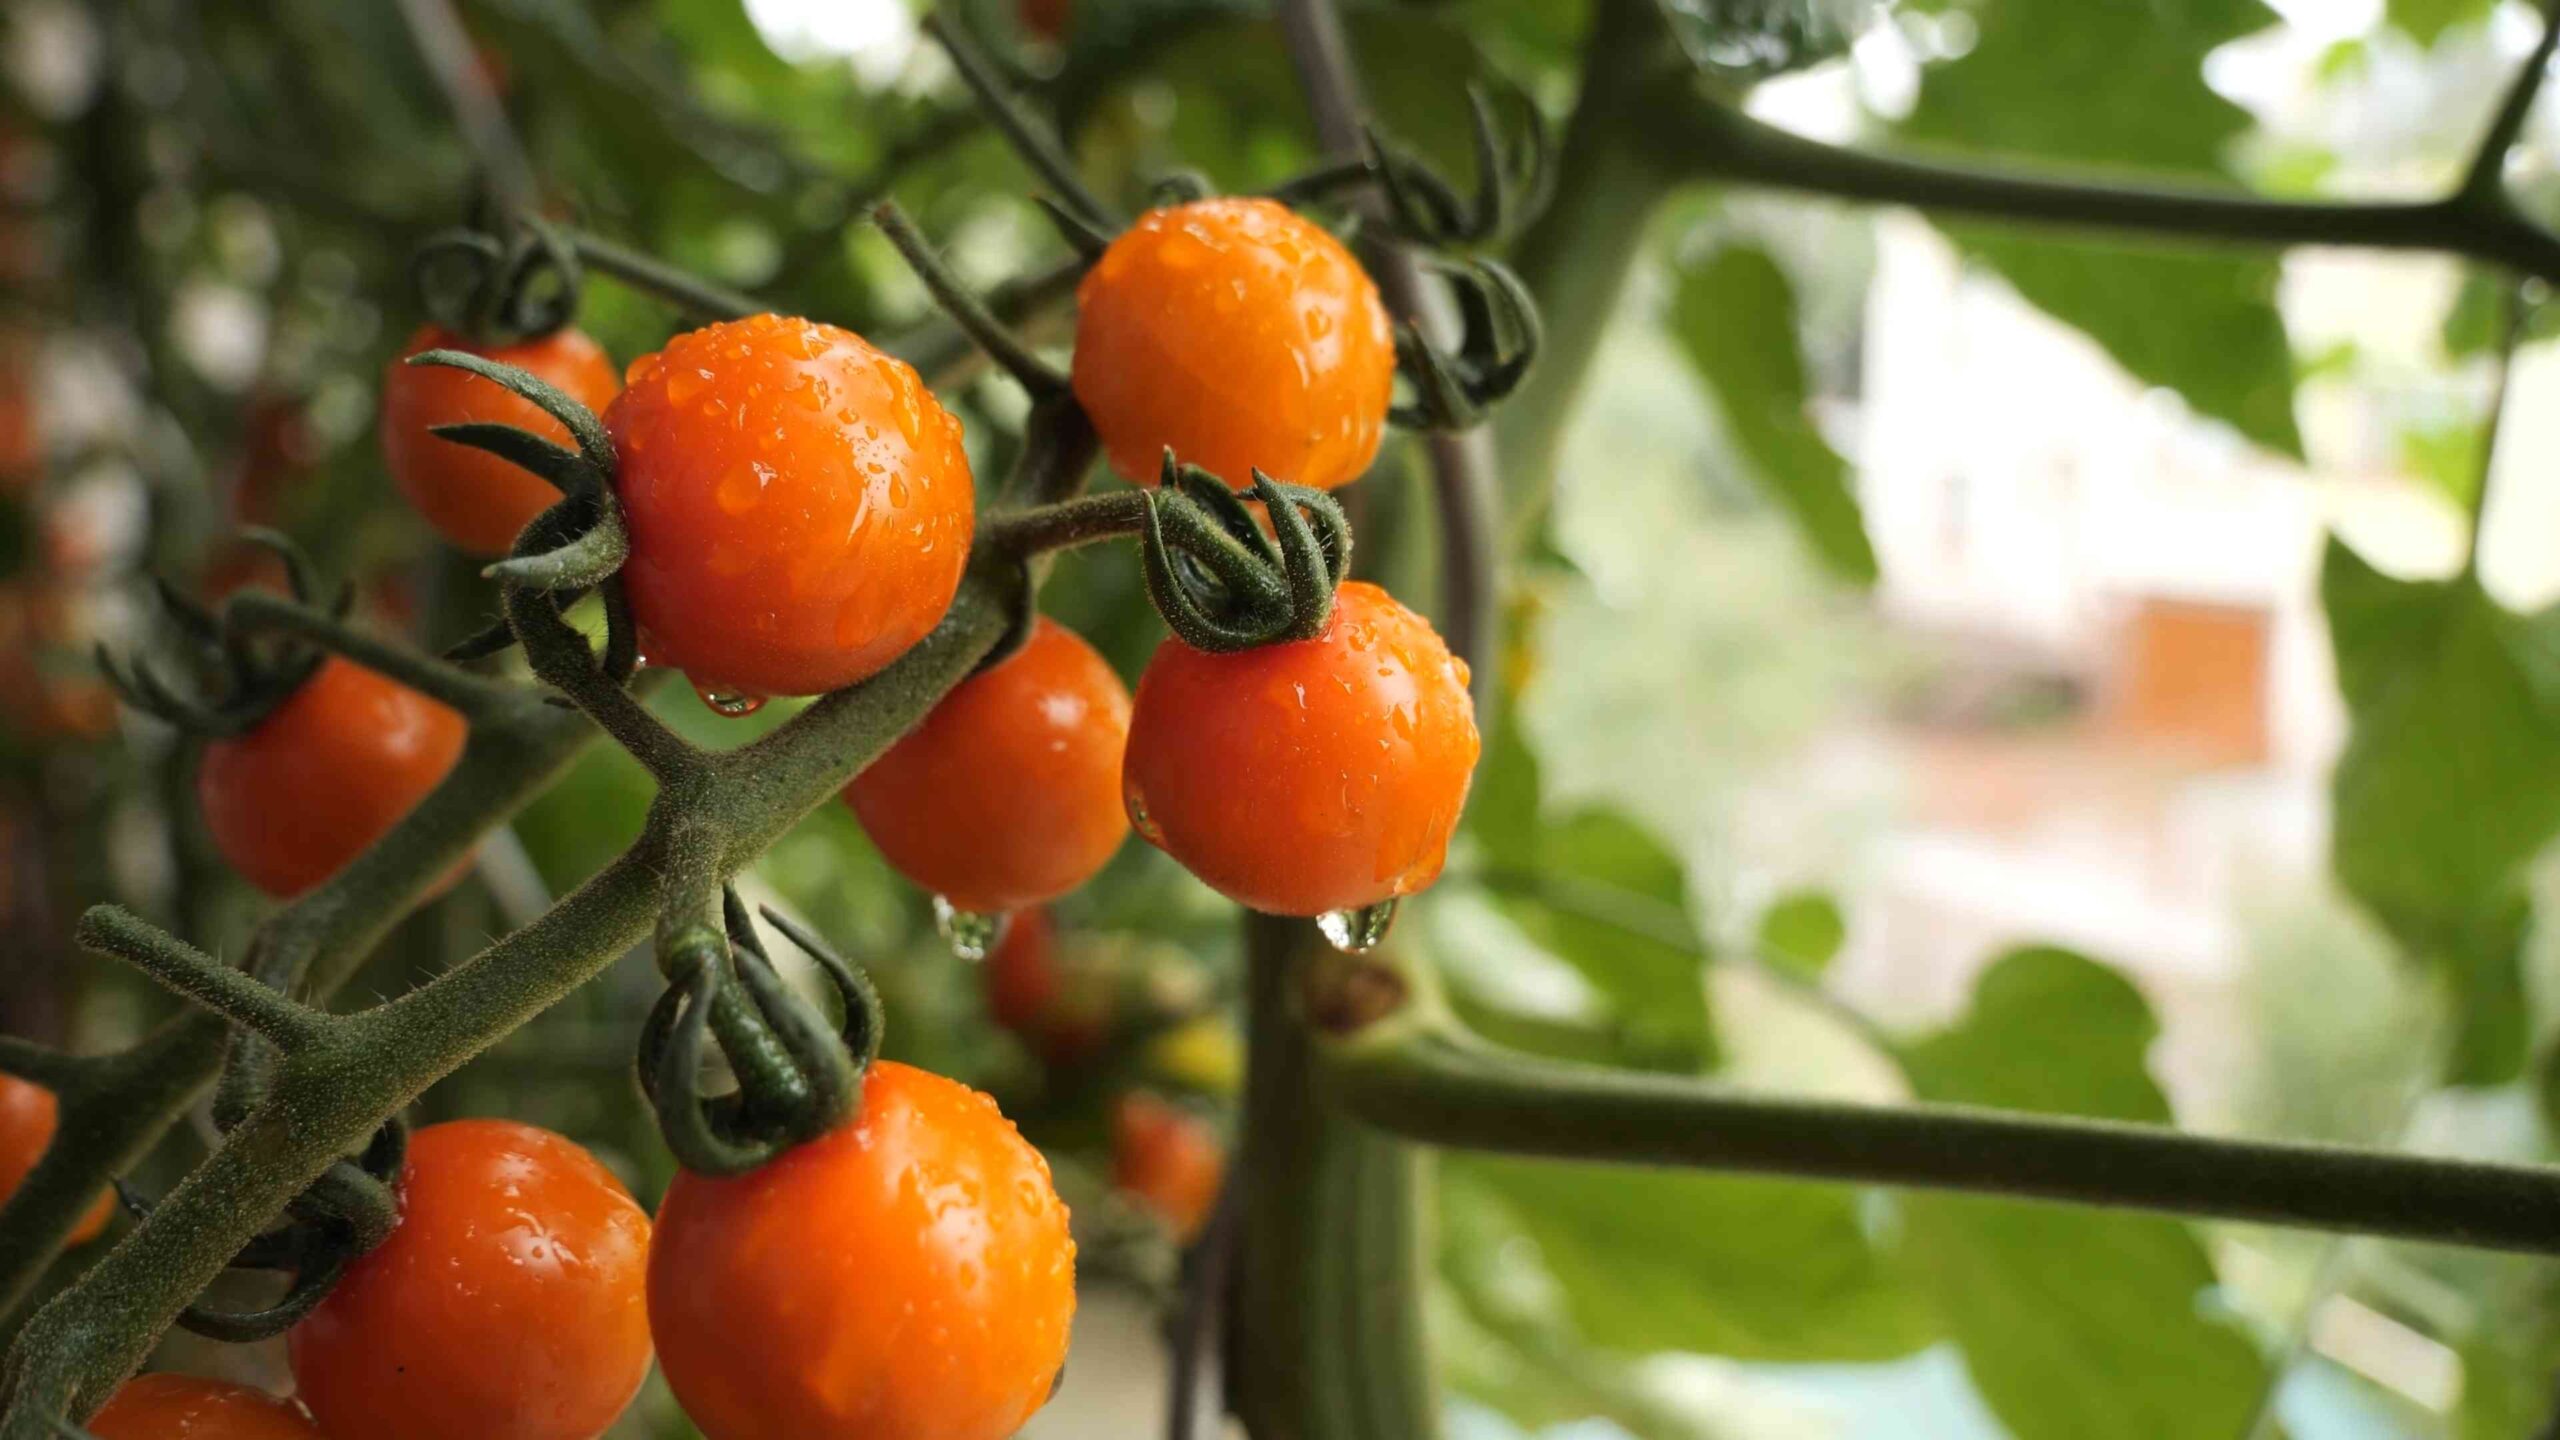
Harvesting Your Tomatoes
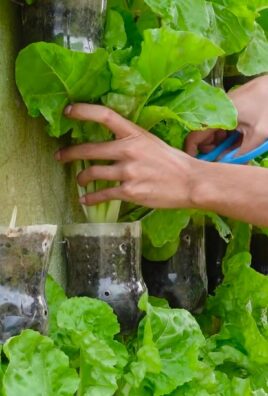
The moment you’ve been waiting for! Tomatoes are usually ready to harvest when they are fully colored and slightly soft to the touch. Gently twist the tomato off the vine.
* **Color is Key:** The color of the tomato will depend on the variety, but it should be a deep, rich color
Conclusion
So, there you have it! Growing tomatoes at home isn’t just a gardening project; it’s an investment in flavor, freshness, and a deeper connection to your food. We’ve explored a simple yet effective DIY trick that can significantly boost your tomato yield and overall plant health. This method, focusing on [mention the specific DIY trick discussed in the article, e.g., “deep planting” or “using coffee grounds”], is a game-changer for both novice and experienced gardeners alike.
Why is this a must-try? Because it addresses some of the most common challenges faced when growing tomatoes. [Mention specific benefits, e.g., “Deep planting encourages a more robust root system, leading to better nutrient absorption and drought resistance.” or “Coffee grounds provide essential nutrients and improve soil drainage, creating an ideal environment for tomato growth.”]. Imagine biting into a sun-ripened tomato, bursting with flavor, knowing that you nurtured it from seedling to table using this simple, cost-effective technique. The satisfaction is unparalleled!
But don’t stop there! Experiment with variations to tailor this DIY trick to your specific needs and environment. Consider these suggestions:
* **Soil Amendments:** While we’ve focused on [mention the specific DIY trick again], consider supplementing with other organic amendments like compost or bone meal for even richer soil.
* **Tomato Varieties:** This trick works wonders for most tomato varieties, but some, like determinate tomatoes, might benefit more from slightly different approaches. Research the specific needs of your chosen variety.
* **Container Gardening:** If you’re growing tomatoes in containers, ensure adequate drainage and use a high-quality potting mix. The principles of [mention the specific DIY trick again] still apply, but you might need to adjust the quantities accordingly.
* **Companion Planting:** Enhance your tomato patch by planting beneficial companion plants like basil, marigolds, or carrots. These plants can deter pests and attract pollinators, further boosting your tomato yield.
* **Watering Techniques:** Consistent and deep watering is crucial for healthy tomato growth. Avoid overhead watering, which can lead to fungal diseases. Instead, water at the base of the plant.
Growing tomatoes at home, especially with the help of this DIY trick, is an incredibly rewarding experience. It’s a chance to connect with nature, enjoy fresh, delicious produce, and learn valuable gardening skills. Don’t be intimidated – even if you’ve never grown anything before, this is a great place to start.
We’re confident that this DIY trick will transform your tomato-growing experience. So, grab your gardening gloves, gather your supplies, and get ready to enjoy a bountiful harvest. We can’t wait to hear about your results! Share your experiences, tips, and photos in the comments below. Let’s build a community of thriving tomato growers!
Frequently Asked Questions (FAQ)
Q: What exactly is the DIY trick you’re referring to?
A: The DIY trick we’ve been discussing is [Clearly state the DIY trick again, e.g., “deep planting of tomato seedlings.” or “the incorporation of coffee grounds into the soil when planting tomatoes.”]. This involves [Briefly explain the process again, e.g., “burying a significant portion of the tomato seedling stem when planting, allowing roots to develop along the buried stem.” or “mixing used coffee grounds into the soil before planting and using them as a side dressing throughout the growing season.”].
Q: Why is deep planting beneficial for tomatoes?
A: Deep planting is incredibly beneficial because tomatoes have the unique ability to grow roots along their stems. By burying a significant portion of the stem, you’re essentially creating a more extensive root system. This expanded root system allows the plant to absorb more water and nutrients from the soil, leading to stronger, healthier plants and a higher yield of delicious tomatoes. It also provides better anchorage, making the plant more resistant to strong winds and heavy fruit.
Q: How do coffee grounds help tomato plants?
A: Coffee grounds offer several benefits to tomato plants. Firstly, they are a slow-release source of nitrogen, which is an essential nutrient for plant growth. Secondly, they improve soil drainage and aeration, creating a more favorable environment for root development. Thirdly, they can help to suppress certain soilborne diseases. Finally, earthworms love coffee grounds, and their activity further enriches the soil.
Q: Can I use too many coffee grounds?
A: Yes, it’s possible to overdo it with coffee grounds. While they are beneficial, excessive amounts can make the soil too acidic, which tomatoes don’t appreciate. A good rule of thumb is to mix coffee grounds into the soil in moderation, aiming for a ratio of no more than 20% coffee grounds to 80% soil. You can also compost the coffee grounds first, which will help to neutralize their acidity.
Q: What kind of coffee grounds should I use?
A: Used coffee grounds are ideal. Fresh coffee grounds are more acidic and can potentially harm your plants. Make sure the coffee grounds are cool before adding them to the soil. You can collect them from your own coffee brewing or ask local coffee shops if they have used grounds available.
Q: Is this DIY trick suitable for all tomato varieties?
A: Generally, yes, this DIY trick is suitable for most tomato varieties. However, determinate tomatoes, which grow to a specific size and produce all their fruit at once, might not benefit as much from deep planting as indeterminate tomatoes, which continue to grow and produce fruit throughout the season. Regardless, the benefits of improved root systems and nutrient availability are generally advantageous for all tomato types.
Q: How often should I apply coffee grounds to my tomato plants?
A: You can apply coffee grounds as a side dressing every few weeks throughout the growing season. Gently work the coffee grounds into the soil around the base of the plant, being careful not to damage the roots. Water thoroughly after applying.
Q: What if I don’t have access to coffee grounds? Are there alternatives?
A: If you don’t have access to coffee grounds, you can use other organic amendments like compost, well-rotted manure, or bone meal. These amendments will provide similar benefits to your tomato plants.
Q: My tomato plants are already established. Can I still use this DIY trick?
A: While deep planting is most effective when planting seedlings, you can still benefit from using coffee grounds around established plants. Gently work the coffee grounds into the soil around the base of the plant, being careful not to disturb the roots. Water thoroughly after applying.
Q: How long does it take to see results from this DIY trick?
A: You should start to see results within a few weeks. Your tomato plants will likely appear healthier, with stronger stems and more vibrant foliage. You may also notice an increase in fruit production. However, remember that results can vary depending on factors such as soil quality, weather conditions, and tomato variety.
Q: What are some common mistakes to avoid when growing tomatoes at home?
A: Some common mistakes include:
* **Overwatering or underwatering:** Tomatoes need consistent moisture, but avoid soggy soil.
* **Not providing enough sunlight:** Tomatoes need at least 6-8 hours of sunlight per day.
* **Not providing support:** Tomato plants, especially indeterminate varieties, need support to prevent them from collapsing under the weight of their fruit.
* **Ignoring pests and diseases:** Regularly inspect your plants for signs of pests or diseases and take appropriate action.
* **Not pruning:** Pruning can help to improve air circulation and prevent diseases.
By avoiding these common mistakes and implementing this simple DIY trick, you’ll be well on your way to enjoying a bountiful harvest of delicious, homegrown tomatoes!
Leave a Comment