

DIY cocoa powder dry shampoo: sounds delicious, right? Well, maybe not to eat, but definitely for your hair! Let’s be honest, we’ve all been there – that moment when you’re running late, your hair is looking a little less-than-fresh, and the thought of a full wash and dry is just… impossible. That’s where this simple, yet incredibly effective, DIY trick comes to the rescue.
Dry shampoo has been around for ages, with historical accounts suggesting that people used powders like clay and starches to absorb oil and refresh their hair long before commercial products hit the shelves. Think of it as a beauty secret passed down through generations, now with a modern, chocolatey twist!
But why cocoa powder? Well, beyond smelling amazing, it’s a fantastic natural ingredient that can blend seamlessly with darker hair tones, avoiding that dreaded white cast that some dry shampoos leave behind. Plus, it’s likely you already have it in your pantry! I’m going to show you how to whip up your own DIY cocoa powder dry shampoo in just minutes, saving you time, money, and a whole lot of bad hair days. Get ready to say hello to fresh, voluminous hair, even when you’re short on time!
DIY Cocoa Powder Dry Shampoo: Say Goodbye to Oily Hair!
Okay, friends, let’s be honest. We’ve all been there. That moment when you realize you’re running late, and your hair is looking… less than fresh. Enter: dry shampoo. But those store-bought cans can be pricey, and sometimes they leave a weird white cast, especially if you have dark hair like me. That’s why I’m going to show you how to make your own amazing, all-natural dry shampoo using cocoa powder! Yes, you read that right – cocoa powder! It’s cheap, smells divine, and actually works.
What You’ll Need
Before we dive in, let’s gather our supplies. This is a super simple recipe, so you probably already have most of these things on hand.
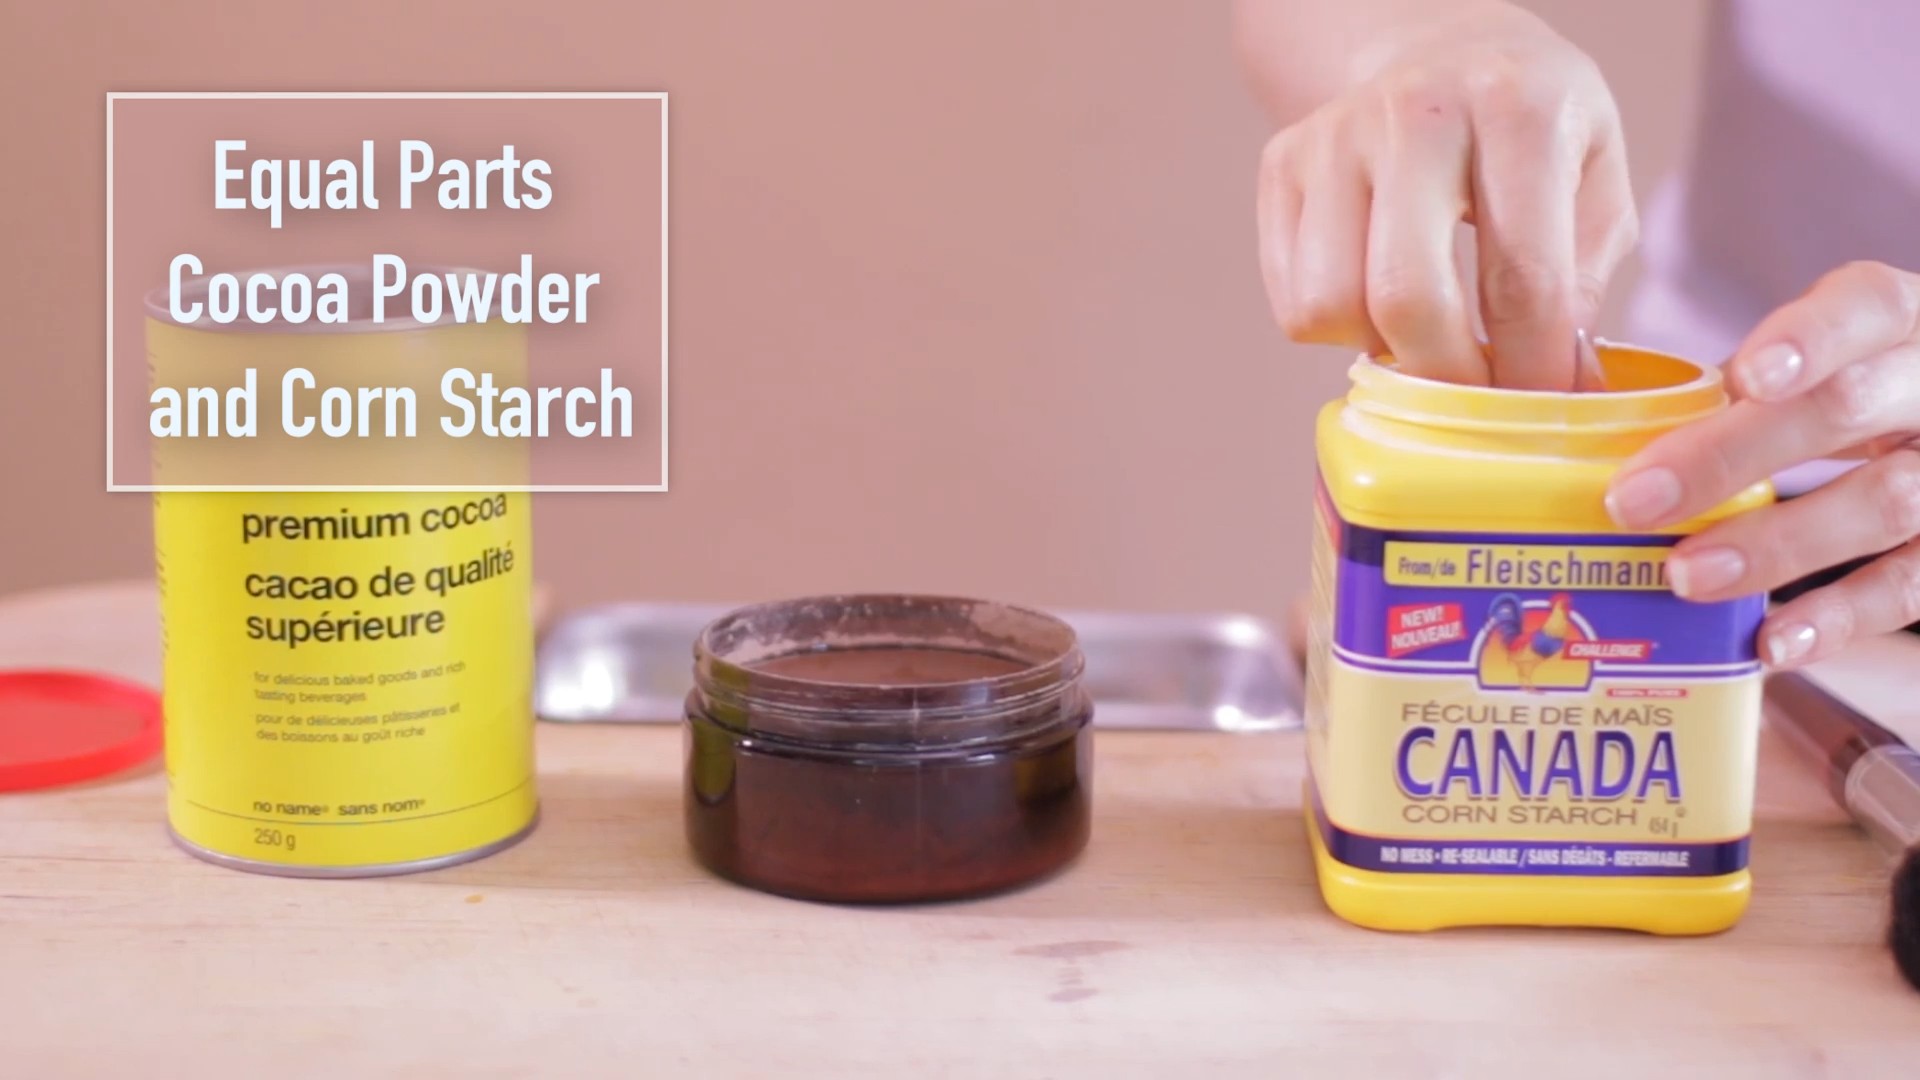
* Cocoa Powder: This is the star of the show! Unsweetened cocoa powder is best. It absorbs oil and adds a lovely chocolatey scent. Plus, it acts as a natural tint for darker hair.
* Cornstarch or Arrowroot Powder: This helps to absorb even more oil and adds a bit of volume. If you’re sensitive to cornstarch, arrowroot powder is a great alternative.
* Essential Oil (Optional): A few drops of your favorite essential oil can add a personalized scent. Lavender, rosemary, or peppermint are all great choices.
* Small Bowl: For mixing our ingredients.
* Makeup Brush (Clean): A large, fluffy makeup brush is perfect for applying the dry shampoo to your roots.
* Small Container: To store your homemade dry shampoo. An old spice jar or a small airtight container works perfectly.
Mixing Your Cocoa Powder Dry Shampoo
This is where the magic happens! It’s so easy, you’ll wonder why you haven’t been doing this all along.
1. Combine the Powders: In your small bowl, combine 2 tablespoons of cocoa powder and 2 tablespoons of cornstarch or arrowroot powder. The ratio might need tweaking depending on your hair color. If you have very dark hair, you might want to use a bit more cocoa powder. If you have lighter brown hair, start with equal parts and adjust as needed.
2. Add Essential Oil (Optional): If you’re using essential oil, add 2-3 drops to the mixture. Be careful not to add too much, as it can make your hair oily. I personally love using lavender for its calming scent.
3. Mix Thoroughly: Use a spoon or whisk to mix the ingredients until they are well combined and there are no lumps. You want a smooth, even powder.
4. Transfer to Container: Carefully transfer your homemade dry shampoo to your small container. Make sure it’s airtight to prevent moisture from getting in.
Applying Your Cocoa Powder Dry Shampoo
Now for the fun part – actually using your dry shampoo! This is where the makeup brush comes in handy.
1. Part Your Hair: Use a comb or your fingers to part your hair in sections where you notice the most oil. Usually, this is around your hairline and at the crown of your head.
2. Dip Your Brush: Dip your clean makeup brush into the cocoa powder mixture. Tap off any excess powder to avoid applying too much at once.
3. Apply to Roots: Gently dab the brush onto your roots, focusing on the oily areas. You can also use your fingers to work the powder into your roots.
4. Massage In: Use your fingertips to massage the powder into your scalp. This helps to distribute the dry shampoo evenly and absorb the oil.
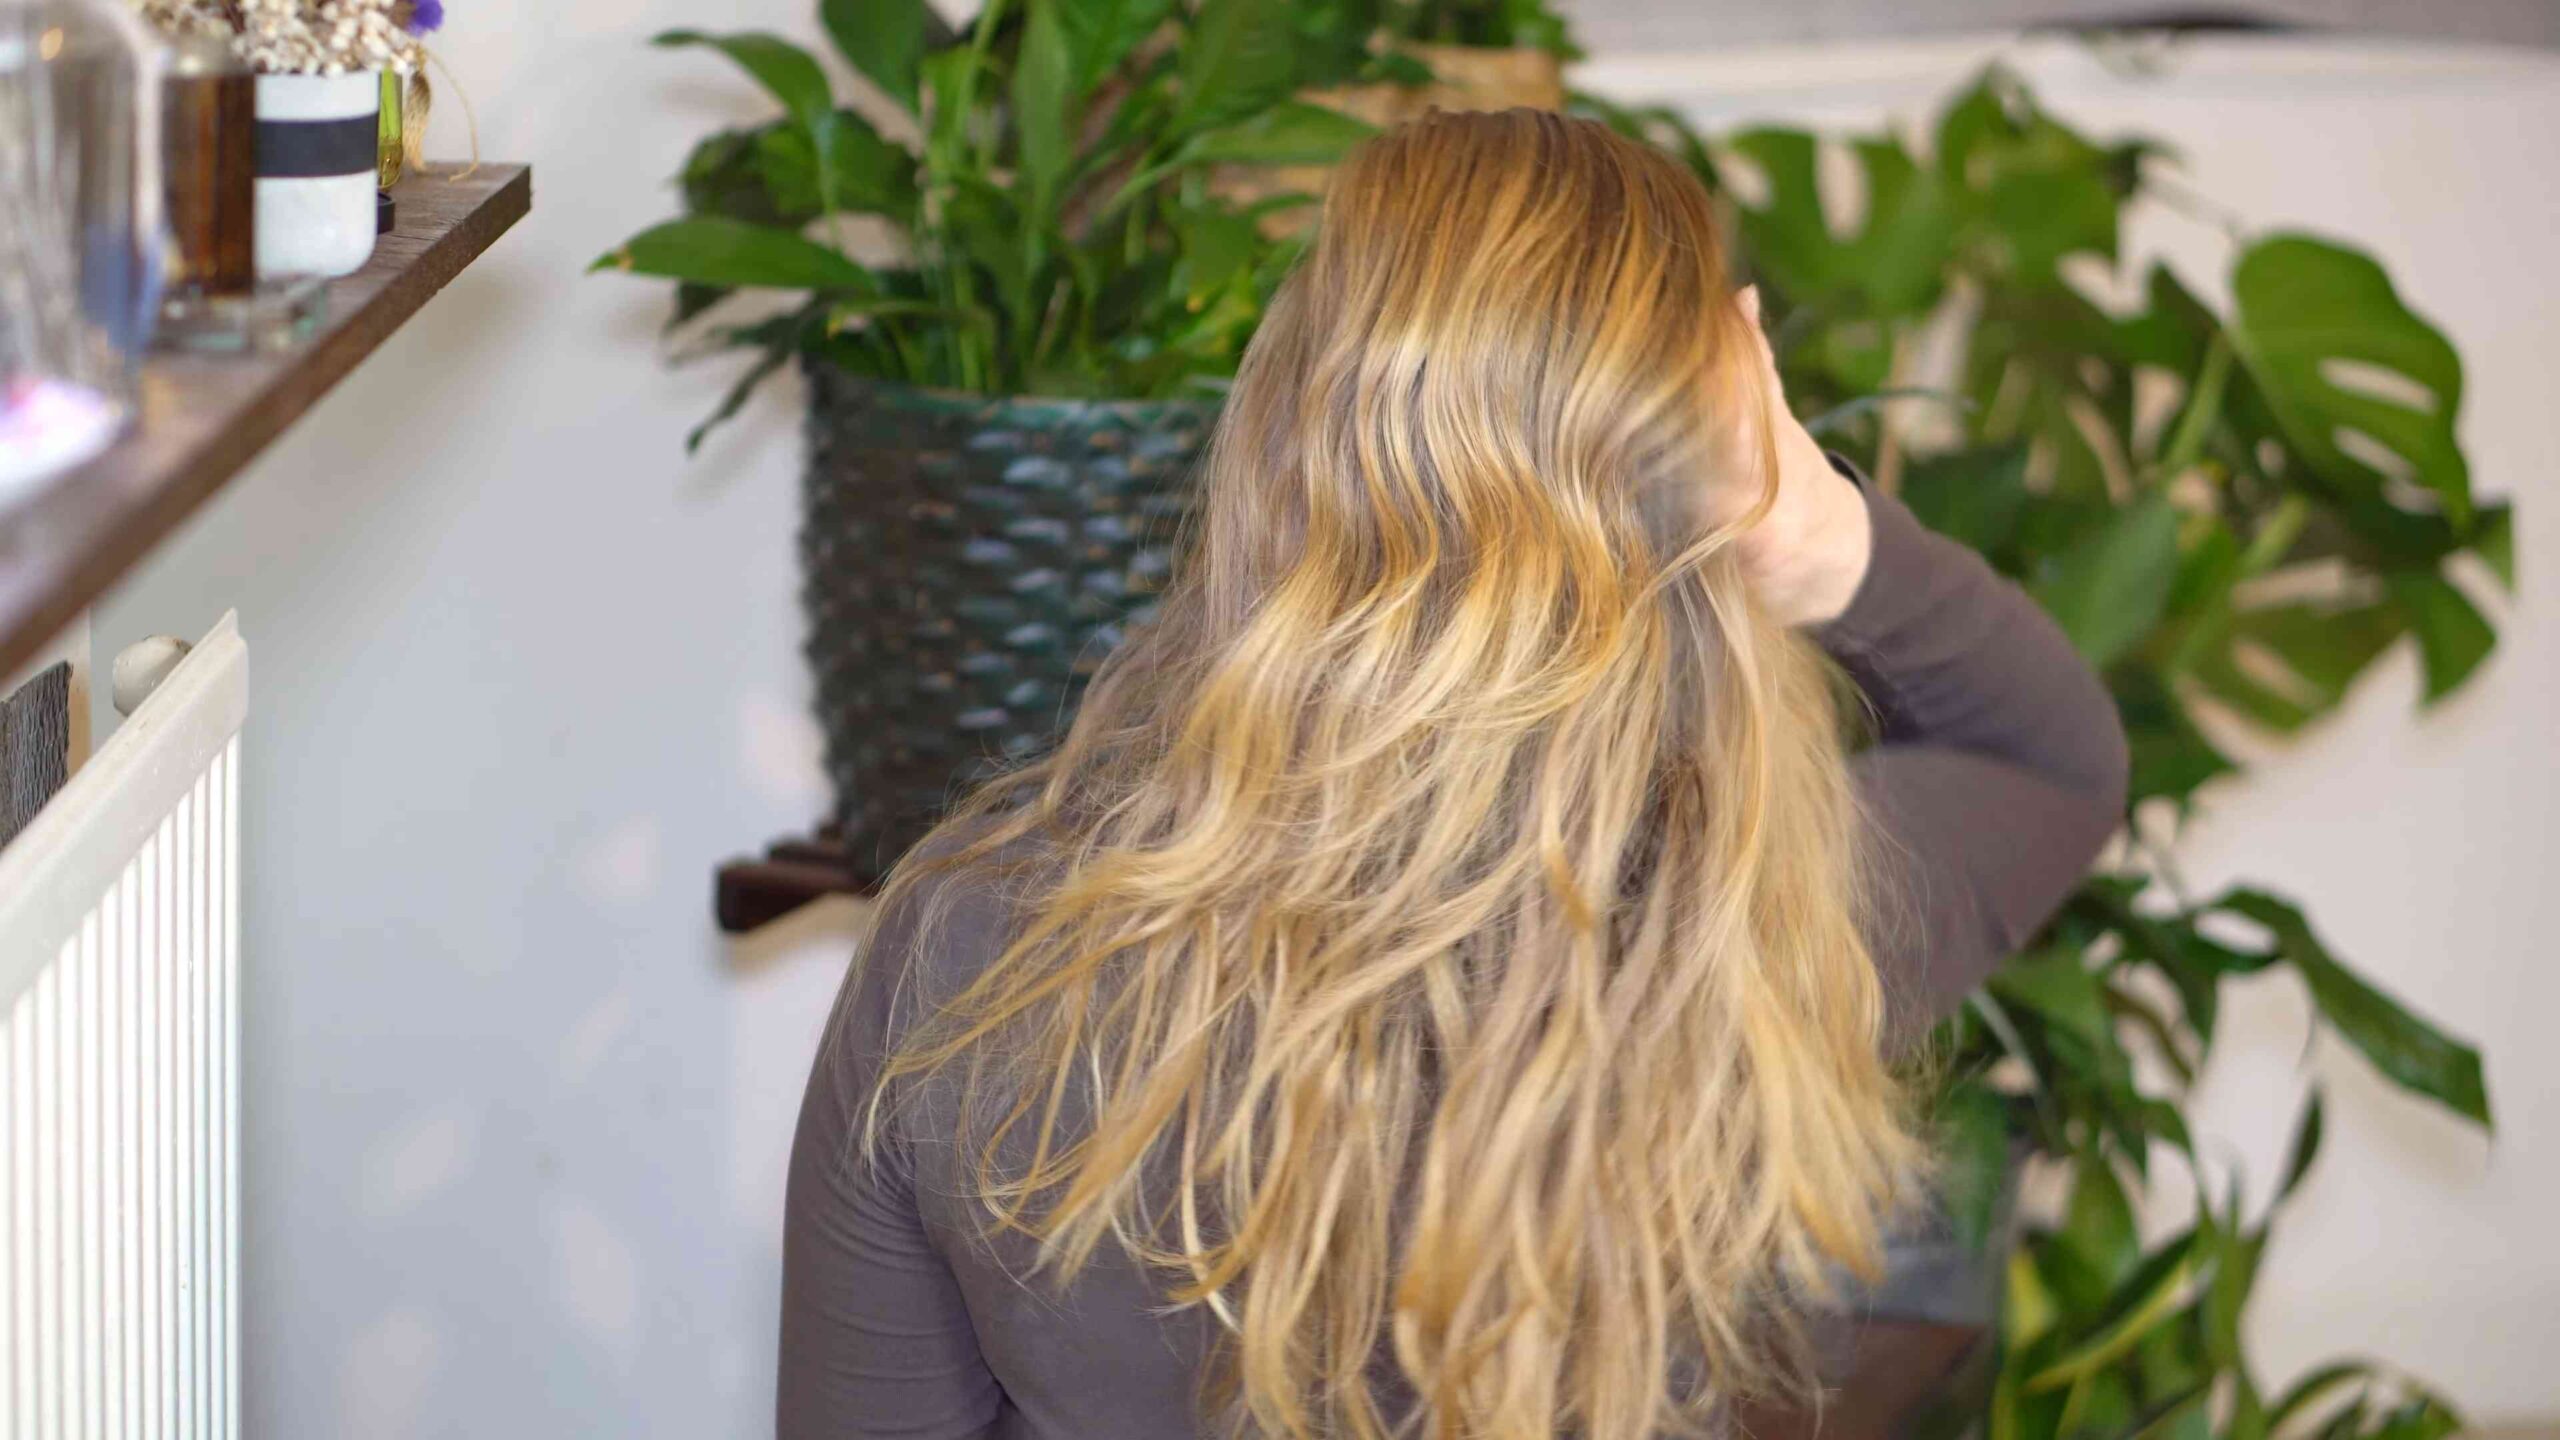
5. Brush Through: After massaging the powder in, use a brush or comb to brush through your hair. This will help to remove any excess powder and distribute the dry shampoo throughout your hair.
6. Check for White Cast: If you notice any white cast, especially if you have dark hair, simply brush through your hair again or use a hairdryer on a cool setting to blow away any excess powder. You can also use a dark towel to gently rub your hair.
Tips and Tricks for Perfect Dry Shampooing
Okay, so now you know the basics, but here are a few extra tips and tricks to help you get the most out of your homemade cocoa powder dry shampoo.
* Start Small: It’s always better to start with a small amount of dry shampoo and add more as needed. Applying too much can make your hair look dull and heavy.
* Focus on the Roots: The goal is to absorb the oil at the roots, so focus your application there. Applying dry shampoo to the ends of your hair can make them look dry and brittle.
* Don’t Overuse: While dry shampoo is a lifesaver, it’s not a substitute for washing your hair. Overusing dry shampoo can lead to buildup and scalp irritation. Aim to wash your hair every 2-3 days.
* Adjust the Ratio: As I mentioned earlier, the ratio of cocoa powder to cornstarch or arrowroot powder might need adjusting depending on your hair color. Experiment to find the perfect balance for you.
* Try Different Essential Oils: Don’t be afraid to experiment with different essential oils to find your favorite scent. Rosemary is great for promoting hair growth, while peppermint can help to stimulate the scalp.
* Use a Sifter: If you find that your dry shampoo is clumping, you can use a small sifter to apply it. This will help to distribute the powder more evenly.
* Apply Before Bed: For best results, apply your dry shampoo before bed. This gives the powder plenty of time to absorb the oil while you sleep.
* Clean Your Brush Regularly: To prevent buildup and bacteria, clean your makeup brush regularly with soap and water.
* Store in a Cool, Dry Place: To keep your dry shampoo fresh, store it in a cool, dry place away from direct sunlight.
Troubleshooting
Sometimes, things don’t go exactly as planned. Here are a few common problems and how to fix them.
* White Cast: If you’re experiencing a white cast, try using more cocoa powder in your mixture. You can also use a dark towel to gently rub your hair or use a hairdryer on a cool setting to blow away any excess powder.
* Oily Hair: If your hair still looks oily after applying dry shampoo, you might not be using enough. Try applying a bit more and massaging it in thoroughly.
* Dry Hair: If your hair feels dry after using dry shampoo, you might be using too much or applying it to the ends of your hair. Try using less dry shampoo and focusing on the roots.
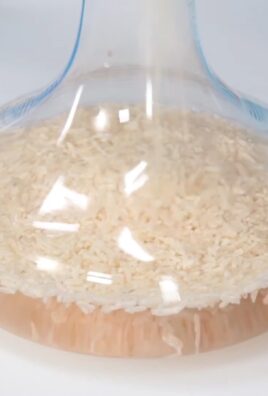
* Clumping: If your dry shampoo is clumping, make sure you’re storing it in an airtight container and that it’s not exposed to moisture. You can also try adding a small amount of rice flour to the mixture to help prevent clumping.
* Itchy Scalp: If you experience an itchy scalp after using dry shampoo, you might be sensitive to one of the ingredients. Try using arrowroot powder instead of cornstarch or switching to a different essential oil.
Variations and Customizations
The beauty of DIY is that you can customize things to your liking! Here are a few variations you can try to make your dry shampoo even better.
* For Redheads: If you have red hair, you can use cinnamon instead of cocoa powder for a warm, reddish tint.
* For Blondes: If you have blonde hair, you can skip the cocoa powder altogether and just use cornstarch or arrowroot powder. You can also add a small amount of kaolin clay for extra oil absorption.
* For Sensitive Scalps: If you have a sensitive scalp, you can add a small amount of colloidal oatmeal to the mixture. Colloidal oatmeal is known for its soothing and anti-inflammatory properties.
* For Extra Volume: If you want to add extra volume to your hair, you can add a small amount of baking soda to the mixture. Be careful not to add too much, as baking soda can be drying.
* Scented with Herbs: Instead of essential oils, you can infuse your dry shampoo with dried herbs like lavender, rosemary, or chamomile. Simply grind the herbs into a fine powder and add them to the mixture.
Why I Love This DIY Dry Shampoo
I’ve been making my own cocoa powder dry shampoo for years, and I absolutely love it! It’s so easy to make, it’s affordable, and it actually works. Plus, it smells amazing! I love knowing exactly what’s going into my hair, and I don’t have to worry about any harsh chemicals or artificial fragrances.
This DIY dry shampoo has saved me so much time and money. I no longer have to rush to the store to buy expensive dry shampoo, and I can feel good about using a natural and eco-friendly product.
So, there you have it! My complete guide to making your own cocoa powder dry shampoo. I hope you give it a try and love it as much as I do. Happy dry
Conclusion
So, there you have it! Ditching the store-bought dry shampoo and embracing this DIY cocoa powder dry shampoo is more than just a trend; it’s a game-changer for your hair and your wallet. We’ve walked you through the simple steps, highlighted the benefits, and addressed any potential concerns. But why is this DIY trick a must-try?
Firstly, it’s incredibly cost-effective. Think about how much you spend on commercial dry shampoos each month. This homemade version uses ingredients you likely already have in your pantry, significantly reducing your beauty budget. Secondly, it’s a healthier alternative. You’re avoiding harsh chemicals, aerosols, and artificial fragrances that can irritate your scalp and damage your hair over time. Instead, you’re using natural ingredients that are gentle and nourishing. The cocoa powder itself adds a subtle, pleasant scent and can even help blend with darker hair colors, eliminating that dreaded white cast.
Thirdly, it’s customizable. This recipe is a fantastic base, but feel free to experiment and tailor it to your specific needs. Got oily hair? Add a bit more cornstarch or arrowroot powder. Need extra volume? A pinch of baking soda can do the trick (use sparingly!). Want a different scent? A few drops of your favorite essential oil (lavender, rosemary, or peppermint are great choices) can transform your dry shampoo into a personalized aromatherapy experience. For those with very light blonde hair, consider using just cornstarch or arrowroot powder with a touch of cinnamon for a subtle tint. You can even add a tablespoon of finely ground oats for extra soothing properties if you have a sensitive scalp.
This DIY cocoa powder dry shampoo is a win-win-win: affordable, healthy, and customizable. It’s a simple switch that can make a big difference in your hair care routine.
We understand that trying something new can be a little daunting, but trust us, this is one DIY project you won’t regret. The process is quick, the results are impressive, and the satisfaction of creating your own natural beauty product is unmatched.
So, what are you waiting for? Gather your ingredients, follow the steps, and prepare to be amazed by the transformative power of this simple DIY cocoa powder dry shampoo. We’re confident that you’ll love the results.
But don’t just take our word for it! We encourage you to try this recipe and share your experience with us. Let us know what variations you tried, what worked best for your hair type, and any tips or tricks you discovered along the way. Your feedback is invaluable and helps us create even better content for our community. Share your photos and stories on social media using #DIYCocoaDryShampoo – we can’t wait to see your results! We are excited to see how this simple recipe can revolutionize your hair care routine.
Frequently Asked Questions (FAQ)
What exactly is dry shampoo, and how does it work?
Dry shampoo is a hair care product designed to absorb excess oil, grease, and dirt from your hair without the need for water. It works by coating the hair shaft with absorbent ingredients, such as powders, that soak up the oil. This leaves your hair looking cleaner, fresher, and more voluminous. It’s a fantastic solution for extending the time between washes, especially when you’re short on time or want to avoid over-washing your hair, which can strip it of its natural oils.
Can I use this DIY cocoa powder dry shampoo on all hair types?
Yes, this DIY cocoa powder dry shampoo is generally suitable for all hair types. However, the key is to adjust the recipe to suit your specific needs. For oily hair, you might want to increase the amount of cornstarch or arrowroot powder. For dry hair, you could add a few drops of argan oil or jojoba oil to the mixture. If you have very fine hair, use the dry shampoo sparingly to avoid weighing it down. Those with dark hair will find the cocoa powder blends seamlessly, while those with lighter hair may need to adjust the ratio or opt for a cocoa powder-free version using just cornstarch or arrowroot powder with a touch of cinnamon.
How often can I use this DIY dry shampoo?
While dry shampoo is a convenient solution, it’s not meant to replace regular shampooing. Overuse of any dry shampoo, including this DIY version, can lead to product buildup on your scalp, which can clog pores and potentially cause irritation or even dandruff. We recommend using it no more than two or three times a week. On days when you don’t use dry shampoo, consider using a clarifying shampoo once or twice a month to remove any buildup and keep your scalp healthy.
Will the cocoa powder stain my clothes or pillowcases?
While the cocoa powder is finely ground, there’s a slight chance it could transfer to light-colored clothing or pillowcases, especially if you apply too much. To minimize this risk, apply the dry shampoo sparingly and thoroughly brush it through your hair to remove any excess powder. You can also use a dark-colored towel or pillowcase on the first few uses to be extra cautious. If you do notice any transfer, it should easily wash out with regular laundry detergent.
How long does this DIY dry shampoo last?
When stored properly in an airtight container in a cool, dry place, this DIY dry shampoo can last for several months. However, it’s always a good idea to check for any signs of spoilage, such as a change in smell or texture, before using it. If you add essential oils, be aware that their scent may fade over time.
Can I add other ingredients to this DIY dry shampoo?
Absolutely! One of the best things about making your own dry shampoo is the ability to customize it to your liking. Here are a few ideas:
* **Essential Oils:** Add a few drops of your favorite essential oil for a pleasant scent and added benefits. Lavender is calming, rosemary is stimulating, and tea tree oil has antiseptic properties.
* **Baking Soda:** A small amount of baking soda can help absorb excess oil, but use it sparingly as it can be drying.
* **Finely Ground Oats:** Oats can soothe an irritated scalp and add a silky texture to the dry shampoo.
* **Clay:** Bentonite or kaolin clay can help absorb oil and detoxify the scalp.
What if I don’t have cocoa powder? Can I still make dry shampoo?
Yes, you can definitely make dry shampoo without cocoa powder! Simply use cornstarch or arrowroot powder as the base. For those with darker hair, you can add a small amount of cinnamon or activated charcoal for a subtle tint. The key is to find a powder that effectively absorbs oil without leaving a noticeable residue.
How do I apply this DIY dry shampoo?
There are several ways to apply this DIY dry shampoo:
* **Brush Method:** Dip a large makeup brush (like a blush brush) into the powder, tap off any excess, and apply it directly to your roots.
* **Shaker Method:** Pour the dry shampoo into an old spice container or a dedicated shaker bottle. Sprinkle a small amount onto your roots and massage it in with your fingertips.
* **Hands Method:** Sprinkle a small amount of the dry shampoo into your hands and rub them together. Then, apply it to your roots, focusing on the oiliest areas.
Regardless of the method you choose, be sure to massage the dry shampoo into your scalp and brush it through your hair to distribute it evenly and remove any excess powder.
Is this DIY dry shampoo safe for color-treated hair?
Yes, this DIY dry shampoo is generally safe for color-treated hair. The ingredients are gentle and shouldn’t strip your hair of its color. However, it’s always a good idea to do a patch test on a small, inconspicuous area of your hair before applying it all over, especially if you’ve recently colored your hair.
What if I experience scalp irritation after using this DIY dry shampoo?
If you experience any scalp irritation, such as itching, redness, or flaking, discontinue use immediately. It’s possible that you’re sensitive to one of the ingredients. Try making a new batch with fewer ingredients or using a different base powder, such as arrowroot powder. If the irritation persists, consult a dermatologist.


Leave a Comment