

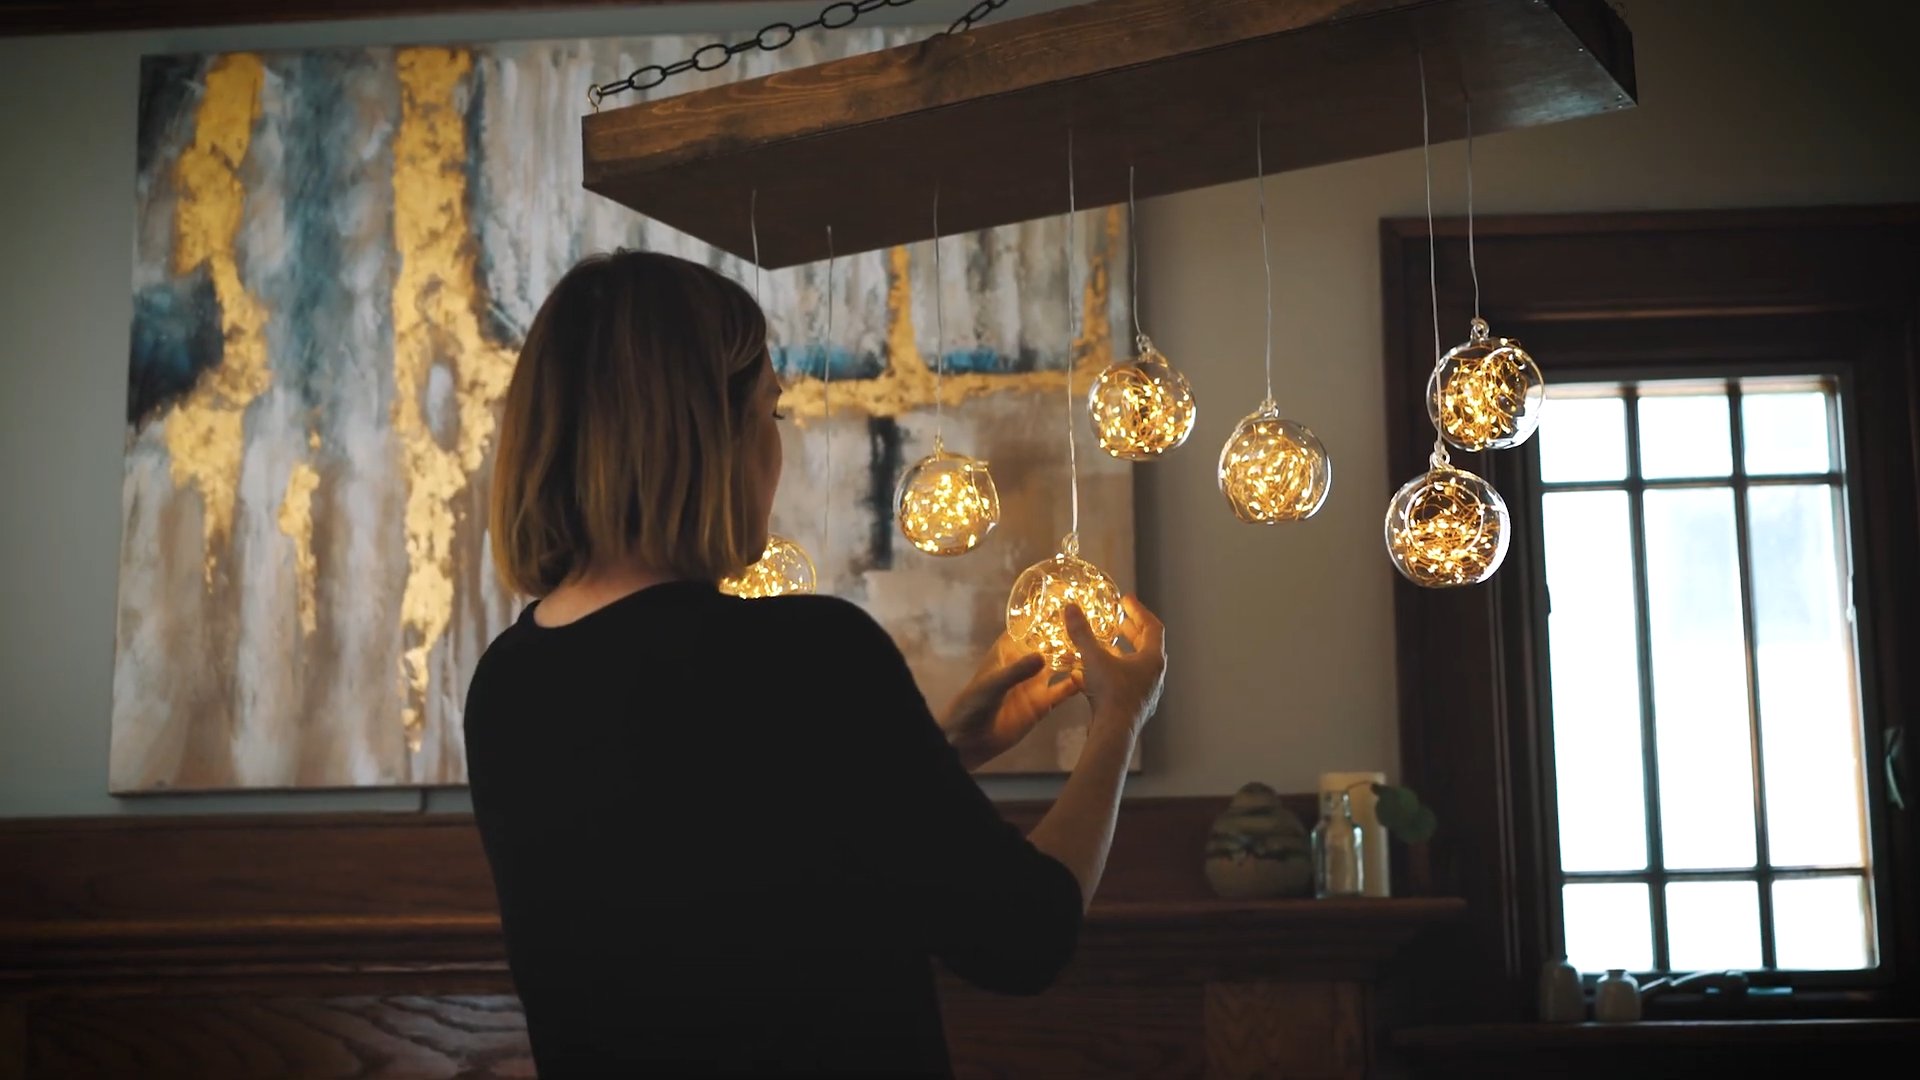
DIY Globe Chandelier: Imagine transforming your living space with a unique, eye-catching piece that sparks conversation and adds a touch of wanderlust to your home. Forget those generic, mass-produced light fixtures! I’m going to show you how to create your very own stunning DIY Globe Chandelier.
Globes, as representations of our world, have always held a certain allure. From ancient cartographers meticulously mapping uncharted territories to modern-day explorers dreaming of far-off lands, the globe symbolizes discovery and adventure. Now, you can bring that spirit home with this fun and easy project.
Why a DIY Globe Chandelier, you ask? Well, let’s face it, finding truly unique and affordable lighting can be a real challenge. Plus, who doesn’t love a good upcycling project? This DIY trick not only saves you money but also allows you to express your creativity and personalize your space. It’s a fantastic way to repurpose old globes, giving them a new lease on life as a beautiful and functional piece of art. I’ll guide you through each step, ensuring that even if you’re a DIY novice, you can create a DIY Globe Chandelier that you’ll be proud to display.
DIY Globe Chandelier: Illuminate Your World!
Hey there, fellow DIY enthusiasts! Are you ready to embark on a project that’s both visually stunning and surprisingly simple? I’m going to walk you through creating your very own globe chandelier. Trust me, it’s easier than it looks, and the result is a unique statement piece that will have everyone asking, “Where did you get that?!”
Materials You’ll Need:
Before we dive in, let’s gather our supplies. Here’s a comprehensive list to ensure you’re well-prepared:
* Globe(s): This is the star of the show! You can use one large globe or several smaller ones. I recommend vintage globes for a more rustic, charming look, but new ones work just as well. Consider the size of your space when choosing the globe size. For a smaller room, a single, medium-sized globe might be perfect. For a larger space, you could use three or even five smaller globes clustered together.
* Pendant Light Kit(s): You’ll need one kit for each globe you plan to use. These kits typically include a light socket, wiring, a ceiling canopy, and all the necessary hardware for installation. Make sure the kit is rated for the wattage of the bulbs you plan to use.
* Light Bulbs: Choose bulbs that complement the style of your chandelier. Edison bulbs are a popular choice for their vintage appeal, but you can also use LED bulbs for energy efficiency. Consider the color temperature of the bulbs as well. Warmer temperatures (around 2700K) create a cozy, inviting atmosphere, while cooler temperatures (around 5000K) provide brighter, more focused light.
* Drill and Drill Bits: You’ll need a drill to create a hole in the globe for the pendant light kit. Choose a drill bit that’s slightly larger than the diameter of the pendant light cord. A step drill bit is ideal for creating clean, round holes in various materials.
* Safety Glasses: Protecting your eyes is crucial when drilling. Always wear safety glasses to prevent debris from getting into your eyes.
* Gloves: Wearing gloves will protect your hands from sharp edges and potential splinters.
* Wire Strippers: These are essential for safely stripping the insulation from the electrical wires.
* Wire Connectors (Wire Nuts): These are used to securely connect the wires together.
* Measuring Tape: You’ll need a measuring tape to determine the desired length of the pendant light cords.
* Pencil or Marker: Use a pencil or marker to mark the spot where you’ll be drilling the hole in the globe.
* Optional: Chain or Wire (for hanging multiple globes): If you’re using multiple globes, you’ll need chain or wire to connect them together and hang them from the ceiling.
* Optional: Ceiling Medallion: A ceiling medallion can add a decorative touch to your chandelier.
* Optional: Sandpaper: If you’re using vintage globes, you may want to use sandpaper to smooth out any rough edges around the hole you drill.
Phase 1: Preparing the Globe
This is where we get our hands dirty (well, not too dirty!). The key here is patience and precision.
1. Mark the Hole: Decide where you want the pendant light cord to enter the globe. I usually aim for the bottom, near the South Pole, but you can get creative! Use a pencil or marker to clearly mark the spot. Consider the weight distribution of the globe when choosing the location of the hole. You want the globe to hang evenly.
2. Drill the Hole: Now for the slightly nerve-wracking part. Put on your safety glasses and gloves! Start with a small pilot hole to guide the larger drill bit. Then, gradually increase the size of the hole until it’s large enough to accommodate the pendant light cord. Go slowly and apply gentle pressure. If you’re using a vintage globe, be extra careful as the material may be more fragile.
3. Smooth the Edges (Optional): If the edges of the hole are rough, use sandpaper to smooth them out. This will prevent the cord from being damaged and give the hole a cleaner look.
Phase 2: Wiring the Pendant Light Kit
Important Safety Note: If you’re not comfortable working with electricity, please consult a qualified electrician. Electricity can be dangerous, and it’s always better to be safe than sorry.
1. Prepare the Wires: Using wire strippers, carefully strip about ½ inch of insulation from the ends of the wires in the pendant light kit. Be careful not to nick the wires themselves.
2. Connect the Wires: Follow the instructions that came with your pendant light kit to connect the wires to the light socket. Typically, you’ll connect the black wire (hot) to the brass screw and the white wire (neutral) to the silver screw. The green wire (ground) should be connected to the grounding screw.
3. Secure the Connections: Use wire connectors (wire nuts) to securely connect the wires together. Twist the wire connectors tightly until the wires are firmly held in place.
4. Test the Connection (Before Installing in Globe): Before you insert the socket into the globe, plug the pendant light into an outlet to ensure the wiring is correct and the bulb lights up. This is a crucial step to avoid having to redo the wiring later.
Phase 3: Assembling the Chandelier
This is where your vision starts to come to life!
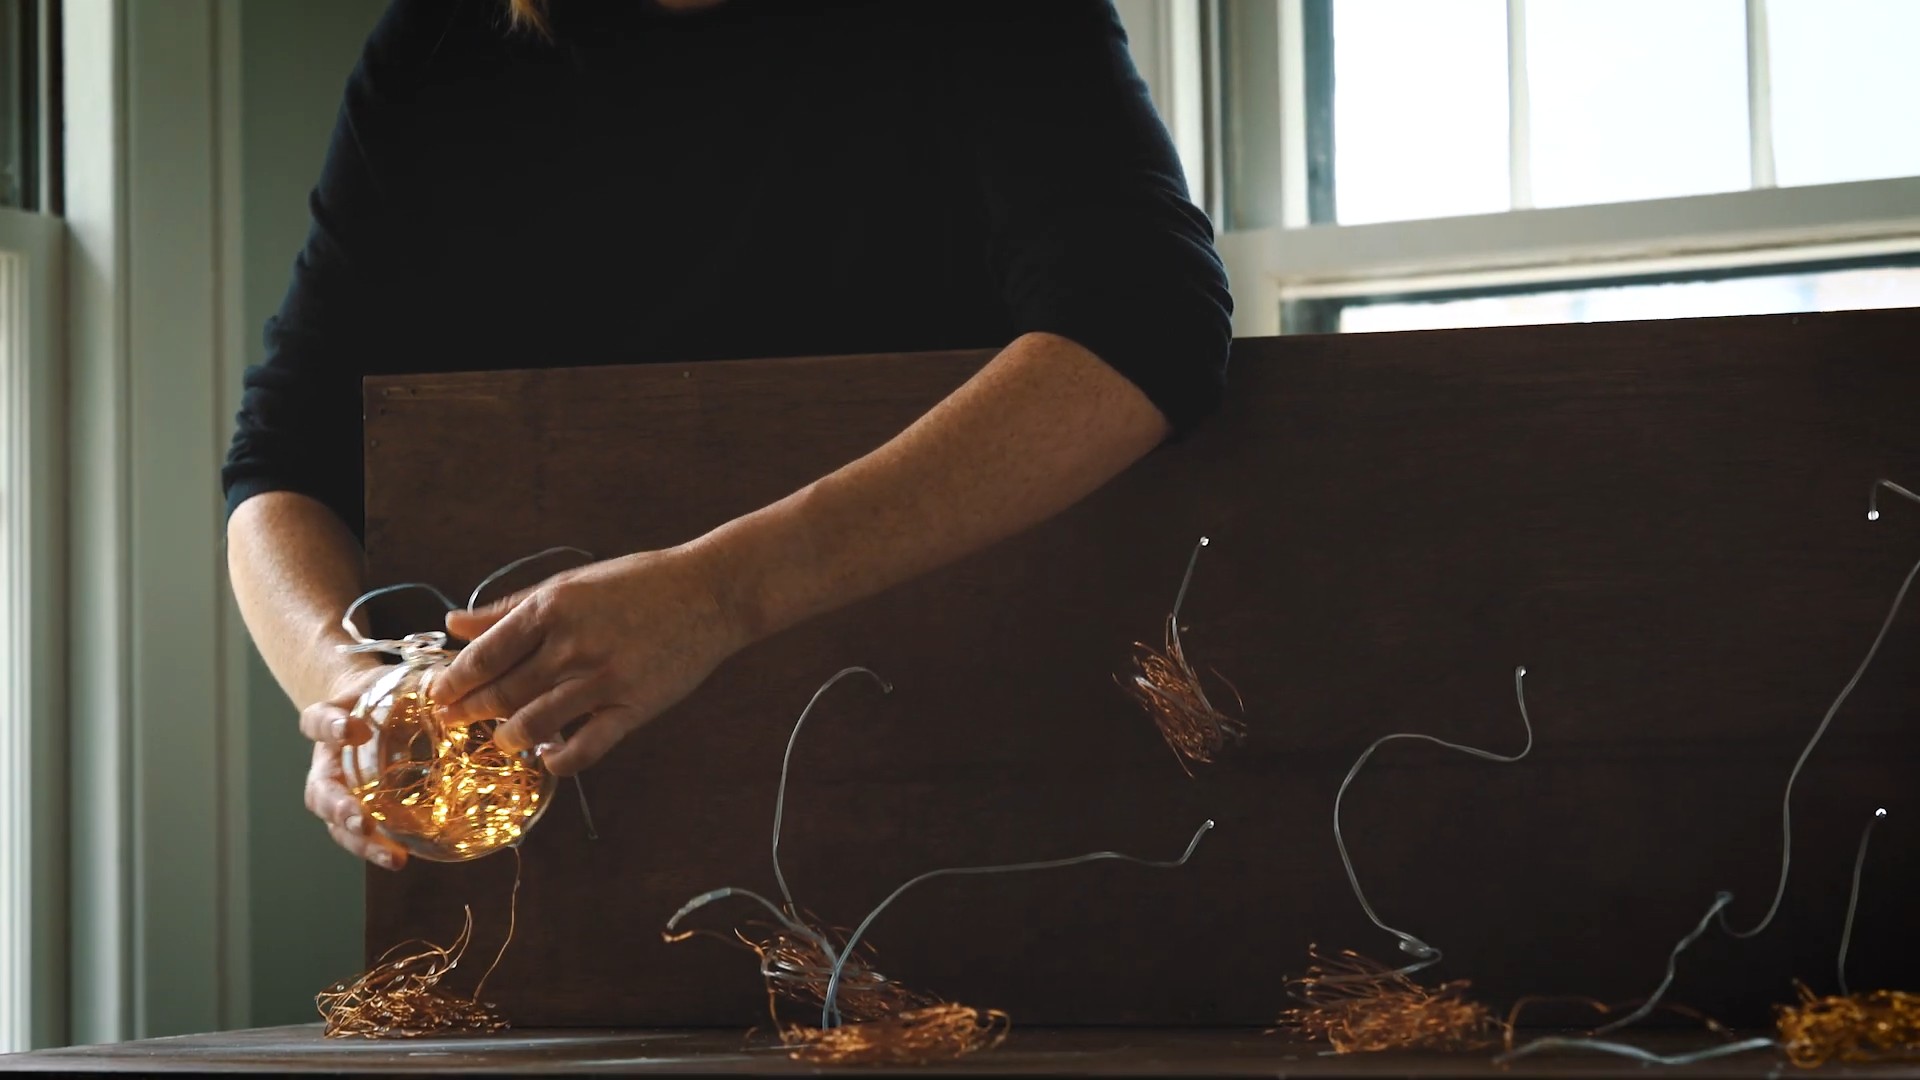
1. Insert the Pendant Light Cord: Carefully thread the pendant light cord through the hole you drilled in the globe. Gently pull the cord through until the light socket is snug against the inside of the globe.
2. Secure the Socket (If Necessary): Some pendant light kits have a mechanism to secure the socket to the globe. Follow the instructions that came with your kit to properly secure the socket.
3. Install the Light Bulb: Screw in your chosen light bulb.
4. Repeat for Multiple Globes (If Applicable): If you’re using multiple globes, repeat steps 1-3 for each globe.
5. Connect the Globes (If Applicable): If you’re using multiple globes, use chain or wire to connect them together. Determine the desired spacing between the globes and cut the chain or wire accordingly. Use pliers to securely attach the chain or wire to the pendant light cords.
Phase 4: Installing the Chandelier
Again, safety first! If you’re not comfortable working with electricity, please consult a qualified electrician.
1. Turn Off the Power: Before you start working on the electrical wiring, turn off the power to the circuit at the breaker box. This is absolutely essential to prevent electric shock.
2. Remove the Existing Light Fixture: Carefully remove the existing light fixture from the ceiling. Disconnect the wires and use wire connectors to cap them off.
3. Install the Ceiling Canopy: Attach the ceiling canopy to the junction box in the ceiling. Follow the instructions that came with your pendant light kit.
4. Connect the Wires: Connect the wires from the pendant light kit to the wires in the junction box. Match the colors: black to black, white to white, and green to green (or bare copper). Use wire connectors to securely connect the wires together.
5. Secure the Canopy: Secure the ceiling canopy to the mounting bracket.
6. Install a Ceiling Medallion (Optional): If you’re using a ceiling medallion, install it before securing the canopy.
7. Turn On the Power: Once you’ve completed the installation, turn on the power to the circuit at the breaker box.
8. Test the Chandelier: Turn on the light switch to test the chandelier. If the light doesn’t turn on, double-check your wiring connections.
Tips and Tricks for a Stunning Globe Chandelier
* Globe Selection is Key: Don’t just grab the first globe you see. Think about the style you’re going for. A vintage globe with faded colors will give a completely different vibe than a modern, brightly colored globe.
* Consider the Scale: A massive globe in a tiny room will look out of place. Similarly, a tiny globe in a large room will get lost. Measure your space and choose a globe (or globes) that are appropriately sized.
* Experiment with Bulb Types: Edison bulbs are popular, but don’t be afraid to try other types of bulbs. Clear bulbs will cast more light, while frosted bulbs will create a softer, more diffused glow.
* Play with Cord Lengths: If you’re using multiple globes, try hanging them at different heights for a more dynamic look.
* Add a Dimmer Switch: A dimmer switch will allow you to adjust the brightness of the chandelier to create the perfect ambiance.
* Get Creative with the Canopy: Instead of using the standard ceiling canopy that comes with the pendant light kit, consider using a decorative plate
Conclusion
So, there you have it! Transforming an ordinary globe into a stunning, personalized chandelier is not just a craft project; it’s an experience. It’s about taking something familiar and reimagining it into a focal point that reflects your unique style and adds a touch of wanderlust to your home. This DIY globe chandelier project is more than just a lighting fixture; it’s a conversation starter, a piece of art, and a testament to the power of creativity.
Why is this a must-try? Because it’s incredibly rewarding. Imagine the satisfaction of knowing that you created something beautiful and functional with your own hands. It’s also a fantastic way to upcycle an old globe that might otherwise end up in a landfill. Plus, it’s a budget-friendly alternative to expensive store-bought chandeliers. You can achieve a high-end look without breaking the bank.
But the best part? The possibilities are endless! Feel free to experiment with different globe sizes, styles, and finishes. Consider using a vintage globe for a more antique look, or a modern globe with vibrant colors for a contemporary feel. You can also customize the lighting by using different types of bulbs – warm white for a cozy ambiance, or cool white for a brighter, more modern feel.
Here are a few suggestions to spark your creativity:
* **Nautical Theme:** Use rope instead of chain to hang the chandelier and add seashells or small anchors as embellishments.
* **Travel Memories:** Mark places you’ve visited on the globe with small pins or stickers to personalize it further.
* **Constellation Chandelier:** Use a dark-colored globe and drill small holes to represent constellations, then insert tiny LED lights for a magical effect.
* **Mixed Media:** Incorporate other materials like beads, crystals, or fabric scraps to add texture and visual interest.
* **Mini Globe Chandelier:** Create a cluster of smaller globes at varying heights for a whimsical and eye-catching display.
Don’t be afraid to get creative and put your own spin on this project. The beauty of DIY is that there are no rules! The most important thing is to have fun and create something that you love.
We wholeheartedly encourage you to try this DIY globe chandelier project. It’s a fantastic way to add personality and charm to your home. And once you’ve completed your masterpiece, we’d love to see it! Share your creations with us on social media using #DIYGlobeChandelier and tell us about your experience. We can’t wait to see what you come up with! Let your imagination soar and transform your space with this unique and captivating lighting fixture. This project is not just about creating a light; it’s about illuminating your creativity.
Frequently Asked Questions (FAQ)
What kind of globe is best for this project?
The best type of globe depends on the look you’re going for. For a vintage aesthetic, a classic globe with muted colors and antique-style cartography is ideal. For a more modern look, choose a globe with bold colors and contemporary designs. Consider the size of the globe as well. A larger globe will make a more dramatic statement, while a smaller globe might be better suited for a smaller room or a cluster of globes. Also, consider the material. Paper globes are easier to drill through, but plastic globes are more durable.
What tools do I need to make a globe chandelier?
The essential tools include a drill with various sized drill bits (for making holes for the wiring and hanging mechanism), wire cutters, wire strippers, a screwdriver, a measuring tape, safety glasses, and gloves. Depending on your design, you might also need a hot glue gun, paint, brushes, and decorative embellishments. Always prioritize safety and wear appropriate protective gear when working with power tools.
How do I safely wire the chandelier?
If you’re not comfortable working with electrical wiring, it’s best to consult a qualified electrician. However, if you’re experienced, ensure you disconnect the power supply before starting any electrical work. Use appropriate gauge wire for the wattage of the light bulb you’re using. Connect the wires according to the manufacturer’s instructions for the light fixture. Double-check all connections before turning the power back on. Always use a UL-listed light socket and wiring for safety.
How do I hang the globe chandelier?
The hanging method will depend on the weight of the globe and the type of ceiling you have. For lighter globes, a simple chain or rope attached to a ceiling hook might suffice. For heavier globes, you’ll need to use a more robust hanging system, such as a ceiling medallion and a heavy-duty chain. Ensure the ceiling hook or mounting bracket is securely attached to a ceiling joist for maximum support. Consider the height of the ceiling and adjust the length of the chain or rope accordingly.
Can I use LED bulbs in my globe chandelier?
Yes, LED bulbs are an excellent choice for a globe chandelier. They are energy-efficient, long-lasting, and produce less heat than traditional incandescent bulbs. This is especially important if you’re using a globe made of plastic or paper, as excessive heat can damage the material. Choose LED bulbs with the appropriate brightness and color temperature to create the desired ambiance.
How do I clean my globe chandelier?
To clean your globe chandelier, first, disconnect the power supply. Use a soft, dry cloth to dust the globe and the hanging mechanism. For stubborn dirt or stains, you can use a slightly damp cloth with a mild soap solution. Avoid using harsh chemicals or abrasive cleaners, as they can damage the globe’s surface. Be careful not to get water inside the light socket. Allow the globe to dry completely before turning the power back on.
What if I don’t have an old globe? Where can I find one?
If you don’t have an old globe lying around, you can find them at various places. Check thrift stores, antique shops, flea markets, and online marketplaces like eBay or Craigslist. You might also be able to find globes at garage sales or estate sales. Alternatively, you can purchase a new globe from a craft store or online retailer.
Can I paint the globe before turning it into a chandelier?
Absolutely! Painting the globe is a great way to customize it to match your décor. Use acrylic paints or spray paint specifically designed for plastic or paper. Apply multiple thin coats for a smooth, even finish. Let the paint dry completely before proceeding with the rest of the project. You can also use stencils or masking tape to create patterns or designs on the globe.
What if I accidentally drill a hole in the wrong place?
Don’t worry, mistakes happen! If you accidentally drill a hole in the wrong place, you can patch it up with a small piece of paper or plastic and some glue. For larger holes, you might need to use a filler compound specifically designed for plastic or paper. Sand the patched area smooth and then paint over it to match the rest of the globe.
How can I make my globe chandelier more unique?
There are countless ways to make your globe chandelier more unique. Consider adding embellishments like beads, crystals, feathers, or fabric scraps. You can also decoupage the globe with maps, photos, or other decorative papers. Experiment with different lighting effects by using colored light bulbs or adding a dimmer switch. The possibilities are truly endless! Let your creativity guide you and create a one-of-a-kind piece that reflects your personal style.

Leave a Comment