

DIY Cap Cleaner: Are you tired of your favorite baseball caps looking dull and dingy? Do you cringe at the thought of tossing them in the washing machine, fearing they’ll lose their shape or fade? I totally get it! We’ve all been there, clinging to that perfectly broken-in cap, wishing there was a simple solution to restore its former glory.
Caps have been a staple in wardrobes for centuries, evolving from practical headwear to iconic fashion statements. From the sun-shielding bonnets of the past to the modern-day baseball cap, they’ve protected us from the elements and expressed our personal style. But with constant wear comes inevitable dirt, sweat, and grime. That’s where this DIY cap cleaner guide comes in!
Let’s face it, professionally cleaning your caps can be expensive and time-consuming. Plus, many commercial cleaners contain harsh chemicals that can damage the fabric and shorten the lifespan of your beloved headwear. That’s why I’m so excited to share these simple, effective, and budget-friendly DIY tricks. With just a few household items, you can easily clean and refresh your caps, keeping them looking their best for years to come. So, ditch the expensive cleaners and let’s dive into the world of DIY cap cleaning!
DIY Baseball Cap Cleaning: Revive Your Favorite Hat!
Hey there, fellow hat enthusiasts! Are you tired of your favorite baseball cap looking a little… less than fresh? Don’t worry, I’ve got you covered! Cleaning a baseball cap can seem daunting, but with this simple DIY method, you can bring your beloved hat back to life without risking damage. Forget the washing machine – we’re going for a gentle, effective clean that will keep your cap looking its best.
What You’ll Need: The Essential Supplies
Before we dive in, let’s gather our supplies. This is a pretty straightforward process, and you probably already have most of these items at home.
* Mild Laundry Detergent: Opt for a gentle, dye-free, and fragrance-free detergent. Harsh chemicals can damage the fabric and fade the colors.
* Soft-Bristled Brush: An old toothbrush or a specialized hat brush works perfectly. Avoid stiff brushes that could scratch the material.
* Clean Towels: You’ll need a couple of clean towels – one for blotting and one for drying.
* Bowl or Sink: A clean bowl or sink filled with lukewarm water will be our cleaning station.
* Hat Form or Balloon (Optional): This helps maintain the cap’s shape while it dries. You can even use a balled-up towel if you don’t have a form.
* Stain Remover (Optional): If your cap has stubborn stains, a gentle stain remover can be a lifesaver.
* Spray Bottle (Optional): For targeted cleaning of specific areas.
Step-by-Step Cleaning Guide: Let’s Get Started!
Alright, let’s get down to the nitty-gritty. Follow these steps carefully, and you’ll have a clean, fresh-smelling cap in no time.
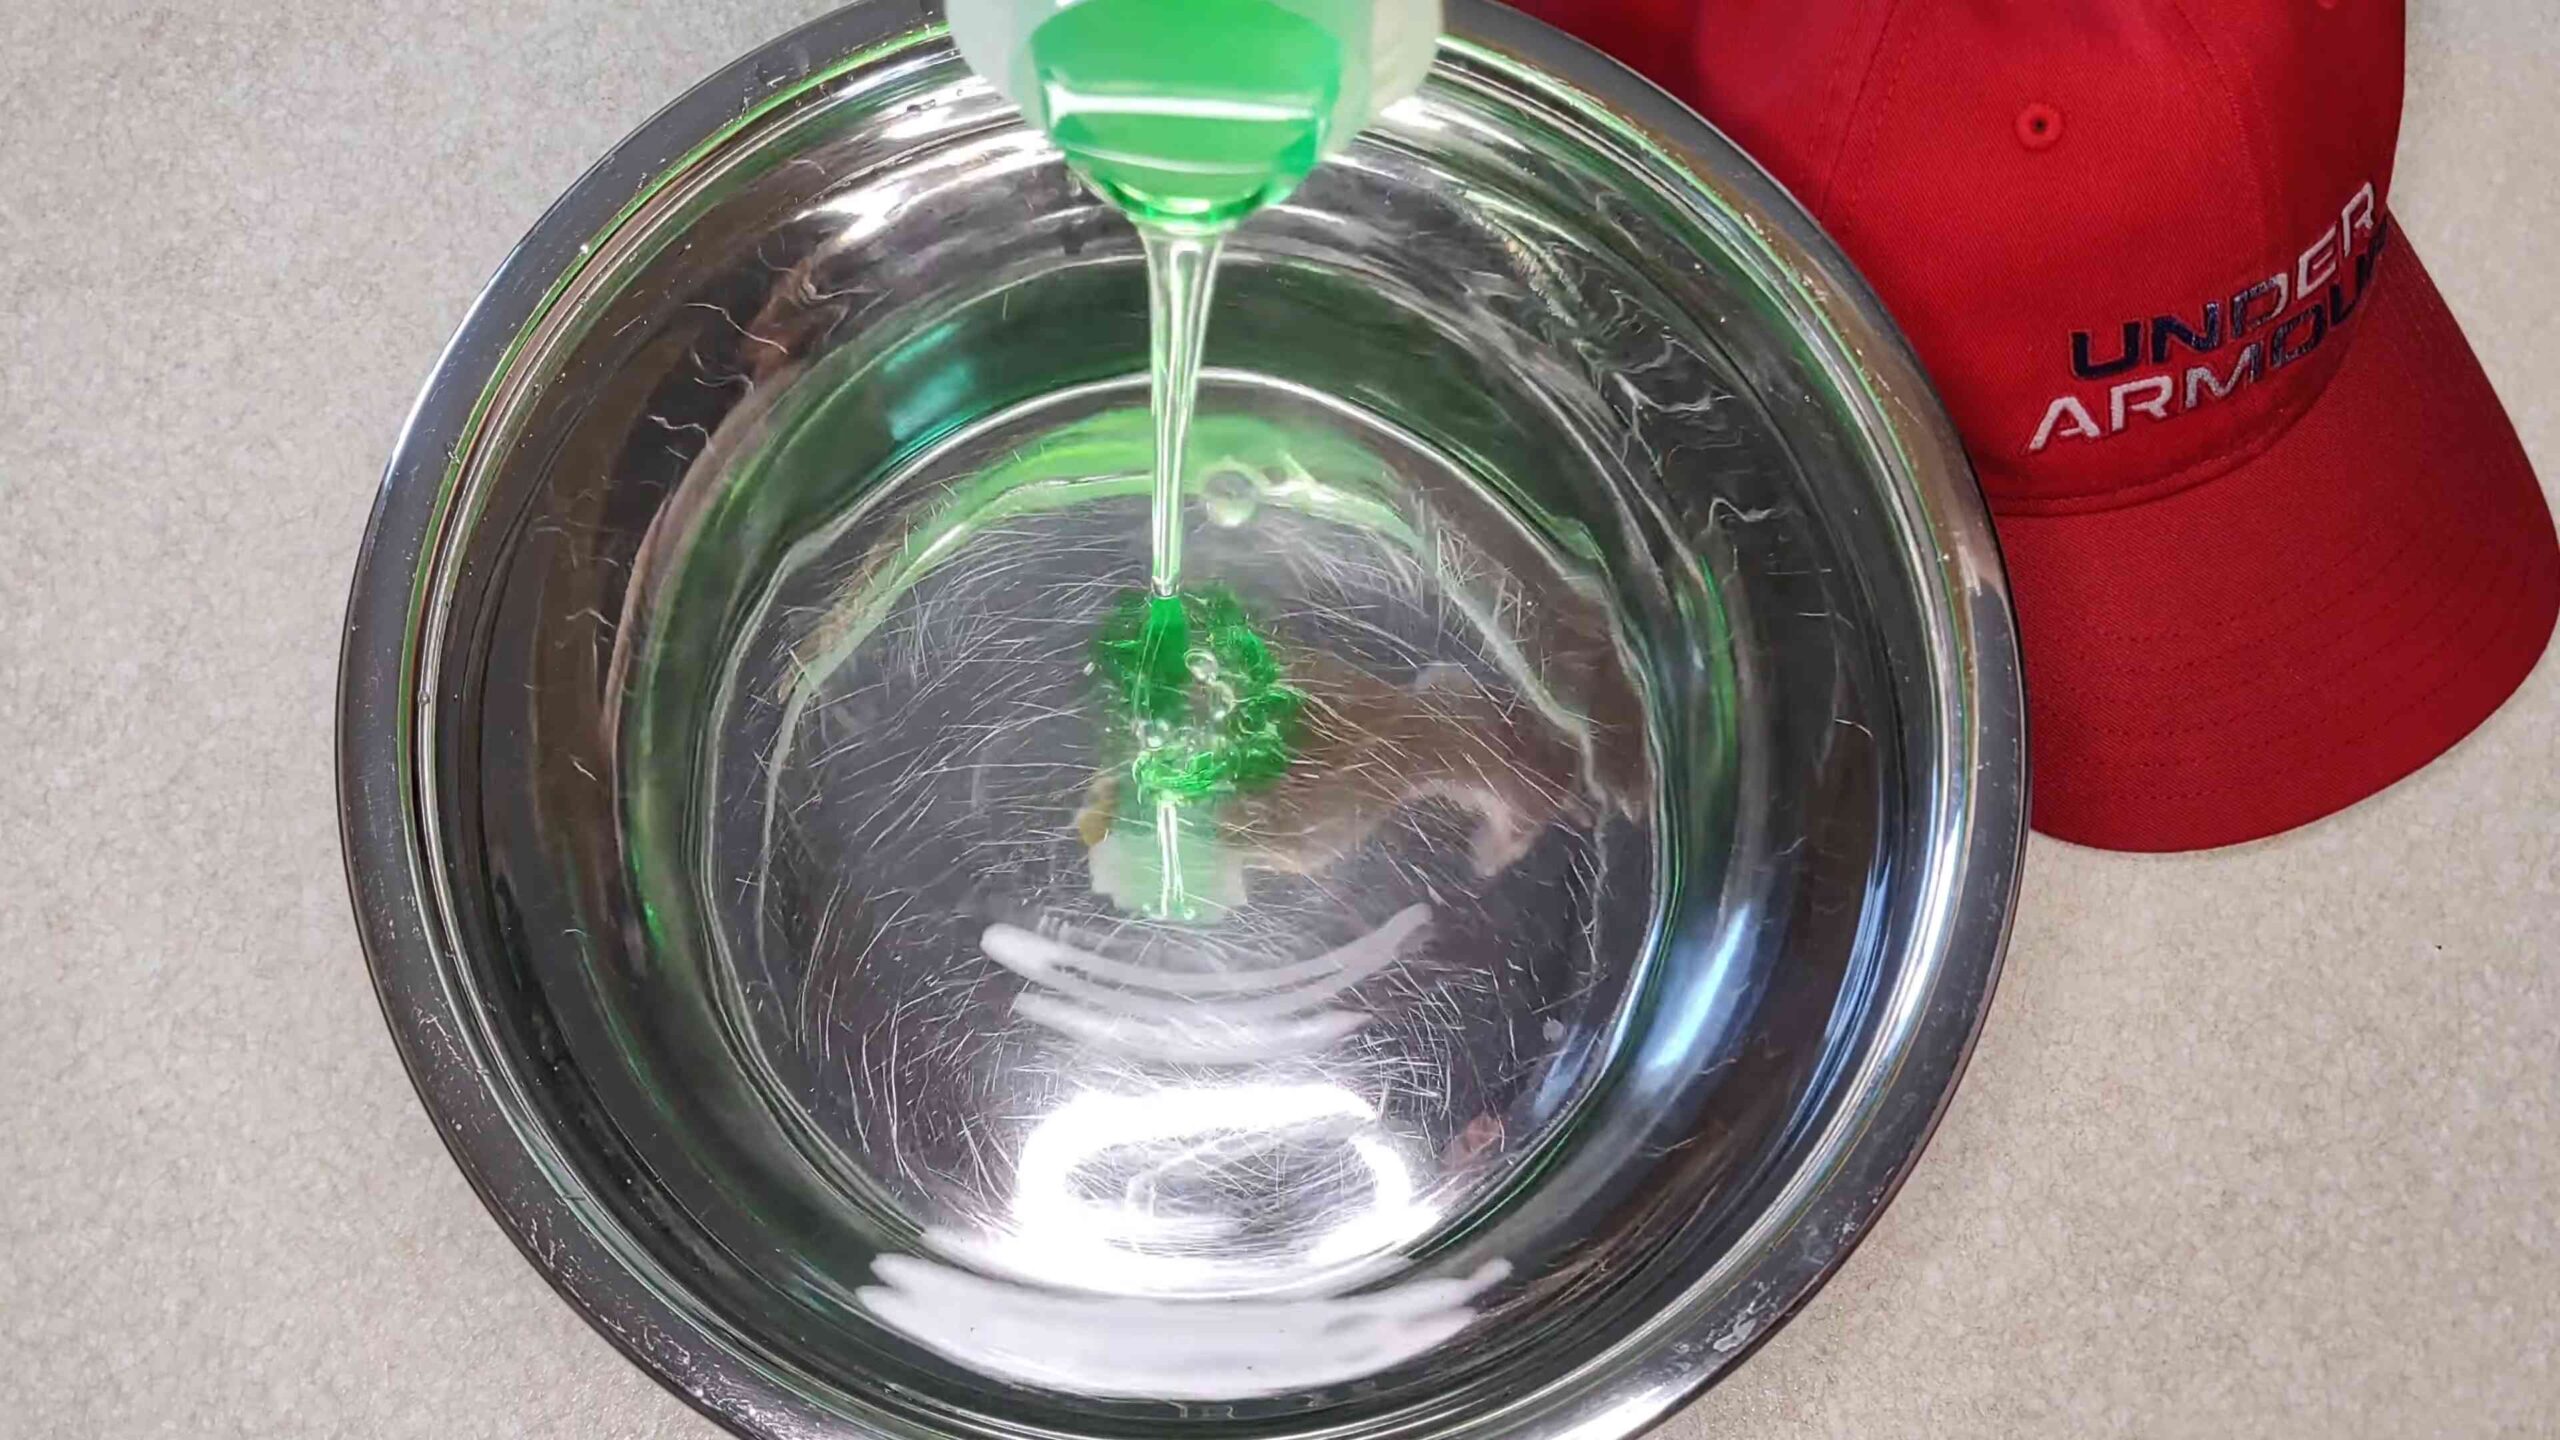
1. Prepare Your Cleaning Solution: Fill your bowl or sink with lukewarm water. Add a small amount of mild laundry detergent – about a teaspoon should be enough. Gently swirl the water to create a soapy solution. Avoid using hot water, as it can cause the colors to fade or the fabric to shrink.
2. Spot Clean Any Stains: Before immersing the entire cap, address any specific stains. Apply a small amount of stain remover directly to the stain. Let it sit for a few minutes (check the stain remover’s instructions for the recommended time). Gently blot the stain with a clean, damp cloth. Avoid rubbing vigorously, as this can spread the stain or damage the fabric. If you don’t have a stain remover, you can try using a paste of baking soda and water.
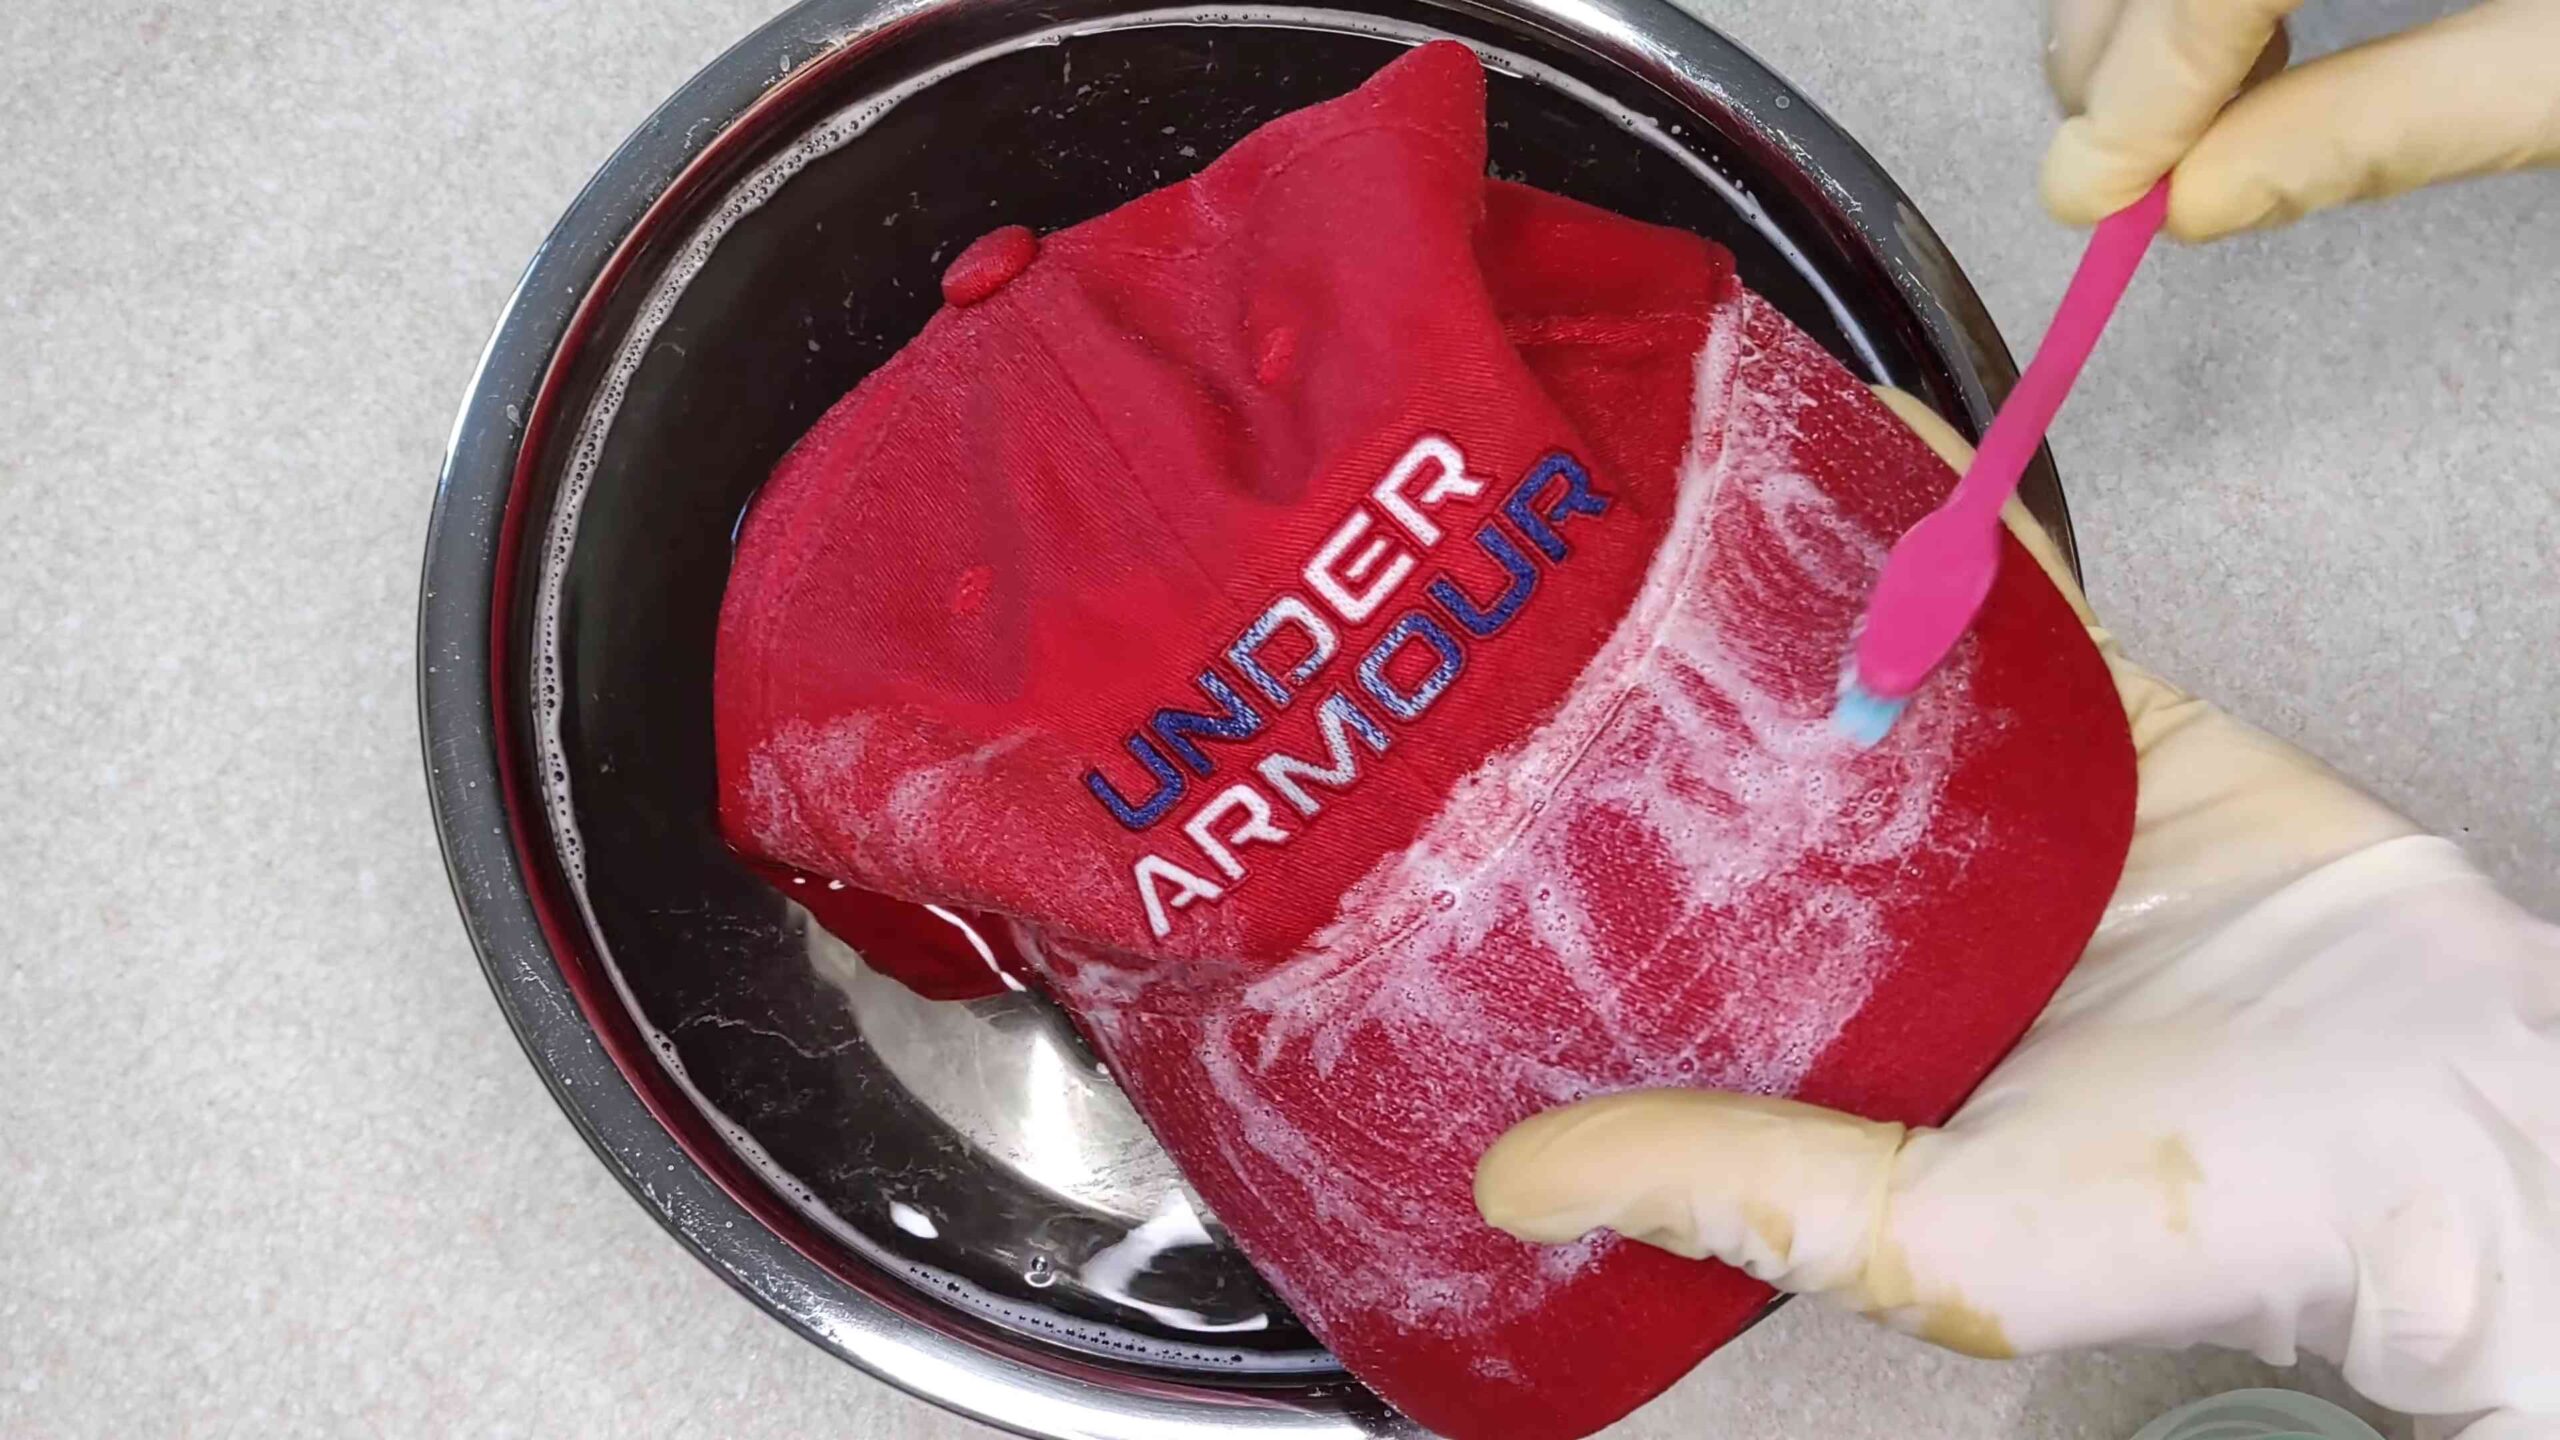
3. Submerge the Cap: Carefully submerge the cap in the soapy water. Make sure the entire cap is wet. Let it soak for about 5-10 minutes. This will help loosen any dirt and grime that’s embedded in the fabric.
4. Gently Scrub the Cap: Using your soft-bristled brush, gently scrub the cap. Pay special attention to areas that tend to get dirty, such as the sweatband and the brim. Use small, circular motions to avoid damaging the fabric. Be extra careful when cleaning embroidered logos or designs.
5. Rinse Thoroughly: Once you’ve scrubbed the cap, it’s time to rinse away the soapy residue. Empty the soapy water and refill the bowl or sink with clean, lukewarm water. Rinse the cap thoroughly until all traces of detergent are gone. You may need to rinse it several times to ensure it’s completely clean.
6. Blot Excess Water: Gently squeeze out any excess water from the cap. Then, use a clean towel to blot the cap dry. Avoid wringing the cap, as this can distort its shape.
7. Reshape and Air Dry: This is a crucial step to prevent your cap from losing its shape. Place the cap on a hat form or stuff it with a balled-up towel. This will help it maintain its original shape as it dries. Allow the cap to air dry completely in a well-ventilated area. Avoid placing it in direct sunlight or using a dryer, as this can cause the colors to fade or the fabric to shrink. It may take several hours or even a day for the cap to dry completely.
Dealing with Specific Cap Types: A Few Extra Tips
Not all caps are created equal! Here are some specific considerations for different types of caps:
* Vintage Caps: Vintage caps are often more delicate and require extra care. Use an even milder detergent and avoid scrubbing too vigorously. Consider hand-washing only and skipping the stain remover altogether.
* Wool Caps: Wool caps can shrink easily, so it’s essential to use cool water and avoid excessive heat. Reshape the cap carefully while it’s still damp.
* Structured Caps: Structured caps have a stiff buckram inside the front panels to maintain their shape. Be extra careful not to bend or crease the brim.
* Unstructured Caps: Unstructured caps are more flexible and can be easier to clean. However, they may lose their shape more easily, so be sure to use a hat form or towel while drying.
Tackling Stubborn Sweat Stains: A Deeper Clean
Sweat stains can be particularly stubborn, especially on the sweatband. Here are a few extra tips for dealing with them:
* Baking Soda Paste: Mix baking soda with a small amount of water to create a paste. Apply the paste to the sweat stain and let it sit for about 30 minutes. Gently scrub the area with a soft-bristled brush and rinse thoroughly.
* Vinegar Solution: Mix equal parts white vinegar and water. Apply the solution to the sweat stain and let it sit for about 15 minutes. Gently blot the area with a clean cloth and rinse thoroughly.
* Hydrogen Peroxide: For light-colored caps, you can try using hydrogen peroxide to remove sweat stains. Dilute the hydrogen peroxide with water (about a 1:1 ratio) and apply it to the stain. Let it sit for a few minutes and then rinse thoroughly. Be careful when using hydrogen peroxide on colored caps, as it can cause fading. Always test it on an inconspicuous area first.
Preventative Measures: Keeping Your Cap Clean Longer
Prevention is always better than cure! Here are a few tips to help keep your cap clean and fresh for longer:
* Wear a Headband: Wearing a headband under your cap can help absorb sweat and prevent it from staining the sweatband.
* Spot Clean Regularly: Don’t wait until your cap is visibly dirty to clean it. Spot clean any stains or dirt as soon as you notice them.
* Store Your Cap Properly: When you’re not wearing your cap, store it in a clean, dry place. Avoid storing it in direct sunlight or in a humid environment.
* Consider a Cap Protector: There are various cap protectors available that can help shield your cap from dirt, sweat, and UV rays.
Extra Tips and Tricks: The Finishing Touches
Here are a few extra tips and tricks to help you achieve the best possible results:
* Use a Lint Roller: After your cap is dry, use a lint roller to remove any lint or dust.
* Steam the Brim: If the brim of your cap is bent or creased, you can try steaming it to reshape it. Hold the brim over a steaming kettle or use a garment steamer. Gently bend the brim back into its desired shape.
* Fabric Refresher: To keep your cap smelling fresh, you can spray it with a fabric refresher. Choose a scent that you like and that is safe for the fabric of your cap.
* Test in an Inconspicuous Area: Before applying any cleaning solution or stain remover to your entire cap, always test it on an inconspicuous area first to ensure it doesn’t damage the fabric or cause fading.
By following these steps and tips, you can keep your favorite baseball cap looking clean, fresh, and stylish for years to come! Happy cleaning!
Conclusion
So, there you have it! This simple, yet incredibly effective, DIY cap cleaner method is a game-changer for anyone who wants to keep their favorite hats looking fresh and new. Forget about expensive dry cleaning or risking damage in the washing machine. This gentle approach allows you to target stains and grime with precision, extending the life of your caps and saving you money in the long run.
Why is this a must-try? Because it’s easy, affordable, and, most importantly, it works! You likely already have all the necessary supplies in your home – a mild detergent, a soft brush, and some clean water. No special equipment or harsh chemicals are required. This makes it a safe and convenient option for cleaning all types of caps, from baseball caps to fedoras.
But the beauty of this DIY cap cleaner method lies in its adaptability. Feel free to experiment with variations to suit your specific needs. For instance, if you’re dealing with particularly stubborn stains, you can create a paste of baking soda and water and gently apply it to the affected area before proceeding with the regular cleaning process. For delicate fabrics like wool or vintage caps, consider using a specialized wool detergent or even just plain cool water. Always test a small, inconspicuous area first to ensure the cleaning solution doesn’t damage the material.
Another variation involves the drying process. While air drying is generally recommended, you can speed things up by using a fan or placing the cap in a well-ventilated area. Just avoid direct sunlight or heat, as these can cause fading or shrinkage. You can also use a cap shaper during the drying process to help maintain the cap’s original form.
This DIY cap cleaner technique is not just about cleaning; it’s about preserving your style and extending the lifespan of your favorite accessories. It’s about taking pride in your appearance and showing that you care about the things you own.
We wholeheartedly encourage you to give this DIY cap cleaner method a try. You’ll be amazed at the results! And once you’ve experienced the satisfaction of restoring your caps to their former glory, we’d love to hear about it. Share your experiences, tips, and variations in the comments below. Let’s create a community of cap-cleaning enthusiasts and help each other keep our hats looking their best! Don’t forget to share this article with your friends and family who could benefit from this simple yet effective cleaning solution. Happy cleaning!
Frequently Asked Questions (FAQ)
What kind of detergent should I use for my DIY cap cleaner?
The best type of detergent to use is a mild, pH-neutral laundry detergent. Avoid using harsh chemicals, bleach, or detergents with strong fragrances, as these can damage the fabric or cause discoloration. Baby shampoo is also a great alternative due to its gentle formula. When in doubt, test the detergent on a small, hidden area of the cap first to ensure it doesn’t cause any adverse reactions.
Can I use this DIY cap cleaner method on all types of caps?
While this method is generally safe for most types of caps, it’s essential to consider the material of your cap before proceeding. For delicate fabrics like wool, silk, or vintage caps, use extra caution and opt for a gentler cleaning solution, such as plain cool water or a specialized wool detergent. Avoid using harsh scrubbing motions on delicate materials. For caps with embellishments like sequins or beads, be extra careful not to dislodge them during the cleaning process. Leather caps should be cleaned with a leather cleaner and conditioner specifically designed for leather.
How often should I clean my caps using this DIY cap cleaner method?
The frequency of cleaning depends on how often you wear your caps and how dirty they get. If you wear your caps frequently, especially during activities that cause sweating or exposure to dirt and grime, you may need to clean them more often – perhaps once a month. For caps that are worn less frequently, cleaning them every few months should suffice. It’s always best to spot clean any stains or dirt as soon as possible to prevent them from setting in.
What if my cap has a really stubborn stain?
For stubborn stains, you can try pre-treating the area with a stain remover specifically designed for the type of stain you’re dealing with. Alternatively, you can create a paste of baking soda and water and gently apply it to the stain. Let it sit for about 30 minutes before proceeding with the regular cleaning process. For grease stains, try using a small amount of dish soap directly on the stain. Always test any stain remover on a small, hidden area of the cap first to ensure it doesn’t cause any discoloration or damage.
How do I dry my cap after cleaning it with this DIY cap cleaner method?
The best way to dry your cap is to air dry it in a well-ventilated area. Avoid placing it in direct sunlight or using a dryer, as these can cause fading, shrinkage, or damage to the cap’s shape. You can use a cap shaper or stuff the cap with clean towels or paper towels to help it maintain its shape while drying. If you want to speed up the drying process, you can use a fan. Make sure the cap is completely dry before storing it to prevent mildew or mold growth.
Can I put my cap in the washing machine?
While some caps may be machine washable, it’s generally not recommended, especially for structured caps or those made from delicate materials. The washing machine can be too harsh and can damage the cap’s shape, cause fading, or even tear the fabric. Hand washing using this DIY cap cleaner method is a much gentler and safer option. If you do choose to machine wash your cap, use a gentle cycle, cold water, and place the cap in a laundry bag to protect it.
How do I prevent my caps from getting dirty in the first place?
Prevention is always better than cure! To prevent your caps from getting dirty, avoid wearing them during activities that cause excessive sweating or exposure to dirt and grime. Store your caps in a clean, dry place, away from direct sunlight. Consider using a cap rack or storage box to protect them from dust and damage. You can also use a fabric protector spray to help repel stains and dirt. Spot clean any stains or dirt as soon as possible to prevent them from setting in.
My cap shrunk after cleaning, what can I do?
Unfortunately, shrinking is a risk with any cleaning process, especially if heat is involved. If your cap has shrunk slightly, you can try gently stretching it back into shape while it’s still damp. You can also try wearing the cap while it’s slightly damp to help it conform to your head shape. However, if the cap has shrunk significantly, it may be difficult to restore it to its original size. Prevention is key – always follow the cleaning instructions carefully and avoid using heat during the drying process.
Leave a Comment