

Indoor fern care tips can feel like a mystical art, right? I get it! You see those lush, vibrant ferns gracing magazine covers and think, “I want that!” But then, your own fern starts looking a little… sad. Don’t worry, you’re not alone! For centuries, ferns have been cherished for their delicate beauty and air-purifying qualities, adorning homes from Victorian parlors to modern apartments. They’ve even been symbols of good luck and prosperity in some cultures.
But let’s be honest, keeping these beauties thriving indoors can be tricky. That’s why I’ve put together this guide packed with easy DIY tricks and hacks to transform your fern from forlorn to fabulous. We’ll dive into everything from the perfect potting mix to humidity hacks that will make your fern feel like it’s living in a tropical rainforest.
Why do you need these indoor fern care tips? Because a happy fern is a happy home! Not only do they add a touch of natural elegance, but they also help purify the air, creating a healthier and more inviting living space. Plus, mastering the art of fern care is incredibly rewarding. So, grab your gardening gloves, and let’s get started on creating a fern paradise in your own home!
Revive Your Fern: A DIY Guide to Lush Indoor Ferns
Hey plant lovers! Are your indoor ferns looking a little sad? Don’t worry, I’ve been there! Ferns can be a bit finicky, but with the right care, they can thrive indoors and bring a touch of the jungle to your home. I’m going to share my tried-and-true methods for keeping my ferns happy and healthy. Let’s get started!
Understanding Your Fern’s Needs
Before we dive into the DIY hacks, it’s crucial to understand what ferns need to flourish. Think of their natural habitat: shady, humid forests. We need to recreate that environment as closely as possible.
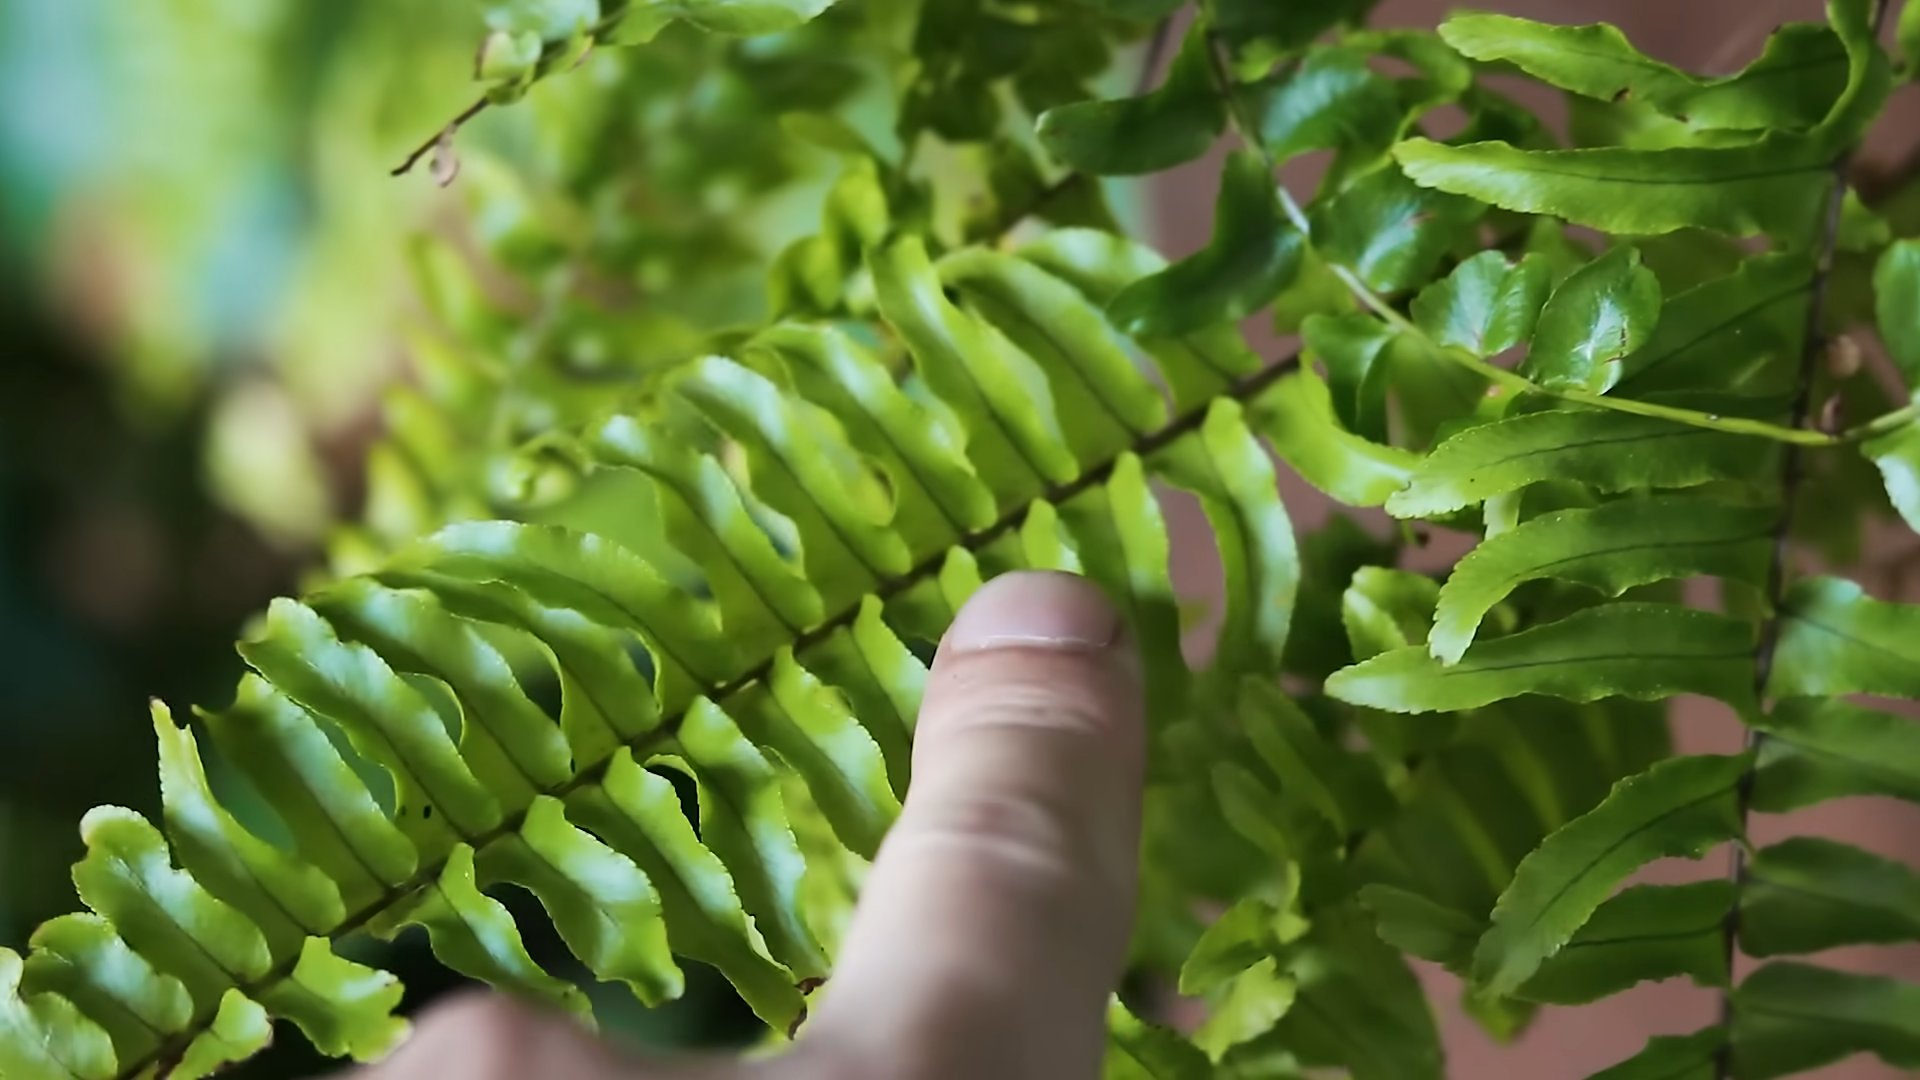
* Light: Ferns prefer bright, indirect light. Direct sunlight can scorch their delicate fronds.
* Humidity: High humidity is key! Ferns absorb moisture from the air.
* Watering: Keep the soil consistently moist, but not soggy. Overwatering can lead to root rot.
* Soil: Well-draining potting mix that retains moisture is ideal.
* Temperature: Ferns prefer moderate temperatures, typically between 65-75°F (18-24°C).
* Fertilizing: Light feeding during the growing season (spring and summer) is beneficial.
DIY Hack #1: Creating a Humidity Oasis
Ferns crave humidity, and dry indoor air, especially during winter, can be their downfall. Here are a few ways I boost humidity for my ferns:
Method 1: Pebble Tray Magic
This is a super simple and effective way to increase humidity around your fern.
1. Gather your supplies: You’ll need a shallow tray (a saucer works great), pebbles (aquarium gravel or decorative stones), and water.
2. Arrange the pebbles: Spread a layer of pebbles evenly across the bottom of the tray.
3. Add water: Pour water into the tray until it reaches just below the top of the pebbles. You don’t want the pot to sit directly in the water.
4. Place your fern: Set your fern pot on top of the pebble-filled tray.
5. Refill as needed: As the water evaporates, it will increase the humidity around your fern. Remember to refill the tray regularly.
Method 2: Grouping Plants for Humidity
Plants naturally release moisture through transpiration. Grouping your ferns with other plants creates a mini-ecosystem with higher humidity.
1. Choose companion plants: Select plants that also enjoy humidity, such as peace lilies, orchids, or calatheas.
2. Arrange your plants: Place your fern and companion plants close together on a table or plant stand.
3. Monitor humidity: You can use a hygrometer to monitor the humidity levels around your plants. Aim for 50-60% humidity.
Method 3: DIY Humidity Dome (for extra TLC)
If your fern is really struggling with humidity, you can create a temporary humidity dome.
1. Find a clear container: A large plastic bag, a clear storage container, or even a repurposed cloche will work.
2. Place your fern inside: Gently place your fern inside the container.
3. Ventilate regularly: It’s crucial to ventilate the dome daily to prevent mold and mildew growth. Open the container for a few hours each day.
4. Monitor moisture: Keep an eye on the soil moisture and adjust watering as needed.
5. Remove the dome gradually: Once your fern shows signs of improvement, gradually increase the ventilation time until you can remove the dome completely.
DIY Hack #2: Watering Wisdom for Happy Ferns
Watering is a delicate balance. Overwatering leads to root rot, while underwatering causes the fronds to dry out and turn brown. Here’s my watering strategy:
1. Check the soil moisture: Before watering, stick your finger about an inch into the soil. If it feels dry, it’s time to water.
2. Water thoroughly: Water the fern until water drains out of the bottom of the pot. This ensures that the entire root ball is moistened.
3. Empty the saucer: Never let your fern sit in standing water. Empty the saucer beneath the pot after watering to prevent root rot.
4. Use room temperature water: Cold water can shock the roots. Use water that’s been sitting out for a while to reach room temperature.
5. Consider bottom watering: Place the fern pot in a basin of water for about 30 minutes, allowing the soil to absorb water from the bottom. This encourages deeper root growth.
6. Adjust watering frequency: Watering frequency will vary depending on the humidity, temperature, and pot size. Check the soil moisture regularly and adjust accordingly.
DIY Hack #3: Soil Solutions for Thriving Ferns
The right soil mix is essential for providing your fern with the nutrients and drainage it needs.
1. Choose a well-draining potting mix: Avoid heavy, clay-based soils that retain too much water.
2. Amend the soil: I like to amend my potting mix with peat moss or coco coir to improve moisture retention. Perlite or vermiculite can be added to enhance drainage.
3. DIY potting mix recipe: Here’s my go-to recipe for a fern-friendly potting mix:
* 1 part peat moss or coco coir
* 1 part perlite or vermiculite
* 1 part potting soil
4. Repotting your fern: Repot your fern every 1-2 years, or when it becomes root-bound. Choose a pot that’s slightly larger than the previous one.
5. Gently loosen the roots: Before repotting, gently loosen the roots to encourage them to grow into the new soil.
6. Water thoroughly after repotting: This helps settle the soil and reduces transplant shock.
DIY Hack #4: Light and Location Optimization
Finding the right spot for your fern is crucial for its health and happiness.
1. Bright, indirect light: Ferns thrive in bright, indirect light. Avoid direct sunlight, which can scorch their fronds.
2. East-facing window: An east-facing window is often ideal, as it provides gentle morning light.
3. North-facing window: A north-facing window can also work, but the light may be less intense.
4. Filtered sunlight: If you only have a south- or west-facing window, use sheer curtains to filter the sunlight.
5. Rotate your fern: Rotate your fern regularly to ensure that all sides receive adequate light. This prevents it from leaning towards the light source.
6. Avoid drafts: Keep your fern away from drafts from windows, doors, or air conditioning vents.
DIY Hack #5: Fertilizing for Lush Growth
Ferns are not heavy feeders, but they benefit from light fertilization during the growing season.
1. Use a balanced fertilizer: Choose a balanced liquid fertilizer with an N-P-K ratio of 20-20-20 or similar.
2. Dilute the fertilizer: Dilute the fertilizer to half strength to avoid burning the roots.
3. Fertilize during the growing season: Fertilize your fern every 2-4 weeks during the spring and summer months.
4. Flush the soil: Every few months, flush the soil with plain water to remove any accumulated salts from the fertilizer.
5. Avoid fertilizing in winter: Ferns typically go dormant in winter, so avoid fertilizing them during this time.
6. Organic options: Consider using organic fertilizers like compost tea or fish emulsion.
DIY Hack #6: Pruning and Maintenance for a Healthy Fern
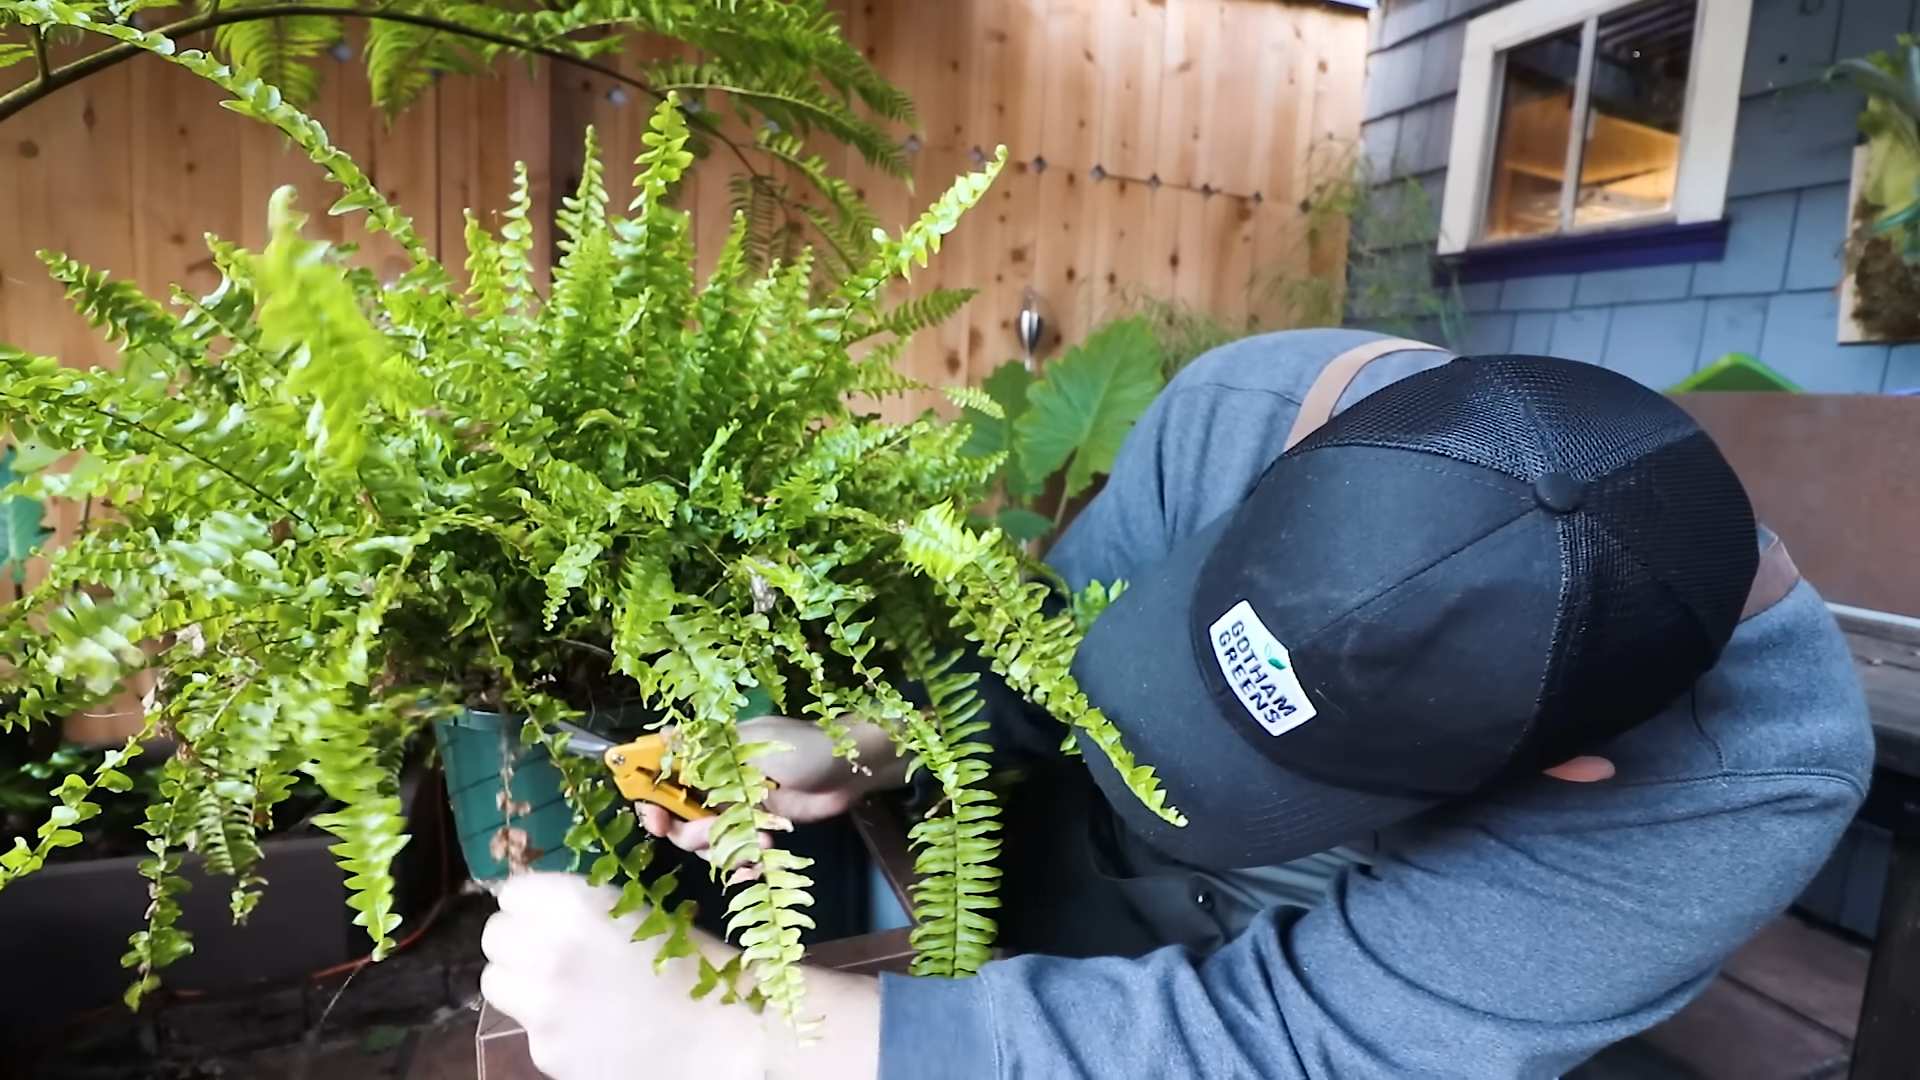
Regular pruning and maintenance will keep your fern looking its best.
1. Remove dead or yellowing fronds: Use clean scissors or pruning shears to remove any dead or yellowing fronds. Cut them back to the base of the plant.
2. Trim brown tips: If the tips of the fronds are turning brown, you can trim them off with scissors.
3. Control size: If your fern is getting too large, you can prune it back to control its size.
4. Clean the fronds: Dust can accumulate on the fronds, blocking sunlight and hindering photosynthesis. Wipe the fronds with a damp cloth regularly to keep them clean.
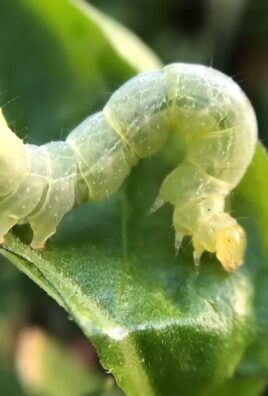
5. Check for pests: Inspect your fern regularly for pests such as spider mites, mealybugs, or scale. Treat any infestations promptly with insecticidal soap or neem oil.
6. Improve air circulation: Good air circulation helps prevent fungal diseases. Ensure that your fern is not overcrowded and that there is adequate space between plants.
DIY Hack #7: Diagnosing and Treating Common Fern Problems
Even with the best
Conclusion
So, there you have it! Mastering indoor fern care doesn’t require a green thumb blessed by the gardening gods. It simply requires understanding their needs and implementing a few clever tricks. This DIY humidity booster is more than just a hack; it’s a game-changer for anyone struggling to keep their ferns thriving indoors, especially during dry seasons or in centrally heated homes.
Why is this a must-try? Because it directly addresses the most common reason ferns fail indoors: insufficient humidity. Forget constantly misting (which is often ineffective and can even promote fungal growth). This method provides a consistent, gentle source of moisture that mimics the fern’s natural environment. It’s low-maintenance, cost-effective, and visually appealing – adding a touch of zen to your indoor garden.
Beyond the Basics: Variations and Enhancements
While the basic pebble tray method is incredibly effective, feel free to experiment and personalize it to suit your space and preferences.
* Aromatic Enhancement: Add a few drops of essential oils (like lavender or eucalyptus) to the water in the tray. The gentle evaporation will subtly scent your home while providing humidity. Be cautious, though, as some essential oils can be harmful to pets. Always research before using.
* Decorative Stones: Instead of plain pebbles, use decorative stones or glass beads to add a pop of color and visual interest.
* Terracotta Saucer Upgrade: If you’re feeling crafty, consider using a large terracotta saucer instead of a plastic tray. Terracotta is porous and will absorb water, further increasing humidity as it evaporates. Just be sure to seal the outside of the saucer to prevent water damage to your furniture.
* Grouping Ferns: Combine this DIY humidity booster with grouping your ferns together. Plants naturally transpire, releasing moisture into the air. Grouping them creates a microclimate of higher humidity, benefiting all the plants involved.
* Consider the Light: Remember that humidity is only one piece of the puzzle. Ensure your ferns are receiving the right amount of indirect light. Too much direct sunlight can scorch their delicate fronds, even with adequate humidity.
Your Fern Journey Starts Now!
Don’t let the reputation of ferns intimidate you. With this simple DIY humidity booster and a little attention to their basic needs, you can successfully cultivate these beautiful plants in your home. We encourage you to try this trick and witness the transformation in your ferns.
We’re confident that you’ll see a noticeable improvement in their health and vibrancy. So, gather your supplies, get creative, and give your ferns the humidity boost they crave.
Most importantly, we want to hear about your experience! Share your photos, tips, and any variations you try in the comments below. Let’s build a community of thriving indoor fern enthusiasts! Your insights could help others overcome their fern-related challenges and unlock the joy of growing these stunning plants. Happy growing!
Frequently Asked Questions (FAQ)
Q: What kind of pebbles should I use for the humidity tray?
A: You can use virtually any type of pebble, as long as they are clean and inert. River rocks, aquarium gravel, or even decorative glass beads work well. Avoid using pebbles that might leach harmful chemicals into the water. Before using, rinse the pebbles thoroughly to remove any dirt or debris. The size of the pebbles isn’t critical, but aim for pebbles that are large enough to keep the pot elevated above the water level.
Q: How often should I refill the water in the humidity tray?
A: The frequency of refilling depends on the humidity levels in your home and the size of the tray. Check the water level regularly, ideally every few days. Refill the tray when the water level drops below the top of the pebbles. During drier months or in centrally heated homes, you may need to refill it more frequently.
Q: Can I use tap water in the humidity tray?
A: While tap water is generally safe to use, it can contain minerals and chemicals that may build up over time and leave unsightly deposits on the pebbles or the pot. If your tap water is hard, consider using distilled water or rainwater to prevent mineral buildup. Alternatively, you can occasionally clean the pebbles with a solution of vinegar and water to remove any mineral deposits.
Q: Will this DIY humidity booster work for all types of ferns?
A: This method is beneficial for most types of ferns that thrive in high humidity environments, such as maidenhair ferns, Boston ferns, and staghorn ferns. However, some ferns are more tolerant of drier conditions than others. Research the specific needs of your fern variety to ensure it’s a good fit for this humidity-boosting technique. Even ferns that are more drought-tolerant will benefit from the increased humidity, especially during dry periods.
Q: My fern is still turning brown even with the humidity tray. What else could be the problem?
A: While insufficient humidity is a common cause of brown fronds, other factors can also contribute. Consider the following:
* Watering: Are you watering your fern correctly? Overwatering can lead to root rot, while underwatering can cause the fronds to dry out. Allow the top inch of soil to dry out slightly between waterings.
* Light: Is your fern receiving the right amount of light? Ferns prefer bright, indirect light. Avoid placing them in direct sunlight, which can scorch the fronds.
* Fertilizer: Are you fertilizing your fern regularly? Ferns are light feeders and don’t require heavy fertilization. Use a balanced liquid fertilizer diluted to half strength every few weeks during the growing season.
* Pests: Check your fern for pests such as spider mites or mealybugs. These pests can suck the sap from the fronds, causing them to turn brown. Treat any infestations promptly with insecticidal soap or neem oil.
* Air Circulation: While ferns love humidity, they also need good air circulation to prevent fungal diseases. Ensure your fern is not in a stuffy or stagnant environment.
Q: Can I use this method for other plants besides ferns?
A: Yes, this DIY humidity booster can benefit other plants that thrive in high humidity environments, such as orchids, calatheas, and peace lilies. However, be mindful of the specific needs of each plant and adjust the humidity levels accordingly. Some plants may prefer slightly drier conditions than others.
Q: How do I clean the humidity tray?
A: Over time, algae or mineral deposits may accumulate in the humidity tray. To clean it, remove the pebbles and scrub the tray with a solution of soap and water. Rinse thoroughly and allow to dry before refilling with fresh water and pebbles. You can also soak the pebbles in a solution of vinegar and water to remove any mineral deposits.
Q: Is there a risk of over-humidifying my home with this method?
A: The pebble tray method provides a localized increase in humidity around the plant and is unlikely to significantly raise the overall humidity level in your home. However, if you live in a very humid climate, you may need to monitor the humidity levels to prevent mold growth. A hygrometer can help you track the humidity levels in your home.
Q: Can I use a humidifier instead of a pebble tray?
A: Yes, a humidifier is an excellent alternative for increasing humidity levels for your ferns. A humidifier will provide a more consistent and widespread increase in humidity compared to a pebble tray. However, humidifiers can be more expensive and require more maintenance than a simple DIY pebble tray. If you have several humidity-loving plants, a humidifier may be a worthwhile investment.

Leave a Comment