

Growing peanuts at home might sound like a whimsical dream reserved for sprawling farms, but I’m here to tell you it’s totally achievable, even if you’re working with a small backyard or a sunny balcony! Forget trekking to the store for a bag of roasted peanuts; imagine the satisfaction of harvesting your own homegrown crop.
Peanuts, also known as groundnuts, have a fascinating history, dating back thousands of years to South America. They weren’t always a staple in American ballparks; their journey across continents and cultures is a testament to their adaptability and nutritional value. From ancient Incan civilizations to modern-day snacking, peanuts have nourished and delighted people worldwide.
But why should you consider growing peanuts at home? Well, for starters, it’s incredibly rewarding to nurture a plant from seed to harvest. Plus, homegrown peanuts taste noticeably fresher and more flavorful than store-bought varieties. Beyond the taste, growing peanuts at home is a fantastic way to connect with nature, learn about the plant life cycle, and even involve kids in a fun and educational activity. In this article, I’ll share some simple DIY tricks and hacks that will make growing peanuts at home a breeze, regardless of your gardening experience. Get ready to dig in (literally!) and discover the joy of homegrown peanuts!
Growing Peanuts at Home: A DIY Guide to Nutty Success!
Hey there, fellow gardening enthusiasts! Ever thought about growing your own peanuts? It might sound a little crazy, especially if you don’t live in the Deep South, but trust me, it’s totally doable and incredibly rewarding. There’s nothing quite like digging up your own homegrown peanuts and enjoying their fresh, nutty flavor. I’m going to walk you through everything you need to know to successfully cultivate these underground treasures right in your own backyard (or even in containers!).
What You’ll Need
Before we dive into the nitty-gritty, let’s gather our supplies. Here’s a checklist of everything you’ll need to get started:
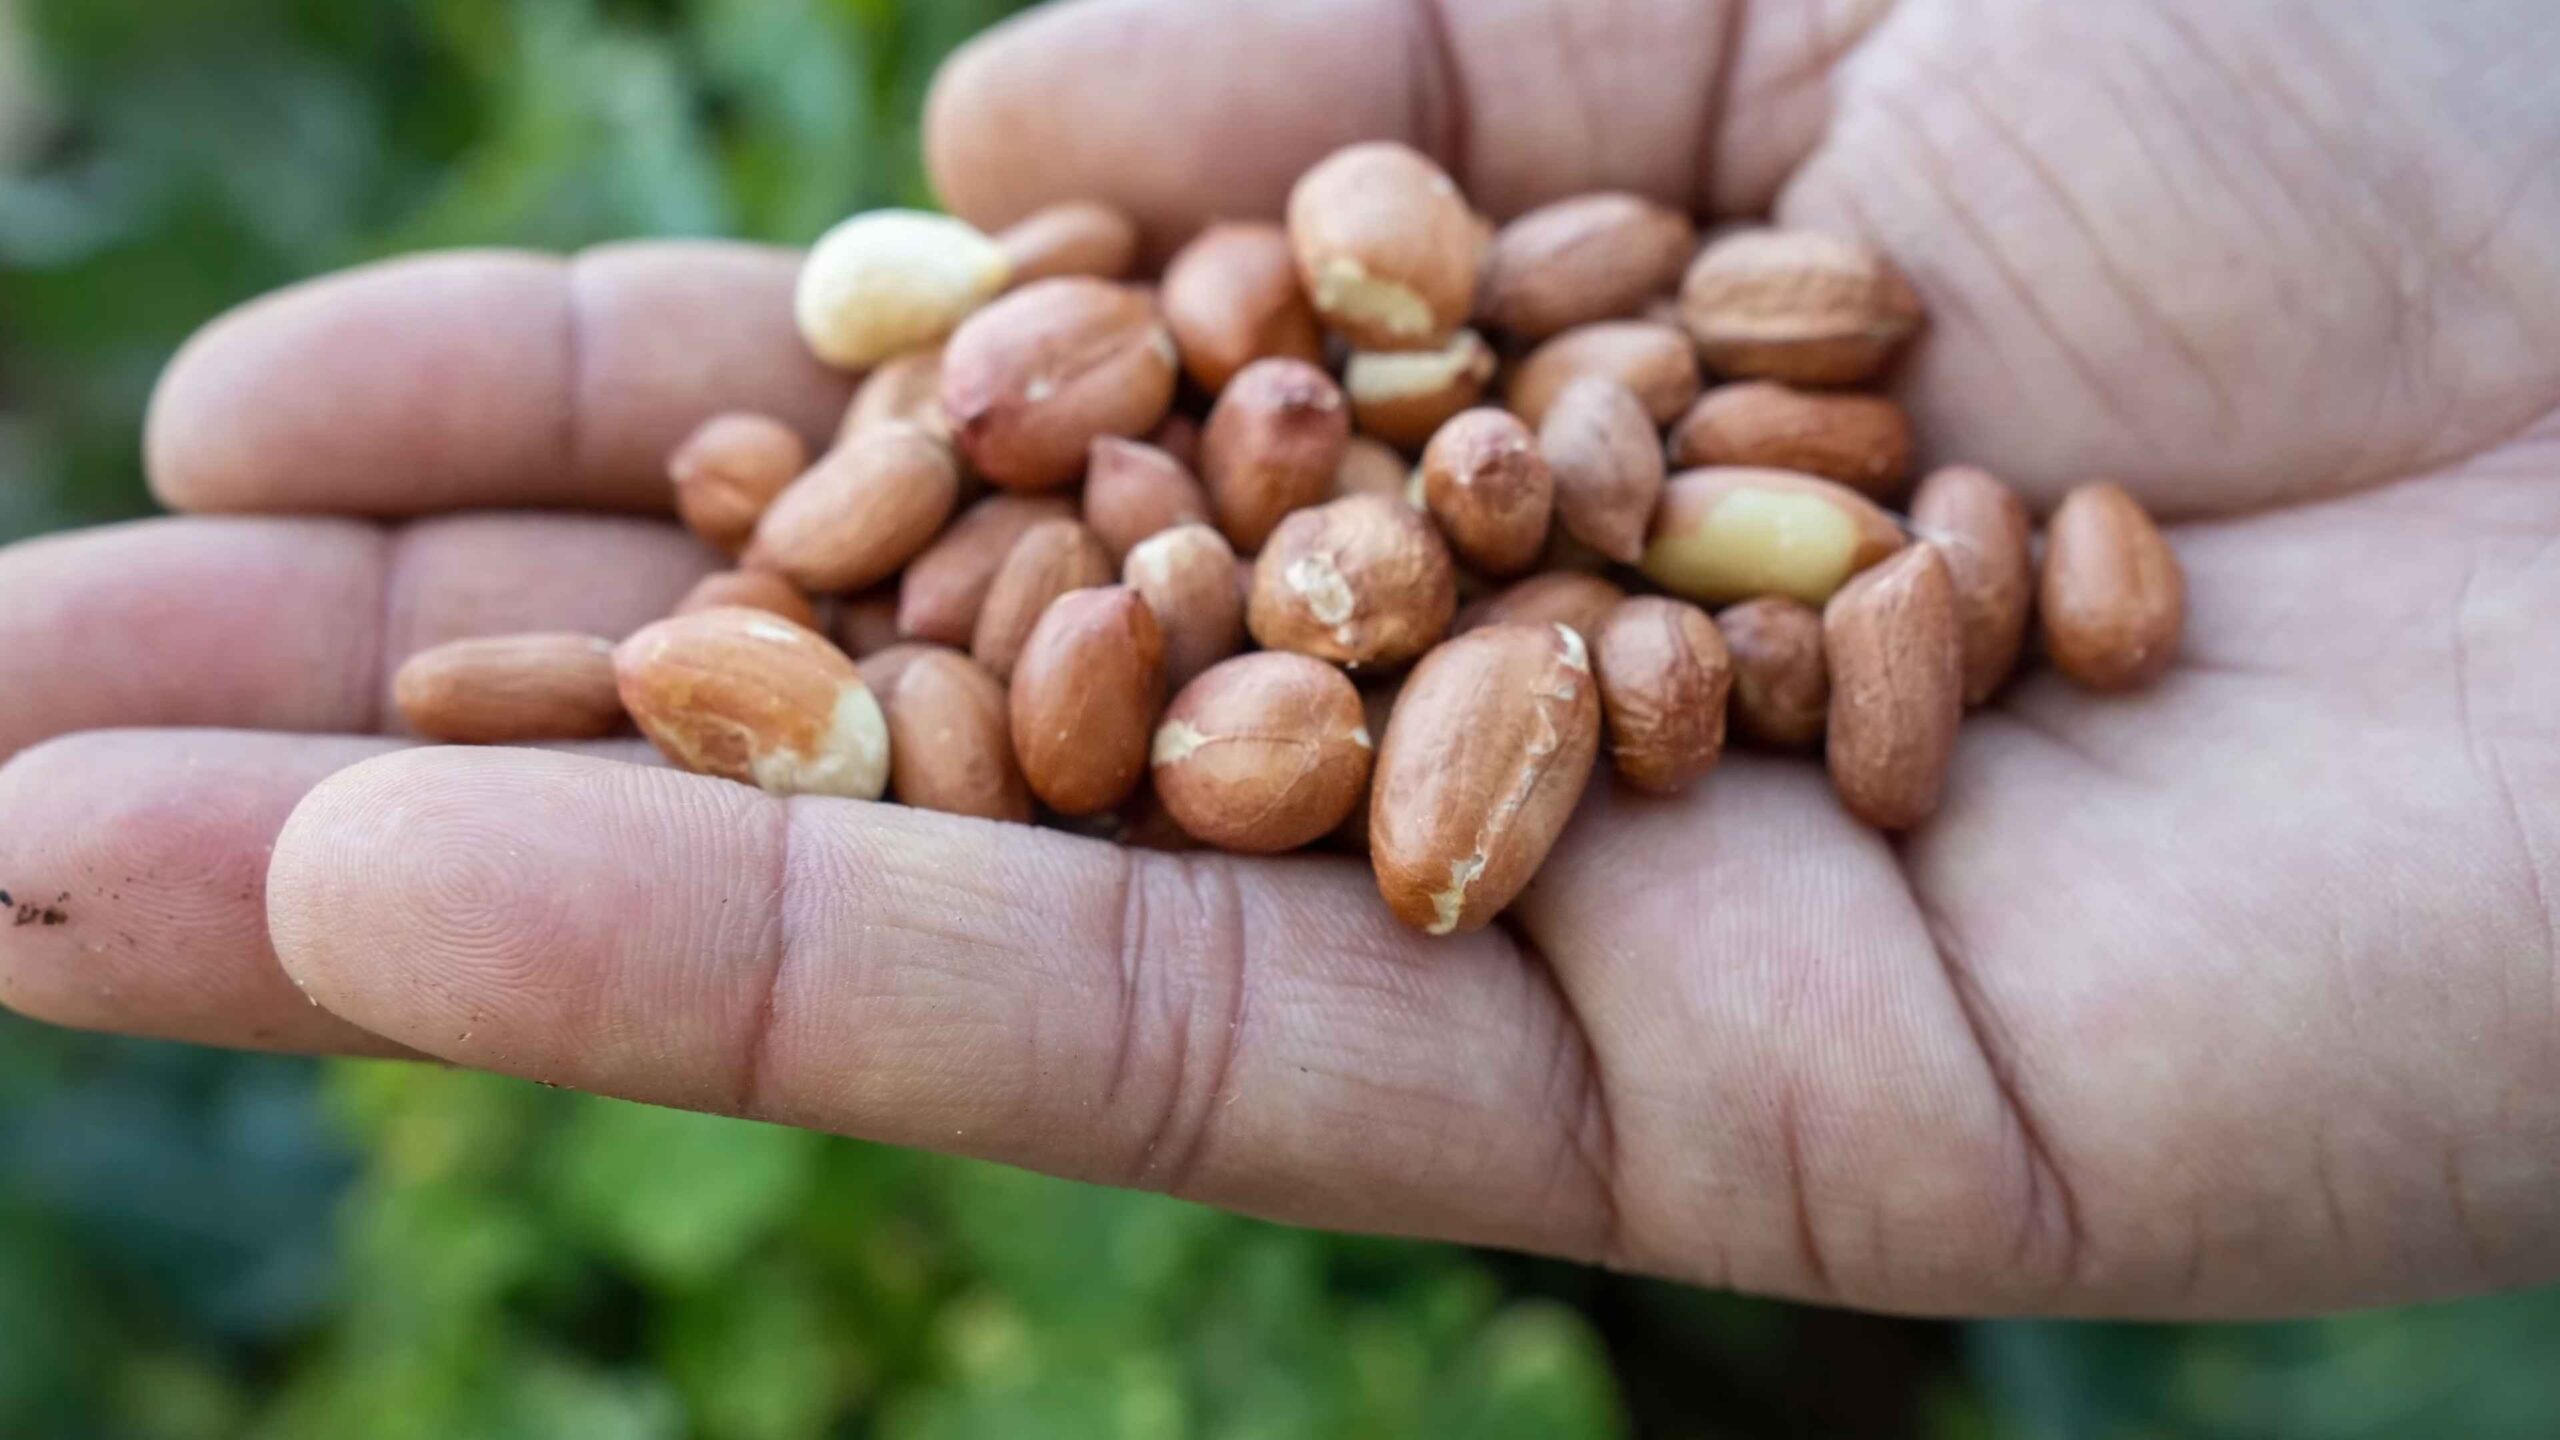
* Peanut Seeds (Raw, Unshelled): This is the most crucial part! Make sure you get raw, unshelled peanuts from a reputable source. Roasted or salted peanuts won’t sprout. Look for varieties specifically labeled for planting, like ‘Virginia,’ ‘Spanish,’ or ‘Valencia.’
* Well-Draining Soil: Peanuts thrive in loose, sandy loam soil. Good drainage is essential to prevent rot. If your soil is heavy clay, you’ll need to amend it with plenty of organic matter.
* Compost or Aged Manure: This will enrich the soil and provide essential nutrients for your peanut plants.
* Gardening Gloves: Protect your hands from dirt and potential irritants.
* Shovel or Garden Fork: For preparing the soil and digging holes.
* Watering Can or Hose: To keep your peanut plants adequately hydrated.
* Optional:
* Raised Bed or Large Containers: If your soil is poor or you have limited space, raised beds or containers are excellent alternatives.
* Pea Gravel or Mulch: To improve drainage and suppress weeds.
* Row Covers: To protect young plants from frost or pests.
* Gypsum: Peanuts love calcium, and gypsum is a great source.
Choosing the Right Location
Sunlight is key! Peanuts need at least 6-8 hours of direct sunlight each day to thrive. Choose a location in your garden that receives plenty of sunshine. Also, consider the soil. As I mentioned earlier, well-draining soil is crucial. Avoid areas where water tends to pool after rain. If you’re using containers, make sure they have drainage holes.
Preparing the Soil
This is a really important step. Peanuts need loose soil to develop properly.
1. Clear the Area: Remove any weeds, rocks, or debris from the planting area.
2. Loosen the Soil: Use a shovel or garden fork to loosen the soil to a depth of at least 12 inches. This will allow the peanut roots to penetrate easily.
3. Amend the Soil: Incorporate plenty of compost or aged manure into the soil. This will improve drainage, fertility, and overall soil structure. I usually aim for a ratio of about 1 part compost to 3 parts soil.
4. Optional: Add Gypsum: If you want to give your peanuts an extra boost, sprinkle some gypsum over the soil and mix it in. Gypsum is a great source of calcium, which is essential for peanut development.
Planting Your Peanut Seeds
Now for the fun part! Planting your peanut seeds is a relatively simple process.
1. Soak the Seeds (Optional): Some gardeners like to soak their peanut seeds in water for a few hours before planting to help them germinate faster. I’ve had success both with and without soaking, so it’s really up to you.
2. Planting Time: Wait until the soil has warmed up to at least 65°F (18°C) before planting. This is usually a couple of weeks after the last frost in your area.
3. Spacing: Plant the peanut seeds about 1-2 inches deep and 6-8 inches apart in rows that are 2-3 feet apart. If you’re planting in containers, make sure each container is large enough to accommodate at least one plant. A 5-gallon container is a good starting point.
4. Cover and Water: Gently cover the seeds with soil and water thoroughly. Keep the soil consistently moist, but not waterlogged, until the seedlings emerge.
Caring for Your Peanut Plants
Once your peanut plants have sprouted, it’s important to provide them with proper care to ensure a bountiful harvest.
1. Watering: Water your peanut plants regularly, especially during dry spells. Aim to keep the soil consistently moist, but avoid overwatering, which can lead to root rot.
2. Weeding: Keep the area around your peanut plants free of weeds. Weeds compete with your peanut plants for nutrients and water.
3. Fertilizing: Peanuts are legumes, which means they can fix nitrogen from the air. However, they still benefit from occasional fertilization. Use a balanced fertilizer or a fertilizer specifically formulated for legumes. Avoid fertilizers that are high in nitrogen, as this can promote leafy growth at the expense of peanut production.
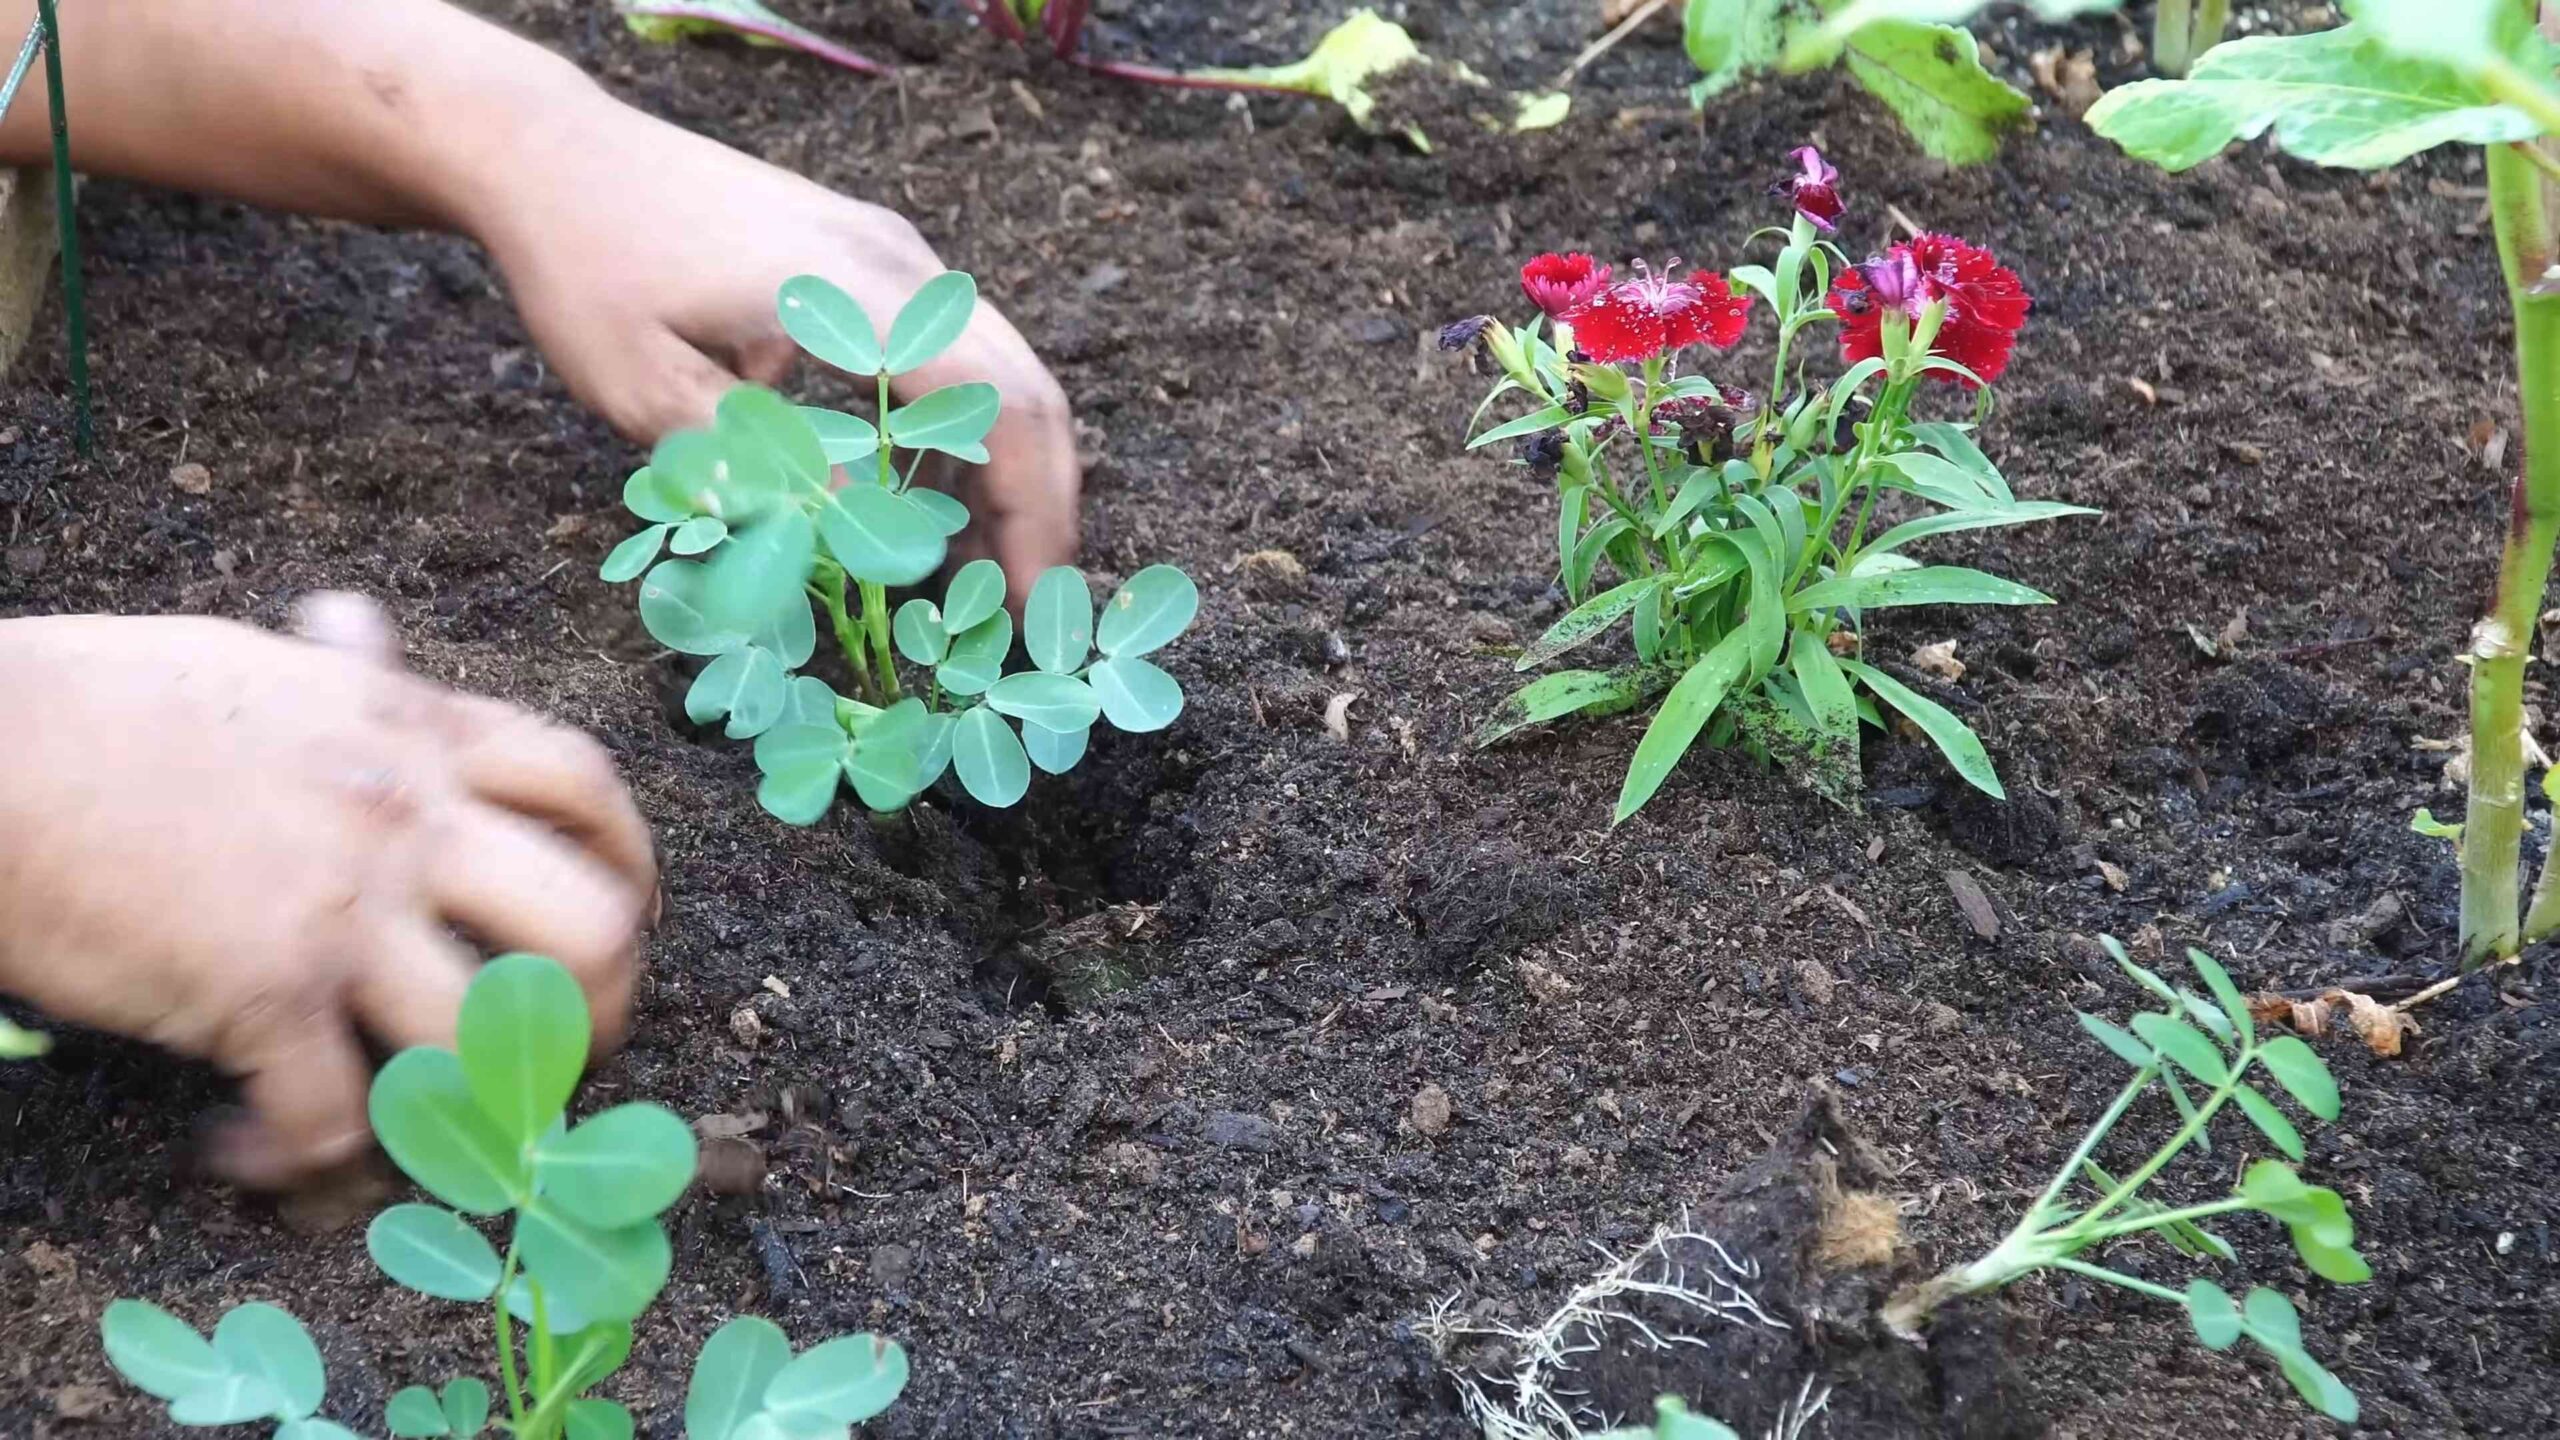
4. Hilling: This is a crucial step for peanut production. As the peanut plants grow, they will produce “pegs” that grow downwards from the base of the plant into the soil. These pegs are where the peanuts will develop. To encourage peanut production, you need to “hill” the soil around the base of the plants. This means gently mounding soil around the base of the plants to cover the pegs. Do this every few weeks as the plants grow.
5. Pest and Disease Control: Peanuts are generally relatively pest-resistant, but they can be susceptible to certain pests and diseases. Keep an eye out for common pests like aphids, spider mites, and leafhoppers. If you notice any pests, you can try spraying them with insecticidal soap or neem oil. Peanuts can also be susceptible to fungal diseases like leaf spot and root rot. To prevent these diseases, make sure your soil is well-draining and avoid overwatering.
Harvesting Your Peanuts
The moment you’ve been waiting for! Harvesting your peanuts is the most rewarding part of the process.
1. Timing: Peanuts typically take about 120-150 days to mature. You’ll know they’re ready to harvest when the leaves start to turn yellow and the plants begin to die back.
2. Digging: Use a shovel or garden fork to carefully dig up the entire plant. Be gentle to avoid damaging the peanuts.
3. Cleaning: Shake off as much soil as possible from the plants.
4. Curing: Hang the plants upside down in a well-ventilated area for 2-4 weeks to cure. This will allow the peanuts to dry out and develop their flavor.
5. Shelling: Once the peanuts are cured, you can shell them and enjoy them fresh, roasted, or in your favorite recipes.
Troubleshooting
Even with the best planning, things don’t always go perfectly. Here are a few common problems you might encounter and how to deal with them:
* Poor Germination: If your peanut seeds don’t germinate, it could be due to several factors, such as cold soil, poor-quality seeds, or overwatering. Make sure the soil is warm enough before planting, use fresh, high-quality seeds, and avoid overwatering.
* Yellowing Leaves: Yellowing leaves can be a sign of nutrient deficiency, overwatering, or disease. Check the soil drainage, fertilize with a balanced fertilizer, and inspect the plants for signs of disease.
* Small Peanuts: Small peanuts can be caused by poor soil, insufficient watering, or lack of calcium. Amend the soil with compost and gypsum, water regularly, and ensure the plants are getting enough sunlight.
* Pest Infestation: If you notice pests on your peanut plants, try spraying them with insecticidal soap or neem oil. You can also try introducing beneficial insects, such as ladybugs, to your garden.
Growing Peanuts in Containers
Don’t have a garden? No problem! You can absolutely grow peanuts in containers. Here’s what you need to know:
* Choose the Right Container: Select a large container, at least 5 gallons in size, with drainage holes.
* Use a Well-Draining Potting Mix: Avoid using garden soil in containers, as it can become compacted and poorly drained. Use a high-quality potting mix that is specifically formulated for containers.
* Planting: Plant the peanut seeds as described above, spacing them appropriately for the size of the container.
* Watering: Water the plants regularly, keeping the soil consistently moist but not waterlogged. Container plants tend to dry out faster than plants in the ground, so you may need to water them more frequently.
* Fertilizing: Fertilize the plants regularly with a balanced fertilizer or a fertilizer specifically formulated for legumes.
* Sunlight: Place the container in
Conclusion
So, there you have it! Growing peanuts at home is not only achievable, but it’s also a deeply rewarding experience that connects you to the source of your food in a tangible way. Forget the store-bought varieties packed with preservatives and questionable origins; imagine the satisfaction of harvesting your own fresh, flavorful peanuts right from your backyard. This DIY project is a must-try for several compelling reasons.
First and foremost, the taste difference is undeniable. Homegrown peanuts boast a freshness and nutty intensity that simply can’t be replicated by commercially grown options. The flavor is brighter, cleaner, and more pronounced, making them perfect for snacking, adding to your favorite recipes, or even crafting your own homemade peanut butter.
Beyond the superior taste, growing your own peanuts offers a unique educational opportunity. It’s a fantastic way to teach children (and adults!) about the life cycle of plants, the importance of sustainable agriculture, and the sheer magic of watching a tiny seed transform into a bountiful harvest. It’s a hands-on learning experience that fosters a deeper appreciation for the food we consume.
Furthermore, this DIY project is surprisingly accessible, even for those with limited gardening experience. With a few simple supplies, a sunny spot, and a little patience, you can successfully cultivate your own peanut patch. And the best part? It’s incredibly cost-effective. Once you’ve invested in the initial seeds or raw peanuts, the ongoing costs are minimal, making it a budget-friendly way to enjoy fresh, healthy snacks.
Ready to take your peanut growing to the next level? Consider these variations:
* **Container Gardening:** If you’re short on space, peanuts thrive in large containers. Choose a pot that’s at least 18 inches deep and wide to accommodate the developing peanut pods.
* **Different Varieties:** Experiment with different peanut varieties to discover your favorite flavor profile. Virginia peanuts are known for their large size and excellent roasting quality, while Spanish peanuts are smaller and sweeter.
* **Companion Planting:** Enhance your peanut patch by planting beneficial companion plants like marigolds, which deter pests, or herbs like basil, which improve the overall health of the plants.
* **Roasting Your Harvest:** Once you’ve harvested your peanuts, try roasting them yourself for a truly unforgettable flavor experience. Simply spread them on a baking sheet and roast at 350°F (175°C) for 20-25 minutes, or until golden brown and fragrant.
Don’t be intimidated by the prospect of growing your own peanuts. It’s a fun, rewarding, and ultimately delicious endeavor that will transform the way you think about this humble legume. We wholeheartedly encourage you to give this DIY trick a try.
And most importantly, we want to hear about your experience! Share your peanut-growing journey with us in the comments below. Tell us about your successes, your challenges, and any tips or tricks you’ve discovered along the way. Let’s create a community of peanut enthusiasts and inspire others to embrace the joy of homegrown goodness. Happy growing!
FAQ
Frequently Asked Questions About Growing Peanuts at Home
1. What is the best time of year to plant peanuts?
The ideal time to plant peanuts is in the spring, after the last frost has passed and the soil has warmed up to at least 65°F (18°C). Peanuts require a long growing season of at least 120-150 days, so it’s crucial to plant them early enough to allow them to mature fully before the first frost of fall. In warmer climates, you may be able to plant peanuts as late as early summer. Check your local climate data to determine the optimal planting time for your region.
2. What kind of soil is best for growing peanuts?
Peanuts thrive in well-drained, sandy loam soil that is rich in organic matter. The soil should be loose and friable to allow the developing peanut pods to penetrate easily. Avoid heavy clay soils, as they can become compacted and hinder the growth of the pods. Before planting, amend the soil with compost or other organic matter to improve drainage and fertility. A slightly acidic soil pH of 6.0 to 6.5 is ideal for peanut growth.
3. How much sunlight do peanuts need?
Peanuts require at least 6-8 hours of direct sunlight per day to thrive. Choose a planting location that receives ample sunlight throughout the day. If you’re growing peanuts in containers, make sure to place them in a sunny spot on your patio or balcony. Insufficient sunlight can result in stunted growth, reduced yields, and poor-quality peanuts.
4. How often should I water my peanut plants?
Peanuts need consistent moisture, especially during the flowering and pod-development stages. Water deeply and regularly, aiming to keep the soil consistently moist but not waterlogged. Avoid overhead watering, as it can promote fungal diseases. A soaker hose or drip irrigation system is ideal for delivering water directly to the roots. Reduce watering frequency as the plants mature and the pods begin to ripen.
5. How do I know when my peanuts are ready to harvest?
The best way to determine when your peanuts are ready to harvest is to check the maturity of the pods. Dig up a few plants and examine the pods. The pods should be plump and full, with a distinct veining pattern on the shell. The inside of the shell should be dark in color, and the kernels should be fully developed and easily detached from the shell. If the pods are still white or pale in color, they are not yet mature. Harvest your peanuts on a dry day to prevent mold and rot.
6. What are some common pests and diseases that affect peanuts?
Peanuts can be susceptible to various pests and diseases, including aphids, spider mites, leafhoppers, and fungal diseases like leaf spot and white mold. To prevent pest and disease problems, practice good garden hygiene, such as removing weeds and debris from around the plants. Use organic pest control methods, such as insecticidal soap or neem oil, to control aphids and spider mites. Ensure good air circulation around the plants to prevent fungal diseases.
7. Can I grow peanuts indoors?
While it’s possible to grow peanuts indoors, it can be challenging to provide them with the optimal growing conditions they need. Peanuts require a lot of sunlight and warm temperatures, which can be difficult to replicate indoors. If you want to try growing peanuts indoors, choose a sunny location near a south-facing window and use grow lights to supplement the natural light. Make sure to provide adequate drainage and ventilation to prevent fungal diseases.
8. How do I store my harvested peanuts?
After harvesting your peanuts, allow them to dry completely in a well-ventilated area for several days. Once they are dry, you can store them in airtight containers in a cool, dry place. Roasted peanuts can be stored for several months, while raw peanuts should be stored in the refrigerator or freezer to prevent them from going rancid.
9. Can I use store-bought raw peanuts to grow new peanut plants?
Yes, you can use store-bought raw, unsalted peanuts to grow new peanut plants. Make sure the peanuts are raw and have not been roasted or treated with any chemicals. Soak the peanuts in water for 24 hours to soften the shells and encourage germination. Plant the peanuts directly in the soil, following the same planting instructions as for peanut seeds.
10. Are there any specific fertilizer requirements for growing peanuts?
Peanuts are legumes, which means they can fix nitrogen from the atmosphere, reducing the need for nitrogen fertilizer. However, they do benefit from phosphorus and potassium. Before planting, amend the soil with a fertilizer that is high in phosphorus and potassium, such as bone meal or rock phosphate. Avoid using fertilizers that are high in nitrogen, as they can promote excessive vegetative growth at the expense of pod development. A soil test can help you determine the specific nutrient needs of your soil.
Leave a Comment