

Deep cleaning secrets DIY – are you ready to unlock a sparkling clean home without breaking the bank or spending hours scrubbing? I know I am! We all crave that feeling of walking into a fresh, immaculate space, but the thought of the effort involved can be daunting. But what if I told you that achieving a pristine home could be easier, faster, and even… fun?
For generations, resourceful homemakers have passed down clever cleaning hacks, often born out of necessity and a desire to make the most of limited resources. Think about it – our grandmothers didn’t have a plethora of specialized cleaning products at their disposal. They relied on ingenuity and everyday items like vinegar, baking soda, and lemon juice to keep their homes spotless. These time-tested methods are not only effective but also environmentally friendly and budget-conscious.
In today’s busy world, time is precious. We’re constantly juggling work, family, and social commitments, leaving little room for extensive cleaning routines. That’s where these deep cleaning secrets DIY come in! I’m going to share some of my favorite DIY cleaning solutions and techniques that will help you tackle even the toughest grime and dirt with minimal effort. From tackling stubborn stains to banishing bathroom mildew, these tips and tricks will transform your cleaning routine and leave you with a home that shines. Get ready to discover the power of DIY and reclaim your weekends!
Deep Cleaning Secrets: My Ultimate DIY Guide to a Sparkling Home
Okay, friends, let’s talk deep cleaning! It’s not exactly anyone’s favorite pastime, but trust me, the feeling of a truly clean and organized home is absolutely worth the effort. I’ve spent years perfecting my deep cleaning routine, and I’m excited to share all my secrets with you. Get ready to roll up your sleeves and transform your space!
Gathering Your Supplies: The Arsenal of Clean
Before we dive in, let’s make sure we have everything we need. Nothing’s worse than getting halfway through cleaning the bathroom and realizing you’re out of toilet bowl cleaner! Here’s my go-to list:
* Microfiber cloths: These are my absolute best friends. They’re super absorbent, reusable, and perfect for almost any surface. Stock up!
* All-purpose cleaner: Choose your favorite. I personally love a lemon-scented one for that fresh, clean smell.
* Glass cleaner: For streak-free windows and mirrors.
* Bathroom cleaner: Specifically designed to tackle soap scum and mildew.
* Toilet bowl cleaner: A must-have for a sparkling toilet.
* Oven cleaner: Because let’s be honest, ovens get gross.
* Dish soap: For hand-washing dishes and general cleaning.
* Baking soda: A natural cleaning powerhouse!
* White vinegar: Another natural cleaning superstar.
* Hydrogen peroxide: Great for disinfecting and removing stains.
* Sponges: For scrubbing those tough spots.
* Scrub brushes: Different sizes for different tasks.
* Toothbrushes: Old toothbrushes are perfect for cleaning grout and other hard-to-reach areas.
* Rubber gloves: Protect your hands!
* Trash bags: For all the clutter you’re about to get rid of.
* Vacuum cleaner: A good vacuum is essential for deep cleaning.
* Mop and bucket: For sparkling floors.
* Duster: For tackling dust bunnies.
* Spray bottles: For mixing your own cleaning solutions.
* Essential oils (optional): For adding a pleasant scent to your cleaning solutions. Lavender, lemon, and tea tree are my favorites.
Phase 1: Decluttering – The Foundation of Clean
Before you even think about scrubbing, it’s crucial to declutter. A clean space is much easier to maintain when it’s not filled with unnecessary stuff.
1. Go room by room: Don’t try to tackle the whole house at once. It’s overwhelming! Focus on one room at a time.
2. The four-box method: Grab four boxes or containers and label them: “Keep,” “Donate,” “Trash,” and “Relocate.”
3. Touch everything: Pick up each item in the room and decide which box it belongs in. Be honest with yourself! If you haven’t used it in a year, it’s probably time to let it go.
4. Be ruthless: It’s okay to get rid of things! Don’t hold onto items out of guilt or obligation.
5. Empty the boxes: Once you’ve decluttered a room, immediately empty the “Donate” and “Trash” boxes. Put the “Relocate” items where they belong. The “Keep” items should be organized neatly.
Phase 2: Top-to-Bottom Cleaning – The Real Deal
Now for the fun part (okay, maybe not fun, but definitely rewarding!). We’re going to clean each room from top to bottom, ensuring no dust bunny is left behind.
Cleaning the Kitchen: The Heart of the Home
1. Clear the countertops: Remove everything from your countertops so you can clean them thoroughly.
2. Clean the cabinets: Wipe down the cabinet doors and hardware with all-purpose cleaner. Don’t forget the tops of the cabinets – they can get surprisingly dusty!
3. Clean the backsplash: Use all-purpose cleaner to remove any splatters or stains from your backsplash.
4. Clean the appliances:
* Oven: This is where the oven cleaner comes in. Follow the instructions on the bottle carefully. For a more natural approach, you can make a paste of baking soda and water, apply it to the oven, let it sit overnight, and then scrub it clean.
* Microwave: Heat a cup of water with a few slices of lemon in the microwave for a few minutes. The steam will loosen any grime, making it easy to wipe clean.
* Refrigerator: Empty the refrigerator and throw away any expired food. Wipe down the shelves and drawers with warm, soapy water.
* Dishwasher: Run an empty dishwasher with a cup of white vinegar in the top rack to remove any buildup.
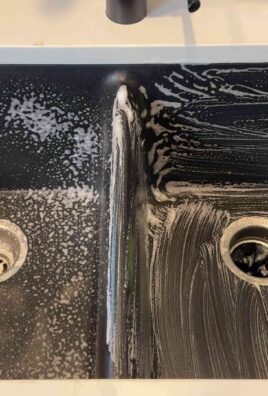
5. Clean the sink: Scrub the sink with dish soap and a sponge. For a deeper clean, sprinkle baking soda in the sink and then pour white vinegar over it. Let it fizz for a few minutes, then scrub and rinse.
6. Clean the countertops: Wipe down the countertops with all-purpose cleaner.
7. Sweep and mop the floor: Sweep or vacuum the floor to remove any debris, then mop with your favorite floor cleaner.
Cleaning the Bathroom: The Germ-Fighting Zone
1. Clear the countertops: Remove everything from the countertops.
2. Clean the mirror: Spray the mirror with glass cleaner and wipe it clean with a microfiber cloth.
3. Clean the sink and countertops: Scrub the sink and countertops with bathroom cleaner.
4. Clean the toilet: Apply toilet bowl cleaner to the inside of the bowl and let it sit for a few minutes. Then, scrub with a toilet brush and flush. Wipe down the outside of the toilet with bathroom cleaner.
5. Clean the shower/tub: Spray the shower or tub with bathroom cleaner and let it sit for a few minutes. Then, scrub with a sponge or scrub brush. Pay special attention to grout lines, where mildew tends to grow. An old toothbrush is perfect for this!
6. Clean the showerhead: To remove mineral buildup from your showerhead, fill a plastic bag with white vinegar and secure it around the showerhead with a rubber band. Let it soak for a few hours or overnight, then remove the bag and rinse.
7. Clean the floor: Sweep or vacuum the floor, then mop with your favorite floor cleaner.
8. Wash the shower curtain or liner: Most shower curtains and liners can be washed in the washing machine. Check the care label for instructions.
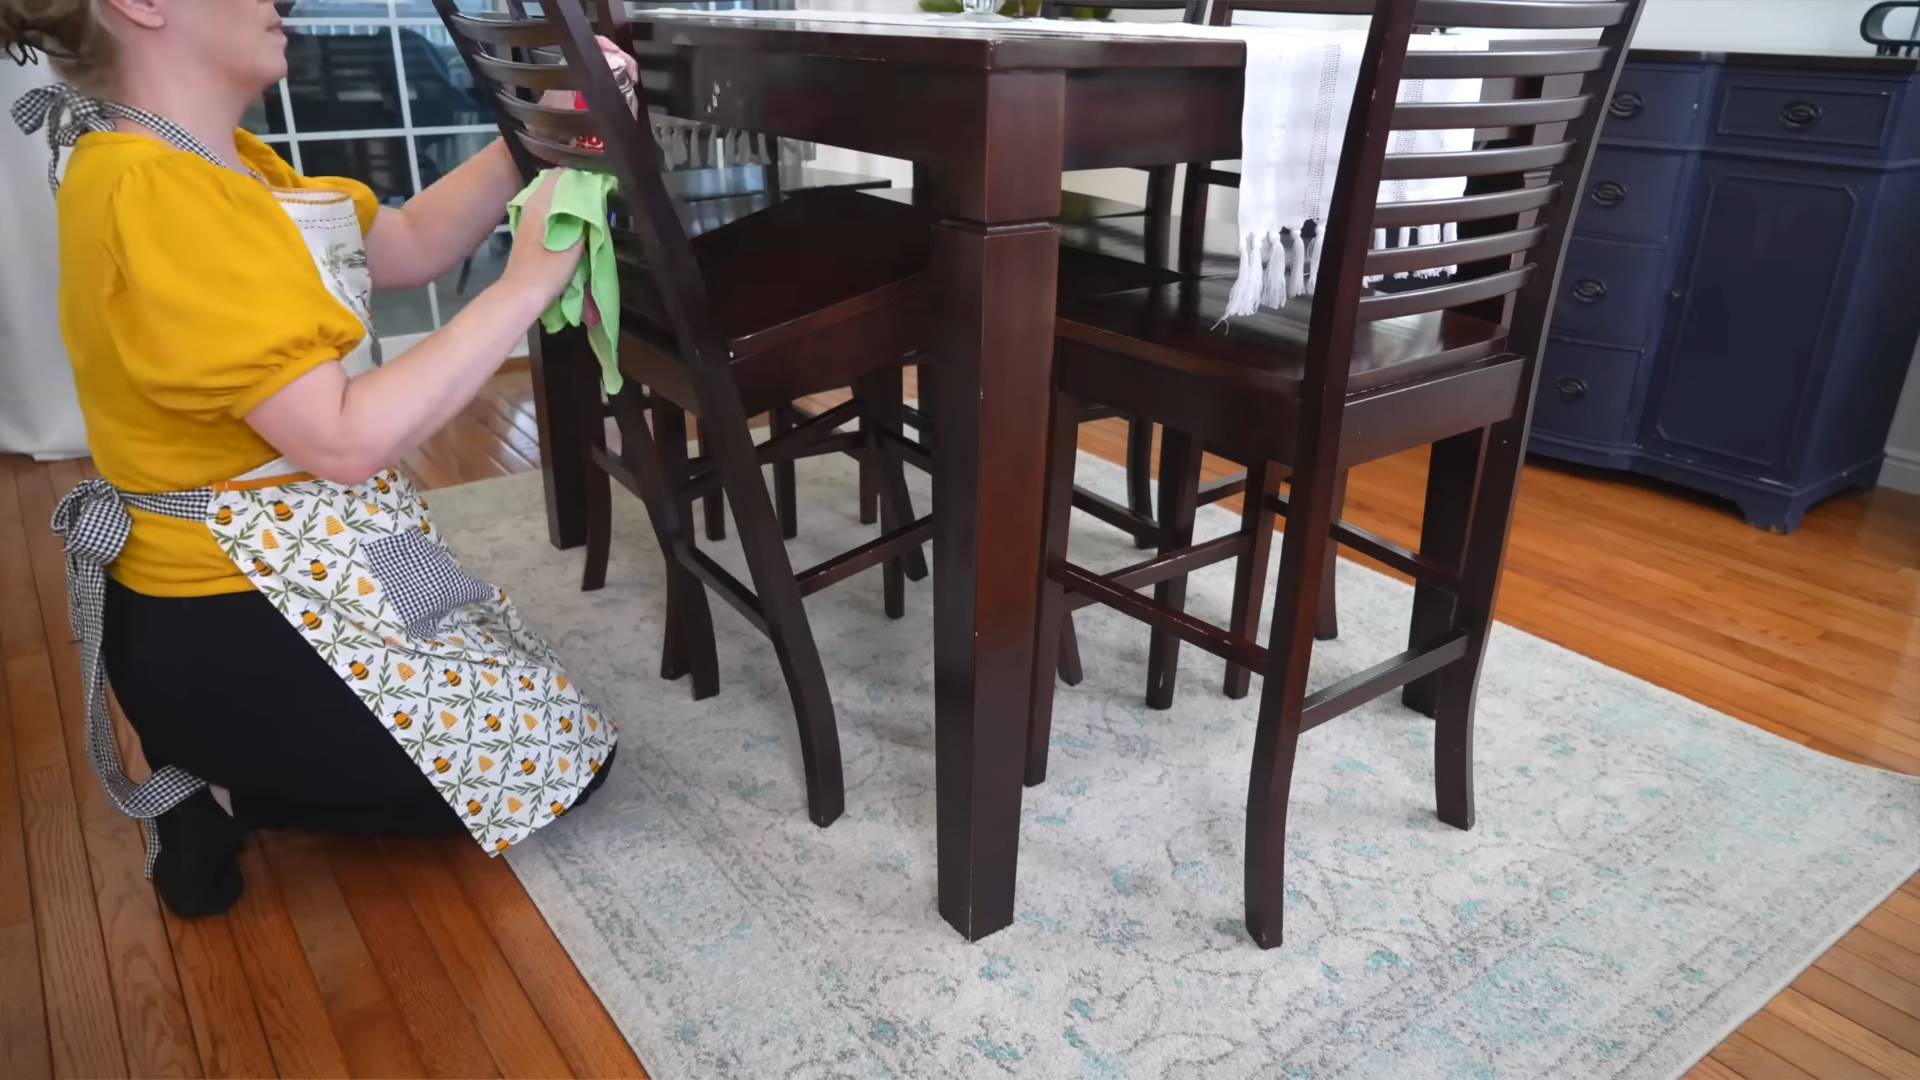
Cleaning the Living Room and Bedrooms: The Comfort Zones
1. Dust everything: Start by dusting all surfaces, including furniture, shelves, picture frames, and lamps.
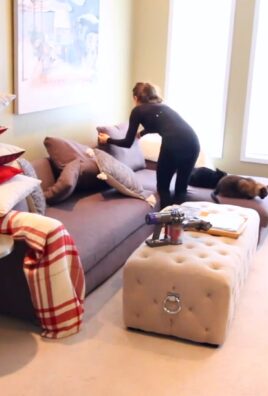
2. Clean the furniture: Vacuum upholstered furniture to remove dust and crumbs. Spot clean any stains with a fabric cleaner.
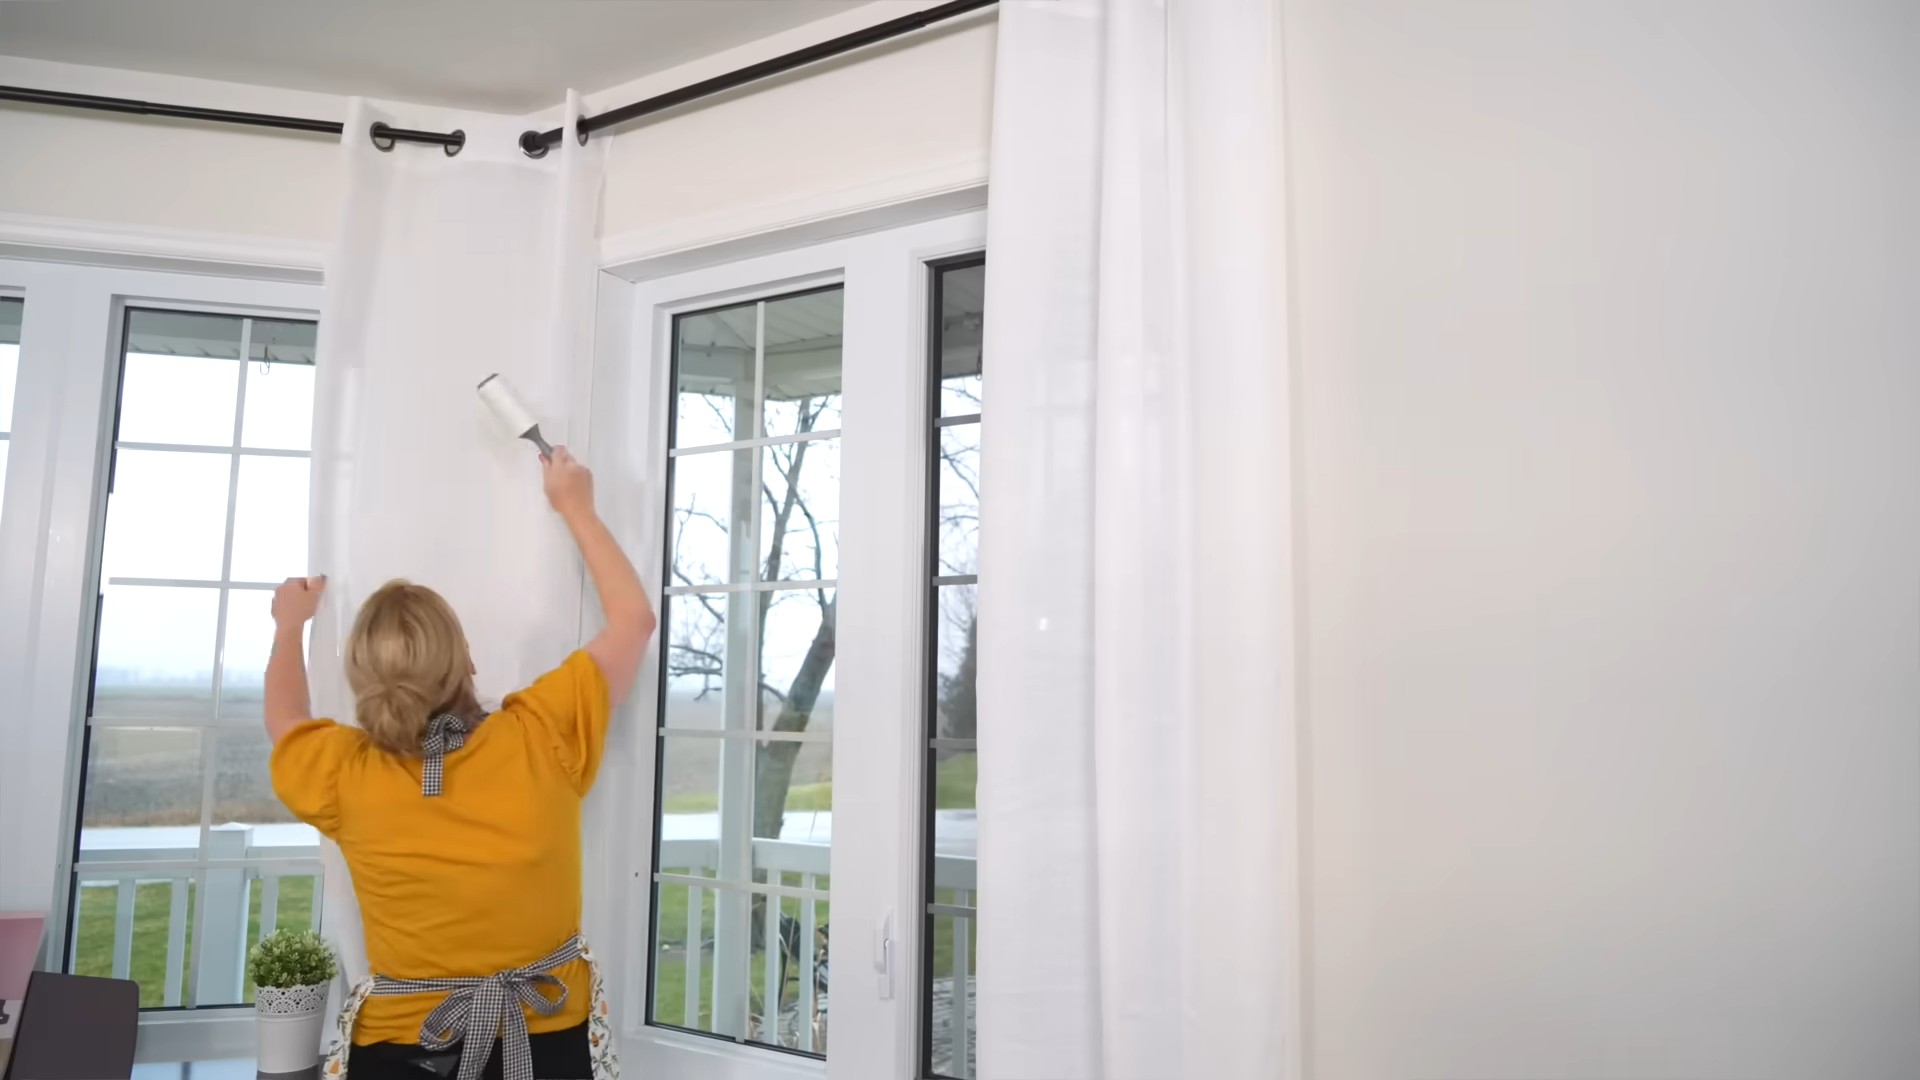
3. Clean the windows: Spray the windows with glass cleaner and wipe them clean with a microfiber cloth.
4. Vacuum or mop the floors: Vacuum carpets and rugs thoroughly. Mop hard floors with your favorite floor cleaner.
5. Wash bedding: Wash all bedding, including sheets, pillowcases, blankets, and comforters.
6. Organize closets: Take some time to organize your closets. Get rid of any clothes you no longer wear and organize the remaining items neatly.
Phase 3: Special Attention Areas – The Nitty-Gritty
These are the areas that often get overlooked but can make a big difference in the overall cleanliness of your home.
* Light fixtures: Dust or wash light fixtures regularly.
* Doorknobs and light switches: These are high-touch areas that can harbor germs. Wipe them down with disinfectant wipes.
* Baseboards: Wipe down baseboards with a damp cloth to remove dust and dirt.
* Window sills: Clean window sills with a damp cloth to remove dust and dirt.
* Electronics: Use a microfiber cloth to dust your TV, computer, and other electronics.
* Trash cans: Wash trash cans regularly with soap and water.
DIY Cleaning Solutions: My Secret Weapons
I love using natural cleaning solutions whenever possible. They’re effective, eco-friendly, and safe for my family and pets. Here are a few of my favorites:
* All-purpose cleaner: Mix equal parts white vinegar and water in a spray bottle. Add a few drops of your favorite essential oil for a pleasant scent.
* Glass cleaner: Mix 1/4 cup white vinegar with 2 cups water in a spray bottle.
* Oven cleaner: Make a paste of baking soda and water. Apply it to the oven, let it sit overnight, and then scrub it clean.
* Drain cleaner:
Conclusion
So, there you have it! This deep cleaning secrets DIY method isn’t just another cleaning hack; it’s a game-changer for maintaining a sparkling and healthy home. We’ve walked you through a simple, effective, and budget-friendly approach to tackling those often-overlooked areas that accumulate grime and dust over time. The beauty of this method lies in its adaptability. Feel free to tweak the cleaning solutions based on your preferences and the specific needs of your home. For instance, if you’re dealing with stubborn mildew in the bathroom, adding a bit more vinegar to your cleaning solution can work wonders. Or, if you prefer a more natural scent, infuse your solutions with essential oils like lemon, lavender, or tea tree for added antibacterial benefits and a refreshing aroma.
Why is this DIY method a must-try? Because it empowers you to take control of your cleaning routine, using ingredients you likely already have in your pantry. It’s a cost-effective alternative to expensive commercial cleaners, many of which contain harsh chemicals that can be harmful to your health and the environment. Plus, the satisfaction of knowing you’ve created a safe and effective cleaning solution yourself is incredibly rewarding.
Beyond the basic steps, consider these variations to personalize your deep cleaning experience:
* **For upholstery:** Gently vacuum your furniture before applying any cleaning solution. Test the solution on an inconspicuous area first to ensure it doesn’t damage the fabric. Use a soft-bristled brush to work the solution into the fibers, then blot with a clean, dry cloth.
* **For grout:** Create a paste of baking soda and water, apply it to the grout lines, and let it sit for a few minutes. Then, scrub with a grout brush and rinse thoroughly.
* **For stainless steel appliances:** Use a microfiber cloth dampened with white vinegar to wipe away fingerprints and smudges. Follow with a dry cloth to buff the surface to a shine.
* **For wooden furniture:** Avoid using harsh chemicals or abrasive cleaners, as they can damage the finish. Instead, use a mixture of mild dish soap and water, and wipe with a soft cloth. Always dry the surface thoroughly after cleaning.
We truly believe that incorporating this deep cleaning secrets DIY method into your regular cleaning schedule will make a noticeable difference in the cleanliness and overall feel of your home. It’s not just about aesthetics; it’s about creating a healthier and more comfortable living environment for you and your family.
Now, it’s your turn! We encourage you to give this DIY method a try and see the results for yourself. Don’t be afraid to experiment with different variations and find what works best for your home. And most importantly, we want to hear about your experience! Share your before-and-after photos, your favorite cleaning solution combinations, and any tips or tricks you’ve discovered along the way. Let’s create a community of clean-home enthusiasts who are passionate about sharing their knowledge and inspiring others to create a sparkling and healthy living space. So, grab your supplies, roll up your sleeves, and get ready to transform your home with this amazing deep cleaning secrets DIY method!
Frequently Asked Questions (FAQ)
What exactly does “deep cleaning” entail, and how is it different from regular cleaning?
Deep cleaning goes beyond the surface-level tidying you might do on a daily or weekly basis. Regular cleaning focuses on maintaining cleanliness and order, such as wiping down counters, sweeping floors, and making beds. Deep cleaning, on the other hand, involves a more thorough and intensive cleaning of areas that are often neglected, such as cleaning inside appliances, scrubbing grout, washing windows, and dusting hard-to-reach places. It’s about removing built-up dirt, grime, and allergens to create a healthier and more hygienic living environment.
How often should I perform a deep clean of my home?
The frequency of deep cleaning depends on several factors, including your lifestyle, the size of your home, and the number of occupants. As a general guideline, it’s recommended to deep clean your home at least twice a year, typically in the spring and fall. However, if you have pets, children, or allergies, you may need to deep clean more frequently, perhaps every three to four months. You can also break down the deep cleaning tasks into smaller chunks and tackle one or two areas each month to make the process more manageable.
Are the DIY cleaning solutions safe for all surfaces in my home?
While the DIY cleaning solutions mentioned are generally safe and effective, it’s always a good idea to test them on an inconspicuous area first, especially on delicate surfaces like wood, leather, or natural stone. Avoid using abrasive cleaners or harsh chemicals on these surfaces, as they can cause damage. For specific surfaces, such as stainless steel or granite, research the best cleaning methods and products to avoid scratching or dulling the finish.
Can I use essential oils in my cleaning solutions, and if so, which ones are best?
Yes, essential oils can be a great addition to your cleaning solutions, as they not only provide a pleasant scent but also offer antibacterial, antiviral, and antifungal properties. Some of the best essential oils for cleaning include lemon, tea tree, lavender, eucalyptus, and peppermint. When using essential oils, be sure to dilute them properly in a carrier oil or water, and avoid using them on surfaces that may be sensitive to oils, such as wood or plastic.
What are some common mistakes to avoid when deep cleaning?
One common mistake is using too much cleaning solution, which can leave behind a sticky residue. Another mistake is not allowing cleaning solutions enough time to dwell on surfaces before wiping them away. This is especially important for disinfecting surfaces, as the solution needs time to kill bacteria and viruses. Additionally, avoid mixing different cleaning products together, as this can create harmful fumes. Always read the labels of cleaning products carefully and follow the instructions.
How can I make deep cleaning less overwhelming?
Deep cleaning can seem like a daunting task, but there are several ways to make it less overwhelming. First, create a checklist of all the areas you want to deep clean and break down the tasks into smaller, more manageable steps. Second, gather all your cleaning supplies and tools before you start, so you don’t have to waste time searching for them later. Third, enlist the help of family members or friends to share the workload. Finally, reward yourself after completing each task or area to stay motivated.
What are some eco-friendly alternatives to traditional cleaning products?
There are many eco-friendly alternatives to traditional cleaning products that are just as effective and much better for the environment. Some popular options include vinegar, baking soda, lemon juice, and castile soap. You can also find a wide range of eco-friendly cleaning products at most grocery stores and online retailers. Look for products that are biodegradable, non-toxic, and made with sustainable ingredients.
How can I maintain a clean home between deep cleanings?
Maintaining a clean home between deep cleanings is all about establishing good habits and routines. Make it a habit to wipe down counters and sinks after each use, sweep or vacuum floors regularly, and declutter your home daily. You can also create a weekly cleaning schedule to tackle specific tasks, such as cleaning bathrooms, dusting furniture, and mopping floors. By staying on top of these tasks, you can prevent dirt and grime from building up and make your deep cleanings much easier.

Leave a Comment