

Bathroom cleaning hacks – who doesn’t need them? Let’s be honest, tackling the bathroom is nobody’s favorite chore. It’s the one space we all dread, conjuring images of harsh chemicals, stubborn stains, and endless scrubbing. But what if I told you that keeping your bathroom sparkling clean could be easier, faster, and even…dare I say…enjoyable?
For centuries, people have sought clever ways to maintain hygiene and cleanliness in their homes. From ancient Roman bathhouses to the communal washrooms of the Victorian era, the need for effective cleaning methods has always been present. While our tools and products have evolved, the underlying desire for a fresh and sanitary space remains the same.
That’s where these DIY bathroom cleaning hacks come in! I’m going to share some of my favorite tips and tricks that will transform your cleaning routine. Forget spending hours battling grime; these simple solutions use everyday items you probably already have in your pantry. We’ll conquer soap scum, banish mildew, and leave your bathroom smelling fresh and inviting. Get ready to reclaim your weekends and say goodbye to bathroom cleaning blues!
DIY Bathroom Cleaning Hacks: Sparkling Clean Without Breaking a Sweat!
Okay, let’s be honest, cleaning the bathroom is nobody’s favorite chore. But, with a few clever DIY hacks, you can transform this dreaded task into a manageable and even (dare I say?) satisfying experience. I’m going to share some of my go-to tricks for a sparkling clean bathroom using ingredients you probably already have at home. Get ready to ditch those harsh chemicals and embrace a more natural and effective cleaning routine!
Tackling Soap Scum and Grime
Soap scum is the bane of every bathroom cleaner’s existence. It’s stubborn, unsightly, and seems to multiply overnight. But fear not! These hacks will help you conquer that grime in no time.
DIY Soap Scum Remover Spray
This spray is my secret weapon against soap scum. It’s easy to make, smells great, and works wonders.
Ingredients:
* 1 cup white vinegar
* 1 cup water
* 10-20 drops of your favorite essential oil (I love lemon, tea tree, or eucalyptus for their cleaning and antibacterial properties)
* Spray bottle
Instructions:
1. Combine Ingredients: In your spray bottle, mix the white vinegar and water.
2. Add Essential Oils: Add your chosen essential oils. This not only adds a pleasant scent but also boosts the cleaning power.
3. Shake Well: Give the bottle a good shake to ensure everything is properly mixed.
4. Spray and Let Sit: Spray the solution liberally onto the affected areas, like shower walls, tiles, and glass doors. Let it sit for about 10-15 minutes to allow the vinegar to break down the soap scum.
5. Scrub and Rinse: Use a scrub brush, sponge, or microfiber cloth to scrub away the loosened soap scum. Rinse thoroughly with water. For stubborn areas, you might need to repeat the process.
Vinegar and Baking Soda Paste for Stubborn Stains
For those extra-tough soap scum stains, a paste is the way to go. The abrasive action of baking soda combined with the acidity of vinegar creates a powerful cleaning duo.
Ingredients:
* 1/2 cup baking soda
* Enough white vinegar to form a paste
Instructions:
1. Create the Paste: In a small bowl, gradually add vinegar to the baking soda, mixing until you form a thick paste. It will fizz, which is perfectly normal!
2. Apply to Stains: Apply the paste directly to the stubborn soap scum stains.
3. Let it Sit: Allow the paste to sit for at least 30 minutes, or even longer for really tough stains.
4. Scrub and Rinse: Use a scrub brush or sponge to scrub the area thoroughly. Rinse well with water.
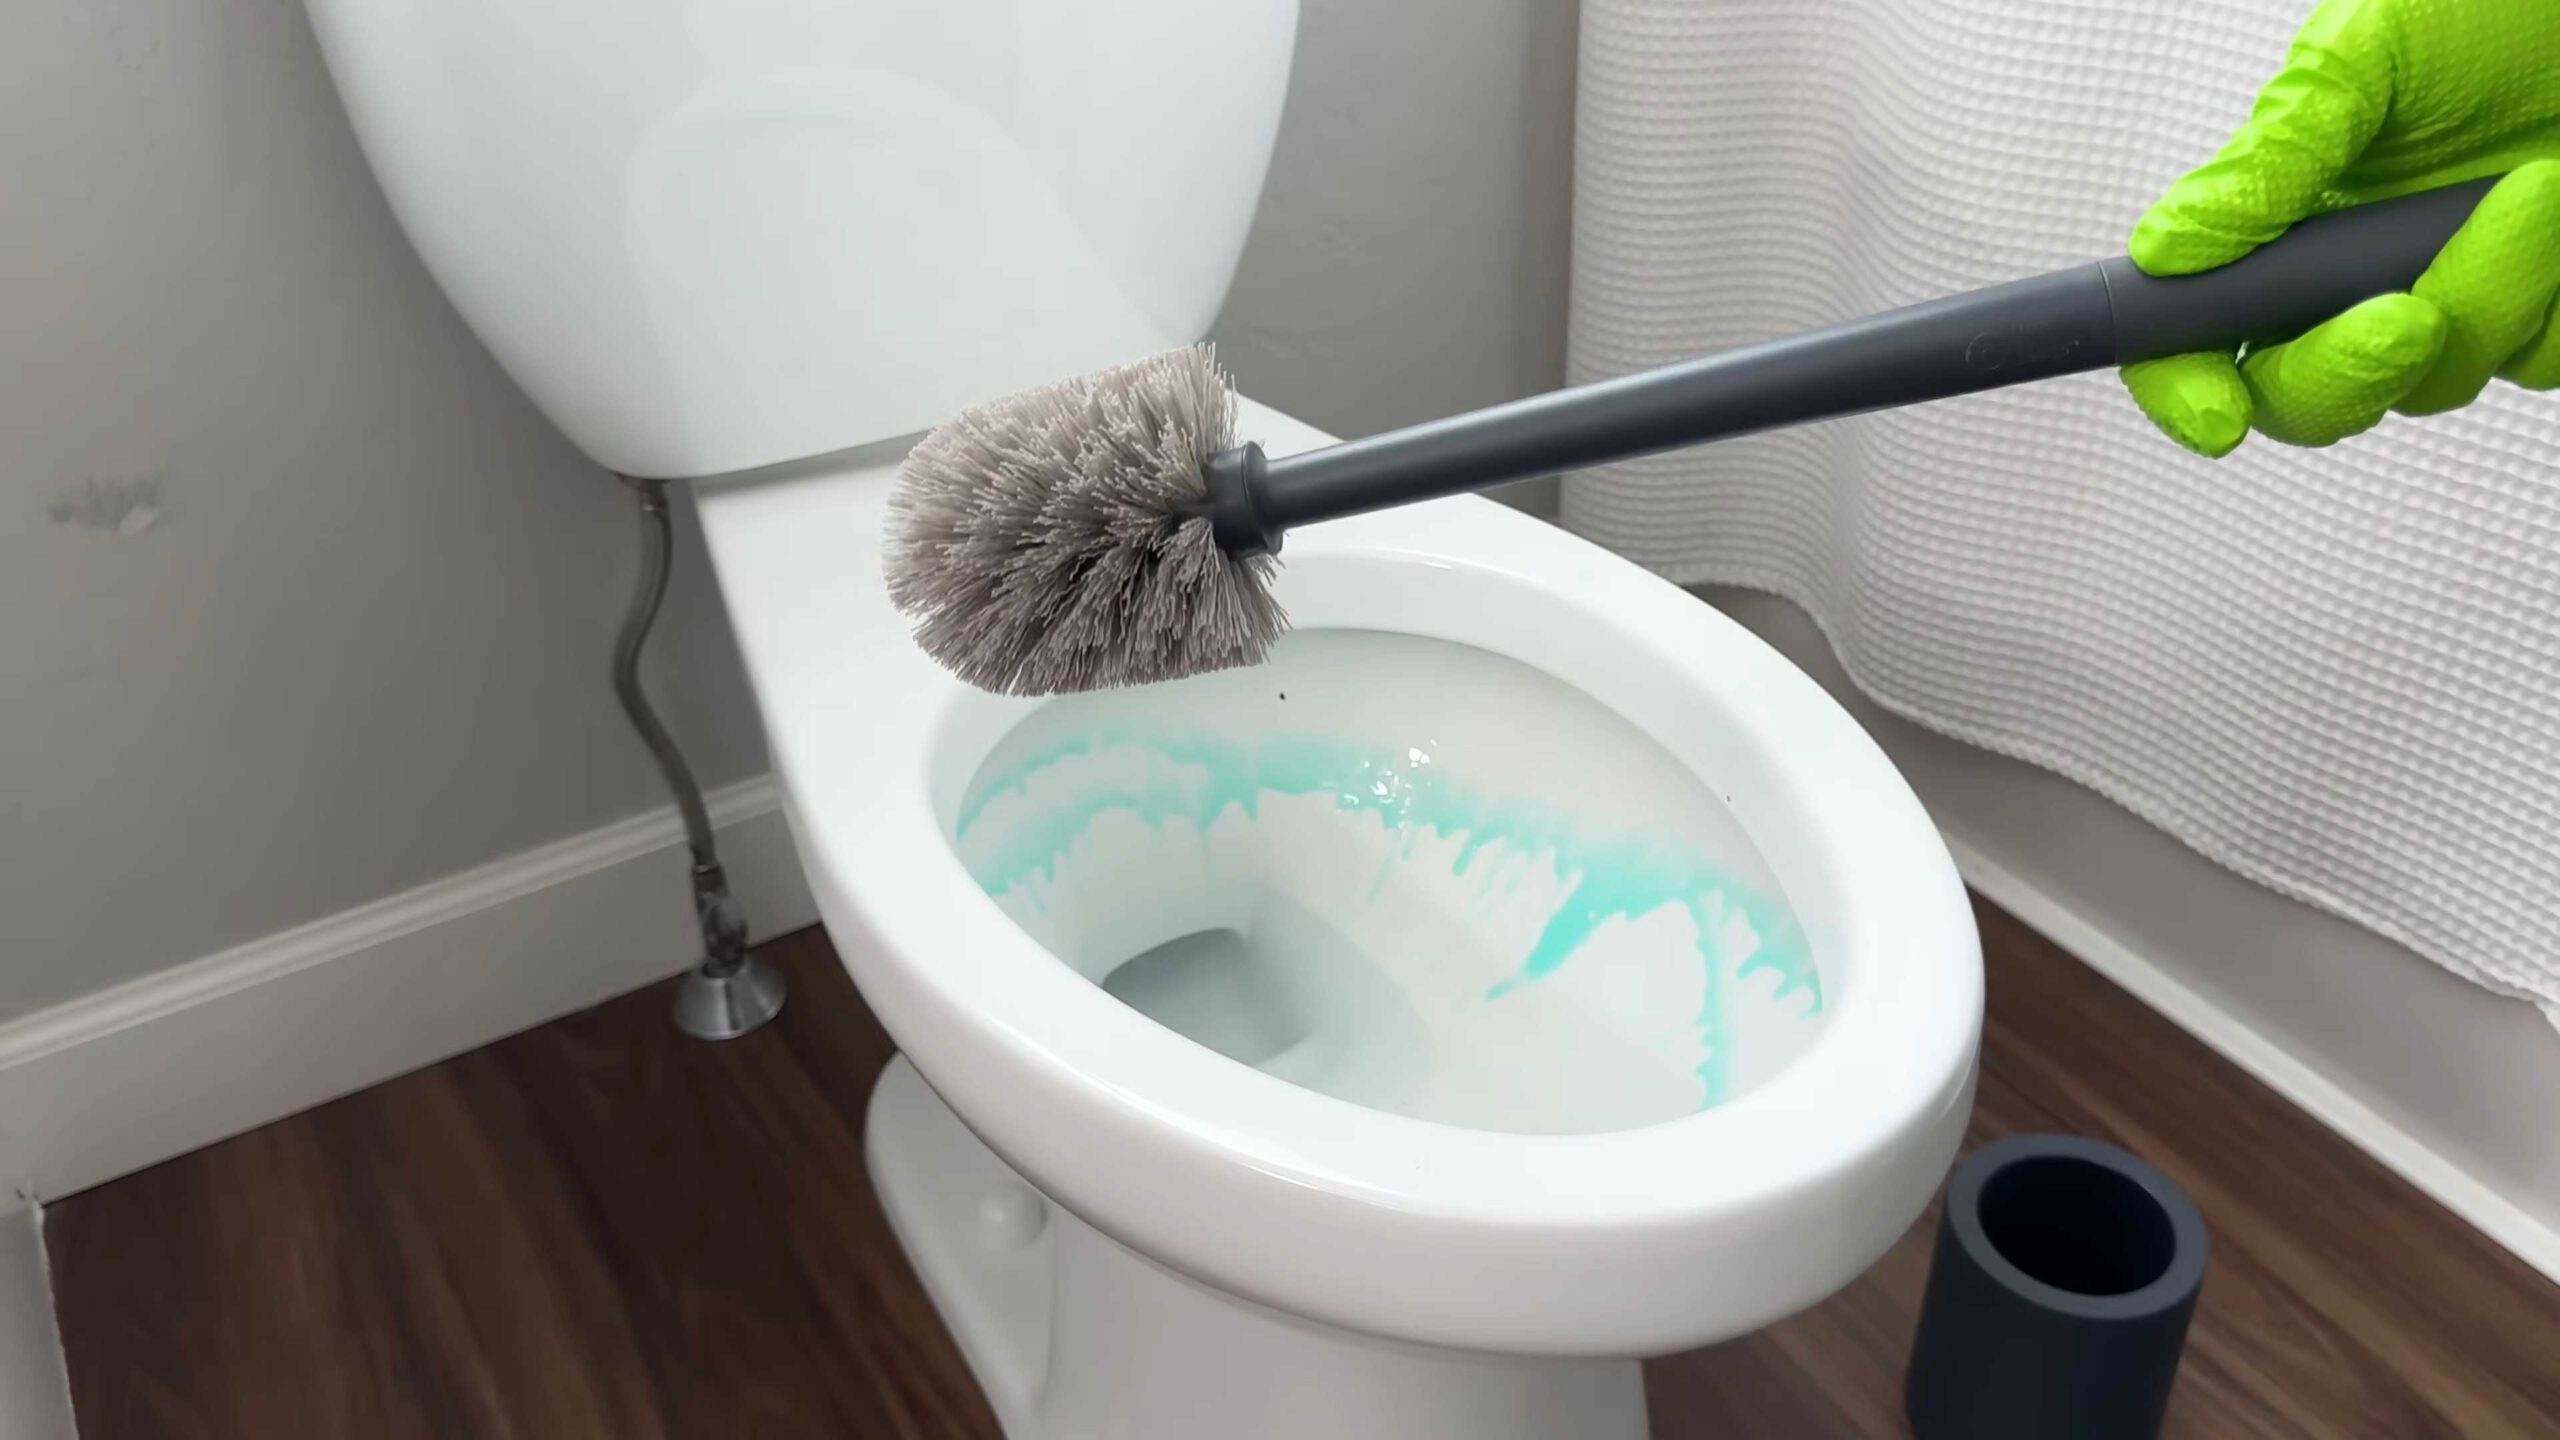
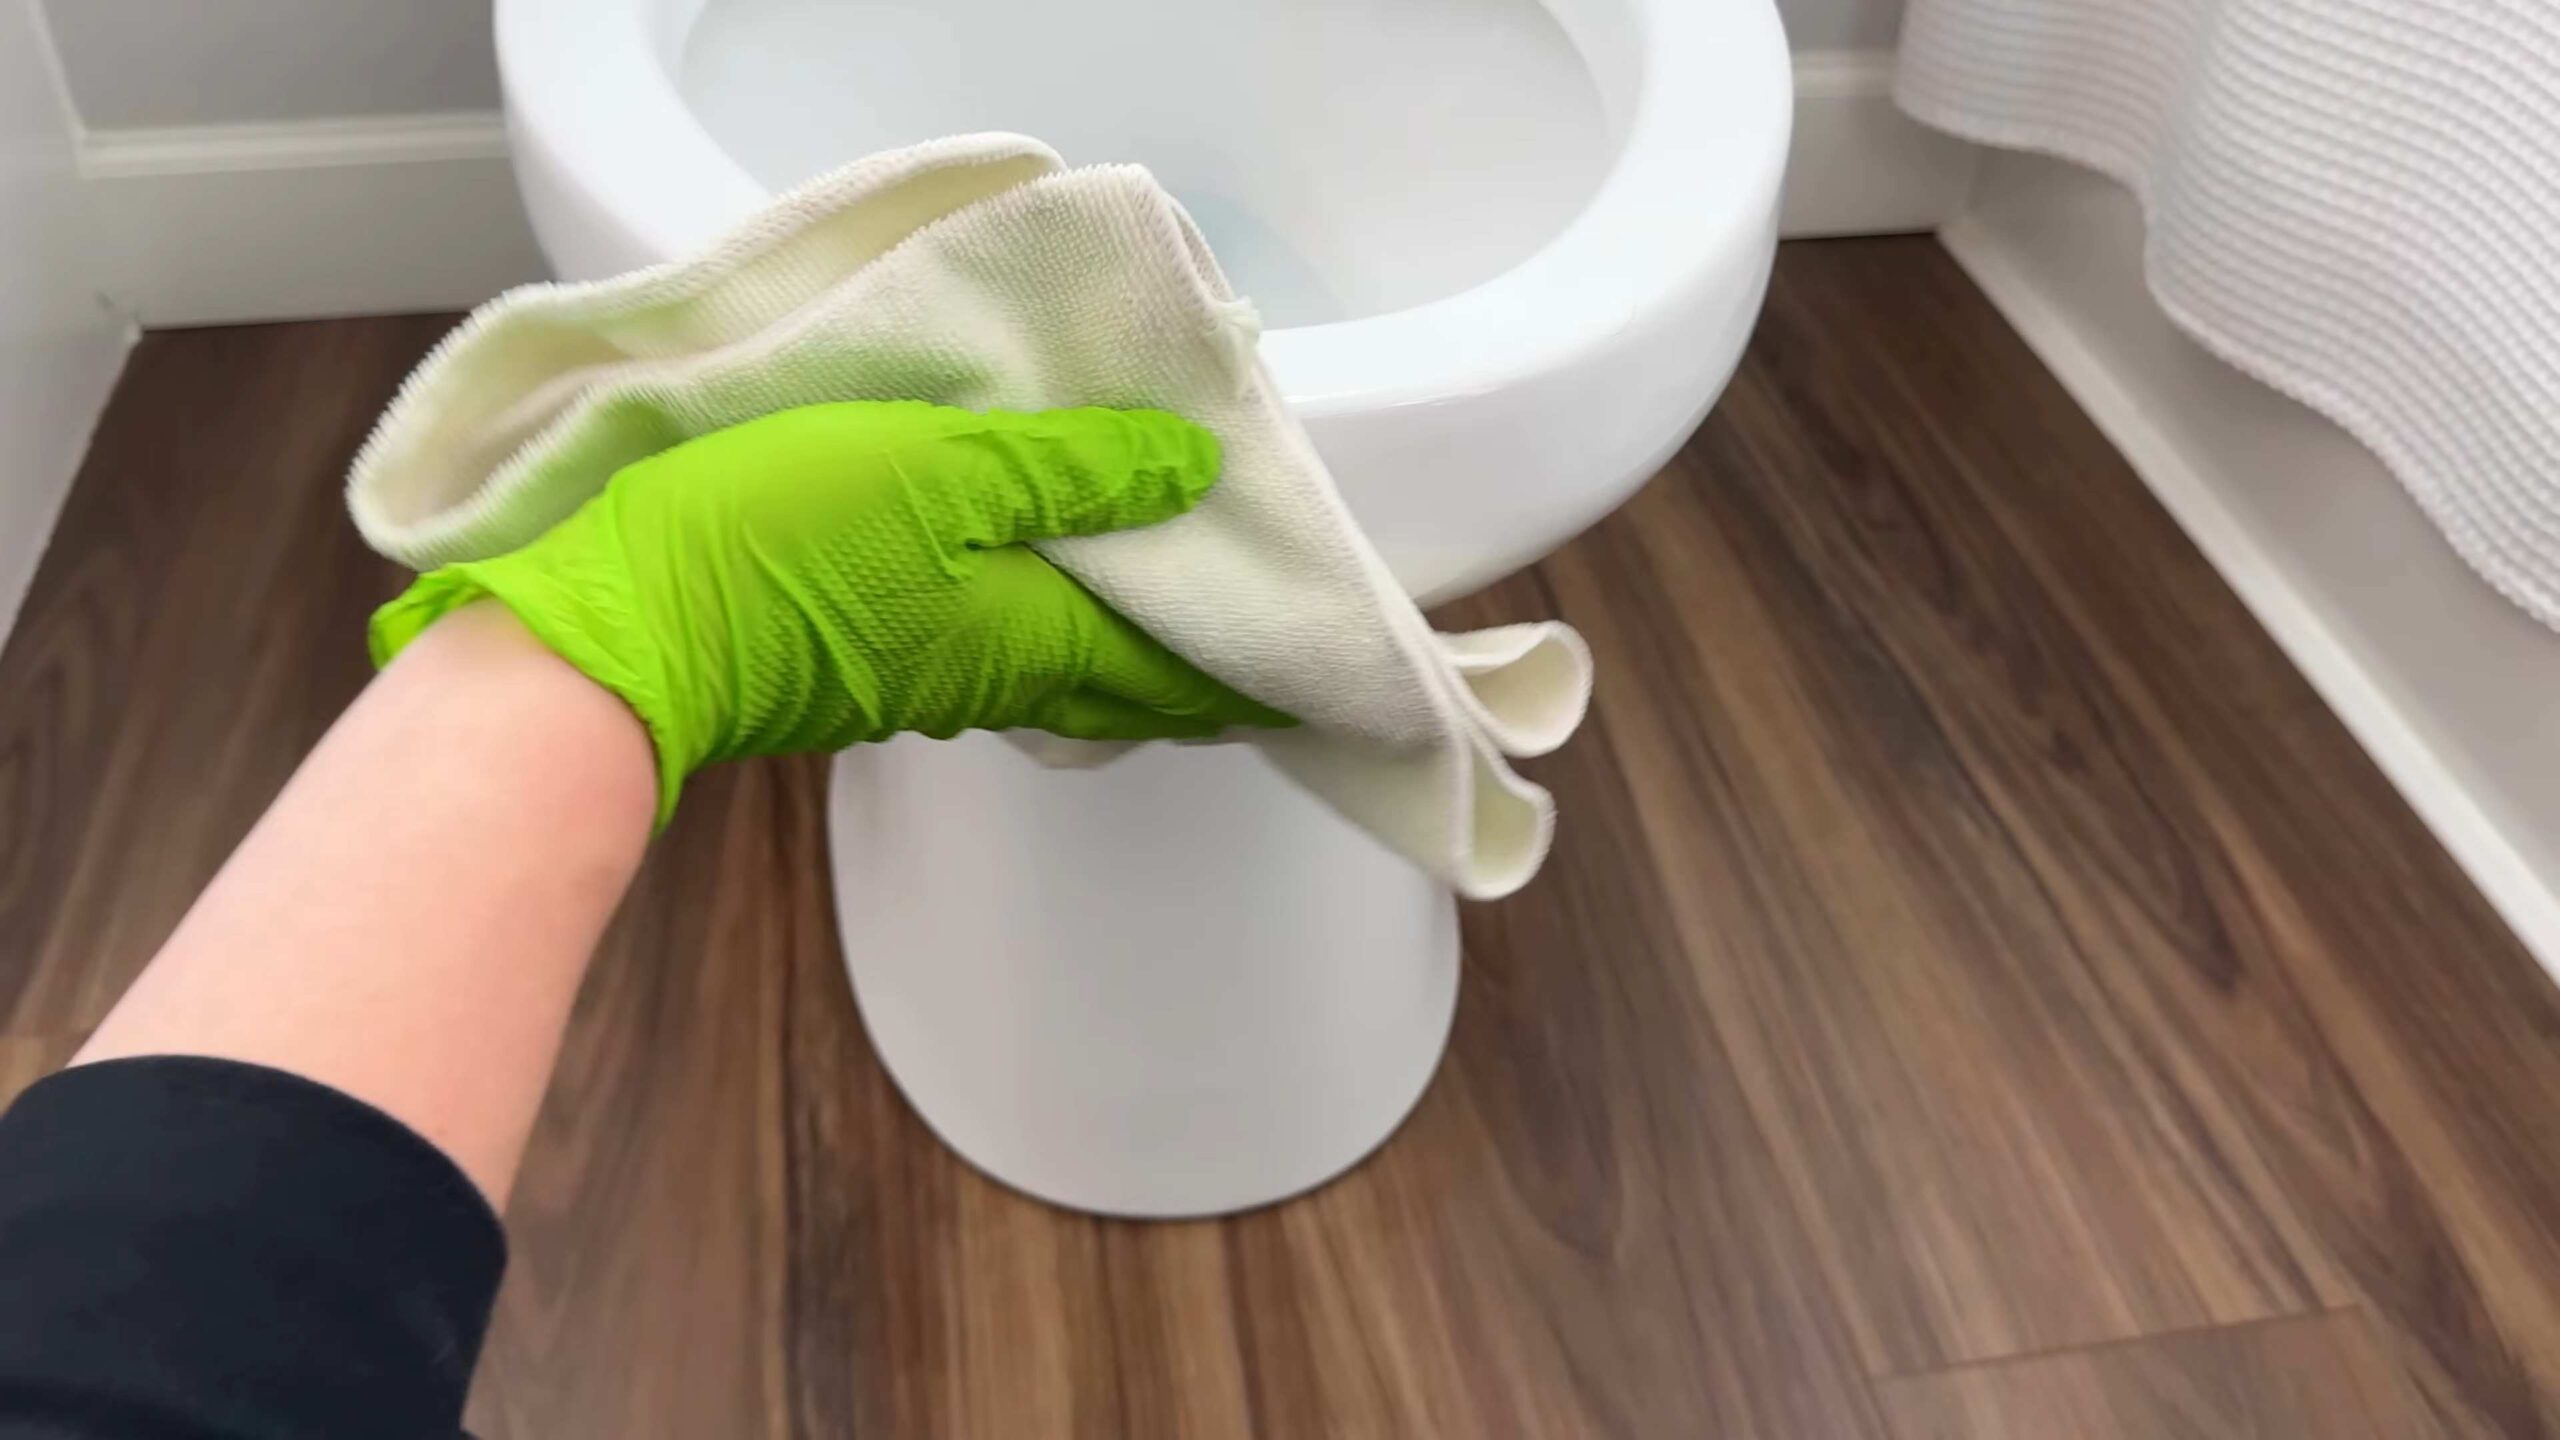
Cleaning the Toilet Like a Pro
Let’s face it, cleaning the toilet is the least glamorous part of bathroom cleaning. But with these hacks, you can make it quick, easy, and even a little bit less unpleasant.
DIY Toilet Bowl Cleaner Tablets
These homemade toilet bowl cleaner tablets are a game-changer! They’re easy to make, effective, and keep your toilet bowl fresh and clean between deep cleans.
Ingredients:
* 1 cup baking soda
* 1/4 cup citric acid (this is what causes the fizzing action)
* 1/4 cup cornstarch
* A few tablespoons of water
* 15-20 drops of your favorite essential oil (tea tree, eucalyptus, or peppermint are great choices)
* Silicone molds (ice cube trays or small silicone baking molds work well)
Instructions:
1. Combine Dry Ingredients: In a bowl, mix together the baking soda, citric acid, and cornstarch.
2. Add Essential Oils: Add your chosen essential oils to the dry mixture.
3. Slowly Add Water: Slowly add water, one tablespoon at a time, mixing well after each addition. The mixture should be damp enough to hold its shape when pressed together, but not too wet. Be careful not to add too much water at once, as it will cause the mixture to fizz prematurely.
4. Press into Molds: Press the mixture firmly into your silicone molds.
5. Let Dry: Allow the tablets to dry completely for at least 24 hours, or even longer if needed. They should be hard and solid.
6. Store and Use: Once dry, pop the tablets out of the molds and store them in an airtight container. To use, simply drop one tablet into the toilet bowl and let it fizz. After a few minutes, scrub the bowl with a toilet brush and flush.
Vinegar and Baking Soda Toilet Bowl Deep Clean
For a more intensive toilet bowl clean, this method is incredibly effective.
Ingredients:
* 1 cup white vinegar
* 1 cup baking soda
Instructions:
1. Pour in Vinegar: Pour the white vinegar into the toilet bowl.
2. Add Baking Soda: Immediately add the baking soda. The mixture will fizz vigorously.
3. Let it Sit: Allow the mixture to sit for at least 30 minutes, or even overnight for heavily stained bowls.
4. Scrub and Flush: Scrub the bowl thoroughly with a toilet brush, paying attention to any stains or buildup. Flush the toilet.
Shining Sinks and Faucets
A sparkling sink and faucet can instantly elevate the look of your entire bathroom. These hacks will help you achieve that shine with minimal effort.
Baking Soda and Lemon Paste for Stains and Water Spots
This simple paste is fantastic for removing water spots, stains, and general grime from sinks and faucets.
Ingredients:
* 2 tablespoons baking soda
* Juice from 1/2 lemon
Instructions:
1. Create the Paste: In a small bowl, mix the baking soda and lemon juice to form a paste.
2. Apply to Surfaces: Apply the paste to the sink and faucet, focusing on areas with stains or water spots.
3. Let it Sit: Allow the paste to sit for about 5-10 minutes.
4. Scrub and Rinse: Use a sponge or cloth to scrub the surfaces. Rinse thoroughly with water.
5. Dry and Polish: Dry the sink and faucet with a clean microfiber cloth to prevent water spots and enhance the shine.
Vinegar for Faucet Shine
Vinegar is a natural descaler and can work wonders for removing mineral deposits from faucets.
Ingredients:
* White vinegar
* Plastic bag or paper towels
Instructions:
1. Soak a Bag or Towels: Fill a small plastic bag with white vinegar, or soak a few paper towels in vinegar.
2. Wrap the Faucet: Place the bag or paper towels around the faucet, ensuring that the areas with mineral deposits are submerged in vinegar.
3. Secure and Let Sit: Secure the bag or paper towels with a rubber band or tape. Let it sit for at least 30 minutes, or even longer for heavy buildup.
4. Remove and Scrub: Remove the bag or paper towels and scrub the faucet with a sponge or cloth.
5. Rinse and Dry: Rinse the faucet thoroughly with water and dry with a clean microfiber cloth.
Cleaning Showerheads for Optimal Water Flow
A clogged showerhead can significantly reduce water pressure and make showering less enjoyable. This hack will help you restore your showerhead to its former glory.
Vinegar Soak for Showerhead Cleaning
This is my go-to method for cleaning showerheads. It’s simple, effective, and requires minimal effort.
Ingredients:
* White vinegar
* Plastic bag
* Rubber band or tape
Instructions:
1. Fill the Bag: Fill a plastic bag with white vinegar.
2. Submerge the Showerhead: Place the bag over the showerhead, ensuring that the showerhead is completely submerged in the vinegar.
3. Secure the Bag: Secure the bag with a rubber band or tape.
4. Let it Soak: Let the showerhead soak in the vinegar for at least 30 minutes, or preferably overnight for heavy buildup.
5. Remove and Rinse: Remove the bag and run the shower for a few minutes to flush out any remaining vinegar and loosened debris.
6. Wipe Clean: Wipe the showerhead clean with a cloth.
Mirror, Mirror on the Wall: Streak-Free Shine
Streaky mirrors can be frustrating. This simple solution will give you a crystal-clear reflection.
Vinegar and Water Mirror Cleaner
This is a classic and effective way to clean mirrors without leaving streaks.
Ingredients:
* 1 part white vinegar
* 1 part water
* Spray bottle
* Microfiber cloth
Instructions:
1. Mix Solution: In
Conclusion
So, there you have it! These simple yet incredibly effective DIY bathroom cleaning hacks are a game-changer for anyone looking to maintain a sparkling clean bathroom without resorting to harsh chemicals or spending a fortune on commercial cleaners. We’ve explored how to harness the power of everyday ingredients like vinegar, baking soda, and lemon to tackle everything from stubborn soap scum to grimy grout.
But why is this approach a must-try? It’s more than just saving money (though that’s a definite perk!). It’s about creating a healthier home environment. By ditching the toxic chemicals often found in store-bought cleaners, you’re reducing your exposure to potentially harmful substances that can irritate your skin, lungs, and even contribute to long-term health problems. Plus, you’re making a more sustainable choice for the planet by reducing plastic waste and minimizing the environmental impact of chemical manufacturing.
These DIY bathroom cleaning hacks are also incredibly versatile. Feel free to experiment with different variations to find what works best for your specific needs and preferences. For example:
* Essential Oil Boost: Add a few drops of your favorite essential oil (like tea tree, lavender, or eucalyptus) to your cleaning solutions for an extra boost of antibacterial power and a pleasant scent.
* Vinegar Infusion: Infuse your vinegar with citrus peels (lemon, orange, grapefruit) for a few weeks before using it in your cleaning solutions. This will add a refreshing fragrance and enhance its cleaning power.
* Baking Soda Paste Power: For particularly stubborn stains, create a thick paste of baking soda and water (or vinegar) and apply it directly to the affected area. Let it sit for a few hours or even overnight before scrubbing.
* DIY Toilet Bowl Cleaner Tablets: Mix baking soda, citric acid, and essential oils, then press into molds to create your own toilet bowl cleaner tablets. Drop one in the bowl for a fizzing, cleaning action.
The beauty of these DIY methods lies in their adaptability. Don’t be afraid to tweak the recipes and techniques to suit your bathroom’s unique challenges.
We truly believe that these DIY bathroom cleaning hacks will revolutionize your cleaning routine. They’re effective, affordable, eco-friendly, and customizable. What’s not to love?
Now, it’s your turn! We encourage you to try these hacks and see the amazing results for yourself. We’re confident that you’ll be impressed by how easily you can achieve a sparkling clean bathroom with just a few simple ingredients.
And most importantly, we want to hear about your experience! Share your tips, tricks, and variations in the comments below. Let us know which hacks worked best for you, and if you discovered any new and innovative ways to use these DIY methods. Together, we can create a community of clean-bathroom enthusiasts who are committed to a healthier and more sustainable way of cleaning. So go ahead, give these DIY bathroom cleaning hacks a try, and let us know what you think! Your feedback is invaluable, and we can’t wait to hear from you.
FAQ
Frequently Asked Questions About DIY Bathroom Cleaning
Q: Are these DIY cleaning solutions safe for all bathroom surfaces?
A: Generally, yes, but it’s always a good idea to test a small, inconspicuous area first, especially on delicate surfaces like natural stone or marble. Vinegar, while effective, can etch some surfaces if left on for too long. Baking soda is generally safe but can be abrasive on certain finishes. When in doubt, dilute your cleaning solutions and test before applying liberally.
Q: Can I use these DIY cleaners on my shower doors to remove soap scum?
A: Absolutely! Vinegar is a fantastic soap scum remover. You can spray a solution of equal parts vinegar and water onto your shower doors, let it sit for a few minutes, and then scrub with a non-abrasive sponge or cloth. For tougher soap scum, you can heat the vinegar slightly before spraying it on. Be sure to rinse thoroughly with water afterward.
Q: How often should I use these DIY cleaning methods in my bathroom?
A: The frequency depends on how often you use your bathroom and how quickly it gets dirty. For general cleaning, once a week is usually sufficient. For areas that tend to accumulate dirt and grime more quickly, like the shower or toilet, you may need to clean them more frequently. Spot cleaning can also be done as needed to address spills or stains.
Q: I have hard water stains in my bathroom. Will these DIY cleaners help remove them?
A: Yes, vinegar is excellent for removing hard water stains. You can soak paper towels in vinegar and apply them to the affected areas, such as faucets or showerheads. Let them sit for a few hours or even overnight, then scrub with a brush or sponge. For tougher stains, you may need to repeat the process.
Q: Can I mix vinegar and baking soda together for cleaning?
A: While mixing vinegar and baking soda creates a fizzing reaction that can be fun to watch, it’s not the most effective cleaning method. The reaction neutralizes both the vinegar and the baking soda, reducing their cleaning power. It’s better to use them separately, one after the other, for optimal results. For example, you can sprinkle baking soda on a surface and then spray it with vinegar.
Q: Are there any surfaces that I should avoid using vinegar on?
A: Yes, avoid using vinegar on natural stone surfaces like marble, granite, and limestone, as it can etch and damage them. Also, avoid using vinegar on waxed wood surfaces, as it can strip the wax.
Q: Can I use these DIY cleaners in my toilet bowl?
A: Yes, you can use vinegar and baking soda to clean your toilet bowl. Pour a cup of vinegar into the bowl and let it sit for a few minutes. Then, sprinkle a cup of baking soda into the bowl and let it fizz. Scrub with a toilet brush and flush. You can also add a few drops of essential oil for a pleasant scent.
Q: How can I prevent mold and mildew from growing in my bathroom?
A: Proper ventilation is key to preventing mold and mildew growth. Make sure to run the exhaust fan during and after showers to remove excess moisture. You can also wipe down wet surfaces with a dry cloth after each use. Vinegar is also effective at killing mold and mildew. Spray a solution of vinegar and water onto affected areas and let it sit for a few minutes before wiping it away.
Q: What essential oils are best to use in DIY bathroom cleaners?
A: Several essential oils have antibacterial and antifungal properties that make them ideal for bathroom cleaning. Some popular choices include tea tree oil, lavender oil, eucalyptus oil, lemon oil, and peppermint oil. Add a few drops of your favorite essential oil to your cleaning solutions for an extra boost of cleaning power and a pleasant scent.
Q: How do I store these DIY cleaning solutions?
A: Store your DIY cleaning solutions in labeled spray bottles or containers. Keep them out of reach of children and pets. It’s best to use them within a few months, as some ingredients may lose their effectiveness over time.
Q: My drain is clogged, can I use these DIY ingredients to unclog it?
A: Yes, you can try using baking soda and vinegar to unclog a drain. Pour about a cup of baking soda down the drain, followed by a cup of vinegar. Let it fizz for about 30 minutes, then flush with hot water. You may need to repeat the process if the clog is severe. If this doesn’t work, you may need to use a drain snake or call a plumber.
Leave a Comment