

Bathroom cleaning hacks – who doesn’t need them? Let’s be honest, tackling the bathroom is nobody’s favorite chore. But what if I told you that you could spend less time scrubbing and more time enjoying a sparkling clean space? This isn’t just about tidiness; it’s about creating a healthier and more relaxing environment for yourself and your family.
For centuries, people have sought out clever ways to maintain cleanliness. From ancient Roman bathhouses to modern-day homes, the desire for a hygienic and pleasant bathroom experience has remained constant. While our tools and cleaning products have evolved, the fundamental challenge remains: how to efficiently and effectively banish grime, soap scum, and mildew.
That’s where these DIY bathroom cleaning hacks come in! I’m going to share some of my favorite, tried-and-true methods for tackling even the toughest bathroom cleaning challenges. These aren’t your grandma’s cleaning tips (well, some might be!), but they are all designed to save you time, money, and elbow grease. Get ready to transform your bathroom from a dreaded chore zone into a sparkling sanctuary with these simple, yet effective, DIY solutions. You’ll wonder why you didn’t try them sooner!
DIY Bathroom Cleaning Hacks: Sparkling Clean Without Breaking a Sweat!
Okay, let’s face it, cleaning the bathroom is nobody’s favorite chore. But, with a few clever DIY hacks, you can transform your bathroom from a grimy mess to a sparkling sanctuary without spending hours scrubbing. I’m going to share some of my go-to tricks that use common household items to tackle even the toughest bathroom grime. Get ready to be amazed!
Tackling Soap Scum and Hard Water Stains
Soap scum and hard water stains are the bane of every bathroom cleaner’s existence. They cling stubbornly to surfaces, making your shower and sink look perpetually dirty. But don’t despair! These hacks will help you conquer them.
Hack 1: Vinegar Power for Shower Doors and Walls
Vinegar is my secret weapon against soap scum. Its acidity breaks down the mineral deposits, making them easy to wipe away.
What you’ll need:
* White vinegar
* Spray bottle
* Microfiber cloth or sponge
* Optional: Warm water
Step-by-step instructions:
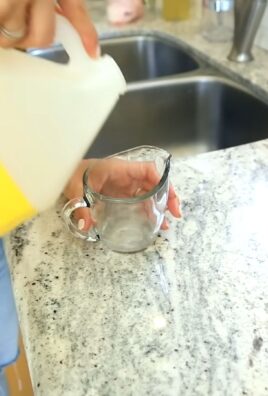
1. Heat the vinegar (optional): For extra cleaning power, heat the white vinegar in the microwave for a minute or two. Be careful not to boil it! Heating the vinegar helps it dissolve soap scum more effectively.
2. Pour into a spray bottle: Carefully pour the heated (or unheated) vinegar into a spray bottle. You can dilute it with warm water if you prefer a less potent solution, especially for delicate surfaces. A 1:1 ratio of vinegar to water works well.
3. Spray the affected areas: Generously spray the vinegar solution onto your shower doors, walls, and any other surfaces covered in soap scum or hard water stains.
4. Let it sit: Allow the vinegar to sit for at least 15-30 minutes. This gives it time to break down the grime. For stubborn stains, you might even let it sit for an hour.
5. Scrub (if needed): If the stains are particularly stubborn, use a non-abrasive sponge or microfiber cloth to gently scrub the surfaces. Avoid using harsh scrub brushes, as they can scratch your shower doors and tiles.
6. Rinse thoroughly: Rinse the surfaces thoroughly with clean water. Make sure to remove all traces of vinegar.
7. Dry and admire: Dry the surfaces with a clean microfiber cloth to prevent water spots. Step back and admire your sparkling clean shower!
Hack 2: Baking Soda Paste for Stubborn Stains
For those really tough stains that vinegar alone can’t handle, baking soda is your next best friend. Its mild abrasive properties help to lift away stubborn grime without damaging surfaces.
What you’ll need:
* Baking soda
* Water
* Small bowl
* Sponge or microfiber cloth
Step-by-step instructions:
1. Make a paste: In a small bowl, mix baking soda with just enough water to form a thick paste. The consistency should be similar to toothpaste.
2. Apply the paste: Apply the baking soda paste directly to the stubborn stains.
3. Let it sit: Allow the paste to sit for at least 30 minutes, or even longer for really tough stains. You can even let it sit overnight.
4. Scrub gently: Using a damp sponge or microfiber cloth, gently scrub the affected areas. The baking soda will act as a mild abrasive to help lift away the stains.
5. Rinse thoroughly: Rinse the surfaces thoroughly with clean water to remove all traces of baking soda.
6. Dry and shine: Dry the surfaces with a clean microfiber cloth to prevent water spots and leave them sparkling.
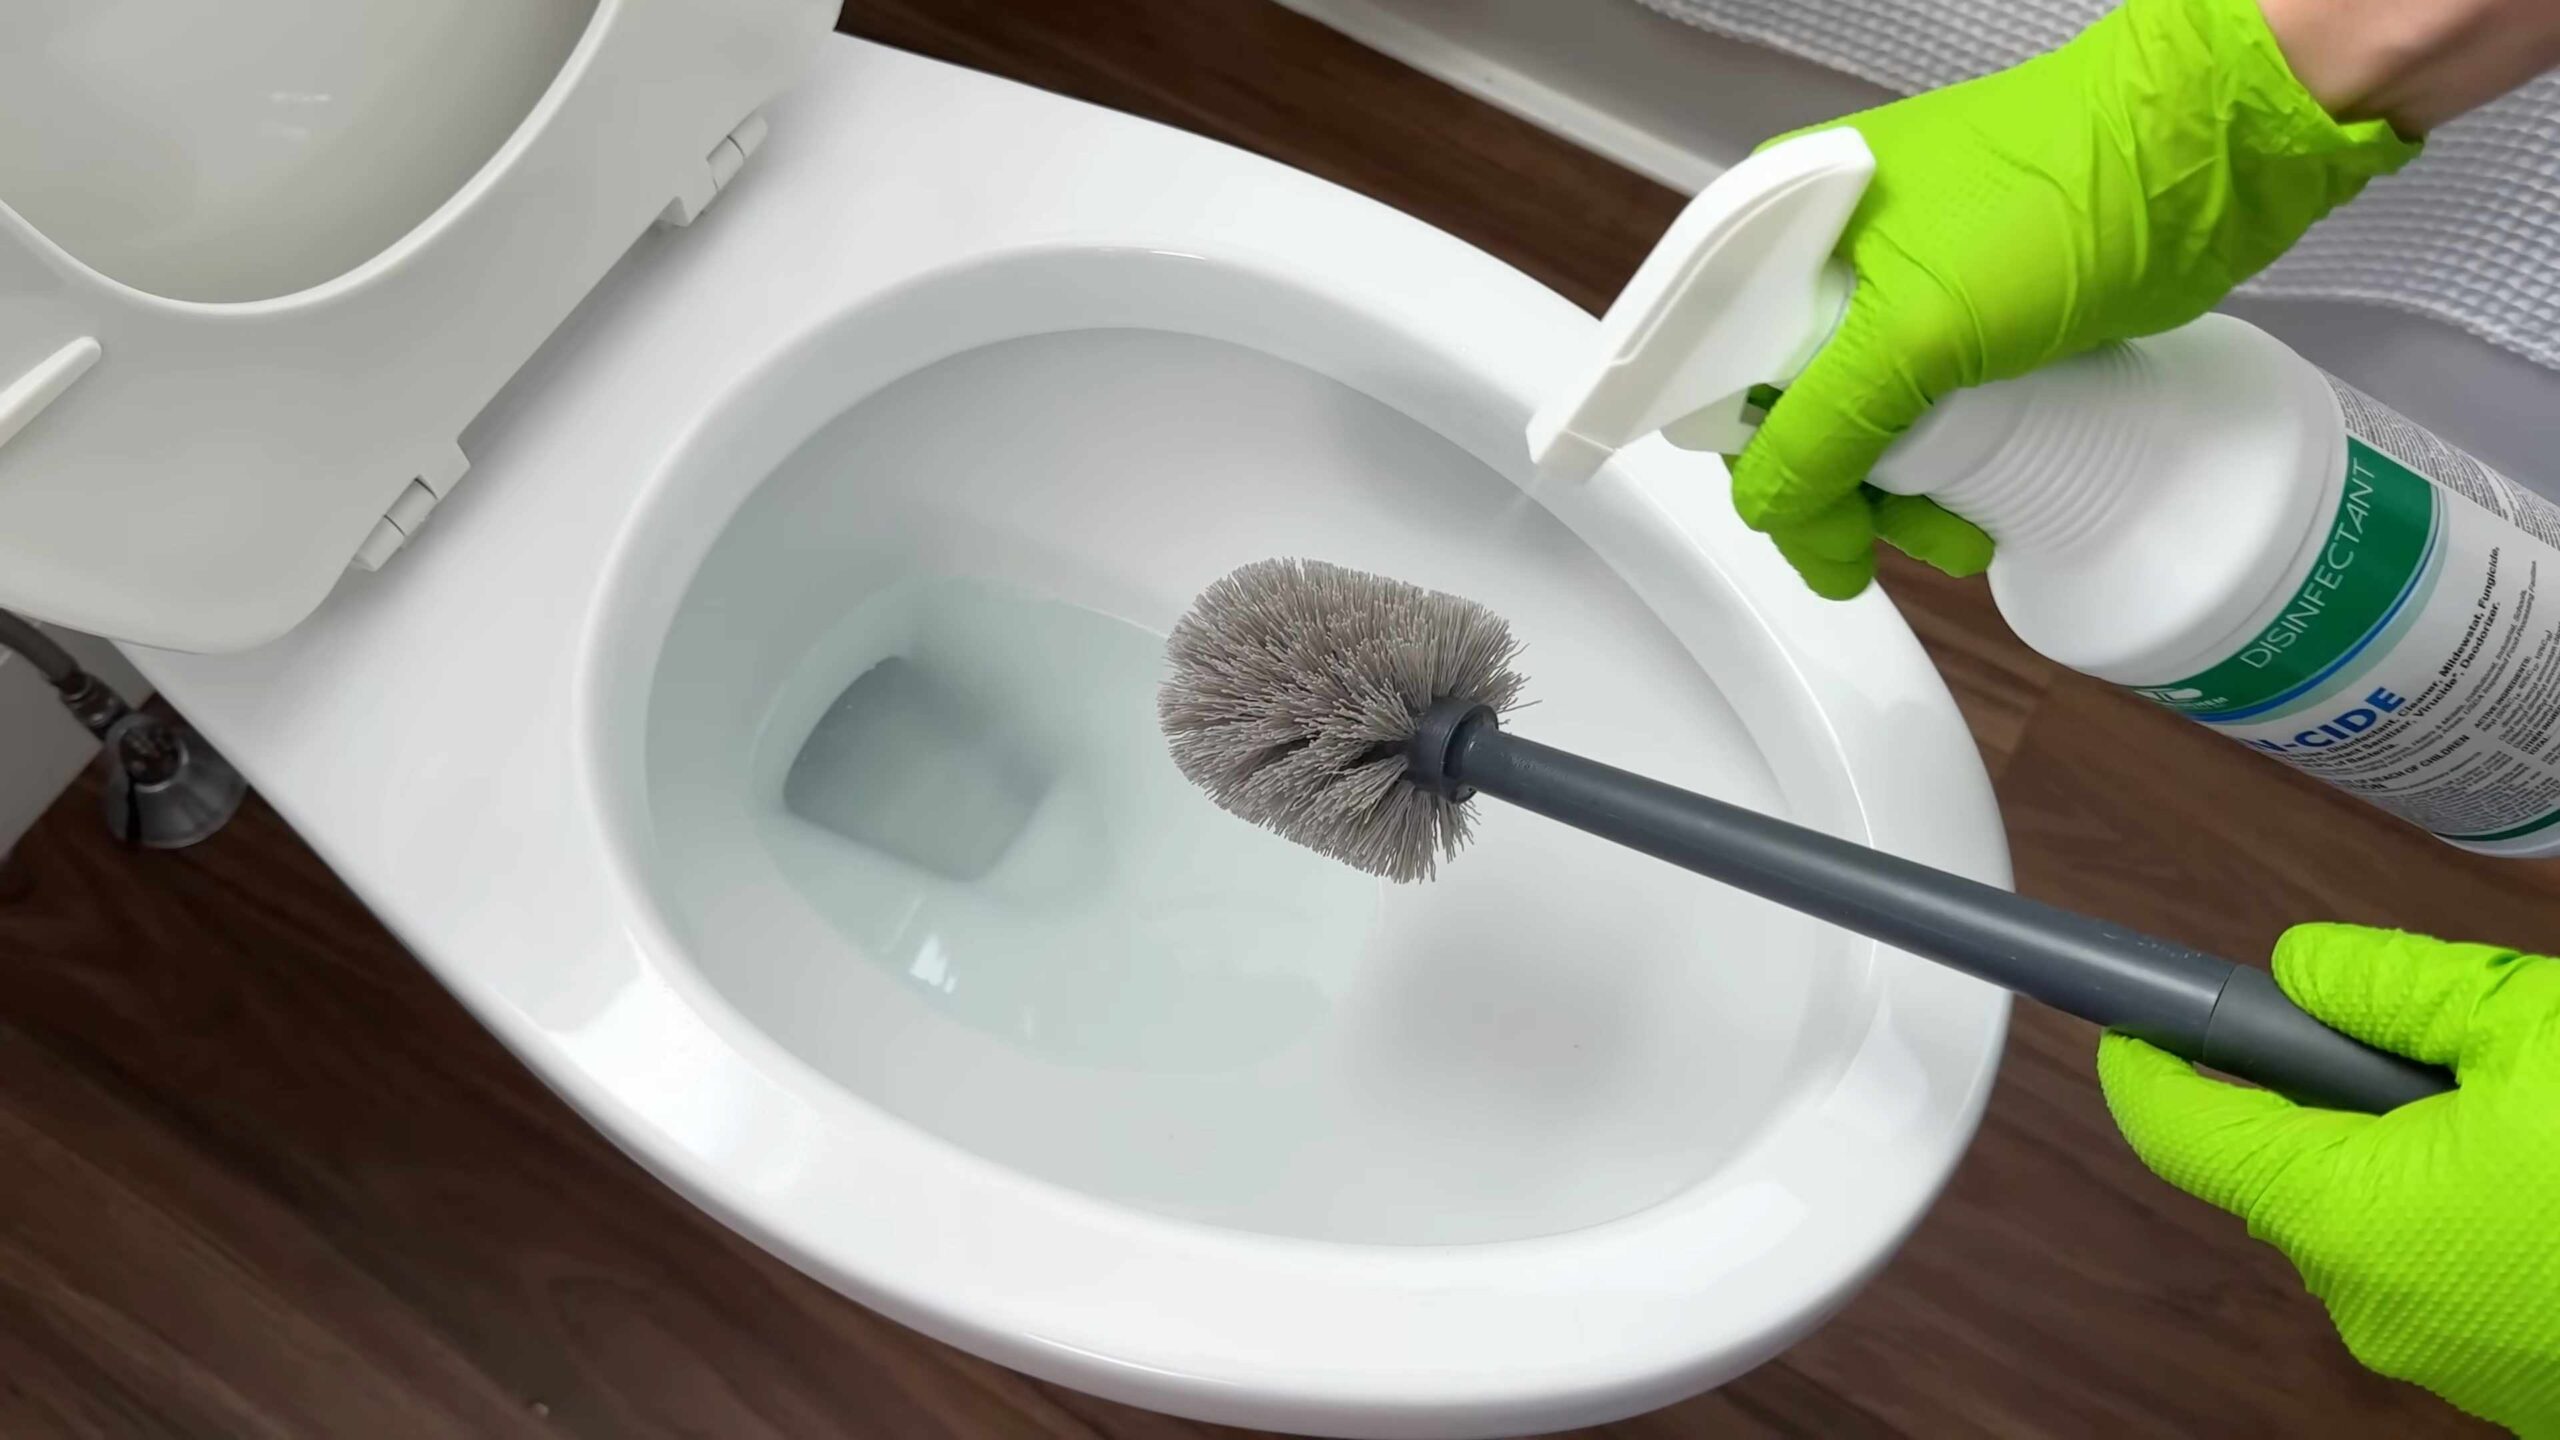
Cleaning the Toilet Like a Pro
The toilet is arguably the least pleasant part of the bathroom to clean, but it’s also one of the most important. These hacks will make the job easier and more effective.
Hack 3: Fizzing Toilet Bombs
These DIY toilet bombs are not only fun to make, but they also help to clean and deodorize your toilet with minimal effort.
What you’ll need:
* 1 cup baking soda
* 1/2 cup citric acid (available online or at some health food stores)
* 1/2 cup cornstarch
* A few drops of essential oil (lemon, tea tree, or eucalyptus are great choices)
* Spray bottle filled with water
* Silicone molds (optional, but they make the bombs look pretty)
Step-by-step instructions:
1. Combine dry ingredients: In a large bowl, whisk together the baking soda, citric acid, and cornstarch. Make sure to break up any clumps.
2. Add essential oil: Add a few drops of your favorite essential oil to the dry mixture. This will give your toilet bombs a pleasant scent and add extra cleaning power.
3. Slowly add water: Using a spray bottle, lightly spritz the dry mixture with water, a little at a time. Be careful not to add too much water at once, as this will cause the mixture to fizz prematurely. You want the mixture to be just damp enough to hold its shape when you squeeze it.
4. Mold the bombs: If you’re using silicone molds, press the mixture firmly into the molds. If not, you can simply form the mixture into small balls with your hands.
5. Let them dry: Allow the toilet bombs to dry completely for at least 24 hours. This will ensure that they are hard and won’t crumble when you use them.
6. Store in an airtight container: Once the toilet bombs are dry, store them in an airtight container in a cool, dry place.
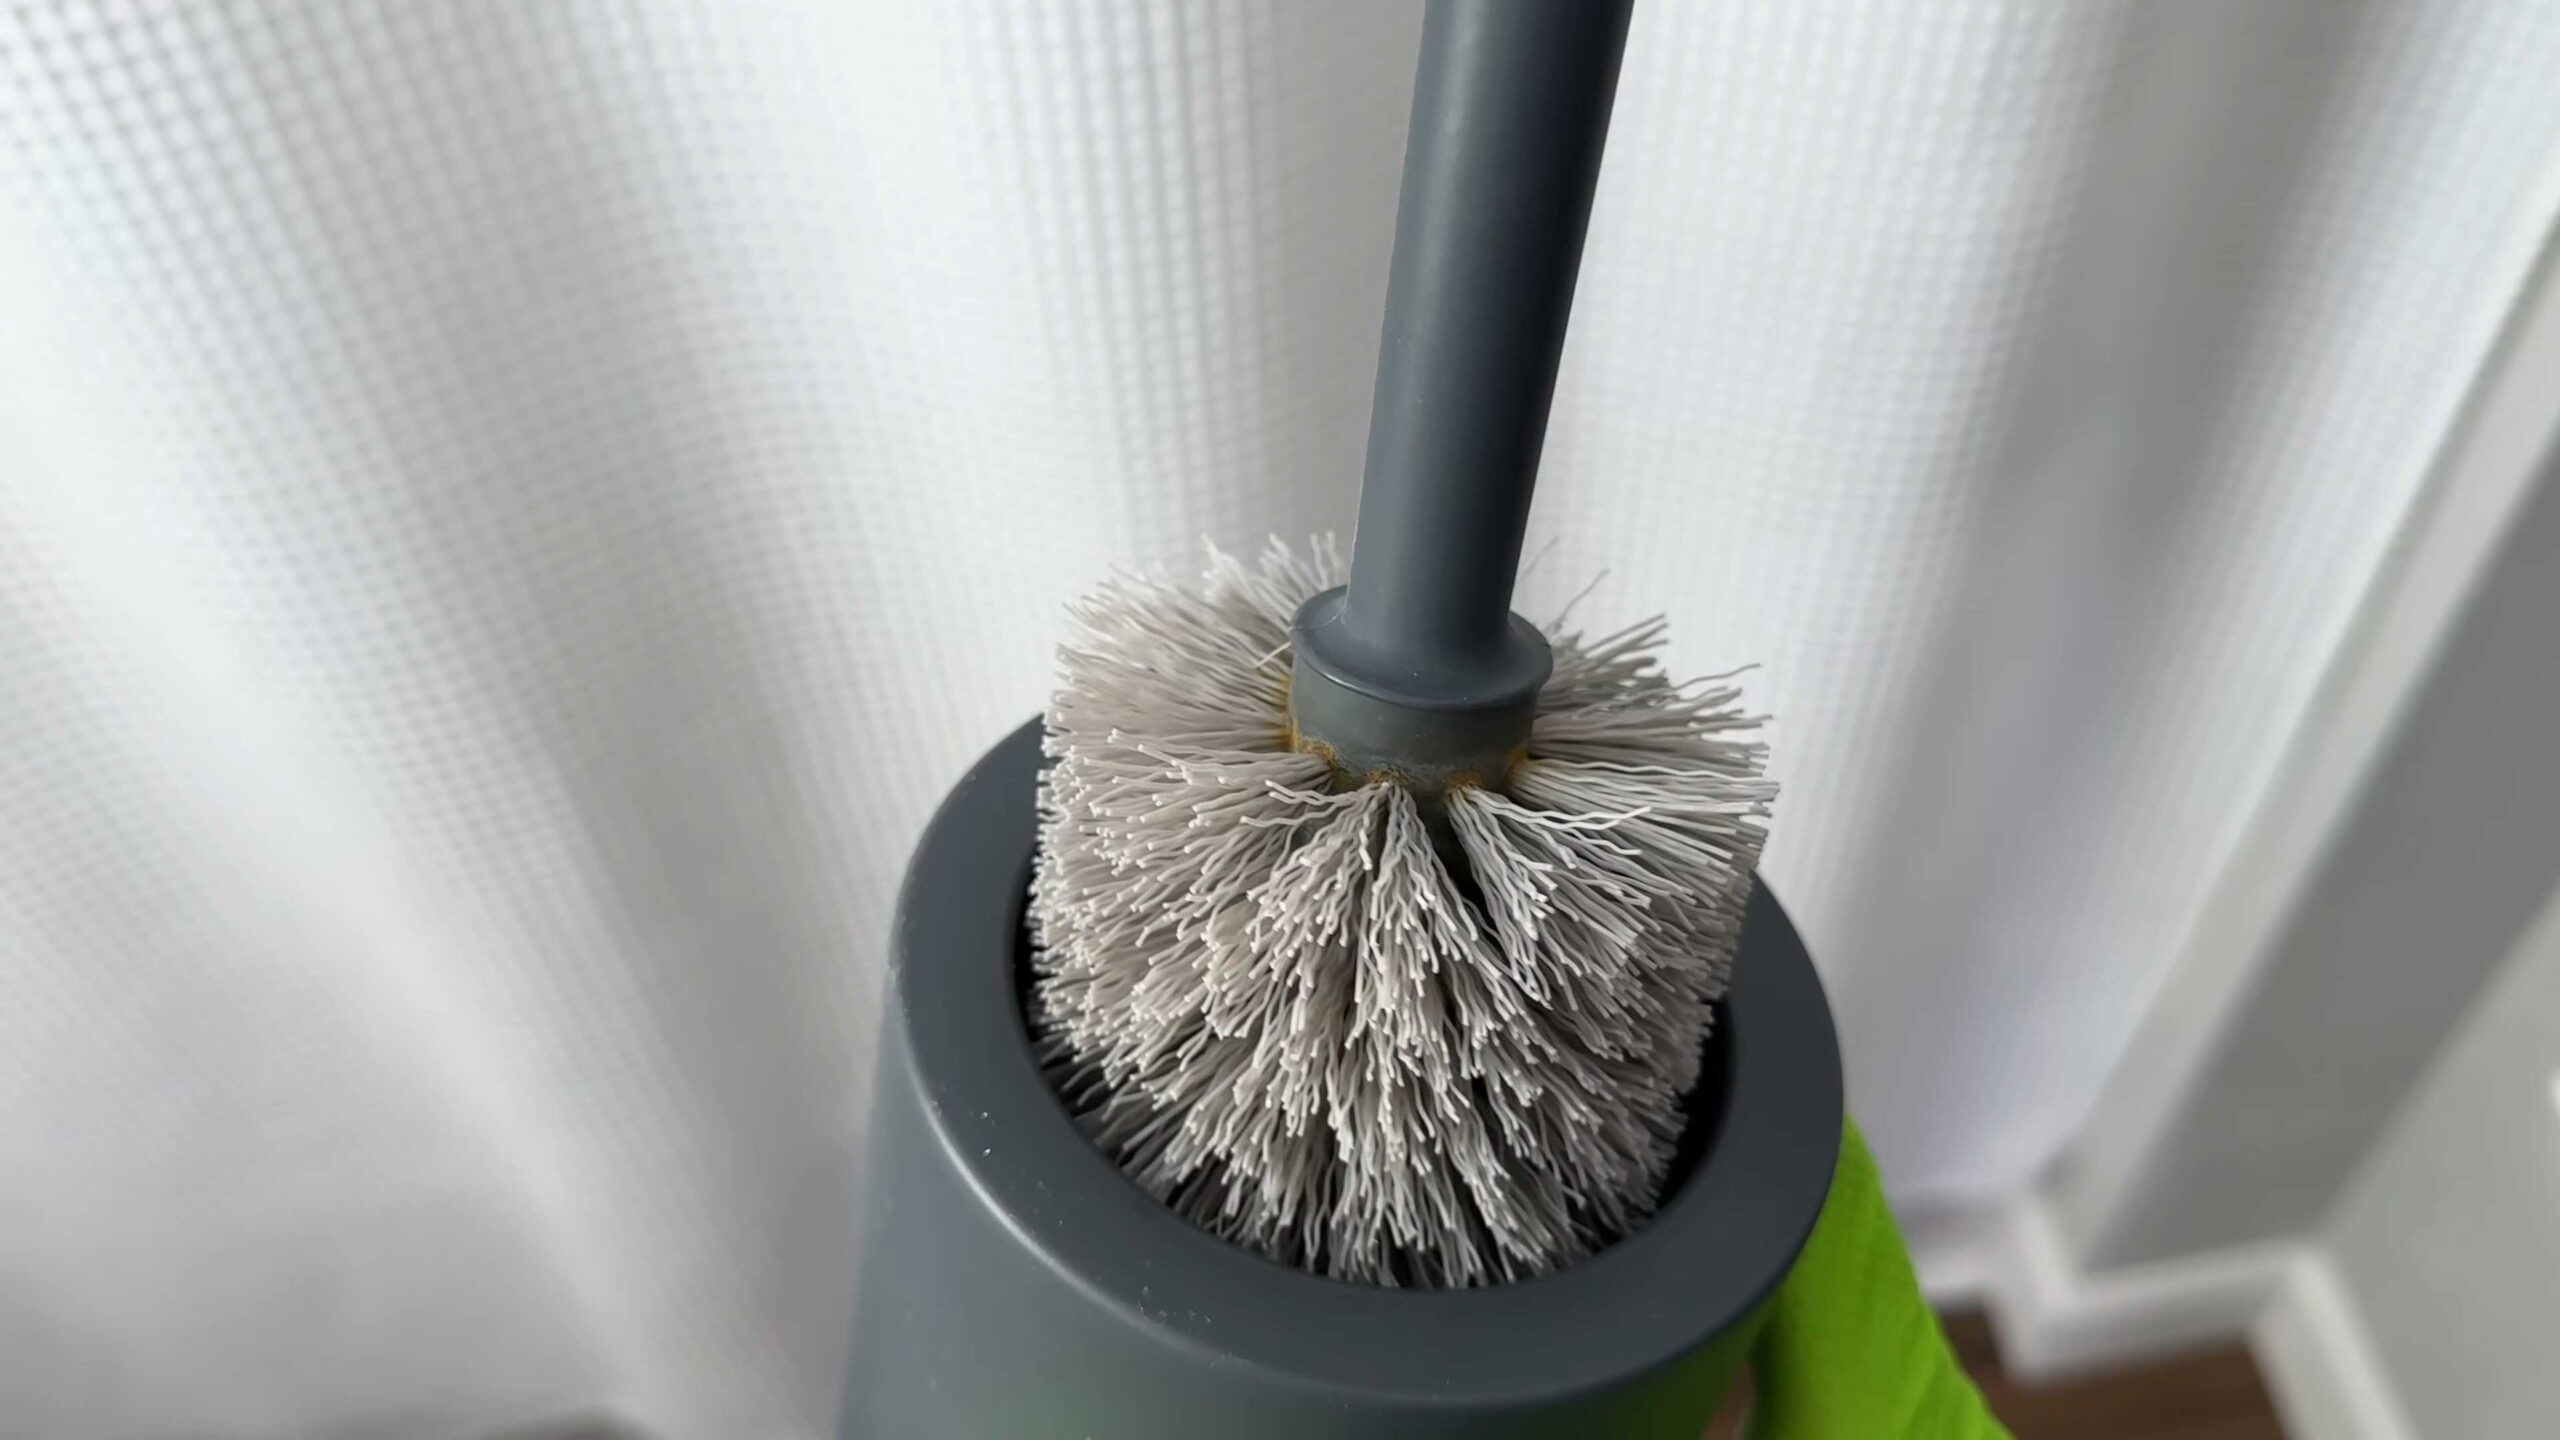
7. Use a bomb: To use a toilet bomb, simply drop one into the toilet bowl and let it fizz. After the fizzing stops, use a toilet brush to scrub the bowl and then flush.
Hack 4: Vinegar and Baking Soda for a Deep Clean
This classic combination is a powerhouse for cleaning toilets. The vinegar helps to dissolve mineral deposits and stains, while the baking soda acts as a mild abrasive and deodorizer.
What you’ll need:
* 1 cup white vinegar
* 1/2 cup baking soda
* Toilet brush
Step-by-step instructions:
1. Pour in the vinegar: Pour 1 cup of white vinegar into the toilet bowl.
2. Add the baking soda: Immediately add 1/2 cup of baking soda to the vinegar. The mixture will fizz, so be prepared!
3. Let it sit: Allow the mixture to sit for at least 30 minutes, or even longer for heavily soiled toilets.
4. Scrub the bowl: Use a toilet brush to thoroughly scrub the entire bowl, paying particular attention to any stains or mineral deposits.
5. Flush: Flush the toilet to rinse away the cleaning solution and any loosened grime.
Shining Sinks and Faucets
Sinks and faucets can quickly become dull and grimy due to toothpaste splatters, water spots, and soap residue. These hacks will help you restore their shine.
Hack 5: Lemon Power for Faucets
Lemon juice is a natural cleaner and polisher that works wonders on faucets. Its acidity helps to dissolve mineral deposits and leave your faucets sparkling.
What you’ll need:
* Lemon (cut in half)
* Soft cloth
Step-by-step instructions:
1. Rub the faucet with lemon: Take a lemon half and rub it directly onto your faucets, paying attention to any areas with water spots or mineral deposits.
2. Let it sit: Allow the lemon juice to sit on the faucets for about 5-10 minutes.
3. Rinse thoroughly: Rinse the faucets thoroughly with clean water.
4. Dry and polish: Dry the faucets with a soft cloth to prevent water spots and leave them sparkling.
Hack 6: Toothpaste for Chrome
Believe it or not, toothpaste isn’t just for your teeth! It can also be used to polish chrome fixtures and remove water spots.
What you’ll need:
* Toothpaste (non-gel)
* Soft cloth
Step-by-step instructions:
1. Apply toothpaste: Apply a small amount of toothpaste to a soft cloth.
2. Rub the chrome: Gently rub the toothpaste onto the chrome fixtures, using a circular motion.
3. Rinse thoroughly: Rinse the fixtures thoroughly with clean water.
4. Dry and polish: Dry the fixtures with a clean, soft cloth to remove any remaining toothpaste and leave them sparkling.
Cleaning Showerheads for Better Water Pressure
Over time, showerheads can become clogged with mineral deposits, which can reduce water pressure and affect the quality of your shower. This hack will help you restore your showerhead to its former glory.
Hack 7: Vinegar Soak for Shower
Conclusion
So there you have it! This DIY bathroom cleaning hack is more than just a quick fix; it’s a game-changer for maintaining a sparkling clean and fresh-smelling bathroom without resorting to harsh chemicals or spending a fortune on commercial cleaners. We’ve shown you how simple it is to create an effective cleaning solution using ingredients you likely already have in your pantry.
Why is this a must-try? Because it’s effective, economical, and environmentally friendly. You’ll be amazed at how easily grime, soap scum, and hard water stains disappear with this powerful homemade concoction. Plus, you’ll be reducing your exposure to potentially harmful chemicals found in many store-bought cleaners, creating a healthier environment for you and your family.
But the benefits don’t stop there. This DIY approach empowers you to customize your cleaning solution to suit your specific needs and preferences.
Variations and Suggestions:
* Essential Oil Boost: Add a few drops of your favorite essential oil, such as tea tree (known for its antibacterial properties), lavender (for a calming scent), or lemon (for extra cleaning power and a fresh, citrusy aroma). Start with 5-10 drops per batch and adjust to your liking.
* Vinegar Infusion: For extra stubborn stains, consider infusing your vinegar with citrus peels (lemon, orange, or grapefruit) for a week or two before using it in your cleaning solution. This will not only add a pleasant scent but also enhance the cleaning power of the vinegar.
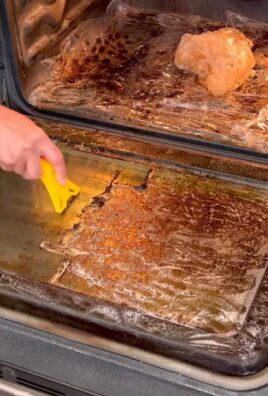
* Baking Soda Scrub: For particularly tough areas like grout or heavily soiled surfaces, create a paste of baking soda and water (or your DIY cleaning solution) and apply it directly to the area. Let it sit for a few minutes before scrubbing and rinsing.
* Preventative Measures: After cleaning, consider using a squeegee to remove excess water from shower walls and doors. This will help prevent the buildup of soap scum and hard water stains, making future cleanings easier.
We are confident that once you try this DIY bathroom cleaning hack, you’ll be hooked. It’s a simple, effective, and satisfying way to keep your bathroom looking its best.
Now, we want to hear from you! Give this DIY trick a try and share your experience in the comments below. Let us know what variations you tried, what worked best for you, and any tips or tricks you discovered along the way. Your feedback will help other readers discover the power of this amazing cleaning solution. Let’s create a community of clean bathroom enthusiasts!
Frequently Asked Questions (FAQ)
Q: What exactly is the DIY bathroom cleaning hack you’re referring to?
A: This DIY bathroom cleaning hack involves creating a cleaning solution using common household ingredients like vinegar, baking soda, and dish soap. The specific ratios and application methods are detailed in the main article (not included here), but the core idea is to leverage the natural cleaning properties of these ingredients to effectively remove grime, soap scum, and hard water stains.
Q: Is vinegar safe to use on all bathroom surfaces?
A: While vinegar is a powerful cleaning agent, it’s important to exercise caution on certain surfaces. Avoid using vinegar on natural stone surfaces like marble, granite, and travertine, as it can etch and damage them. It’s also best to avoid using vinegar on unsealed grout, as it can discolor it. Always test the cleaning solution on an inconspicuous area first to ensure it doesn’t cause any damage or discoloration. For sensitive surfaces, consider diluting the vinegar further or using a gentler cleaning solution.
Q: Can I use any type of vinegar for this DIY cleaning hack?
A: White distilled vinegar is generally recommended for cleaning purposes due to its high acidity and lack of color, which minimizes the risk of staining. However, you can also use apple cider vinegar, although it may have a slightly different scent and cleaning power. Avoid using balsamic vinegar or other colored vinegars, as they may stain certain surfaces.
Q: How often should I use this DIY bathroom cleaning solution?
A: The frequency of cleaning depends on how often your bathroom is used and how quickly it gets dirty. For general maintenance, cleaning once a week is usually sufficient. However, if you have a busy household or notice buildup of grime and soap scum, you may need to clean more frequently. You can also use the cleaning solution for spot cleaning as needed.
Q: What if I don’t like the smell of vinegar?
A: The smell of vinegar can be off-putting to some people. Fortunately, there are several ways to mitigate the odor. As mentioned in the variations, adding essential oils like lavender, lemon, or tea tree can help mask the vinegar smell and leave your bathroom smelling fresh and clean. You can also infuse the vinegar with citrus peels for a more pleasant scent. Additionally, the vinegar smell typically dissipates quickly after cleaning.
Q: Can I use this DIY cleaning solution on my shower doors?
A: Yes, this DIY cleaning solution is excellent for cleaning shower doors and removing soap scum and hard water stains. Spray the solution onto the shower doors, let it sit for a few minutes, and then scrub with a sponge or microfiber cloth. Rinse thoroughly with water. For stubborn stains, you may need to repeat the process or use a baking soda paste for extra scrubbing power. Remember to squeegee the shower doors after each use to prevent future buildup.
Q: Is this DIY cleaning solution safe for septic systems?
A: Yes, this DIY cleaning solution is generally considered safe for septic systems. The ingredients used, such as vinegar, baking soda, and dish soap, are biodegradable and won’t harm the beneficial bacteria in your septic tank. However, it’s always a good idea to use cleaning products sparingly, regardless of whether they are store-bought or homemade.
Q: Can I store the leftover DIY cleaning solution?
A: Yes, you can store the leftover DIY cleaning solution in a spray bottle or other airtight container. Be sure to label the container clearly to avoid confusion. The cleaning solution should remain effective for several weeks or even months. However, if you notice any changes in color, odor, or consistency, it’s best to discard the solution and make a fresh batch.
Q: What kind of dish soap should I use in this DIY cleaning solution?
A: You can use any type of dish soap you prefer, but it’s generally recommended to use a mild, non-abrasive dish soap. Avoid using dish soaps that contain bleach or other harsh chemicals, as they may react with the vinegar and create harmful fumes. A clear, unscented dish soap is often a good choice.
Q: I have very hard water. Will this DIY cleaning solution still be effective?
A: Yes, this DIY cleaning solution can be effective for cleaning bathrooms with hard water. The vinegar helps to dissolve mineral deposits and hard water stains. However, you may need to use a stronger concentration of vinegar or repeat the cleaning process for particularly stubborn stains. You can also try adding a water softener to your cleaning solution or using a water softener system in your home to reduce the mineral content of your water.
Leave a Comment