

Cauliflower gardening at home might sound intimidating, conjuring images of sprawling farms and professional growers, but I’m here to tell you it’s absolutely achievable, even in a small backyard or balcony! Forget those expensive grocery store prices and bland, mass-produced heads – imagine harvesting your own crisp, delicious cauliflower, bursting with flavor and freshness.
For centuries, cauliflower has been a culinary staple, tracing its roots back to the Mediterranean region. It wasn’t until the 15th century that it began to spread across Europe, eventually becoming a beloved vegetable worldwide. But you don’t need centuries of experience to grow your own!
In today’s world, where we’re increasingly conscious of where our food comes from and the impact of industrial agriculture, growing your own vegetables is more relevant than ever. Plus, let’s be honest, who doesn’t love the satisfaction of nurturing a plant from seed to table? This DIY guide is packed with simple, effective tricks and hacks that will empower you to successfully cultivate beautiful, healthy cauliflower right in your own backyard. Whether you’re a seasoned gardener or a complete beginner, I’ll walk you through every step, from choosing the right variety to protecting your precious plants from pests. So, let’s get our hands dirty and unlock the secrets to successful cauliflower gardening at home!
Growing Cauliflower at Home: A Beginner’s Guide
Hey there, fellow gardening enthusiasts! Ever dreamt of harvesting your own crisp, delicious cauliflower right from your backyard? Well, dream no more! Growing cauliflower at home is totally achievable, even for beginners. It might seem a little intimidating at first, but trust me, with a little patience and the right know-how, you’ll be enjoying homegrown cauliflower in no time. I’m going to walk you through everything you need to know, from choosing the right variety to dealing with pesky pests. Let’s get started!
Choosing the Right Cauliflower Variety
First things first, let’s talk about cauliflower varieties. There are tons of options out there, each with its own unique characteristics. Choosing the right one for your climate and growing season is crucial for success.
Here’s a quick rundown of some popular varieties:
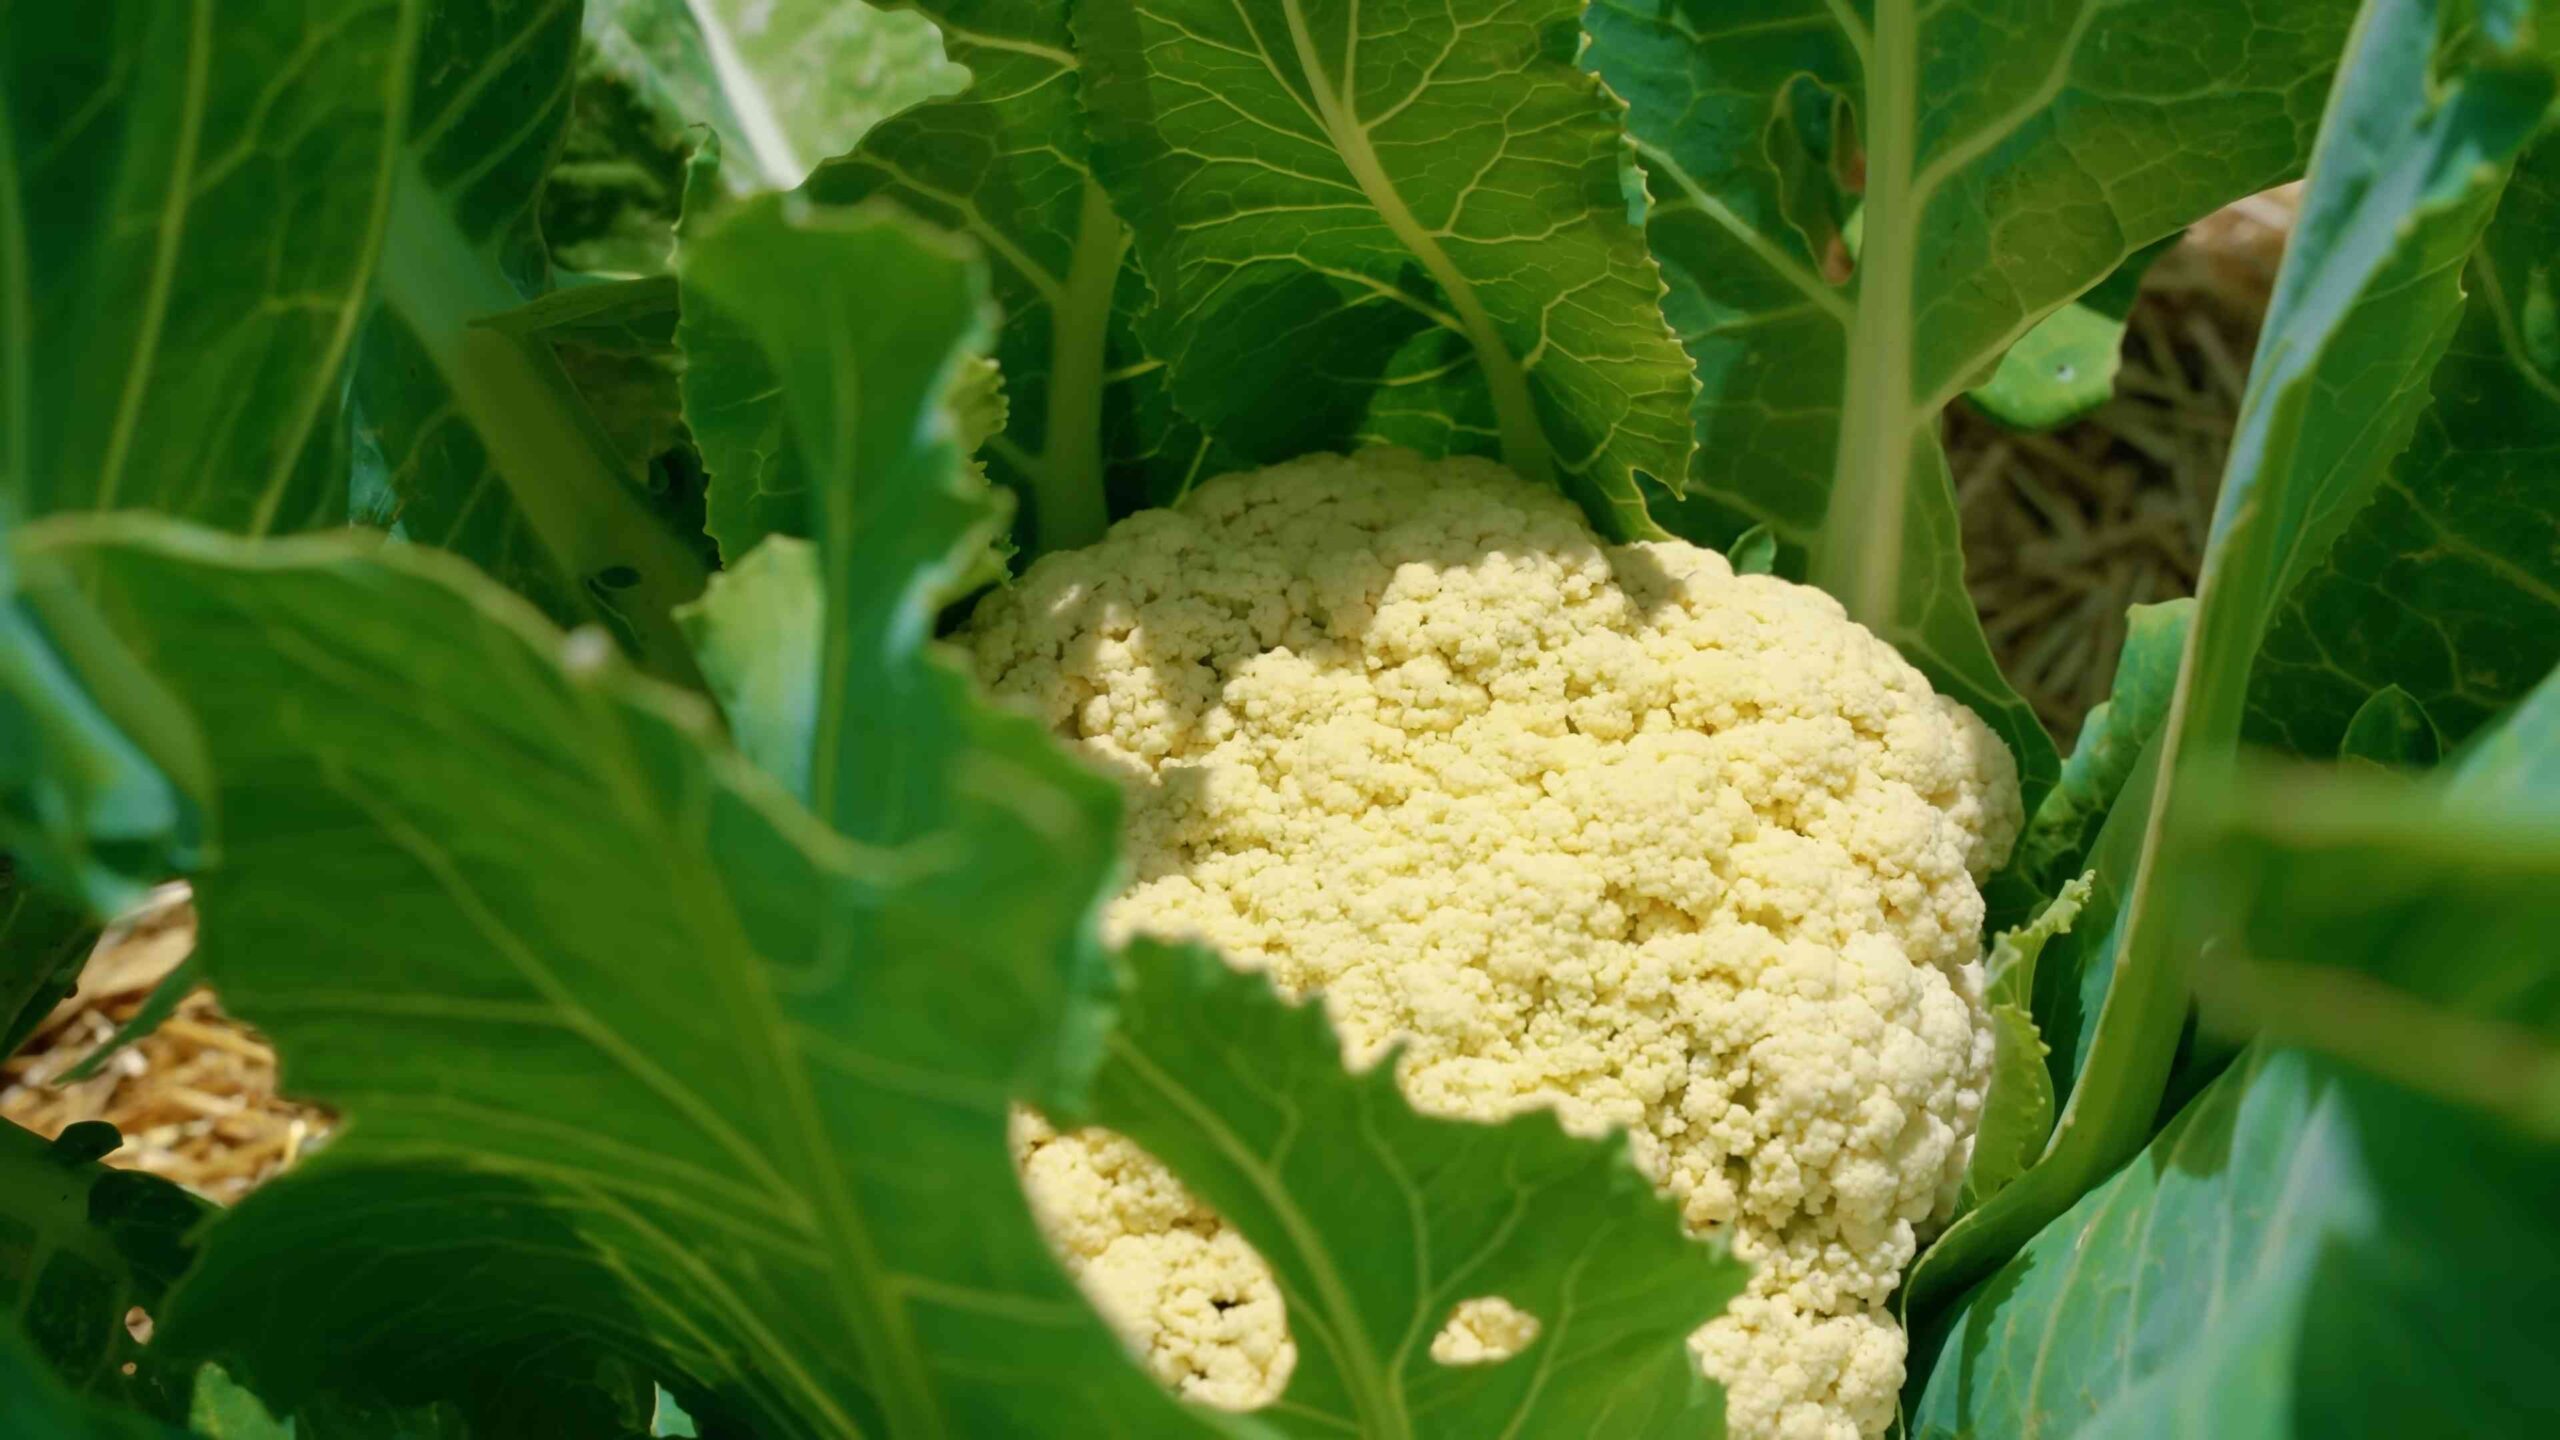
* Snowball Y Improved: This is a classic, reliable variety that produces medium-sized, pure white heads. It’s a great choice for beginners because it’s relatively easy to grow and matures quickly.
* Early White Hybrid: As the name suggests, this variety matures early, making it ideal for areas with short growing seasons. It produces compact, dense heads.
* Graffiti: Want to add a pop of color to your garden? Graffiti cauliflower produces vibrant purple heads that are just as delicious as they are beautiful.
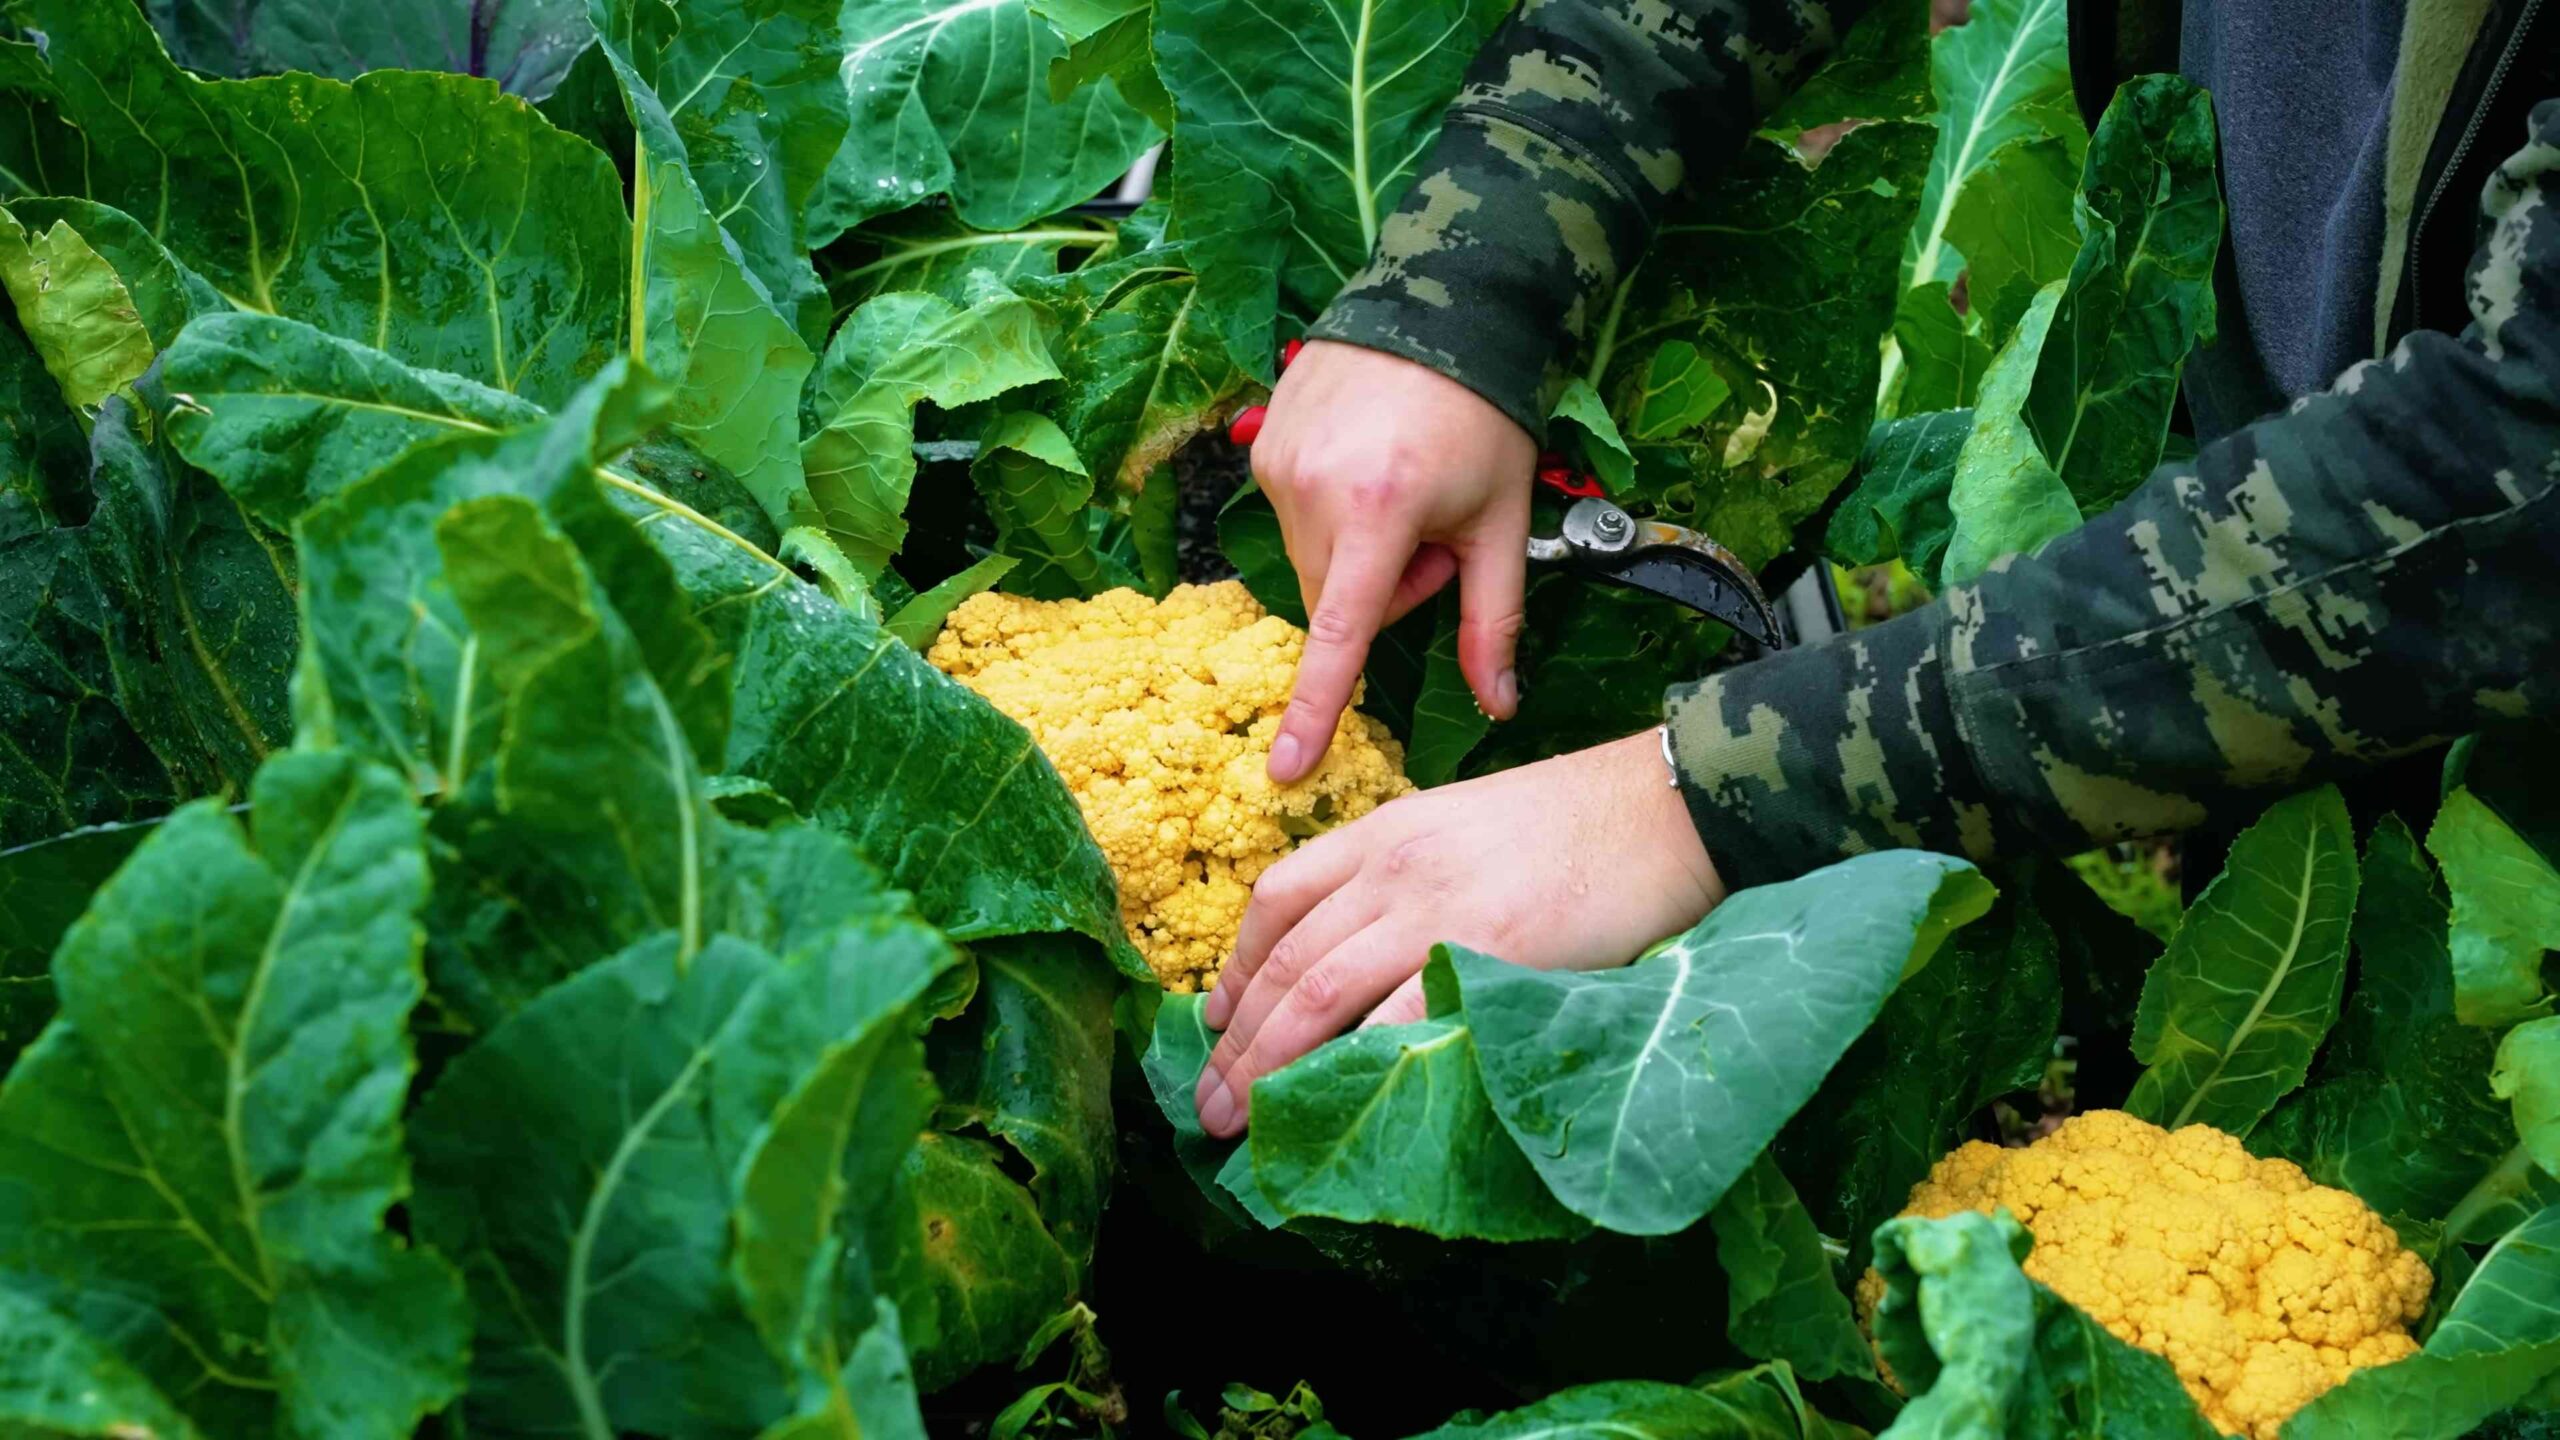
* Cheddar: This variety produces orange heads that are rich in beta-carotene. It’s a fun and nutritious option for your garden.
* Romanesco: This is a unique and visually stunning variety with fractal-like, lime-green heads. It has a slightly nutty flavor and is a real conversation starter.
Consider your local climate and the length of your growing season when making your choice. Also, think about what you want to use the cauliflower for. Are you planning to roast it, steam it, or use it in salads? Different varieties have slightly different flavors and textures.
Preparing Your Garden Bed
Cauliflower needs a sunny spot with well-drained soil. It’s a heavy feeder, so you’ll want to amend your soil with plenty of organic matter before planting.
Here’s what I recommend:
* Sunlight: Choose a location that gets at least 6 hours of direct sunlight per day.
* Soil: Cauliflower prefers slightly acidic soil with a pH between 6.0 and 7.0. If your soil is too acidic or alkaline, you can amend it with lime or sulfur, respectively.
* Drainage: Make sure your soil drains well. Cauliflower doesn’t like to sit in soggy soil.
* Organic Matter: Incorporate plenty of compost, well-rotted manure, or other organic matter into the soil. This will improve drainage, fertility, and water retention.
Starting Your Cauliflower Seeds
You can start cauliflower seeds indoors or directly sow them in your garden, depending on your climate and the variety you’ve chosen. I prefer to start my seeds indoors to get a head start on the growing season.
Here’s how I do it:
1. Sow the Seeds: Fill seed trays or small pots with a seed-starting mix. Sow the seeds about 1/4 inch deep and gently water them.
2. Provide Warmth: Keep the seed trays in a warm location, around 70-75°F (21-24°C). You can use a heat mat to help speed up germination.
3. Keep Moist: Keep the soil consistently moist, but not soggy.
4. Provide Light: Once the seedlings emerge, move them to a sunny location or under grow lights.
5. Harden Off: Before transplanting the seedlings into your garden, you’ll need to harden them off. This means gradually exposing them to outdoor conditions over a period of about a week. Start by placing them outside for a few hours each day, gradually increasing the amount of time they spend outdoors.
Transplanting Your Cauliflower Seedlings
Once your seedlings have developed a few sets of true leaves and have been hardened off, they’re ready to be transplanted into your garden.
Here’s how to do it:
1. Prepare the Planting Holes: Dig holes that are slightly larger than the root balls of your seedlings. Space the holes about 18-24 inches apart.
2. Transplant the Seedlings: Gently remove the seedlings from their containers and place them in the holes. Make sure the top of the root ball is level with the surrounding soil.
3. Fill the Holes: Fill the holes with soil and gently firm it around the seedlings.
4. Water Thoroughly: Water the seedlings thoroughly after transplanting.
Caring for Your Cauliflower Plants
Cauliflower needs consistent care to thrive. Here’s what you need to do:
* Watering: Water your cauliflower plants regularly, especially during dry periods. Aim to keep the soil consistently moist, but not soggy.
* Fertilizing: Cauliflower is a heavy feeder, so you’ll need to fertilize it regularly. Use a balanced fertilizer or a fertilizer specifically formulated for vegetables. Follow the instructions on the fertilizer package. I like to side-dress my cauliflower plants with compost every few weeks.
* Weeding: Keep your garden bed free of weeds. Weeds compete with cauliflower plants for water and nutrients.
* Mulching: Apply a layer of mulch around your cauliflower plants. Mulch helps to retain moisture, suppress weeds, and regulate soil temperature.
* Blanching (Optional): Some varieties of cauliflower need to be blanched to prevent the heads from turning yellow or brown. Blanching involves covering the developing head with the plant’s leaves to protect it from sunlight. To blanch, simply fold the large outer leaves over the head and secure them with twine or rubber bands.
Dealing with Pests and Diseases
Cauliflower is susceptible to a few pests and diseases. Here are some common problems and how to deal with them:
* Cabbage Worms: These green caterpillars can quickly devour cauliflower leaves. Handpick them off the plants or use a biological insecticide like Bacillus thuringiensis (Bt).
* Cabbage Loopers: These are similar to cabbage worms but move in a looping motion. Treat them the same way as cabbage worms.
* Aphids: These tiny insects suck sap from cauliflower leaves. Spray them with a strong stream of water or use insecticidal soap.
* Clubroot: This fungal disease causes the roots of cauliflower plants to swell and distort. Prevent clubroot by planting resistant varieties and maintaining a soil pH above 7.0.
* Black Rot: This bacterial disease causes dark lesions on cauliflower leaves. Prevent black rot by planting disease-free seeds and avoiding overhead watering.
Harvesting Your Cauliflower
Cauliflower is ready to harvest when the head is firm, compact, and about 6-8 inches in diameter. The exact timing will depend on the variety you’ve chosen and the growing conditions.
Here’s how to harvest cauliflower:
1. Cut the Head: Use a sharp knife to cut the head from the plant, leaving a few leaves attached to protect the head.
2. Store the Cauliflower: Store the cauliflower in the refrigerator for up to a week.
Troubleshooting Common Problems
Even with the best care, you might encounter some problems while growing cauliflower. Here are a few common issues and how to fix them:
* Small Heads: Small heads can be caused by a lack of nutrients, water, or sunlight. Make sure your plants are getting enough of all three.
* Loose Heads: Loose heads can be caused by hot weather or inconsistent watering. Try to provide shade during the hottest part of the day and water regularly.
* Yellowing Heads: Yellowing heads can be caused by too much sunlight. Blanch the heads to protect them from the sun.
* Buttoning: Buttoning is when the cauliflower head forms prematurely, resulting in a small, underdeveloped head. This can be caused by stress, such as cold weather or transplant shock.
Enjoying Your Homegrown Cauliflower
Congratulations! You’ve successfully grown your own cauliflower. Now it’s time to enjoy the fruits (or rather, vegetables) of your labor.
Here are a few ideas for using your homegrown cauliflower:
* Roasted Cauliflower: Toss cauliflower florets with olive oil, salt, pepper, and your favorite spices, then roast them in the oven until tender and slightly browned.
* Steamed Cauliflower: Steam cauliflower florets until tender-crisp. Serve them with butter, cheese sauce, or your favorite dipping sauce.
* Cauliflower Mash: Steam cauliflower florets until very tender, then mash them with butter, milk, and seasonings. This is a healthy and delicious alternative to mashed potatoes.
* Cauliflower Rice: Pulse cauliflower florets in a food processor until they resemble rice. Use cauliflower rice in stir-fries, salads, or as a side dish
Conclusion
So, there you have it! Growing your own cauliflower at home isn’t just a rewarding experience; it’s a gateway to fresher, tastier, and more affordable produce. We’ve walked you through the essential steps, from selecting the right variety to warding off common pests, and hopefully demystified the process along the way.
Why is this a must-try? Because store-bought cauliflower simply can’t compare to the vibrant flavor and satisfying crunch of a head you’ve nurtured yourself. Think about it: no more worrying about how long it’s been sitting on the shelf or what chemicals might have been used in its cultivation. You’re in complete control, from seed to plate. Plus, there’s an undeniable sense of accomplishment that comes with harvesting your own food.
But the benefits extend beyond just taste and control. Gardening, in general, is a fantastic stress reliever. Spending time outdoors, connecting with nature, and watching your plants thrive can have a profound impact on your mental and physical well-being. And let’s not forget the educational aspect! Growing cauliflower is a fantastic learning opportunity for kids (and adults!), teaching them about the life cycle of plants, the importance of healthy soil, and the value of hard work.
Ready to take your cauliflower cultivation to the next level? Consider these variations:
* **Experiment with different varieties:** Beyond the standard white cauliflower, explore colorful options like purple, orange, or even Romanesco cauliflower for a visually stunning and equally delicious harvest.
* **Succession planting:** Plant new seeds every few weeks to ensure a continuous supply of cauliflower throughout the growing season. This is especially useful if you have a large family or enjoy sharing your harvest with friends and neighbors.
* **Companion planting:** Plant beneficial herbs and flowers alongside your cauliflower to deter pests and attract pollinators. Marigolds, nasturtiums, and dill are excellent choices.
* **Fermenting or Pickling:** If you find yourself with an abundance of cauliflower, consider preserving it through fermentation or pickling. These methods not only extend its shelf life but also add a unique and tangy flavor.
Ultimately, the best way to learn is by doing. Don’t be afraid to get your hands dirty, experiment with different techniques, and adapt the process to suit your specific climate and growing conditions. Remember, even experienced gardeners encounter challenges along the way. The key is to learn from your mistakes and keep trying.
We are confident that with a little patience and dedication, you’ll be enjoying homegrown cauliflower in no time. So, grab your seeds, prepare your soil, and embark on this rewarding gardening adventure. We can’t wait to hear about your experiences! Share your photos, tips, and challenges in the comments below. Let’s build a community of home gardeners and inspire others to discover the joy of growing their own food. Happy **cauliflower gardening**!
Frequently Asked Questions (FAQ)
Q: How much space does cauliflower need to grow?
A: Cauliflower plants require a significant amount of space to thrive. Generally, you should allow at least 18 to 24 inches between plants and 24 to 36 inches between rows. This spacing allows for adequate air circulation, sunlight penetration, and room for the heads to develop properly. If you’re growing in containers, choose pots that are at least 12 inches in diameter and depth. Overcrowding can lead to smaller heads and increased susceptibility to diseases.
Q: What kind of soil is best for growing cauliflower?
A: Cauliflower thrives in well-drained, fertile soil that is rich in organic matter. The ideal soil pH should be between 6.0 and 7.0. Before planting, amend your soil with compost, aged manure, or other organic materials to improve its structure, drainage, and nutrient content. Cauliflower is a heavy feeder, so it’s essential to provide it with a steady supply of nutrients throughout its growth cycle. Consider adding a slow-release fertilizer at planting time and side-dressing with a nitrogen-rich fertilizer every few weeks.
Q: How often should I water my cauliflower plants?
A: Cauliflower requires consistent moisture, especially during head formation. Water deeply and regularly, aiming to keep the soil consistently moist but not waterlogged. The frequency of watering will depend on your climate, soil type, and the age of your plants. As a general rule, water when the top inch of soil feels dry to the touch. Avoid overhead watering, as this can increase the risk of fungal diseases. Instead, use a soaker hose or drip irrigation system to deliver water directly to the roots.
Q: What are some common pests and diseases that affect cauliflower?
A: Cauliflower is susceptible to a variety of pests and diseases, including cabbage worms, aphids, flea beetles, clubroot, and black rot. Regularly inspect your plants for signs of infestation or disease. Cabbage worms can be controlled with Bacillus thuringiensis (Bt), a biological insecticide. Aphids can be washed off with a strong stream of water or treated with insecticidal soap. Flea beetles can be deterred with row covers or diatomaceous earth. Clubroot is a soilborne disease that can be prevented by maintaining a proper soil pH and practicing crop rotation. Black rot is a bacterial disease that can be prevented by using disease-free seeds and avoiding overhead watering.
Q: When is the best time to harvest cauliflower?
A: Cauliflower is ready to harvest when the head is firm, compact, and reaches the desired size (usually 6-8 inches in diameter). The exact timing will depend on the variety and growing conditions. Check the seed packet or plant tag for specific maturity dates. To harvest, cut the stem just below the head, leaving a few leaves attached to protect it. Harvest cauliflower in the morning, when the heads are cool and crisp.
Q: How do I prevent cauliflower from turning yellow or brown?
A: Cauliflower heads can turn yellow or brown if they are exposed to too much sunlight. To prevent this, blanch the heads by tying the outer leaves together over the developing head when it reaches about 3 inches in diameter. This will shield the head from the sun and keep it white. Check the heads regularly and harvest them when they are ready, as overripe cauliflower can also turn yellow or brown.
Q: Can I grow cauliflower in containers?
A: Yes, you can grow cauliflower in containers, but you’ll need to choose a large enough pot (at least 12 inches in diameter and depth) and provide adequate drainage. Use a high-quality potting mix and fertilize regularly. Container-grown cauliflower may require more frequent watering than plants grown in the ground. Choose a sunny location that receives at least 6 hours of direct sunlight per day.
Q: How do I store harvested cauliflower?
A: To store harvested cauliflower, wrap the head loosely in plastic wrap and refrigerate it. It will keep for up to a week. You can also freeze cauliflower by blanching it in boiling water for 3 minutes, then plunging it into ice water to stop the cooking process. Drain well and freeze in a single layer on a baking sheet before transferring to a freezer bag or container.
Q: What are some creative ways to use homegrown cauliflower?
A: Homegrown cauliflower is incredibly versatile and can be used in a variety of dishes. Roast it with olive oil and herbs, steam it and serve it with cheese sauce, or puree it into a creamy soup. You can also use cauliflower as a low-carb substitute for rice or potatoes. Try making cauliflower pizza crust, cauliflower mashed “potatoes,” or cauliflower rice. Get creative and experiment with different flavors and spices to discover your favorite ways to enjoy your homegrown cauliflower.
Leave a Comment