

Clean bathroom, healthy home: It’s more than just a catchy phrase, it’s a philosophy! Let’s be honest, tackling the bathroom cleaning can feel like a Herculean task. But what if I told you there were simple, DIY tricks that could transform your bathroom from a breeding ground for germs to a sparkling sanctuary?
For centuries, cultures around the world have understood the link between cleanliness and well-being. From ancient Roman bathhouses to Japanese onsen, the act of cleansing has always been associated with physical and mental health. A clean bathroom contributes significantly to the overall hygiene of your home, reducing the spread of bacteria and allergens that can impact your family’s health.
But why spend a fortune on harsh chemicals when you can achieve a spotless bathroom with ingredients you probably already have in your pantry? This article is packed with easy-to-follow, DIY bathroom cleaning hacks that will save you time, money, and keep your home healthy. We’ll explore natural solutions for everything from stubborn soap scum to grimy grout, ensuring your bathroom is not only clean but also a safe and inviting space. So, let’s dive in and discover how a clean bathroom can truly lead to a healthy home!
DIY Bathroom Cleaning Bombs: Sparkle and Sanitize!
Hey there, fellow DIY enthusiasts! I’m so excited to share one of my favorite bathroom cleaning hacks with you: homemade cleaning bombs! Not only are they super effective at tackling grime and leaving your bathroom smelling amazing, but they’re also a fun and eco-friendly alternative to harsh chemical cleaners. Plus, you know exactly what’s going into them, which is a huge win in my book. Let’s get started!
What You’ll Need: The Arsenal of Clean
Before we dive in, let’s gather our supplies. Here’s a list of everything you’ll need to create these fizzy wonders:
* Baking Soda: The workhorse of this recipe! It’s a mild abrasive and deodorizer.
* Citric Acid: This is what creates the fizzing action when it comes into contact with water. It also helps to remove hard water stains and soap scum.
* Cornstarch: This acts as a binder, helping the ingredients stick together and creating a more solid bomb.
* Essential Oils: Choose your favorite scents! I personally love using a combination of tea tree oil (for its antibacterial properties), eucalyptus oil (for its refreshing scent), and lemon oil (for its cleaning power).
* Water: Just a little bit to moisten the mixture.
* Spray Bottle: For spritzing the water.
* Mixing Bowls: One large and one small.
* Measuring Cups and Spoons: For accurate measurements.
* Silicone Molds: These are perfect for shaping your cleaning bombs. You can use anything from muffin tins to ice cube trays to decorative silicone molds.
* Gloves: To protect your hands from the essential oils and citric acid.
* Optional: Food coloring (for a pop of color!), dried flowers or herbs (for decoration and added fragrance).
Step-by-Step Instructions: Bomb-Making Time!
Now for the fun part! Follow these steps carefully to create your own batch of bathroom cleaning bombs:
1. Combine Dry Ingredients: In the large mixing bowl, combine 1 cup of baking soda, 1/2 cup of citric acid, and 1/2 cup of cornstarch. Whisk these ingredients together thoroughly to ensure they are evenly distributed. This is crucial for a consistent fizzing action.
2. Add Essential Oils: In the small mixing bowl, add about 20-30 drops of your chosen essential oils. I usually go for 10 drops of tea tree, 10 drops of eucalyptus, and 10 drops of lemon, but feel free to experiment with different combinations to find your favorite scent.
3. Slowly Add Water: This is the trickiest part! You want to add just enough water to moisten the mixture so it holds its shape, but not so much that it starts to fizz prematurely. Fill your spray bottle with water. Spritz the dry ingredients with a very small amount of water (just one or two sprays at a time), and immediately mix it in with your hands (wearing gloves, of course!). Continue spritzing and mixing until the mixture feels like damp sand. It should clump together when you squeeze it in your hand, but not be overly wet. Be careful not to add too much water at once, or your mixture will start to fizz and you’ll lose the fizzing power!
4. Incorporate Essential Oils: Pour the essential oil mixture into the large bowl with the dry ingredients. Use your hands to thoroughly combine everything. Make sure the essential oils are evenly distributed throughout the mixture.
5. Add Optional Ingredients (If Desired): If you’re using food coloring, add a few drops to the mixture and mix well until you achieve your desired color. If you’re using dried flowers or herbs, gently fold them into the mixture.
6. Pack the Molds: Now it’s time to pack the mixture into your silicone molds. Press the mixture firmly into each mold, making sure to fill it completely. You can even slightly overfill the molds and then press down to create a more compact bomb.
7. Let Them Dry: This is the most important step! Let the cleaning bombs dry completely in the molds. This can take anywhere from 24 to 48 hours, depending on the humidity in your environment. I usually leave mine in a cool, dry place for at least 48 hours to ensure they are completely hardened.
8. Remove from Molds: Once the cleaning bombs are completely dry, gently remove them from the molds. If they are sticking, try tapping the mold lightly on a hard surface or gently flexing the mold to loosen them.
9. Store Properly: Store your finished cleaning bombs in an airtight container in a cool, dry place. This will prevent them from absorbing moisture and losing their fizzing power.
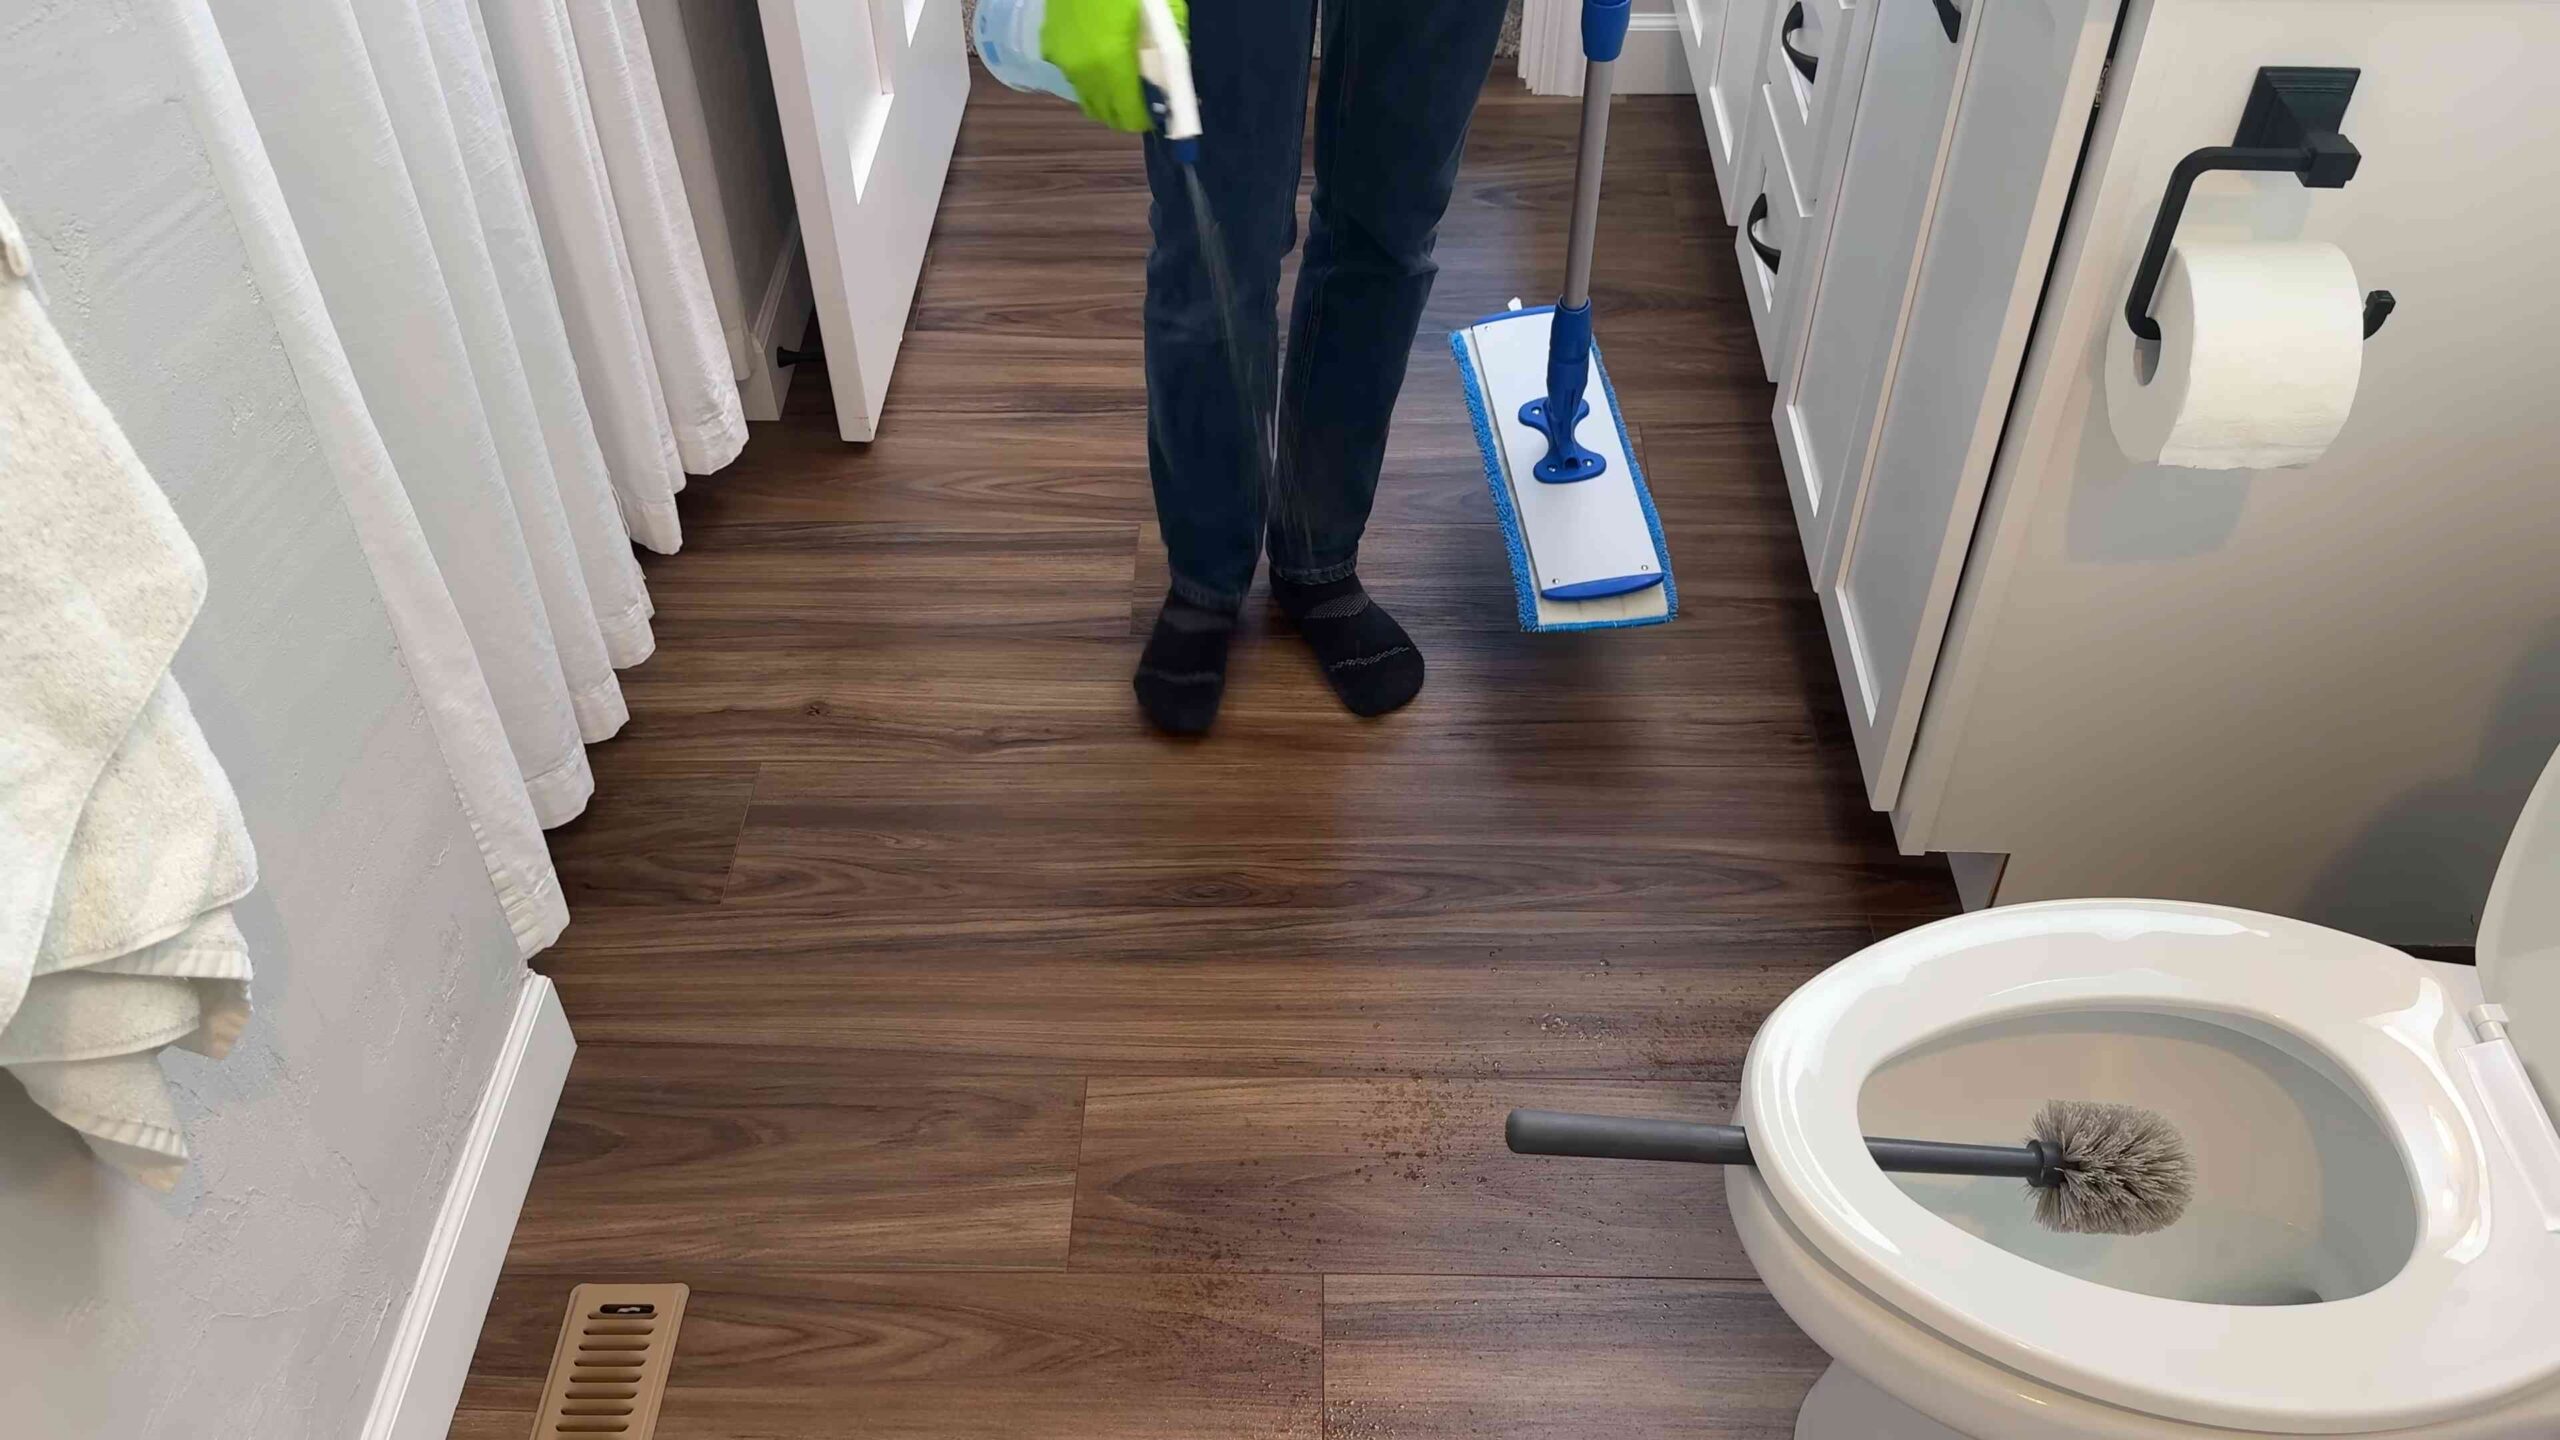
Using Your Cleaning Bombs: A Sparkling Clean Bathroom Awaits!
Using your homemade cleaning bombs is super easy! Here’s how:
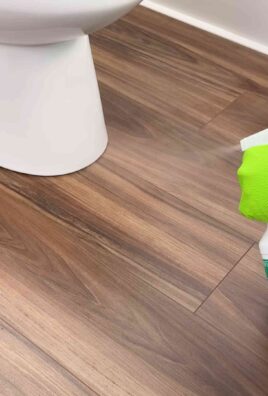
1. Drop One In: Simply drop one cleaning bomb into your toilet bowl.
2. Let It Fizz: Let the bomb fizz and dissolve for a few minutes. This will help to loosen dirt, grime, and stains.
3. Scrub (If Needed): If there are any stubborn stains, use a toilet brush to scrub the bowl.
4. Flush: Flush the toilet and enjoy your sparkling clean bathroom!
You can also use these cleaning bombs in your shower or bathtub. Just drop one into the shower or tub, let it fizz, and then scrub with a sponge or brush. Rinse thoroughly with water.
Troubleshooting Tips: Avoiding Bomb-Making Blunders
Sometimes, things don’t go exactly as planned. Here are a few troubleshooting tips to help you avoid common mistakes:
* Bombs Not Fizzing: This is usually caused by not enough citric acid or too much moisture. Make sure you are using the correct ratio of ingredients and that you are not adding too much water.
* Bombs Cracking: This can be caused by the mixture being too dry or by removing the bombs from the molds too soon. Make sure the mixture is damp enough to hold its shape and let the bombs dry completely before removing them.
* Bombs Expanding: This is usually caused by adding too much water. If your bombs start to expand, try adding a little more baking soda and cornstarch to absorb the excess moisture.
* Bombs Sticking to Molds: This can be caused by the molds not being clean or by removing the bombs from the molds too soon. Make sure your molds are clean and dry before using them and let the bombs dry completely before removing them.
Variations and Customization: Make Them Your Own!
The beauty of DIY is that you can customize everything to your liking! Here are a few ideas for variations and customizations:
* Different Essential Oil Blends: Experiment with different essential oil combinations to create your own signature scent. Some other popular options include lavender, peppermint, orange, and grapefruit.
* Add Color: Use food coloring or natural colorants like beet powder or turmeric to add a pop of color to your cleaning bombs.
* Add Decorations: Decorate your cleaning bombs with dried flowers, herbs, or even small toys.
* Make Them Stronger: For extra cleaning power, add a tablespoon of borax to the dry ingredients. Be sure to wear gloves when handling borax.
* Shape Variations: Use different silicone molds to create fun and unique shapes.
Safety Precautions: A Word of Caution
While these cleaning bombs are generally safe to use, it’s important to take a few precautions:
* Wear Gloves: Always wear gloves when handling the ingredients, especially citric acid and essential oils, as they can irritate the skin.
* Avoid Contact with Eyes: Avoid getting the mixture in your eyes. If contact occurs, rinse thoroughly with water.
* Keep Out of Reach of Children and Pets: Store the cleaning bombs in a safe place where children and pets cannot access them.
* Test on a Small Area First: Before using the cleaning bombs on a large surface, test them on a small, inconspicuous area to make sure they don’t damage the surface.
Why I Love This DIY: Beyond the Sparkle
I absolutely love this DIY project for so many reasons! It’s not just about having a clean bathroom (although that’s a definite perk!). It’s about:
* Being Eco-Friendly: Reducing my reliance on harsh chemical cleaners that can be harmful to the environment.
* Saving Money: Making my own cleaning products is much cheaper than buying them at the store.
* Knowing What’s In My Cleaners: I have complete control over the ingredients, so I know exactly what I’m using to clean my bathroom.
* Having Fun: It’s a fun and creative project that I enjoy doing!
So, there you have it! My complete guide to making your own bathroom cleaning bombs
Conclusion
So, there you have it! Transforming your bathroom into a sparkling sanctuary doesn’t require harsh chemicals or a hefty cleaning bill. This simple, yet incredibly effective, DIY trick for a clean bathroom healthy home is a game-changer. We’ve shown you how to harness the power of readily available ingredients to create a cleaning solution that’s not only tough on grime but also gentle on your health and the environment.
Why is this a must-try? Because it’s economical, eco-friendly, and, most importantly, it works! You’ll be amazed at how easily you can remove soap scum, hard water stains, and mildew without exposing yourself or your family to harmful fumes. Plus, you likely already have everything you need in your pantry.
But don’t stop there! Feel free to experiment with variations to personalize your cleaning experience. For a refreshing scent, add a few drops of your favorite essential oil, such as lavender, tea tree, or eucalyptus. For extra scrubbing power on stubborn stains, create a paste by mixing the solution with baking soda. You can also use this solution to clean other areas of your home, such as kitchen sinks, countertops, and even tile floors. Just be sure to test it on an inconspicuous area first to ensure it doesn’t damage the surface.
We’re confident that once you try this DIY cleaning trick, you’ll never go back to store-bought cleaners. It’s a simple, sustainable, and satisfying way to maintain a clean and healthy home.
Now, it’s your turn! We encourage you to give this DIY method a try and experience the difference for yourself. Share your results with us in the comments below. We’d love to hear about your successes, any variations you tried, and any tips you have to share. Let’s create a community of clean and healthy homes, one DIY trick at a time!
Frequently Asked Questions (FAQ)
Q: What exactly makes this DIY cleaning solution effective for a clean bathroom healthy home?
A: The effectiveness of this DIY cleaning solution lies in the synergistic action of its ingredients. Vinegar, for example, is a natural acid that helps to dissolve hard water stains, soap scum, and mildew. Baking soda acts as a mild abrasive, helping to scrub away grime without scratching surfaces. The combination of these ingredients creates a powerful cleaning solution that is both effective and safe for use in your bathroom. Furthermore, avoiding harsh chemicals contributes to a healthier indoor environment, directly impacting the health of your home and its occupants.
Q: Is this DIY cleaning solution safe for all bathroom surfaces?
A: While this DIY cleaning solution is generally safe for most bathroom surfaces, it’s always a good idea to test it on an inconspicuous area first, especially on delicate surfaces like natural stone (marble, granite) or certain types of painted surfaces. The acidity of vinegar can potentially etch or damage these materials. If you’re unsure, dilute the solution further or consult the manufacturer’s recommendations for your specific surfaces. For grout, this solution is generally safe and effective, but prolonged exposure to undiluted vinegar might weaken it over time.
Q: Can I use this cleaning solution on mold and mildew?
A: Yes, this DIY cleaning solution can be effective in removing mold and mildew, especially in its early stages. Vinegar is a natural antifungal agent that can help to kill mold spores and prevent them from returning. For stubborn mold or mildew, you may need to apply the solution several times and scrub vigorously. In severe cases of mold infestation, it’s best to consult with a professional mold remediation service. Remember to always ventilate the bathroom well when cleaning mold and mildew.
Q: How often should I use this DIY cleaning solution to maintain a clean bathroom healthy home?
A: The frequency of cleaning depends on how often your bathroom is used and how quickly it gets dirty. As a general guideline, you should aim to clean your bathroom at least once a week to prevent the buildup of soap scum, hard water stains, and mildew. For high-traffic bathrooms, you may need to clean more frequently. Regular cleaning with this DIY solution will help to keep your bathroom sparkling clean and prevent the need for harsh chemicals.
Q: Can I store the leftover cleaning solution? If so, how long will it last?
A: Yes, you can store leftover cleaning solution in a sealed container, such as a spray bottle or a jar. It’s best to store it in a cool, dark place to prevent the ingredients from degrading. The solution should last for several weeks or even months without losing its effectiveness. However, if you notice any changes in color, odor, or consistency, it’s best to discard it and make a fresh batch.
Q: What essential oils would you recommend adding to the cleaning solution, and what are their benefits?
A: Several essential oils can be added to this DIY cleaning solution to enhance its cleaning power and add a pleasant scent. Lavender essential oil has antibacterial and antifungal properties and a calming aroma. Tea tree essential oil is a powerful antiseptic and antifungal agent, making it ideal for fighting mold and mildew. Eucalyptus essential oil has antibacterial and antiviral properties and a refreshing scent that can help to clear congestion. Lemon essential oil is a natural degreaser and disinfectant with a bright, citrusy aroma. When adding essential oils, start with a few drops and adjust to your preference.
Q: Is there anything I should avoid mixing with this DIY cleaning solution?
A: Yes, it’s crucial to avoid mixing this DIY cleaning solution with bleach. Mixing vinegar with bleach creates chlorine gas, which is highly toxic and can cause serious respiratory problems. Always use this DIY cleaning solution on its own and never combine it with other cleaning products, especially those containing bleach.
Q: What are some other ways to maintain a clean bathroom healthy home besides using this DIY solution?
A: In addition to using this DIY cleaning solution, there are several other ways to maintain a clean and healthy bathroom. Ventilate the bathroom well by opening a window or running the exhaust fan after showering or bathing to prevent moisture buildup. Wipe down surfaces regularly to remove soap scum and water spots. Use a squeegee to dry shower walls and doors after each use. Regularly clean shower curtains or doors to prevent mold and mildew growth. Keep the bathroom organized and clutter-free to make cleaning easier. By incorporating these habits into your routine, you can create a bathroom that is both clean and healthy.
Q: My bathroom has persistent hard water stains. Will this DIY solution be strong enough to remove them?
A: For persistent hard water stains, you might need to increase the concentration of vinegar in the solution. You can also try soaking a cloth or paper towel in the solution and applying it directly to the stain for a longer period (e.g., 30 minutes to an hour) before scrubbing. For extremely stubborn stains, consider using a pumice stone specifically designed for cleaning hard water stains, but be very careful not to scratch the surface. Remember to always test in an inconspicuous area first.
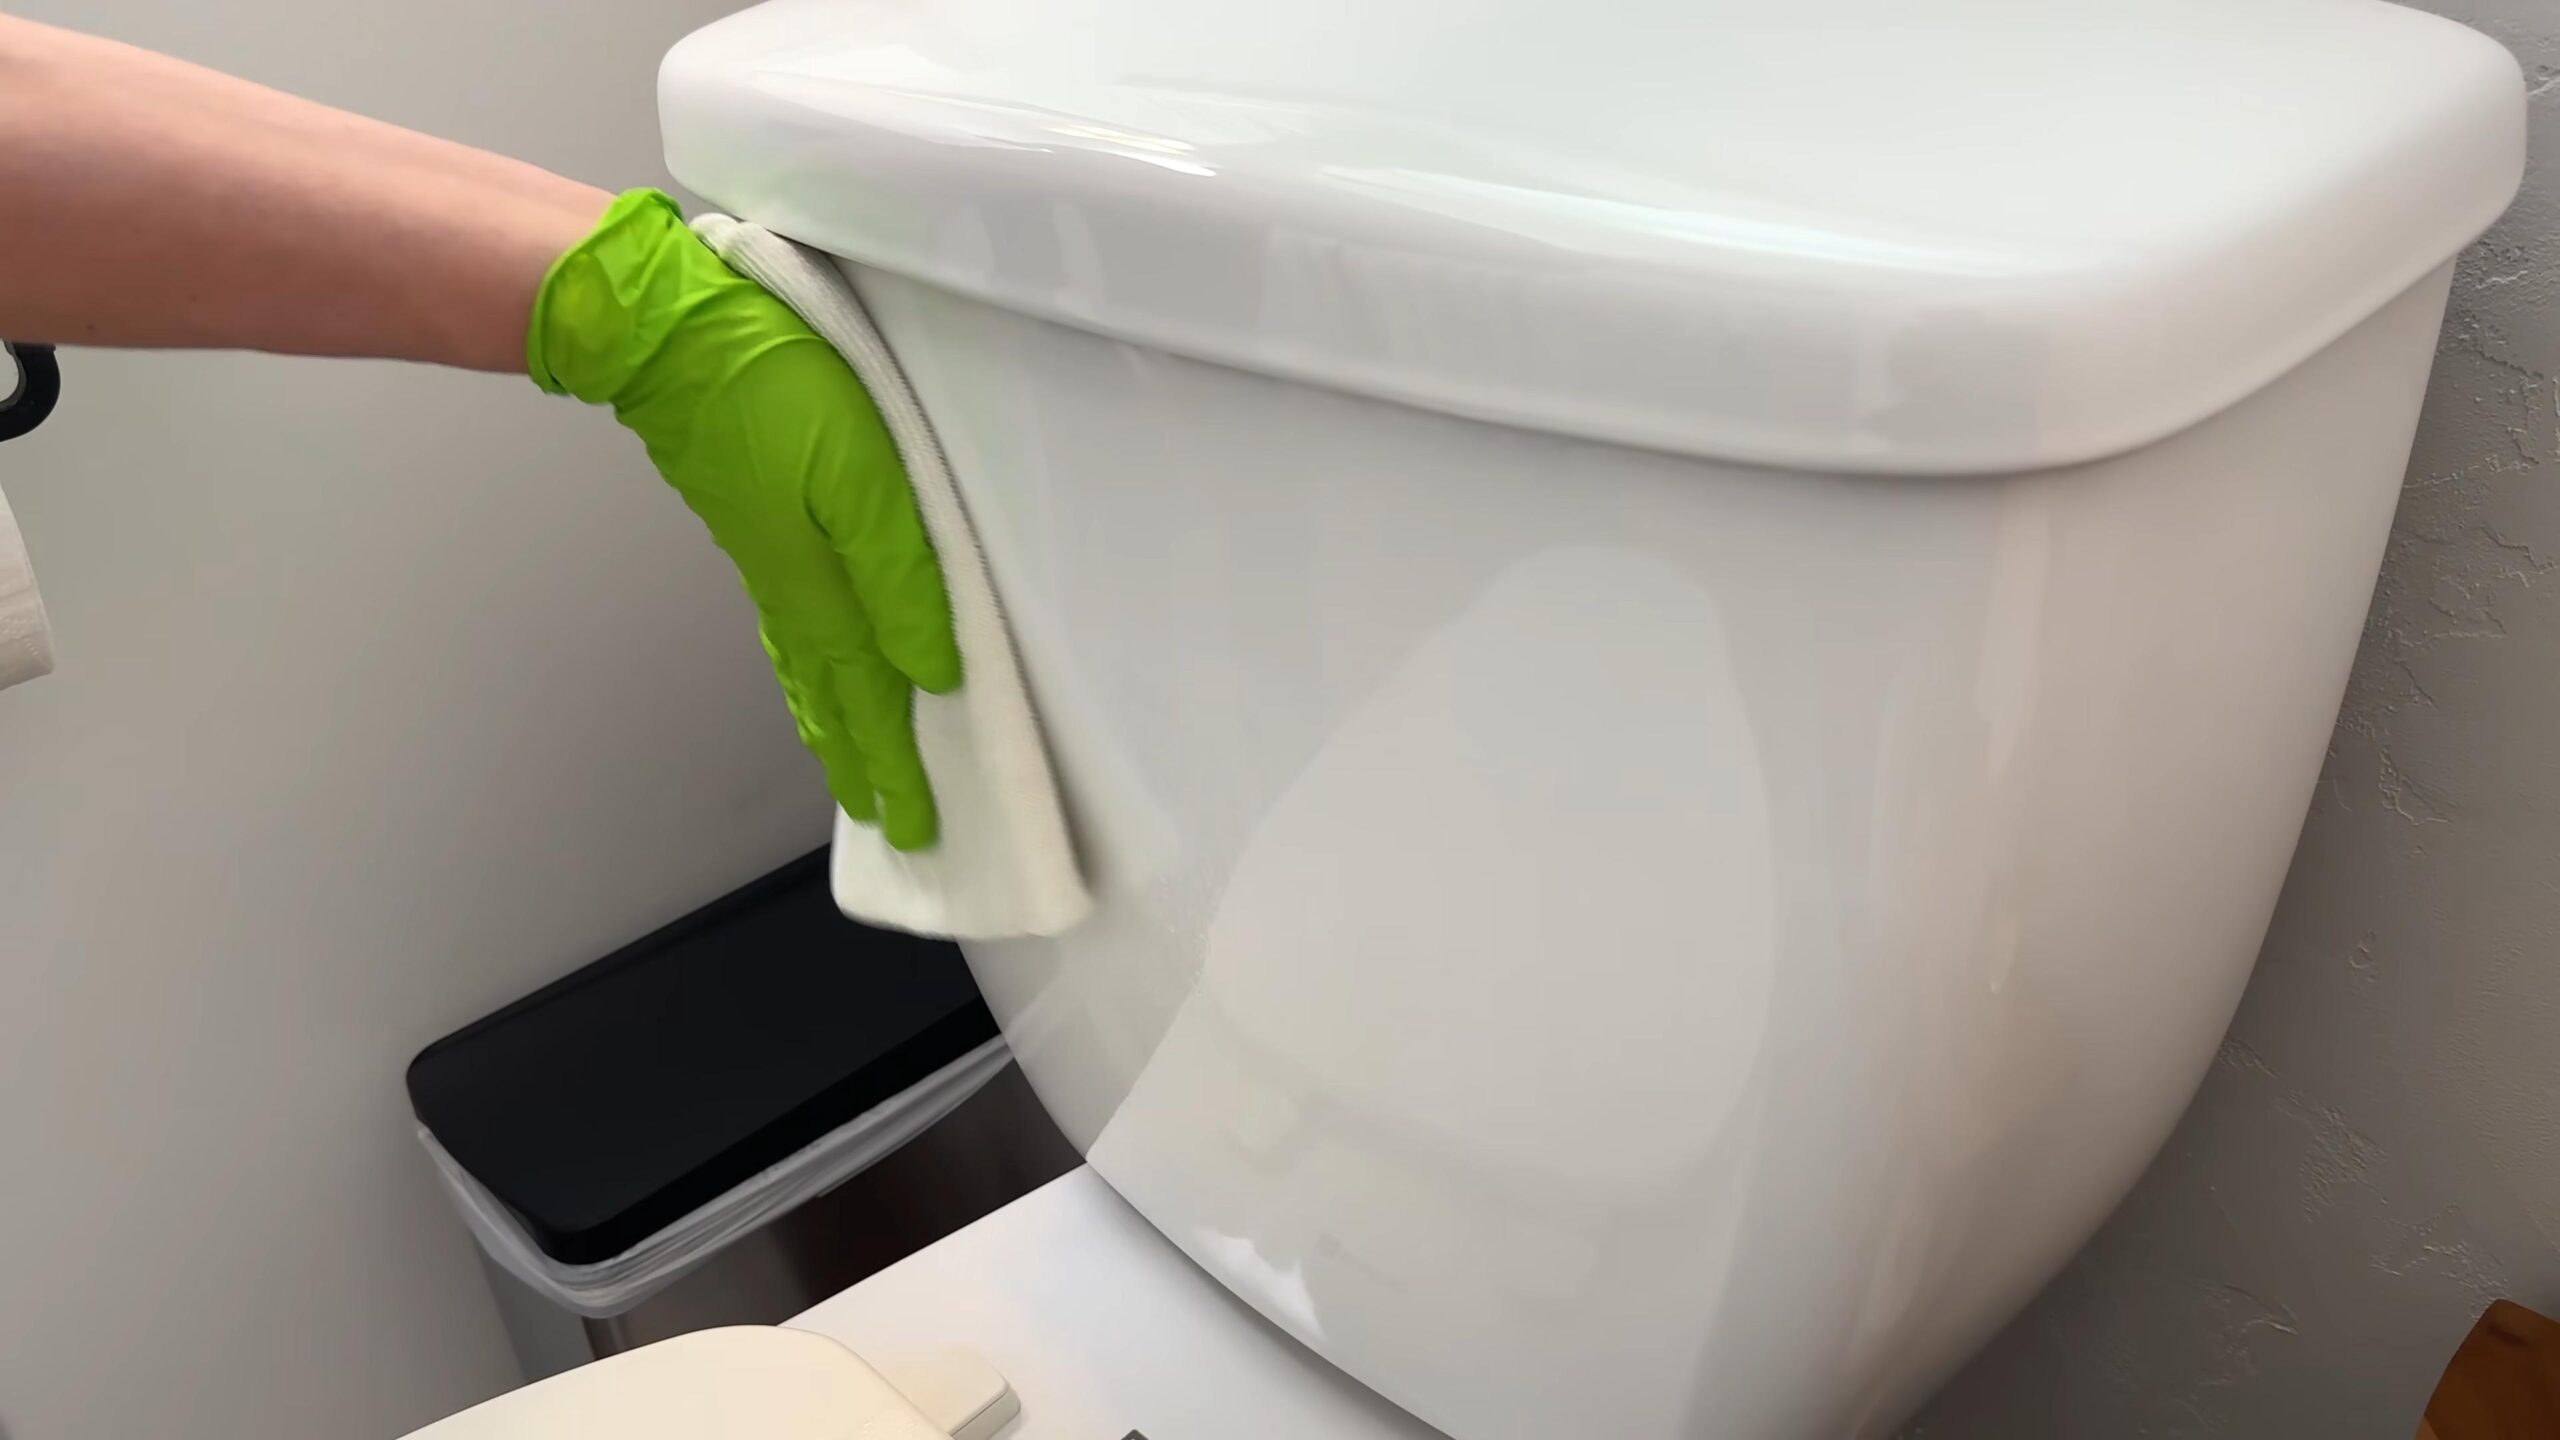
Q: Can this solution be used to clean toilet bowls?
A: Yes, this solution can be used to clean toilet bowls. Pour the solution into the toilet bowl and let it sit for at least 30 minutes, or even overnight for tougher stains. Then, scrub with a toilet brush and flush. For extra cleaning power, you can add baking soda to the toilet bowl before pouring in the vinegar solution. The fizzing action will help to loosen grime and stains.
Leave a Comment