

Clean window tracks – those often-overlooked crevices – can be a real pain, can’t they? I know I’ve certainly struggled with them! But what if I told you that sparkling clean window tracks are within your reach, and you don’t need harsh chemicals or hours of scrubbing?
For generations, keeping homes clean and bright has been a symbol of pride and well-being. Think about it: our grandmothers and great-grandmothers likely had their own secret methods for tackling these dusty, grimy areas. While we might not be using their exact techniques (goodbye, lye soap!), the desire for a clean and healthy home remains the same. In many cultures, a clean home is even associated with good luck and prosperity!
Let’s face it, dirty window tracks aren’t just unsightly; they can actually affect the functionality of your windows. Grime and debris can prevent them from sliding smoothly, leading to drafts and even potential damage. Plus, all that dust and pollen trapped in the tracks can contribute to allergies and poor indoor air quality. That’s why mastering the art of clean window tracks is so important. In this article, I’m going to share some easy and effective DIY tricks and hacks that will have your window tracks looking brand new in no time. Get ready to say goodbye to grime and hello to sparkling clean windows!
DIY Window Track Cleaning: Say Goodbye to Grime!
Okay, let’s face it, window tracks are the forgotten corners of our homes. We clean the glass, maybe even the frames, but those little grooves where the windows slide? They become a haven for dust, dirt, bugs (yuck!), and all sorts of unidentifiable gunk. But fear not! I’m going to show you a super effective, easy-to-follow method to get those tracks sparkling clean. Trust me, you’ll be amazed at the difference it makes!
What You’ll Need: The Cleaning Arsenal
Before we dive in, let’s gather our supplies. You probably have most of these lying around already, which is a bonus!
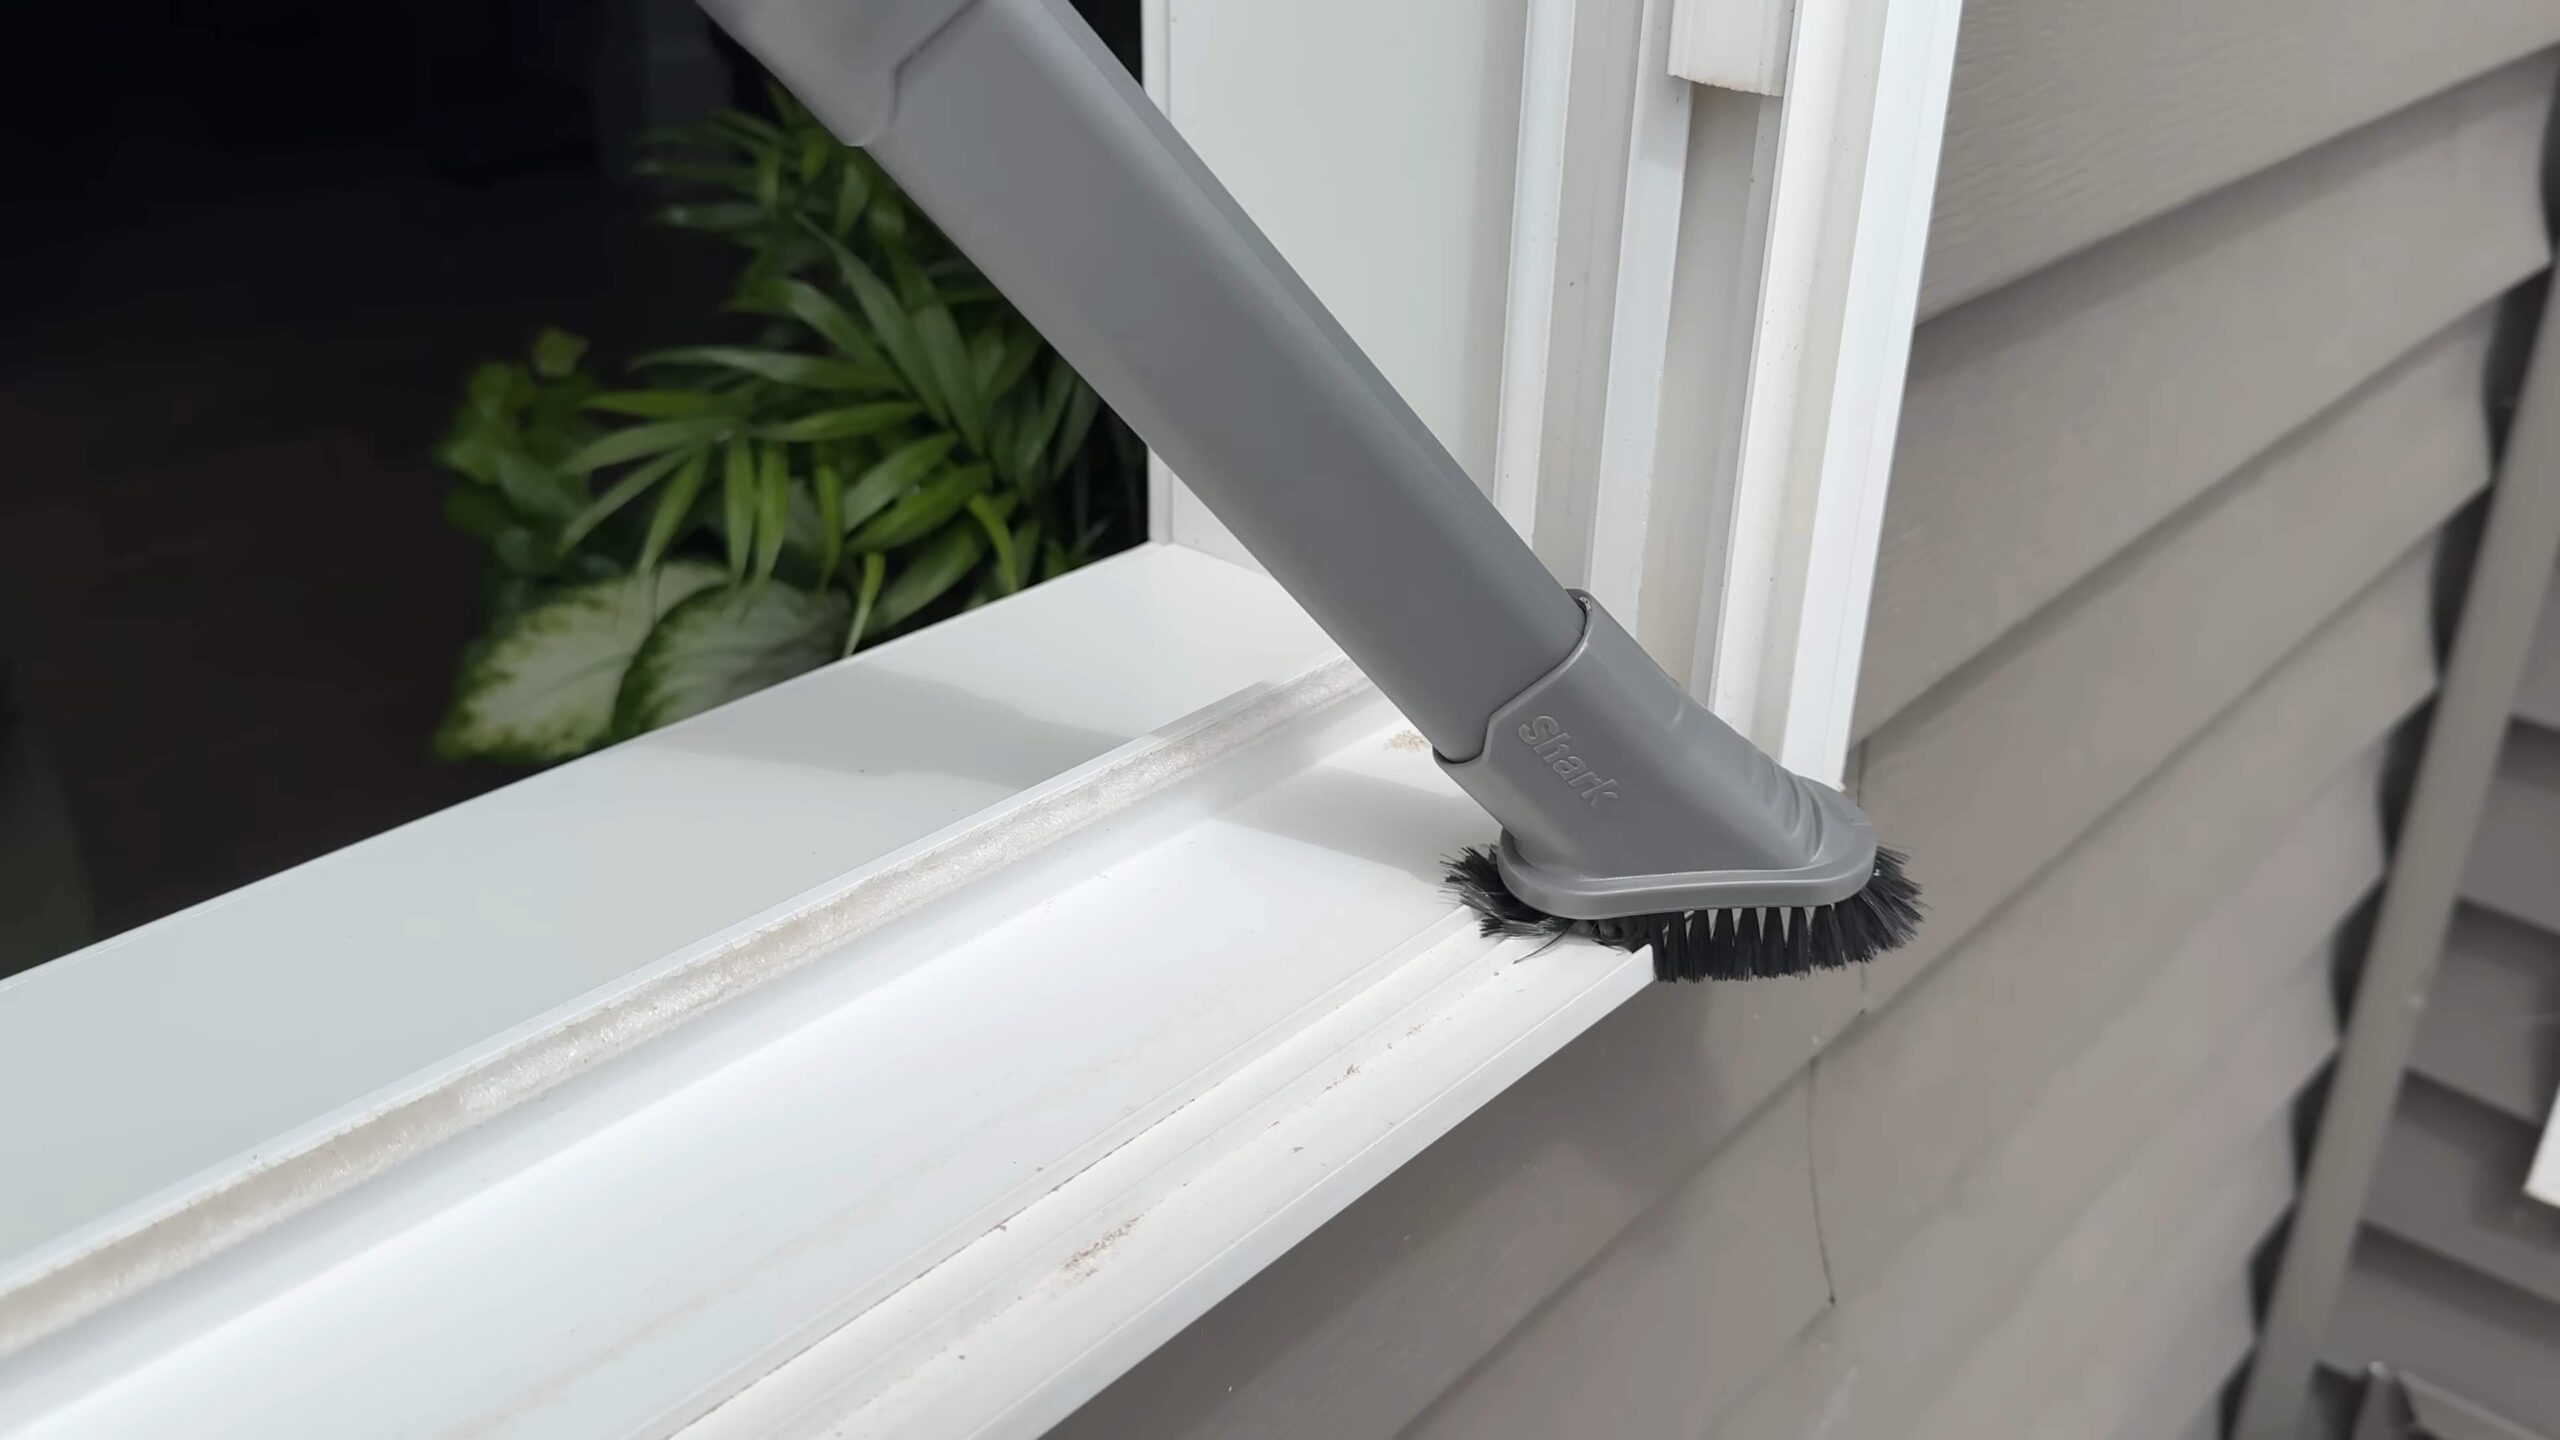
* Vacuum Cleaner with a Hose Attachment: This is crucial for sucking up the loose debris. A narrow crevice tool is ideal.
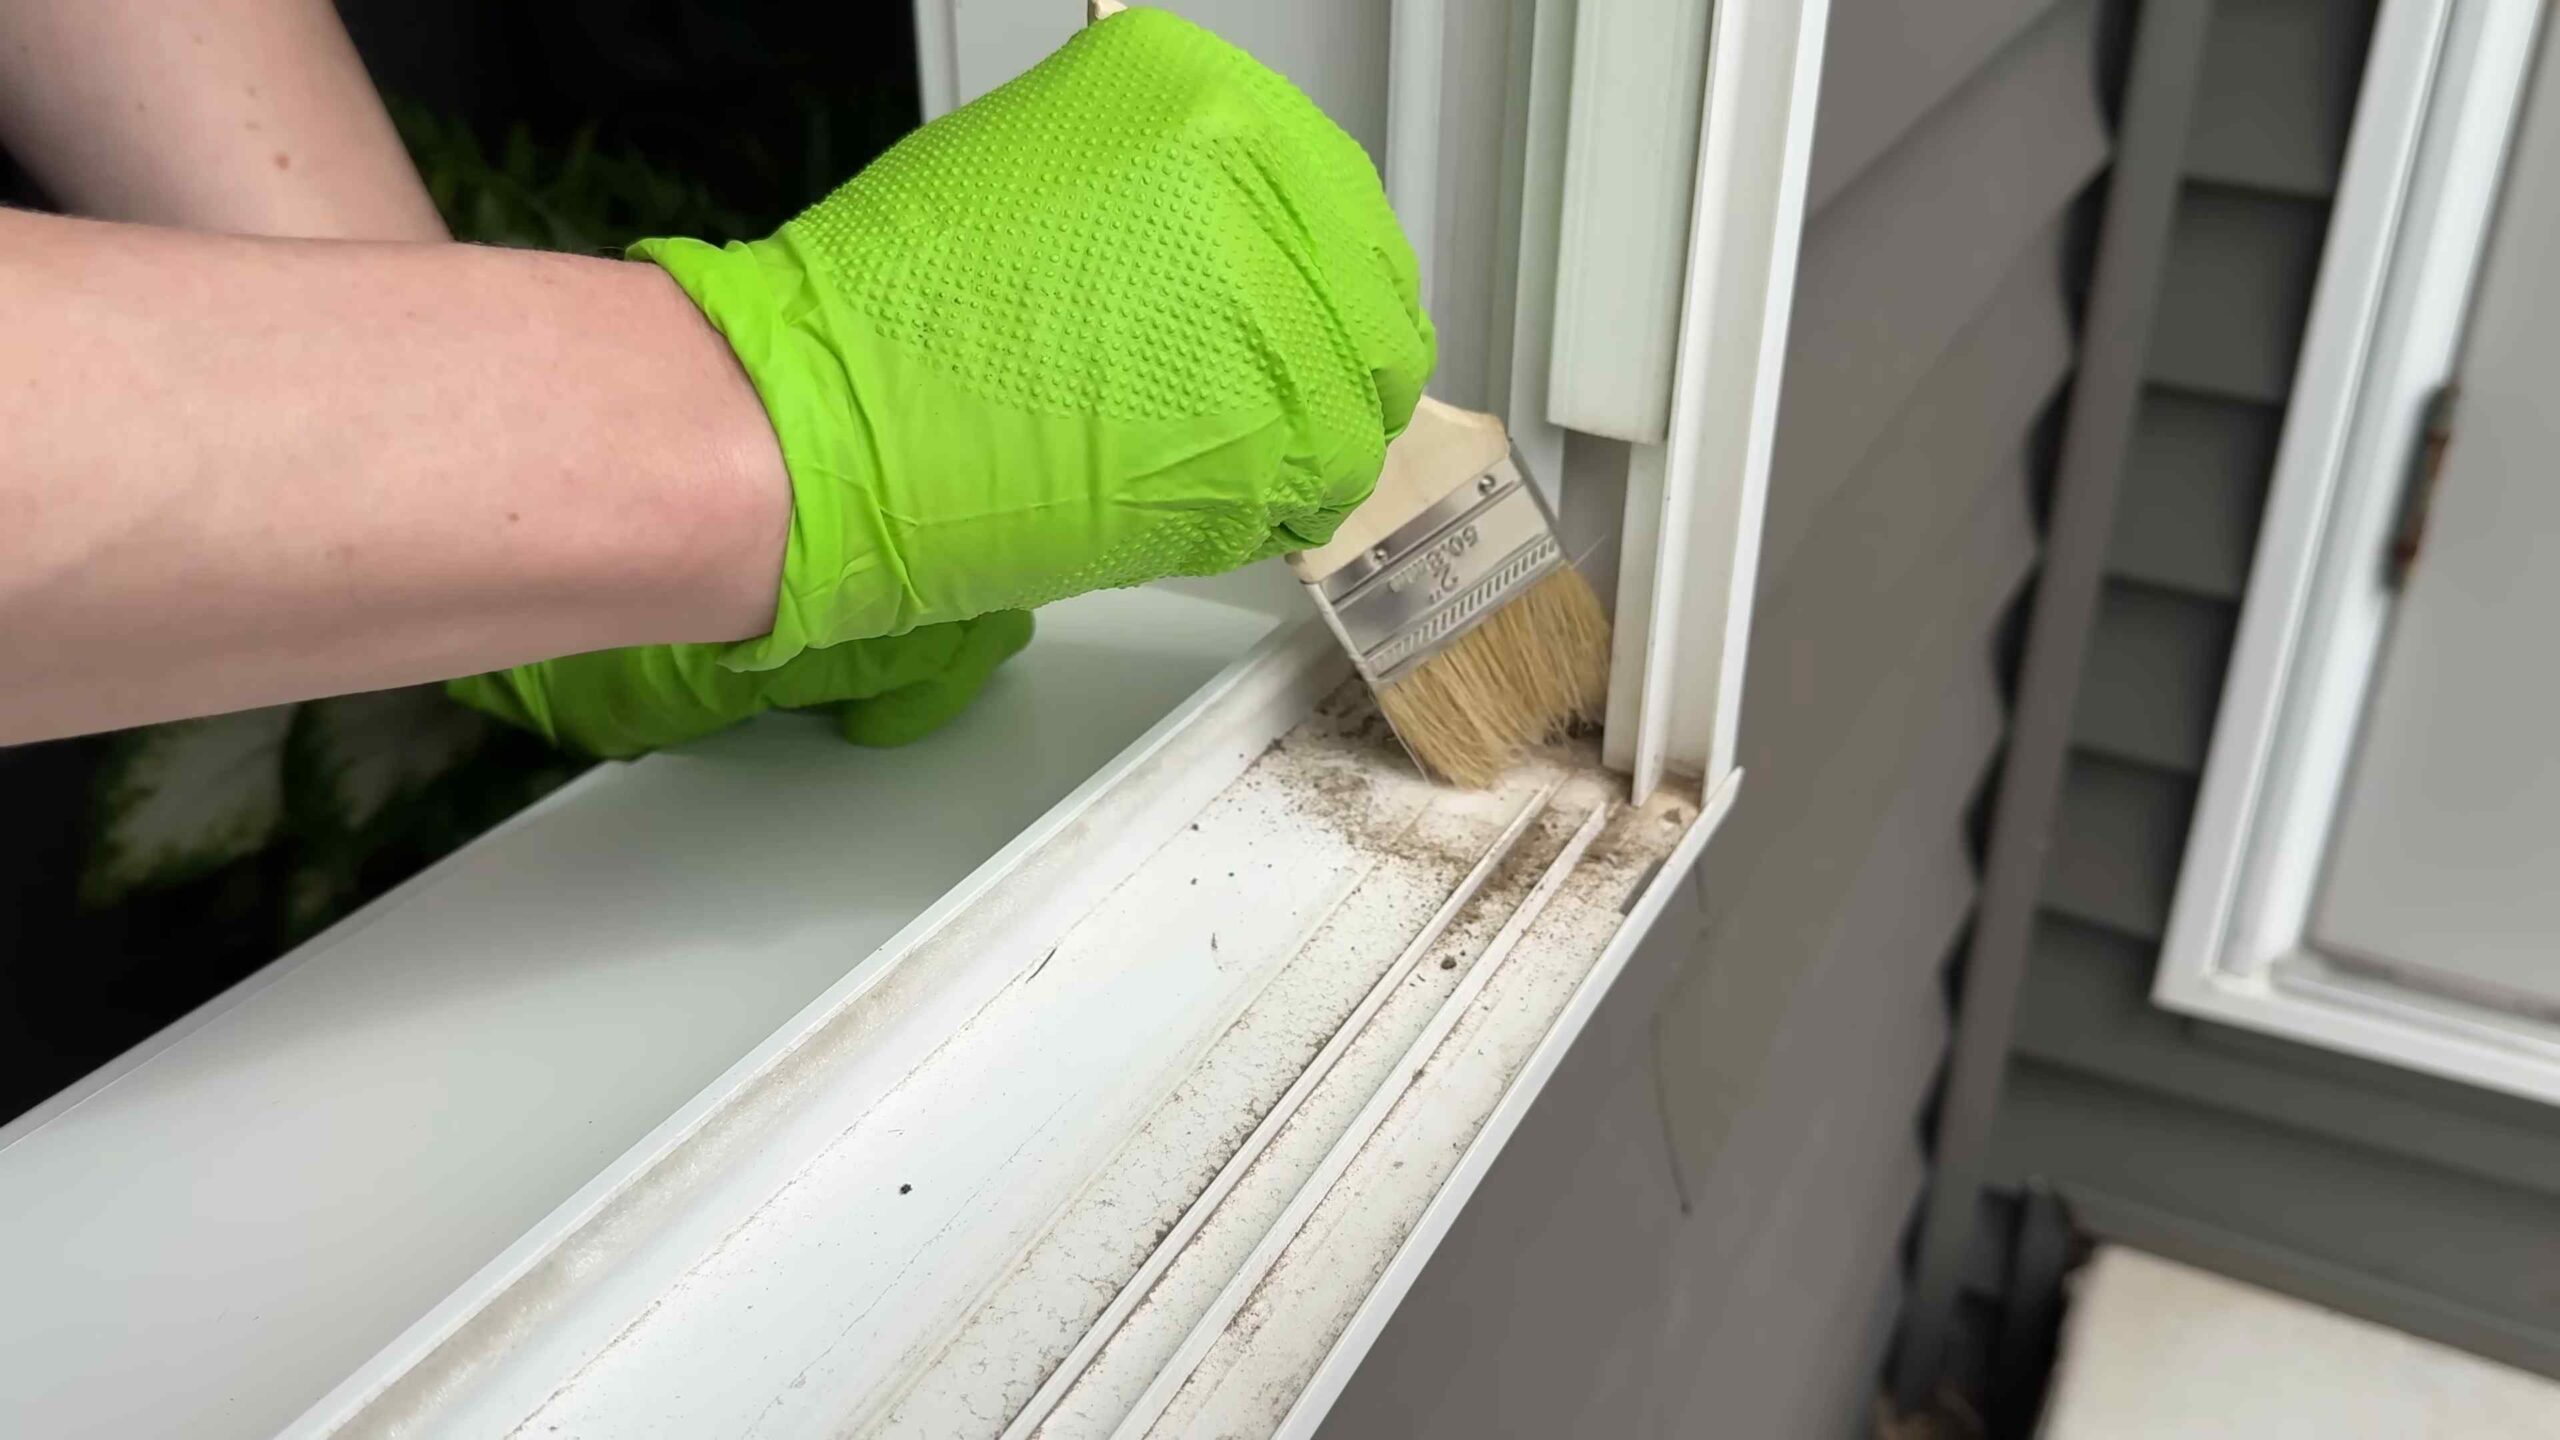
* Old Toothbrush or Small Scrub Brush: For getting into those tight corners and scrubbing away stubborn grime.
* Butter Knife or Putty Knife (Optional): Wrapped in a cloth, this helps dislodge packed-in dirt. Be careful not to scratch the track!
* Microfiber Cloths or Paper Towels: For wiping and drying.
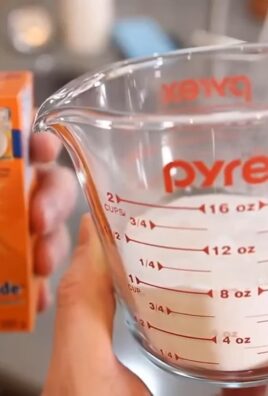
* Spray Bottle: To hold our cleaning solution.
* Baking Soda: Our gentle abrasive and deodorizer.
* White Vinegar: The magic ingredient that fizzes and lifts grime.
* Dish Soap (Optional): For extra cleaning power, especially if you have greasy buildup.
* Water: For rinsing and diluting.
* Cotton Swabs: For those super-tiny, hard-to-reach spots.
* Safety Glasses (Optional): To protect your eyes from splashes.
* Gloves (Optional): To protect your hands, especially if you have sensitive skin.
Step-by-Step Cleaning Guide: From Grimy to Gleaming
Alright, let’s get down to business! Here’s the step-by-step process I use to clean my window tracks.
1. Prepare the Area: Open the window as far as it will go. This gives you the best access to the entire track. Place some old towels or newspaper underneath the window to catch any drips or spills.
2. Vacuum Up the Loose Debris: This is the most important first step! Use your vacuum cleaner with the hose attachment and crevice tool to thoroughly vacuum out all the loose dirt, dust, bugs, and anything else lurking in the tracks. Pay special attention to the corners and any areas where debris is heavily accumulated. Don’t skip this step, it makes the rest of the process much easier!
3. Apply the Baking Soda: Generously sprinkle baking soda all along the window tracks. Don’t be shy! You want a good layer covering the grime.
4. Vinegar Time! Now for the fun part! Slowly pour white vinegar over the baking soda. You’ll see it fizz and bubble – that’s the magic happening! The chemical reaction helps to loosen the dirt and grime. Let the mixture sit for about 5-10 minutes. This gives it time to really work its way into the gunk.
5. Scrub-a-Dub-Dub: Grab your old toothbrush or small scrub brush and start scrubbing the tracks. Focus on areas with heavy buildup. The baking soda and vinegar mixture should have loosened most of the grime, making it easier to scrub away. If you have really stubborn spots, you can add a drop or two of dish soap to your brush for extra cleaning power.
6. The Butter Knife Trick (Optional): For those really stubborn, packed-in areas, wrap a butter knife or putty knife in a microfiber cloth. Carefully use the wrapped knife to gently scrape away the grime. Be extra careful not to scratch the window track! This is especially helpful for removing dried paint or sealant.
7. Wipe Away the Mess: Use a damp microfiber cloth or paper towel to wipe away the baking soda, vinegar, and loosened grime. You may need to rinse the cloth frequently as it gets dirty.
8. Rinse and Repeat (If Necessary): If the tracks are still dirty, rinse them with water from your spray bottle and repeat steps 5-7. Sometimes, it takes a couple of rounds to get them completely clean.
9. Dry Thoroughly: Once the tracks are clean, use a dry microfiber cloth or paper towel to thoroughly dry them. This helps prevent mold and mildew growth.
10. Cotton Swab Detail Work: For those tiny, hard-to-reach corners, use a cotton swab dipped in a little bit of cleaning solution (or just water) to clean out any remaining grime.
Tackling Extra-Tough Grime: Advanced Cleaning Techniques
Sometimes, the standard baking soda and vinegar method isn’t enough to tackle really tough grime. Here are a few extra tricks I’ve learned over the years:
* Dish Soap Power: As mentioned earlier, adding a drop or two of dish soap to your scrub brush can help cut through greasy buildup.
* Magic Eraser: A magic eraser can be surprisingly effective at removing stubborn stains and marks from window tracks. Just be careful not to scrub too hard, as it can be abrasive.
* Steam Cleaner: If you have a steam cleaner, it can be a great way to loosen and remove grime from window tracks. The steam helps to break down the dirt and makes it easier to wipe away.
* Commercial Window Track Cleaners: If all else fails, you can try a commercial window track cleaner. Just be sure to follow the instructions on the label and test it in an inconspicuous area first to make sure it doesn’t damage the track.
Maintaining Your Sparkling Clean Window Tracks: Prevention is Key!
Now that you’ve got your window tracks sparkling clean, you’ll want to keep them that way! Here are a few tips for maintaining your clean tracks:
* Regular Vacuuming: Vacuum the window tracks regularly (at least once a month) to prevent dirt and debris from building up.
* Wipe Up Spills Immediately: If you spill anything in the window tracks, wipe it up immediately to prevent it from drying and becoming difficult to remove.
* Consider a Window Track Brush: There are special brushes designed specifically for cleaning window tracks. These brushes can help you reach into those tight corners and remove dirt and debris more effectively.
* Seal the Gaps: If you have gaps around your windows, consider sealing them with caulk to prevent dirt and bugs from entering the tracks.
Troubleshooting Common Window Track Cleaning Problems
Even with the best cleaning methods, you might encounter a few challenges. Here are some common problems and how to solve them:
* Problem: Grime is too hard to scrub off.
* Solution: Let the baking soda and vinegar mixture sit for a longer period of time (up to 30 minutes). You can also try using a stronger cleaning solution, such as a commercial window track cleaner.
* Problem: Window tracks are scratched.
* Solution: Be more gentle when scrubbing. Avoid using abrasive cleaning tools or harsh chemicals. You can also try using a plastic scraper instead of a metal one.
* Problem: Mold or mildew is present.
* Solution: Use a mold and mildew remover specifically designed for window tracks. Be sure to follow the instructions on the label and wear gloves and safety glasses.
* Problem: Tracks are still dirty after cleaning.
* Solution: Repeat the cleaning process. Sometimes, it takes multiple rounds to get the tracks completely clean.
Why Clean Window Tracks Matter: More Than Just Aesthetics
Cleaning your window tracks isn’t just about making your windows look nicer (although that’s definitely a perk!). It also has several other benefits:
* Improved Air Quality: Dirty window tracks can harbor dust, pollen, and other allergens, which can negatively impact your indoor air quality. Cleaning them regularly can help improve the air you breathe.
* Smoother Window Operation: Clean window tracks allow your windows to slide more smoothly, making them easier to open and close.
* Extended Window Lifespan: Dirt and debris can damage window tracks over time, leading to costly repairs or replacements. Cleaning them regularly can help extend the lifespan of your windows.
* Pest Control: Dirty window tracks can attract pests, such as ants and spiders. Cleaning them regularly can help keep these unwanted guests out of your home.
So, there you have it! A comprehensive guide to cleaning your window tracks like a pro. It might seem like a small task, but trust me, it makes a big difference. Happy cleaning!
Conclusion
So, there you have it! Cleaning window tracks doesn’t have to be a dreaded chore. This simple, DIY trick transforms a grimy, often-overlooked area into a sparkling clean space, and it does so with minimal effort and readily available household items. Forget expensive cleaning solutions and specialized tools; this method is all about resourcefulness and achieving impressive results with what you already have.
Why is this a must-try? Because clean window tracks aren’t just about aesthetics. They contribute to a healthier home environment by eliminating dust, allergens, and even mold that can accumulate in those neglected crevices. A clean track also ensures smooth window operation, preventing sticking and potential damage to your windows over time. Think of it as preventative maintenance that pays off in the long run.
But the beauty of this DIY approach lies in its adaptability. Feel free to experiment with variations to suit your specific needs and preferences. For instance, if you’re dealing with particularly stubborn grime, consider letting the baking soda and vinegar paste sit for a longer period – even overnight – before scrubbing. A toothbrush can be your best friend for reaching those tight corners, while a cotton swab dipped in rubbing alcohol can tackle any lingering residue.
Variations to Consider:
* **Essential Oil Boost:** Add a few drops of your favorite essential oil (like lemon or tea tree) to the vinegar solution for a fresh, clean scent and added antibacterial properties.
* **Borax Power:** For extremely dirty tracks, substitute baking soda with borax for a more powerful cleaning action. Remember to wear gloves when handling borax.
* **Steam Cleaning:** If you have a steam cleaner, use the nozzle attachment to blast away dirt and debris after applying the baking soda and vinegar paste. This can be particularly effective for loosening stubborn grime.
* **Preventative Measures:** Once your window tracks are clean, consider applying a thin layer of silicone lubricant to help prevent future buildup and ensure smooth window operation.
This DIY window track cleaning method is more than just a cleaning hack; it’s a way to take pride in your home and create a more comfortable and inviting living space. It’s about simplifying your cleaning routine and achieving professional-level results without breaking the bank.
We wholeheartedly encourage you to give this DIY trick a try. You’ll be amazed at the difference it makes! And more importantly, we want to hear about your experience. Did you find a variation that worked particularly well for you? Did you encounter any challenges? Share your tips, tricks, and before-and-after photos in the comments below. Let’s create a community of clean window track enthusiasts! Your feedback will not only help others but also inspire us to continue sharing innovative and effective cleaning solutions. So, grab your baking soda, vinegar, and a toothbrush, and get ready to transform your window tracks from grimy to gleaming! We can’t wait to see your results!
Frequently Asked Questions (FAQ)
Q: How often should I clean my window tracks?
A: The frequency of cleaning your window tracks depends on several factors, including your location, the amount of dust and pollen in the air, and whether you have pets. As a general rule, cleaning them every 3-6 months is a good starting point. However, if you live in a dusty area or have pets that shed a lot, you may need to clean them more frequently. Regularly inspecting your window tracks will help you determine the best cleaning schedule for your home. If you notice a buildup of dirt, grime, or mold, it’s time to clean them.
Q: What if the baking soda and vinegar mixture doesn’t remove all the grime?
A: Sometimes, stubborn grime requires a little extra effort. If the initial baking soda and vinegar treatment isn’t enough, try these strategies:
* **Repeat the Process:** Apply another layer of the baking soda and vinegar paste and let it sit for a longer period, even overnight.
* **Use a Stiffer Brush:** Switch to a brush with stiffer bristles, such as a grout brush or a small scrub brush, to help loosen the grime. Be careful not to scratch the window frame.
* **Apply Heat:** Use a hairdryer to gently heat the baking soda and vinegar paste. The heat can help to loosen the grime and make it easier to remove.
* **Try a Commercial Cleaner:** If all else fails, you can try a commercial window track cleaner. Be sure to follow the manufacturer’s instructions carefully and test the cleaner in an inconspicuous area first to ensure it doesn’t damage the window frame.
Q: Can I use this method on vinyl window tracks?
A: Yes, this method is generally safe to use on vinyl window tracks. However, it’s always a good idea to test the baking soda and vinegar mixture in an inconspicuous area first to ensure it doesn’t discolor or damage the vinyl. Avoid using abrasive scrub brushes or harsh chemicals, as these can scratch or damage the vinyl surface.
Q: Is vinegar safe to use around pets and children?
A: Vinegar is generally considered safe to use around pets and children, as it is a natural and non-toxic cleaning agent. However, it’s important to keep vinegar out of reach of children and pets, as ingestion can cause irritation or discomfort. When cleaning with vinegar, ensure the area is well-ventilated to avoid inhaling strong fumes. If you have any concerns about using vinegar around your pets or children, consult with your veterinarian or pediatrician.
Q: How do I prevent window tracks from getting dirty in the first place?
A: Prevention is key to keeping your window tracks clean. Here are some tips to help prevent dirt and grime buildup:
* **Regular Vacuuming:** Vacuum your window tracks regularly to remove loose dirt and debris. Use a crevice tool attachment to reach into tight corners.
* **Wipe Down Regularly:** Wipe down your window tracks with a damp cloth or sponge every few weeks to remove surface dirt and grime.
* **Seal Gaps:** Seal any gaps or cracks around your windows to prevent dust and pollen from entering.
* **Use Window Screens:** Use window screens to prevent insects and debris from entering your home.
* **Trim Landscaping:** Trim any landscaping that is close to your windows to prevent leaves and branches from falling into the tracks.
Q: What type of vacuum cleaner attachment is best for cleaning window tracks?
A: The best type of vacuum cleaner attachment for cleaning window tracks is a crevice tool. This long, narrow attachment is designed to reach into tight spaces and suck up dirt and debris. You can also use a brush attachment to loosen stubborn grime before vacuuming.
Q: Can I use bleach to clean window tracks?
A: While bleach is a powerful cleaning agent, it’s generally not recommended for cleaning window tracks. Bleach can damage certain materials, such as vinyl and aluminum, and it can also release harmful fumes. If you choose to use bleach, dilute it properly and wear gloves and eye protection. Be sure to ventilate the area well and avoid mixing bleach with other cleaning products, as this can create toxic fumes. A safer and more effective alternative is to use the baking soda and vinegar method described above.
Q: My window tracks have mold growing in them. How do I get rid of it?
A: Mold growth in window tracks can be a common problem, especially in humid environments. To remove mold, follow these steps:
1. **Ventilate the Area:** Open windows and doors to ventilate the area.
2. **Wear Protective Gear:** Wear gloves, a mask, and eye protection to protect yourself from mold spores.
3. **Clean with Vinegar:** Spray the moldy areas with white vinegar and let it sit for 10-15 minutes.
4. **Scrub the Area:** Scrub the area with a brush or sponge to remove the mold.
5. **Rinse with Water:** Rinse the area with clean water and dry thoroughly.
6. **Apply Mold Inhibitor:** Apply a mold inhibitor to prevent future growth.
If the mold growth is extensive, you may need to consult with a professional mold remediation company.
Q: What are some other uses for baking soda and vinegar in cleaning?
A: Baking soda and vinegar are versatile cleaning agents that can be used for a variety of cleaning tasks around the home. Here are some other uses:
* **Unclog Drains:** Pour baking soda down the drain, followed by vinegar. Let it fizz for 30 minutes, then flush with hot water.
* **Clean Oven:** Make a paste of baking soda and water and spread it inside the oven. Let it sit overnight, then scrub clean.
* **Remove Hard Water Stains:** Soak items in vinegar to remove hard water stains.
* **Deodorize Refrigerator:** Place an open box of baking soda in the refrigerator to absorb odors.
* **Clean Coffee Maker:** Run a cycle of vinegar and water through your coffee maker to remove mineral buildup.
By using this simple DIY window track cleaning method, you can keep your windows looking their best and create a healthier home environment. Remember to share your experiences and variations with us in the comments below!
Leave a Comment