

Cleaning a filthy house can feel like climbing Mount Everest, right? I totally get it! You look around, and it’s not just a little messy; it’s a full-blown disaster zone. But don’t despair! This isn’t just about tidying up; it’s about reclaiming your space and your sanity. Think of it as a fresh start, a chance to create a haven where you can relax and recharge.
For centuries, cultures around the world have recognized the importance of a clean home. From ancient rituals to modern-day spring cleaning, a tidy space has always been linked to well-being and peace of mind. But let’s be honest, life gets busy, and sometimes cleaning falls by the wayside. That’s where these DIY tricks and hacks come in!
Why do you need these cleaning secrets? Because cleaning a filthy house doesn’t have to be an overwhelming chore. I’m going to share simple, effective strategies that break down the process into manageable steps. You’ll learn how to tackle the toughest grime, banish odors, and create a cleaning routine that actually works for you. Get ready to transform your home from chaos to calm, one DIY trick at a time!
DIY Deep Clean: Transforming Your Filthy House into a Sparkling Sanctuary
Okay, let’s be honest. We’ve all been there. Life gets hectic, and suddenly your house looks like a tornado went through it. Dust bunnies are multiplying, dishes are piling up, and you’re pretty sure something is growing in the fridge. Don’t panic! I’m here to guide you through a deep clean that will leave your house feeling fresh, organized, and, dare I say, enjoyable to be in. This isn’t just a surface clean; we’re tackling the grime and clutter head-on.
Phase 1: The Great Declutter
Before we even think about cleaning, we need to get rid of the excess stuff. This is crucial because cleaning around clutter is like trying to paint a room with furniture still in it – frustrating and inefficient.
* **Goal:** Remove all unnecessary items and organize what remains.
* **Tools:** Trash bags, boxes for donations, cleaning caddy (optional, but helpful).
* **Mindset:** Be ruthless! If you haven’t used it in a year and don’t love it, it’s time to let it go.
**Step-by-Step Instructions:**
1. **Choose a Room (or Area) to Start:** Don’t try to tackle the whole house at once. Overwhelm is the enemy! Pick a manageable area, like a single room or even just a corner. I usually start with the living room because it’s the most visible and a clean living room instantly makes me feel better.
2. **Grab Your Supplies:** Arm yourself with trash bags, donation boxes, and maybe a laundry basket for items that belong in other rooms.
3. **The Three-Box Method:** This is my secret weapon. Create three piles:
* **Trash:** Anything broken, unusable, or just plain unwanted.
* **Donations:** Items in good condition that you no longer need.
* **Relocate:** Items that belong in other rooms.
4. **Work Systematically:** Go through the chosen area item by item. Ask yourself these questions:
* Have I used this in the past year?
* Do I love it?
* Is it broken or damaged?
* Do I have multiples of this item?
Based on your answers, place the item in the appropriate pile. Be honest with yourself!
5. **Empty Surfaces:** Clear off all surfaces – tables, shelves, countertops. This will make cleaning much easier later.
6. **Deal with the Piles Immediately:** Don’t let the trash and donation piles sit around. Take out the trash and put the donation boxes in your car. The “Relocate” pile can wait until you’ve decluttered the entire house, but don’t forget about it!
7. **Repeat for Each Room:** Move on to the next room or area and repeat the process. Remember to take breaks! Decluttering can be mentally exhausting.
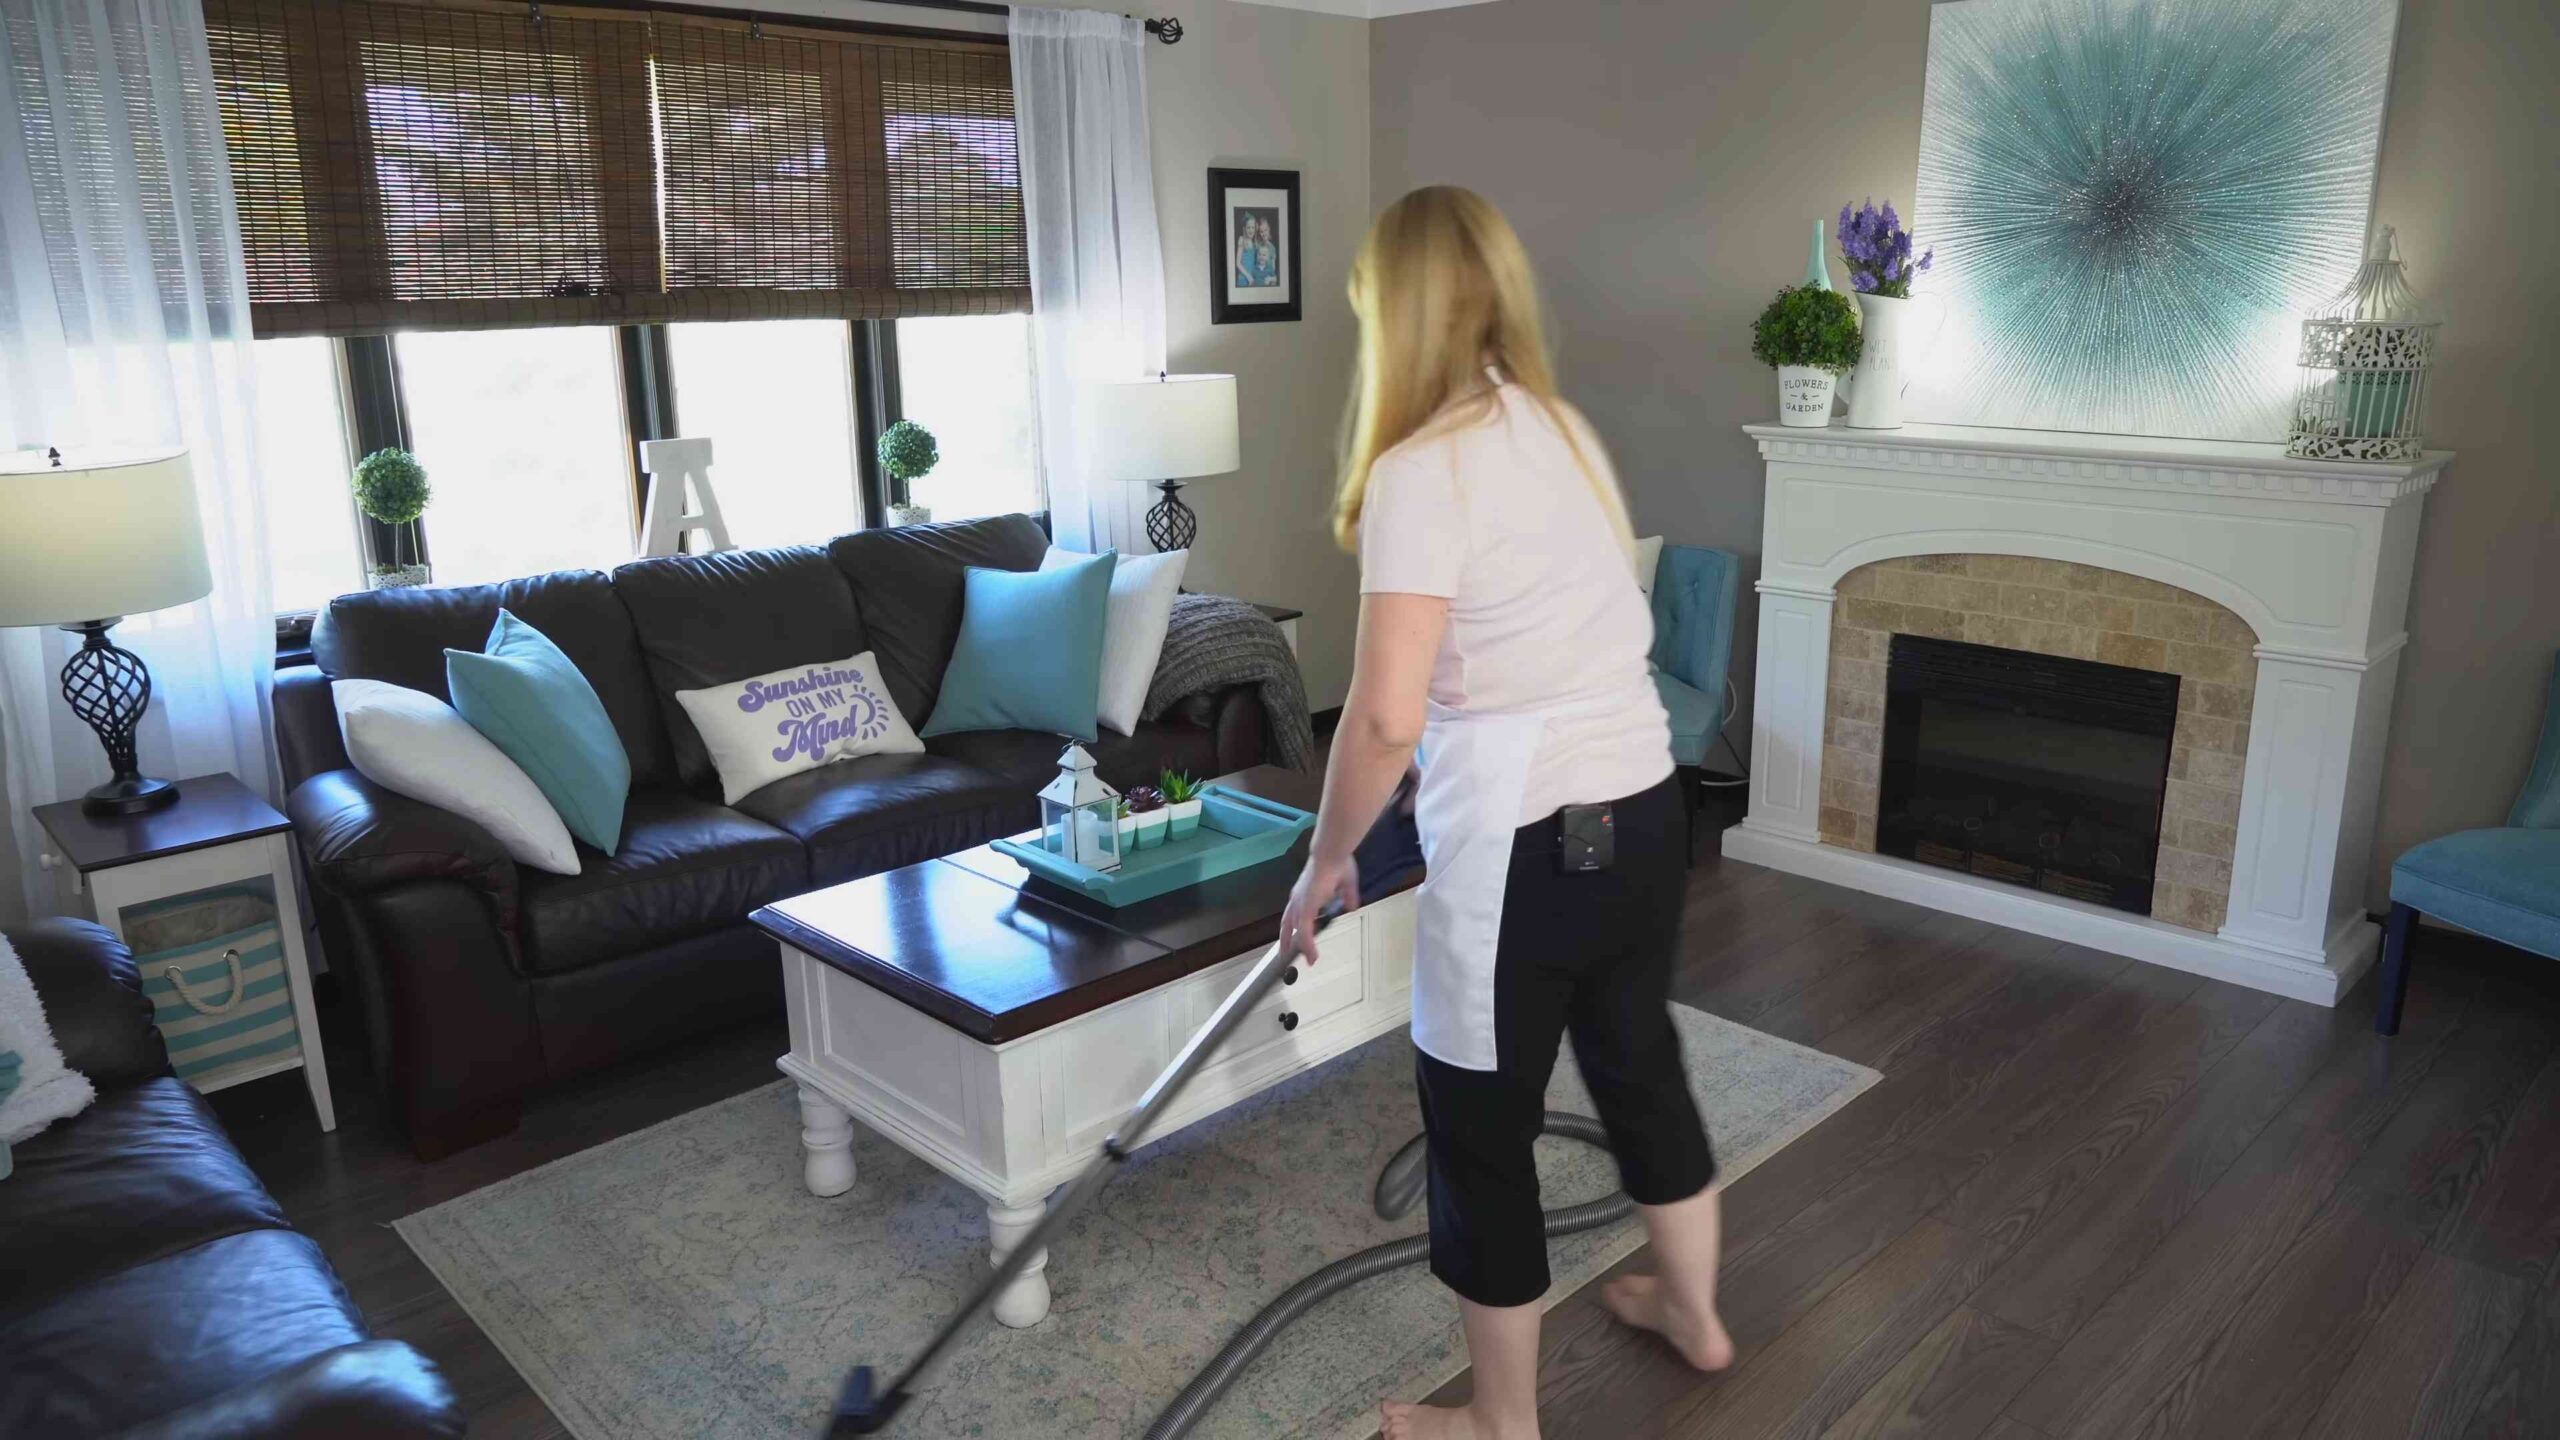
Phase 2: Dusting and Vacuuming – The Foundation of Clean
Now that we’ve decluttered, it’s time to tackle the dust and dirt. This is the foundation of a clean house, and it makes a huge difference in how everything looks and feels.
* **Goal:** Remove dust, dirt, and debris from all surfaces.
* **Tools:** Microfiber cloths, duster (extendable is great for high places), vacuum cleaner (with attachments), broom, mop.
**Step-by-Step Instructions:**
1. **Dust High to Low:** Always start with the highest surfaces and work your way down. This prevents dust from falling onto already cleaned areas. Use an extendable duster to reach ceiling fans, light fixtures, and high shelves.
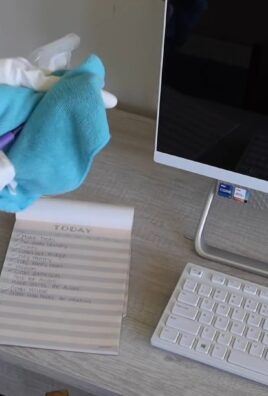
2. **Dust All Surfaces:** Dust everything – shelves, furniture, picture frames, lamps, window sills, baseboards. Use a slightly damp microfiber cloth for surfaces that can handle moisture.
3. **Vacuum Upholstery:** Use the upholstery attachment on your vacuum cleaner to clean sofas, chairs, and other upholstered furniture. Pay special attention to crevices where crumbs and dust tend to accumulate.
4. **Vacuum Floors:** Vacuum all floors thoroughly, including under furniture and in corners. Use the appropriate attachment for different floor types (hardwood, carpet, tile).
5. **Sweep Hard Floors:** If you have hard floors, sweep them before vacuuming to remove larger debris.
6. **Mop Hard Floors:** After sweeping and vacuuming, mop hard floors with a cleaning solution appropriate for your floor type. I love using a steam mop for a quick and effective clean.
7. **Don’t Forget the Details:** Dust and vacuum areas that are often overlooked, such as:
* Behind furniture
* Under rugs
* Inside drawers and cabinets (if they’re particularly dusty)
* Air vents
Phase 3: Kitchen Chaos Control
The kitchen is often the dirtiest room in the house. Food spills, grease splatters, and lingering odors can make it a real challenge to clean. But with a systematic approach, you can transform your kitchen from a disaster zone into a sparkling, hygienic space.
* **Goal:** Deep clean all kitchen surfaces and appliances.
* **Tools:** All-purpose cleaner, degreaser, dish soap, sponges, scrub brushes, oven cleaner, refrigerator cleaner, microfiber cloths.
**Step-by-Step Instructions:**
1. **Clear the Counters:** Remove everything from the countertops – appliances, utensils, canisters. This will give you a clear surface to work with.
2. **Clean the Counters:** Spray the countertops with an all-purpose cleaner and wipe them down with a clean microfiber cloth. Pay special attention to areas where food spills are common.
3. **Clean the Sink:** Scrub the sink with dish soap and a scrub brush. Rinse thoroughly and dry with a clean cloth. Don’t forget to clean the faucet and drain.
4. **Clean the Stovetop:** Remove the grates and burner caps from the stovetop. Soak them in hot, soapy water. Spray the stovetop with a degreaser and let it sit for a few minutes. Then, scrub it clean with a sponge or scrub brush. Rinse thoroughly and dry with a clean cloth. Clean the grates and burner caps and replace them.
5. **Clean the Oven:** This is often the most dreaded task, but it’s essential for a clean kitchen. Follow the instructions on your oven cleaner. Some require you to preheat the oven, while others can be used on a cold oven. Be sure to wear gloves and eye protection when using oven cleaner.
6. **Clean the Microwave:** Heat a cup of water with a few tablespoons of vinegar in the microwave for a few minutes. This will loosen any stuck-on food. Then, wipe down the inside of the microwave with a sponge or cloth.
7. **Clean the Refrigerator:** Remove all food from the refrigerator. Throw away any expired or spoiled items. Wipe down the shelves, drawers, and walls with a refrigerator cleaner or a solution of baking soda and water.
8. **Clean the Dishwasher:** Run an empty dishwasher cycle with a dishwasher cleaner. This will remove any buildup and freshen the dishwasher.
9. **Clean the Cabinets:** Wipe down the cabinet doors and drawers with an all-purpose cleaner. Pay special attention to areas around the handles, where fingerprints and grime tend to accumulate.
10. **Clean the Floor:** Sweep and mop the kitchen floor.
Phase 4: Bathroom Bliss – Sanitizing and Refreshing
The bathroom is another area that requires special attention. We need to sanitize surfaces, remove soap scum, and eliminate odors.
* **Goal:** Deep clean all bathroom surfaces and fixtures.
* **Tools:** Bathroom cleaner, toilet bowl cleaner, glass cleaner, sponges, scrub brushes, microfiber cloths, bleach (optional, for disinfecting).
**Step-by-Step Instructions:**
1. **Clear the Counters:** Remove everything from the countertops – toiletries, makeup, hair products.
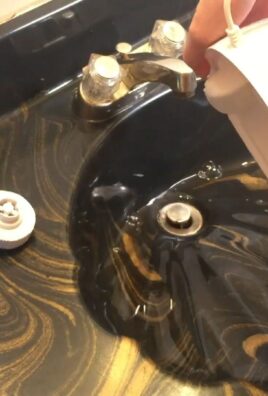
2. **Clean the Counters and Sink:** Spray the countertops and sink with a bathroom cleaner and wipe them down with a clean microfiber cloth. Pay special attention to areas around the faucet and drain.
3. **Clean the Toilet:** Apply toilet bowl cleaner to the inside of the toilet bowl. Let it sit for a few minutes, then scrub with a toilet brush. Flush the toilet. Wipe down the outside of the toilet with a bathroom cleaner.
4. **Clean the Shower or Tub:** Spray the shower or tub with a bathroom cleaner. Let it sit for a few minutes, then scrub with a sponge or scrub brush. Rinse thoroughly. If you have soap scum buildup, you may need to use a specialized soap scum remover.
5. **Clean the Showerhead:** Soak the showerhead in a bag filled with vinegar overnight to remove mineral deposits.
6. **Clean the Mirror:** Spray the mirror with glass cleaner and wipe it down with a clean microfiber cloth.
7. **Clean the Floor:** Sweep and mop the bathroom floor.
8. **Clean the Shower Curtain or Door:** Wash the shower curtain in the washing machine or wipe down the shower door with a bathroom cleaner.
Phase 5: Finishing Tou

Conclusion
So, there you have it! Transforming a filthy house into a sparkling sanctuary doesn’t require a magic wand or a small fortune spent on professional cleaners. This DIY cleaning trick, combining readily available ingredients and a systematic approach, is a game-changer for anyone facing an overwhelming mess. We’ve shown you how to tackle the grime, conquer the clutter, and reclaim your living space, all while saving money and potentially using more eco-friendly solutions.
The beauty of this method lies in its adaptability. Feel free to adjust the cleaning solutions to suit your specific needs and preferences. For instance, if you’re sensitive to strong scents, opt for essential oils like lavender or lemon instead of commercial fragrances. If you have stubborn stains on your carpets, consider adding a bit of baking soda to your carpet cleaning solution for extra lifting power. For hardwood floors, ensure your cleaning solution is pH-neutral to prevent damage. Remember to always test any cleaning solution in an inconspicuous area first to ensure it doesn’t discolor or damage the surface.
Beyond the basic steps, consider incorporating some variations to personalize your cleaning routine. For example, invest in a good quality microfiber mop and cloths. These are incredibly effective at trapping dirt and grime, and they’re reusable, making them a more sustainable choice. Another great addition is a steam cleaner. These are fantastic for sanitizing surfaces without the need for harsh chemicals, particularly in bathrooms and kitchens.
Don’t be intimidated by the initial challenge. Breaking down the cleaning process into manageable tasks, focusing on one room or area at a time, makes the entire endeavor far less daunting. Remember to celebrate your progress along the way! A clean and organized home is not just aesthetically pleasing; it’s also beneficial for your mental and physical well-being. It reduces stress, improves air quality, and creates a more comfortable and inviting environment for you and your loved ones.
We wholeheartedly encourage you to try this DIY cleaning trick and experience the satisfaction of transforming your filthy house into a haven of cleanliness. The results speak for themselves, and we’re confident that you’ll be amazed at what you can achieve with a little elbow grease and the right approach.
But the journey doesn’t end here! We want to hear about your experiences. Did you find this method helpful? Did you discover any variations that worked particularly well for you? Share your tips, tricks, and before-and-after photos in the comments below. Let’s create a community of cleaning enthusiasts who support and inspire each other to maintain clean and healthy homes. Your feedback is invaluable, and it will help us refine and improve this guide for future readers. So, roll up your sleeves, grab your cleaning supplies, and get ready to transform your space! We can’t wait to hear your success stories. Remember, a clean home is a happy home, and you deserve to live in a space that brings you joy and comfort.
Frequently Asked Questions (FAQ)
Q: How often should I deep clean my house using this method?
A: The frequency of deep cleaning depends on several factors, including the size of your household, the presence of pets, and your personal lifestyle. As a general guideline, a deep clean every 3-6 months is recommended for most homes. However, if you have young children or pets, or if you frequently entertain guests, you may want to deep clean more often, perhaps every 2-3 months. Regular maintenance cleaning, such as wiping down surfaces, vacuuming, and mopping, should be done weekly to prevent dirt and grime from building up. This will make your deep cleans less overwhelming and more manageable. Consider creating a cleaning schedule to stay on track and ensure that all areas of your home receive the attention they need.
Q: What if I don’t have all the ingredients listed in the cleaning solutions? Can I substitute anything?
A: Absolutely! The beauty of DIY cleaning is its flexibility. Many ingredients can be substituted based on what you have on hand. For example, if you don’t have white vinegar, you can use lemon juice as a substitute. Both are acidic and effective at cutting through grease and grime. If you’re out of baking soda, you can use washing soda, which is a stronger alkaline cleaner. However, be cautious when using washing soda, as it can be more abrasive and may not be suitable for all surfaces. For dish soap, any mild liquid soap will work. If you’re looking for a more eco-friendly option, consider using castile soap. Remember to always test any new cleaning solution in an inconspicuous area first to ensure it doesn’t damage the surface.
Q: I have allergies. Are there any alternative cleaning solutions I can use that are less irritating?
A: Yes, there are several allergy-friendly cleaning options available. Opt for fragrance-free cleaning products or make your own using natural ingredients like vinegar, baking soda, and essential oils. When using essential oils, choose those known for their cleaning properties and low allergenicity, such as tea tree oil, eucalyptus oil, or lavender oil. Always dilute essential oils properly before use, as they can be irritating in concentrated form. Wear gloves and a mask while cleaning to minimize exposure to allergens. Ensure good ventilation by opening windows or using an air purifier. Consider using a vacuum cleaner with a HEPA filter to trap dust mites and other allergens.
Q: How do I deal with stubborn stains, like grease in the kitchen or mildew in the bathroom?
A: Stubborn stains require a bit more attention and targeted cleaning solutions. For grease in the kitchen, create a paste of baking soda and water and apply it to the stain. Let it sit for 15-20 minutes before scrubbing and wiping clean. For mildew in the bathroom, mix equal parts white vinegar and water in a spray bottle. Spray the affected area and let it sit for at least 30 minutes before scrubbing with a brush. For particularly stubborn mildew, you can use a solution of bleach and water, but be sure to wear gloves and a mask and ventilate the area well. Always test any cleaning solution in an inconspicuous area first to ensure it doesn’t damage the surface.
Q: What’s the best way to keep my house clean after I’ve done a deep clean?
A: Maintaining a clean house after a deep clean is all about establishing good habits and routines. Make it a habit to clean up spills and messes immediately. Wipe down surfaces after each use, and do a quick tidy-up each evening before bed. Implement a daily or weekly cleaning schedule to stay on track. Delegate tasks to other members of the household to share the workload. Invest in good quality cleaning tools and supplies to make the job easier. Consider using a robot vacuum to help keep floors clean between deep cleans. Most importantly, be consistent with your cleaning efforts. A little bit of maintenance each day or week will prevent dirt and grime from building up and make your deep cleans less frequent and less overwhelming. Remember, a clean home is a happy home, and it’s worth the effort to maintain a clean and comfortable living space.

Leave a Comment