

Cleaning hacks for disabled elderly can be a game-changer, transforming daunting chores into manageable tasks. Let’s face it, maintaining a clean and comfortable home is vital for everyone’s well-being, but it can present unique challenges for seniors with disabilities. I understand this firsthand, and I’m excited to share some simple yet effective DIY cleaning tricks that can make a real difference.
Historically, cleanliness has always been associated with health and well-being across cultures. Think about the ancient Roman bathhouses or the meticulous cleaning rituals in many Eastern traditions. While the methods have evolved, the underlying principle remains the same: a clean environment contributes to a healthier and happier life.
But why are these cleaning hacks for disabled elderly so crucial? Because they empower individuals to maintain their independence and dignity. No one wants to feel like a burden or be forced to rely entirely on others for basic household tasks. These DIY solutions are designed to simplify cleaning routines, reduce physical strain, and promote a sense of control and accomplishment. I’m here to show you how to make cleaning easier, safer, and more enjoyable, allowing you or your loved ones to thrive in a clean and comfortable home.

DIY Cleaning Hacks for Easier Living: A Guide for the Disabled and Elderly
Hey everyone! I know keeping a clean home can be a real challenge, especially when mobility or energy levels aren’t what they used to be. But don’t worry, I’ve got some tried-and-true cleaning hacks that I’ve personally used and adapted to make things easier. These tips are designed to minimize strain, maximize efficiency, and help you maintain a comfortable and clean living space. Let’s dive in!
Gathering Your Arsenal: Essential Cleaning Supplies
Before we start, let’s make sure we have everything we need. Having the right tools within easy reach is half the battle!
* Lightweight Vacuum Cleaner: A cordless stick vacuum or a robotic vacuum can be a lifesaver. Look for models that are easy to maneuver and don’t require a lot of bending.
* Long-Handled Duster: Perfect for reaching high shelves, ceiling fans, and those pesky cobwebs in corners.
* Microfiber Cloths: These are amazing for dusting, wiping surfaces, and polishing. They’re super absorbent and reusable.
* Spray Bottles: Fill these with your favorite cleaning solutions (or homemade ones, which we’ll get to!).
* All-Purpose Cleaner: Choose a cleaner that’s effective on multiple surfaces.
* Bathroom Cleaner: Specifically designed for tackling soap scum and mildew.
* Dish Soap: For washing dishes and general cleaning.
* Baking Soda: A natural and versatile cleaner for scrubbing, deodorizing, and more.
* White Vinegar: Another natural powerhouse for cleaning, disinfecting, and removing hard water stains.
* Toilet Bowl Cleaner: For keeping your toilet fresh and clean.
* Rubber Gloves: Protect your hands from harsh chemicals and hot water.
* Cleaning Caddy or Cart: This will help you transport your supplies from room to room without straining yourself.
* Grabber Tool: An absolute must-have for picking up items from the floor without bending over.
* Comfortable Stool or Chair: For tasks that require you to sit down, like cleaning the bathtub or scrubbing floors.
Hack #1: The Power of Pre-Soaking
This is one of my favorite time-saving tricks! Pre-soaking allows cleaning solutions to work their magic, loosening dirt and grime so you don’t have to scrub as hard.
Step-by-Step Instructions:
1. Identify the Problem Area: Whether it’s a greasy stovetop, a stained sink, or a grimy shower, identify the area that needs some extra attention.
2. Apply Your Cleaning Solution: Generously spray or pour your chosen cleaning solution onto the affected area. For stubborn stains, you can even make a paste of baking soda and water.
3. Let it Soak: This is the key! Allow the solution to sit for at least 15-30 minutes, or even longer for really tough messes. The longer it soaks, the less scrubbing you’ll have to do.
4. Wipe or Scrub: After soaking, wipe away the loosened dirt and grime with a microfiber cloth or a non-abrasive sponge. If needed, give it a gentle scrub.
5. Rinse and Dry: Rinse the area with clean water and dry with a clean cloth.
Hack #2: Conquering the Bathroom with Ease
Bathrooms can be a real pain to clean, but these tips will make the process much more manageable.
Cleaning the Shower/Tub
1. Spray Down with Bathroom Cleaner: After showering, while the walls are still damp, spray the shower walls and tub with a bathroom cleaner. This will help prevent soap scum buildup.
2. Use a Long-Handled Scrub Brush: This will allow you to reach all areas of the shower without bending or straining.
3. Pre-Soak Stubborn Areas: For tough soap scum or mildew stains, pre-soak with a mixture of vinegar and water.
4. Rinse Thoroughly: Rinse the shower walls and tub with clean water.
5. Squeegee the Walls: Use a squeegee to remove excess water and prevent water spots.
Cleaning the Toilet
1. Apply Toilet Bowl Cleaner: Squirt toilet bowl cleaner around the rim of the toilet bowl.
2. Let it Sit: Allow the cleaner to sit for at least 10 minutes.
3. Scrub the Bowl: Use a toilet brush to scrub the inside of the bowl.
4. Flush: Flush the toilet to rinse away the cleaner and debris.
5. Wipe Down the Exterior: Use a disinfectant wipe or spray to clean the exterior of the toilet, including the seat, lid, and base.
Cleaning the Sink and Countertop
1. Clear the Area: Remove any items from the sink and countertop.
2. Spray with All-Purpose Cleaner: Spray the sink and countertop with an all-purpose cleaner.
3. Wipe Clean: Wipe the surfaces clean with a microfiber cloth.
4. Polish with a Dry Cloth: Use a dry microfiber cloth to polish the sink and countertop for a sparkling finish.
Hack #3: Kitchen Cleaning Simplified
The kitchen is another area that can quickly become overwhelming. Here’s how to keep it clean without breaking a sweat.
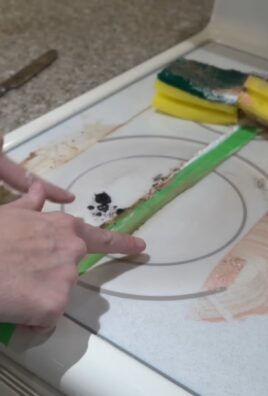
Cleaning the Stovetop
1. Remove Grates and Burner Caps: Remove the grates and burner caps from the stovetop.
2. Soak Grates and Caps: Soak the grates and burner caps in hot, soapy water.
3. Wipe Down the Stovetop: Wipe down the stovetop with a damp cloth to remove any loose debris.
4. Apply Baking Soda Paste: For stubborn grease stains, make a paste of baking soda and water and apply it to the affected areas.
5. Let it Sit: Allow the paste to sit for at least 15 minutes.
6. Scrub and Rinse: Scrub the stovetop with a non-abrasive sponge and rinse with clean water.
7. Clean Grates and Caps: Scrub the grates and burner caps with a scrub brush and rinse with clean water.
8. Dry and Replace: Dry the stovetop, grates, and burner caps with a clean cloth and replace them.
Cleaning the Microwave
1. Microwave a Bowl of Water: Fill a microwave-safe bowl with water and microwave it for 3-5 minutes, or until the water boils and the microwave is steamy.
2. Let it Sit: Allow the steam to sit inside the microwave for 5-10 minutes.
3. Wipe Clean: Carefully remove the bowl and wipe down the inside of the microwave with a damp cloth. The steam will have loosened any splatters and food debris.
Cleaning the Refrigerator
1. Remove Food Items: Remove all food items from the refrigerator.
2. Discard Expired Items: Discard any expired or spoiled food items.
3. Remove Shelves and Drawers: Remove the shelves and drawers from the refrigerator.
4. Wash Shelves and Drawers: Wash the shelves and drawers with hot, soapy water.
5. Wipe Down the Interior: Wipe down the interior of the refrigerator with a damp cloth and a solution of baking soda and water.
6. Dry and Replace: Dry the shelves, drawers, and interior of the refrigerator with a clean cloth and replace them.
7. Replace Food Items: Replace the food items in the refrigerator.
Hack #4: Floor Cleaning Made Easier
Bending and scrubbing floors can be tough. Here are some ways to make it less strenuous.
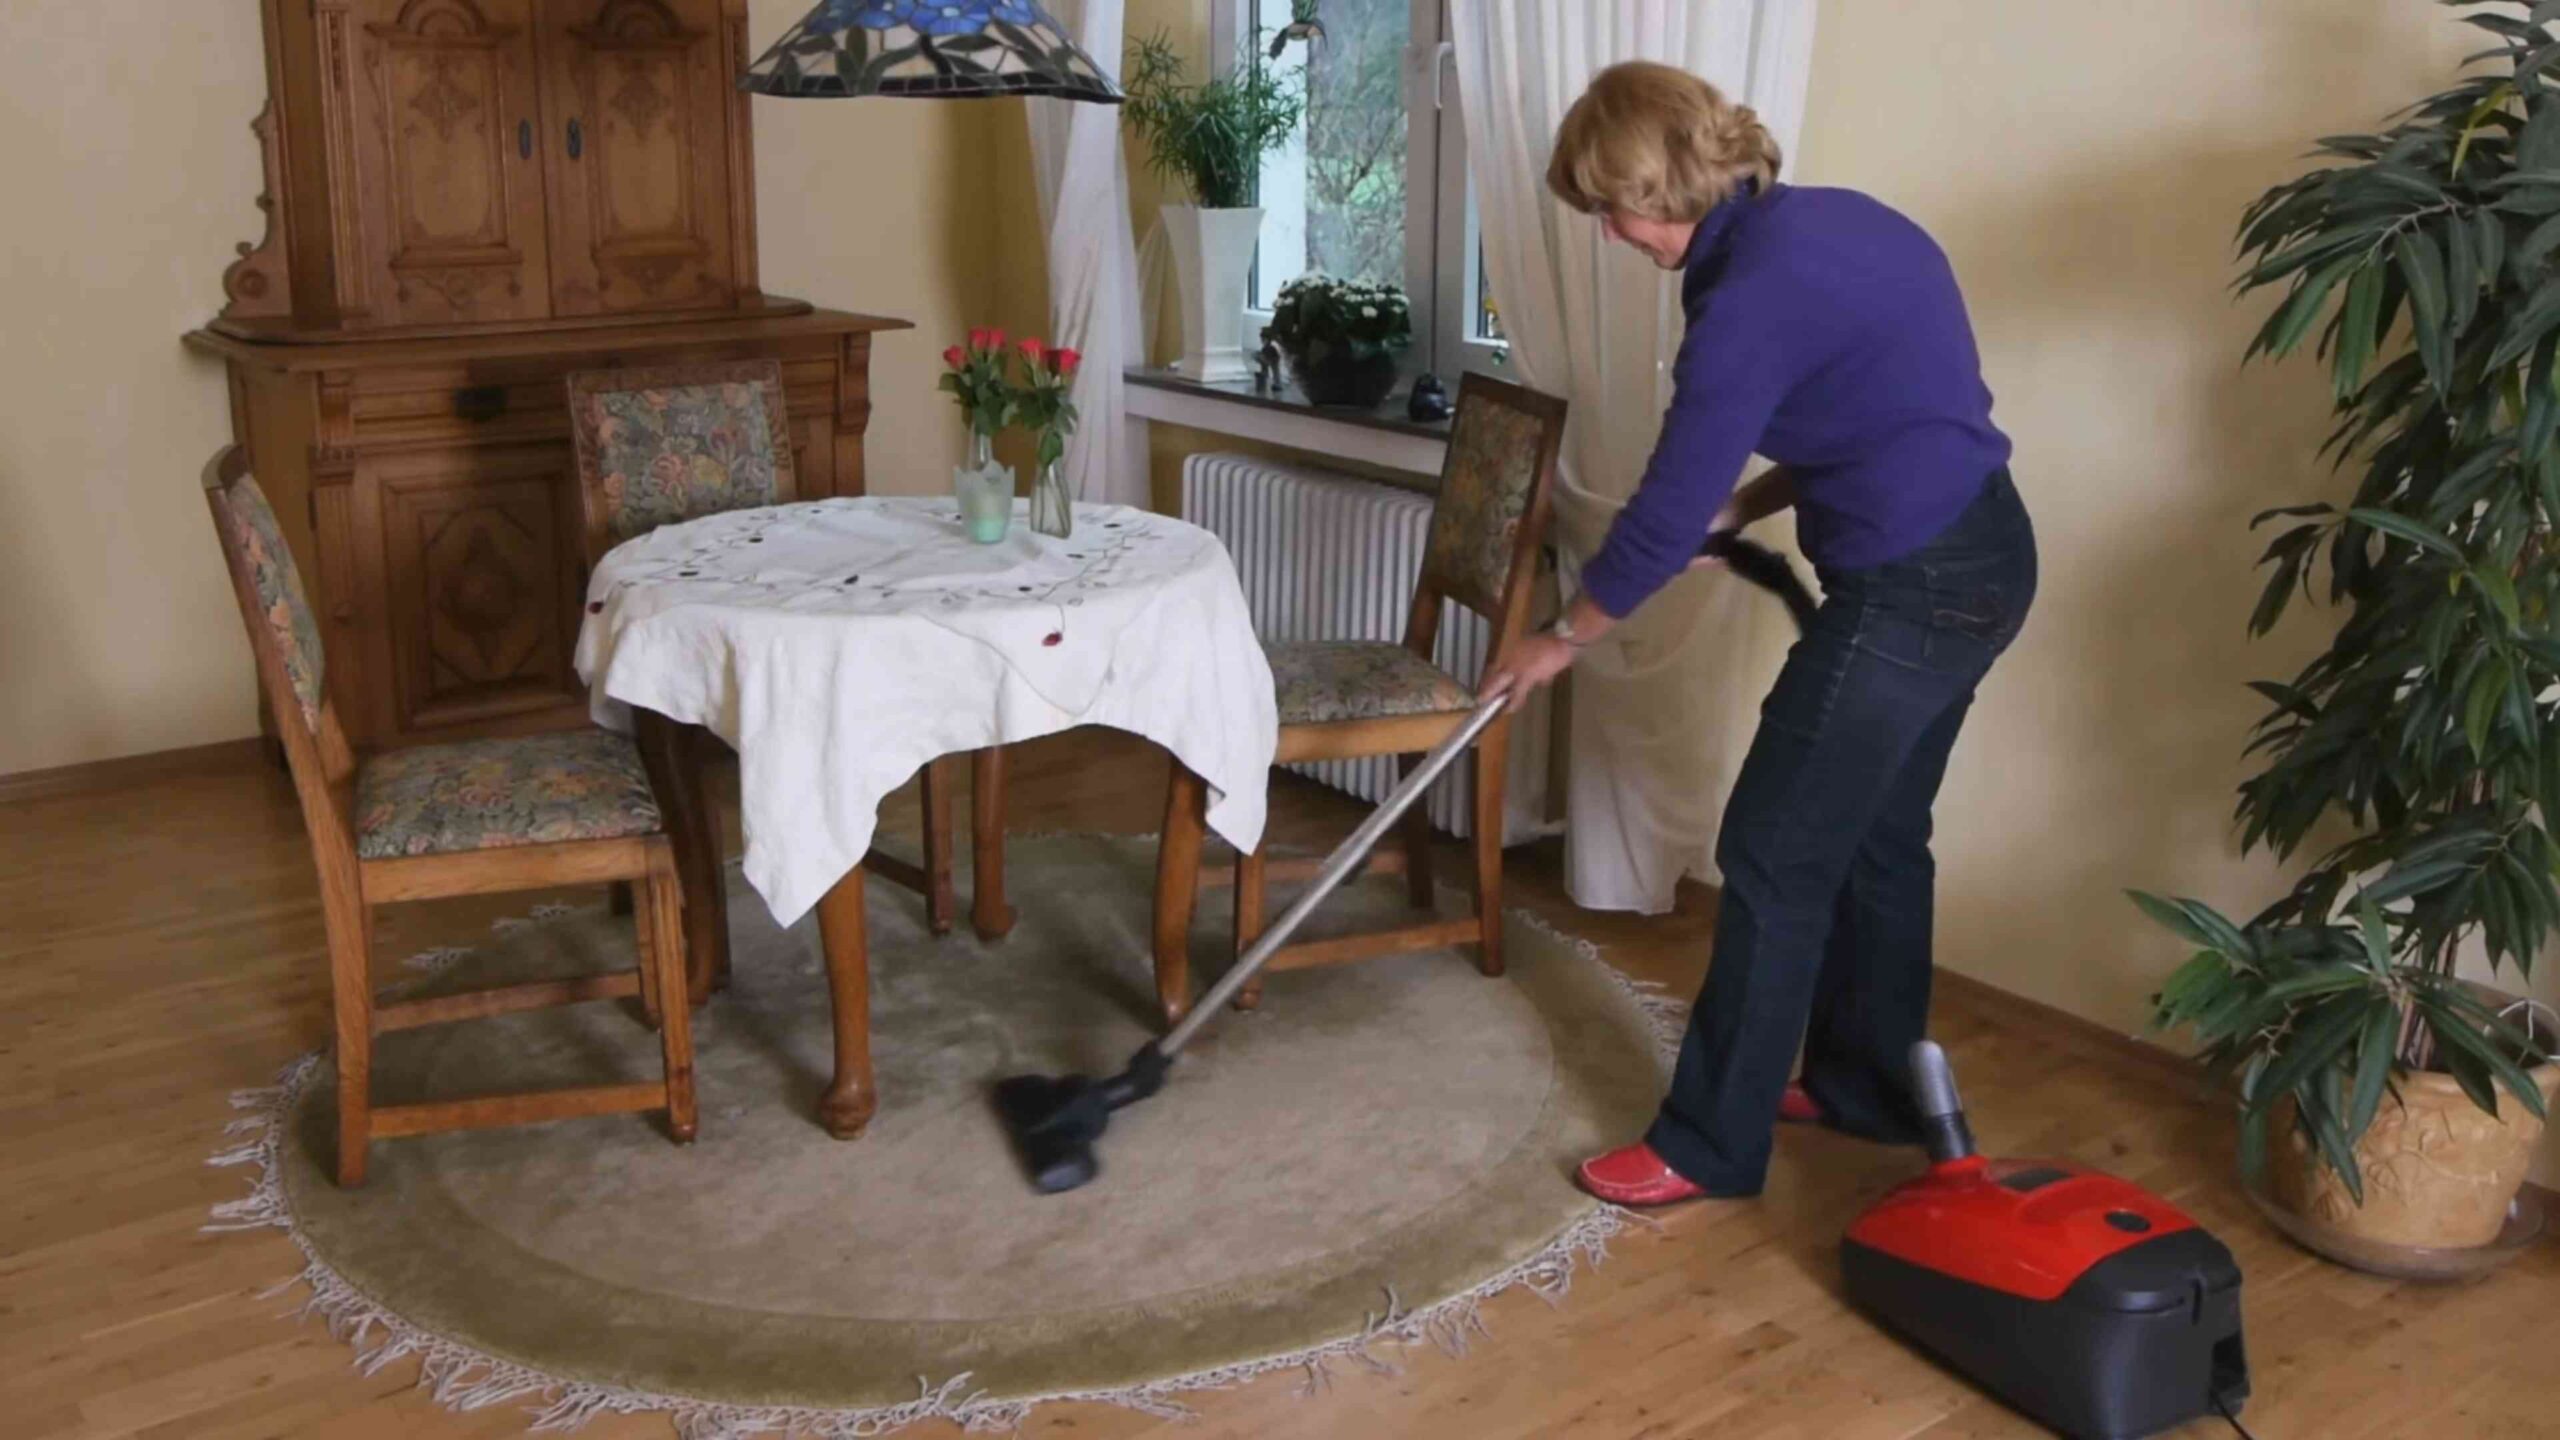
Vacuuming
1. Use a Lightweight Vacuum: As mentioned earlier, a lightweight cordless stick vacuum or a robotic vacuum is ideal.
2. Vacuum Regularly: Vacuum high-traffic areas more frequently to prevent dirt and dust buildup.
3. Take Breaks: Don’t try to vacuum the entire house at once. Break it up into smaller sections and take breaks as needed.
Mopping
1. Use a Spray Mop: A spray mop allows you to apply cleaning solution directly to the floor without having to carry a heavy bucket of water.
2. Use Warm Water: Warm water helps to loosen dirt and grime.
3. Mop in Sections: Mop the floor in small sections, working your way across the room.
4. Rinse the Mop Head: Rinse the mop head frequently to prevent spreading dirt.
5. Let the Floor Dry: Allow the floor to air dry completely before walking on it.
Hack #5: Dusting Like a Pro (Without the Back Pain)
Dusting can be
Conclusion
So, there you have it! These cleaning hacks, specifically tailored for the disabled elderly, aren’t just about making life easier; they’re about fostering independence, maintaining dignity, and creating a safer, more comfortable living environment. We understand that mobility limitations and physical challenges can make even the simplest cleaning tasks feel overwhelming. That’s why we’ve focused on solutions that prioritize accessibility, minimize strain, and maximize efficiency.
This isn’t just about a spotless home; it’s about empowering individuals to maintain control over their surroundings and their well-being. Think of the peace of mind that comes from knowing you can manage your space, even with physical limitations. Imagine the boost in self-esteem that arises from accomplishing tasks independently. These cleaning hacks are a pathway to achieving those goals.
But don’t just take our word for it. We encourage you to try these methods and adapt them to your specific needs and abilities. Perhaps you find that using a long-handled duster with a swivel head is particularly helpful for reaching high shelves. Or maybe you discover that pre-soaking dishes in the sink with a gentle detergent makes them easier to wash later. Experiment with different tools and techniques to find what works best for you.
Consider these variations to further personalize your cleaning routine:
* Voice-activated cleaning devices: Explore smart home technology like voice-controlled vacuum cleaners or robotic mops. These devices can be programmed to clean specific areas on a schedule, minimizing the need for manual effort.
* Adaptive cleaning tools: Look for specialized cleaning tools designed for individuals with limited grip strength or range of motion. These might include ergonomic handles, extended reachers, or lightweight cleaning cloths.
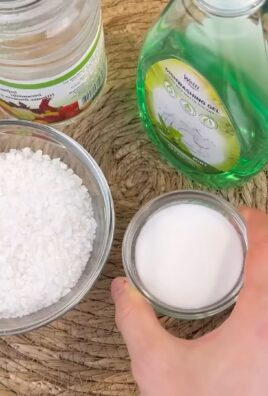
* DIY cleaning solutions: Create your own non-toxic cleaning solutions using simple ingredients like vinegar, baking soda, and lemon juice. These solutions are often gentler on sensitive skin and can be customized to your preferences.
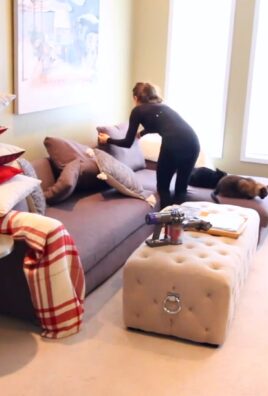
* Divide and conquer: Break down cleaning tasks into smaller, more manageable chunks. Instead of trying to clean the entire house in one day, focus on one room or one specific task each day.
* Seek assistance when needed: Don’t hesitate to ask for help from family members, friends, or professional caregivers. There’s no shame in admitting that you need assistance with certain tasks.
Remember, the goal is to create a cleaning routine that is both effective and sustainable. It’s about finding a balance between maintaining a clean home and preserving your physical and emotional well-being.
We are confident that these cleaning hacks will make a significant difference in your life. We are eager to hear about your experiences. Share your tips, tricks, and adaptations in the comments section below. Let’s create a community where we can support and empower each other to maintain clean, comfortable, and independent living spaces. Your insights could be invaluable to others who are facing similar challenges. Let’s work together to make cleaning accessible and manageable for everyone, especially our valued disabled elderly community.
Frequently Asked Questions (FAQ)
What if I have severe mobility limitations and can’t perform any of these cleaning tasks myself?
It’s completely understandable that some individuals may have limitations that prevent them from performing any cleaning tasks independently. In such cases, it’s crucial to explore alternative options for assistance. Consider these possibilities:
* Family and Friends: Reach out to family members, friends, or neighbors who may be willing to help with cleaning tasks on a regular basis.
* Professional Caregivers: Hire a professional caregiver or home health aide who can provide assistance with cleaning and other personal care needs.
* Cleaning Services: Explore local cleaning services that specialize in providing assistance to seniors or individuals with disabilities. Be sure to inquire about their experience and qualifications.
* Government Assistance Programs: Investigate government assistance programs that may provide financial assistance or direct services for home care, including cleaning. Contact your local Area Agency on Aging or Department of Social Services for more information.
* Non-profit Organizations: Many non-profit organizations offer services to seniors and individuals with disabilities, including assistance with household chores.
Remember, seeking assistance is not a sign of weakness. It’s a responsible and proactive step towards maintaining a safe and comfortable living environment.
Are these cleaning hacks safe for individuals with allergies or respiratory problems?
Safety is paramount, especially for individuals with allergies or respiratory problems. Before using any cleaning product or technique, it’s essential to consider potential risks and take appropriate precautions.
* Read Labels Carefully: Always read the labels of cleaning products carefully and avoid those that contain harsh chemicals, fragrances, or allergens.
* Choose Non-Toxic Alternatives: Opt for non-toxic cleaning solutions made with natural ingredients like vinegar, baking soda, lemon juice, or essential oils.
* Ventilate the Area: Ensure adequate ventilation by opening windows and doors while cleaning. This will help to dissipate fumes and reduce the risk of respiratory irritation.
* Wear Protective Gear: Wear gloves, masks, and eye protection to minimize exposure to cleaning products and allergens.
* Test in a Small Area: Before using a new cleaning product or technique, test it in a small, inconspicuous area to ensure that it doesn’t cause any adverse reactions.
* Consult with a Doctor: If you have severe allergies or respiratory problems, consult with your doctor or allergist before using any new cleaning products or techniques.
How can I adapt these cleaning hacks for individuals with dementia or cognitive impairment?
Cleaning can be challenging for individuals with dementia or cognitive impairment, but with some modifications, it can still be a manageable task.
* Simplify Tasks: Break down cleaning tasks into smaller, simpler steps. Provide clear and concise instructions, and avoid overwhelming the individual with too much information.
* Use Visual Cues: Use visual cues, such as pictures or diagrams, to help the individual understand the steps involved in each task.
* Provide Assistance: Offer assistance as needed, but encourage the individual to participate as much as possible.
* Create a Routine: Establish a consistent cleaning routine to help the individual anticipate and prepare for cleaning tasks.
* Maintain a Calm Environment: Create a calm and supportive environment during cleaning. Avoid distractions and loud noises.
* Focus on Familiar Tasks: Focus on familiar cleaning tasks that the individual enjoys and is able to perform successfully.
* Supervise Closely: Supervise the individual closely to ensure their safety and prevent accidents.
* Be Patient and Understanding: Be patient and understanding, and avoid getting frustrated if the individual struggles with certain tasks.
What are some tips for preventing falls while cleaning?
Falls are a significant concern for the disabled elderly, so it’s crucial to take precautions to prevent them while cleaning.
* Wear Non-Slip Shoes: Wear shoes with non-slip soles to provide good traction on slippery surfaces.
* Use Assistive Devices: Use assistive devices, such as walkers or canes, to maintain balance and stability.
* Clear Clutter: Remove clutter from walkways and cleaning areas to prevent tripping hazards.
* Use a Step Stool with Handrail: Use a sturdy step stool with a handrail to reach high shelves or cabinets.
* Avoid Reaching or Stretching: Avoid reaching or stretching excessively, as this can throw off your balance.
* Take Breaks: Take frequent breaks to avoid fatigue, which can increase the risk of falls.
* Ensure Adequate Lighting: Ensure adequate lighting in cleaning areas to improve visibility and reduce the risk of tripping.
* Use Non-Slip Mats: Place non-slip mats in bathrooms and kitchens to prevent slips and falls on wet surfaces.
How can I make cleaning more enjoyable and less of a chore?
Cleaning doesn’t have to be a dreaded task. Here are some tips for making it more enjoyable:
* Listen to Music or Podcasts: Put on your favorite music or listen to an engaging podcast while you clean.
* Reward Yourself: Reward yourself after completing a cleaning task. This could be anything from a relaxing bath to a cup of tea.
* Clean with a Friend or Family Member: Enlist the help of a friend or family member and make cleaning a social activity.
* Turn it into a Game: Turn cleaning into a game by setting a timer and trying to beat your previous record.
* Focus on the Benefits: Focus on the benefits of cleaning, such as a cleaner, more comfortable living environment.
* Celebrate Your Accomplishments: Celebrate your accomplishments, no matter how small. Acknowledge the progress you’ve made and the positive impact it has on your well-being.
* Use Pleasant-Scented Cleaners: Choose cleaning products with pleasant scents that you enjoy.
* Delegate Tasks: If possible, delegate cleaning tasks to other family members or hire a cleaning service.
Leave a Comment