

Cleaning walls and baseboards – sounds like a chore, right? I get it! It’s one of those tasks that often gets overlooked in our busy lives, but trust me, a little wall and baseboard TLC can make a HUGE difference in how clean and fresh your home feels. Think of it as giving your house a mini-makeover without spending a fortune!
Historically, keeping walls clean was a sign of prosperity and good hygiene. In many cultures, whitewashing walls was a common practice, not just for aesthetics but also for its antibacterial properties. While we’ve moved beyond whitewash, the principle remains the same: clean walls contribute to a healthier and more pleasant living environment.
So, why do you need these DIY tricks and hacks for cleaning walls and baseboards? Well, think about all the dust, grime, and fingerprints that accumulate over time. These surfaces are magnets for dirt, and regular cleaning prevents buildup that can be tough to remove later. Plus, a clean baseboard can make your floors look even cleaner! I’m going to share some simple, effective, and budget-friendly methods to tackle this task, using items you probably already have at home. Let’s get started and transform your living space, one wall and baseboard at a time!
DIY Deep Clean: Walls and Baseboards Like a Pro!
Okay, let’s face it, cleaning walls and baseboards isn’t exactly a glamorous task. But trust me, once you see the difference it makes, you’ll be hooked! A clean wall and baseboard can brighten up a room and make it feel brand new. I’m going to walk you through my tried-and-true method for getting your walls and baseboards sparkling clean. Get ready to roll up your sleeves!
What You’ll Need: The Arsenal of Clean
Before we dive in, let’s gather our supplies. Having everything ready beforehand will make the process so much smoother. Here’s what I always keep on hand:
* Buckets (at least two): One for your cleaning solution and one for rinsing.
* Microfiber cloths: These are my absolute favorite! They’re gentle on surfaces and grab dirt like a magnet. Get a bunch!
* Sponges: For tougher spots and baseboards. Make sure they’re non-abrasive to avoid scratching.
* Soft-bristled brush: An old toothbrush or a small scrub brush is perfect for getting into crevices and textured surfaces.
* Vacuum cleaner with brush attachment: This is crucial for removing loose dust and debris before you start washing.
* Cleaning solution: I’ll share my favorite recipes below, but you can also use a store-bought all-purpose cleaner.
* Warm water: Essential for diluting your cleaning solution and rinsing.
* Rubber gloves: Protect your hands from harsh chemicals and keep them dry.
* Eye protection (optional): If you’re using a strong cleaning solution, it’s always a good idea to protect your eyes.
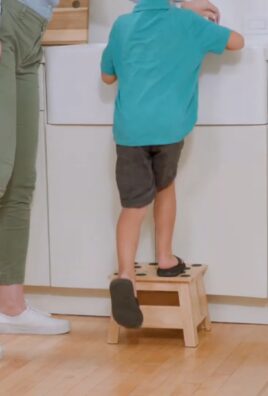
* Step stool or ladder: For reaching high areas. Safety first!
* Painter’s tape (optional): To protect trim or delicate areas.
* Magic Eraser (optional): For stubborn marks and scuffs. Use with caution!
Choosing Your Cleaning Solution: My Go-To Recipes
The right cleaning solution can make all the difference. Here are a few of my favorite recipes, depending on the level of grime and the type of paint on your walls:
* Mild Cleaning Solution (for lightly soiled walls): Mix 1/4 cup of mild dish soap with 1 gallon of warm water. This is my go-to for regular maintenance.
* All-Purpose Cleaning Solution (for moderate dirt and grime): Mix 1/2 cup of white vinegar with 1 gallon of warm water. Vinegar is a natural disinfectant and degreaser.
* Heavy-Duty Cleaning Solution (for stubborn stains and grease): Mix 1/4 cup of baking soda with 1 gallon of warm water. Baking soda is a gentle abrasive that can help lift tough stains.
* Commercial All-Purpose Cleaner: If you prefer a store-bought option, make sure it’s non-abrasive and safe for painted surfaces. Always follow the manufacturer’s instructions.
Important Note: Always test your cleaning solution in an inconspicuous area first to make sure it doesn’t damage the paint.
Prepping the Area: Setting the Stage for Success
Before you start scrubbing, it’s important to prep the area. This will protect your floors and furniture and make the cleaning process much easier.
1. Remove Furniture: Move any furniture away from the walls to give yourself plenty of room to work. Cover any remaining furniture with drop cloths or old sheets.
2. Protect the Floor: Place drop cloths or old towels along the base of the walls to protect your floors from drips and spills.
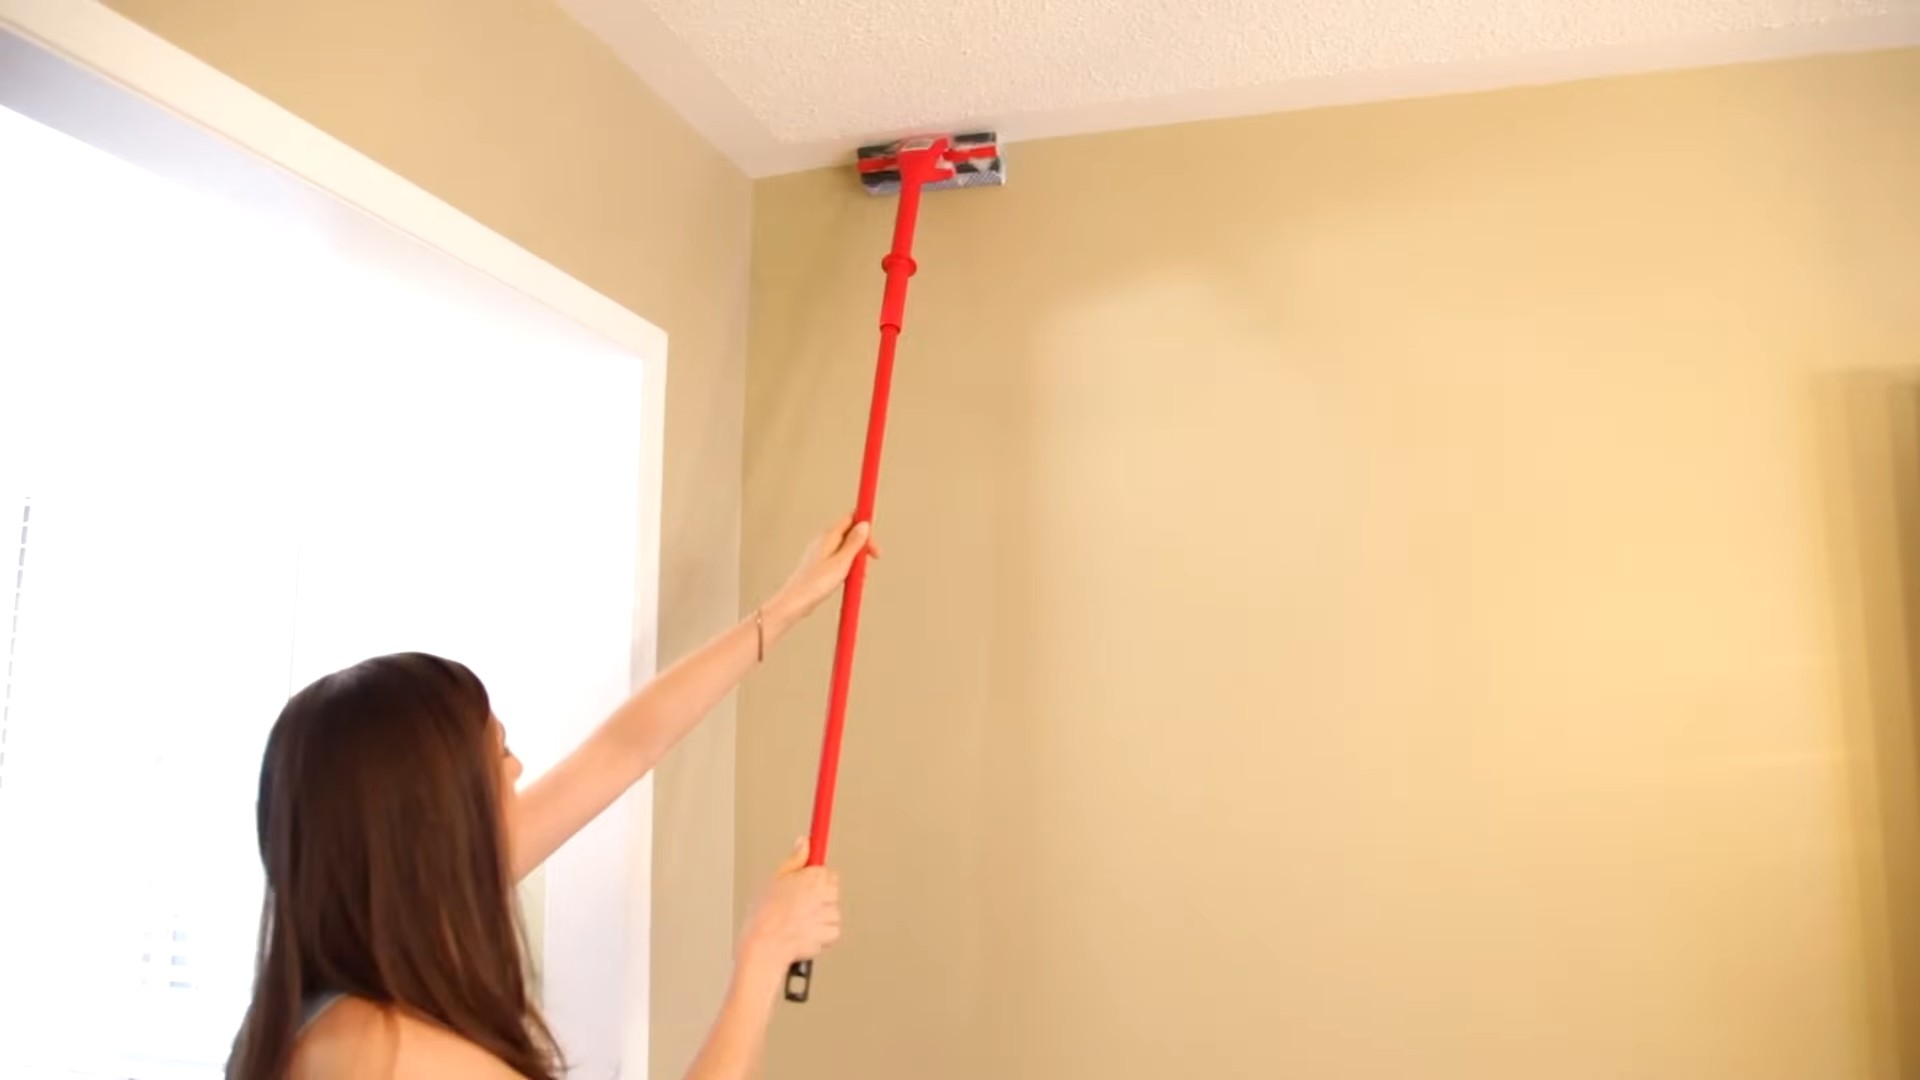
3. Dust the Walls: Use your vacuum cleaner with the brush attachment to remove loose dust and debris from the walls. Pay special attention to corners and crevices. You can also use a dry microfiber cloth.
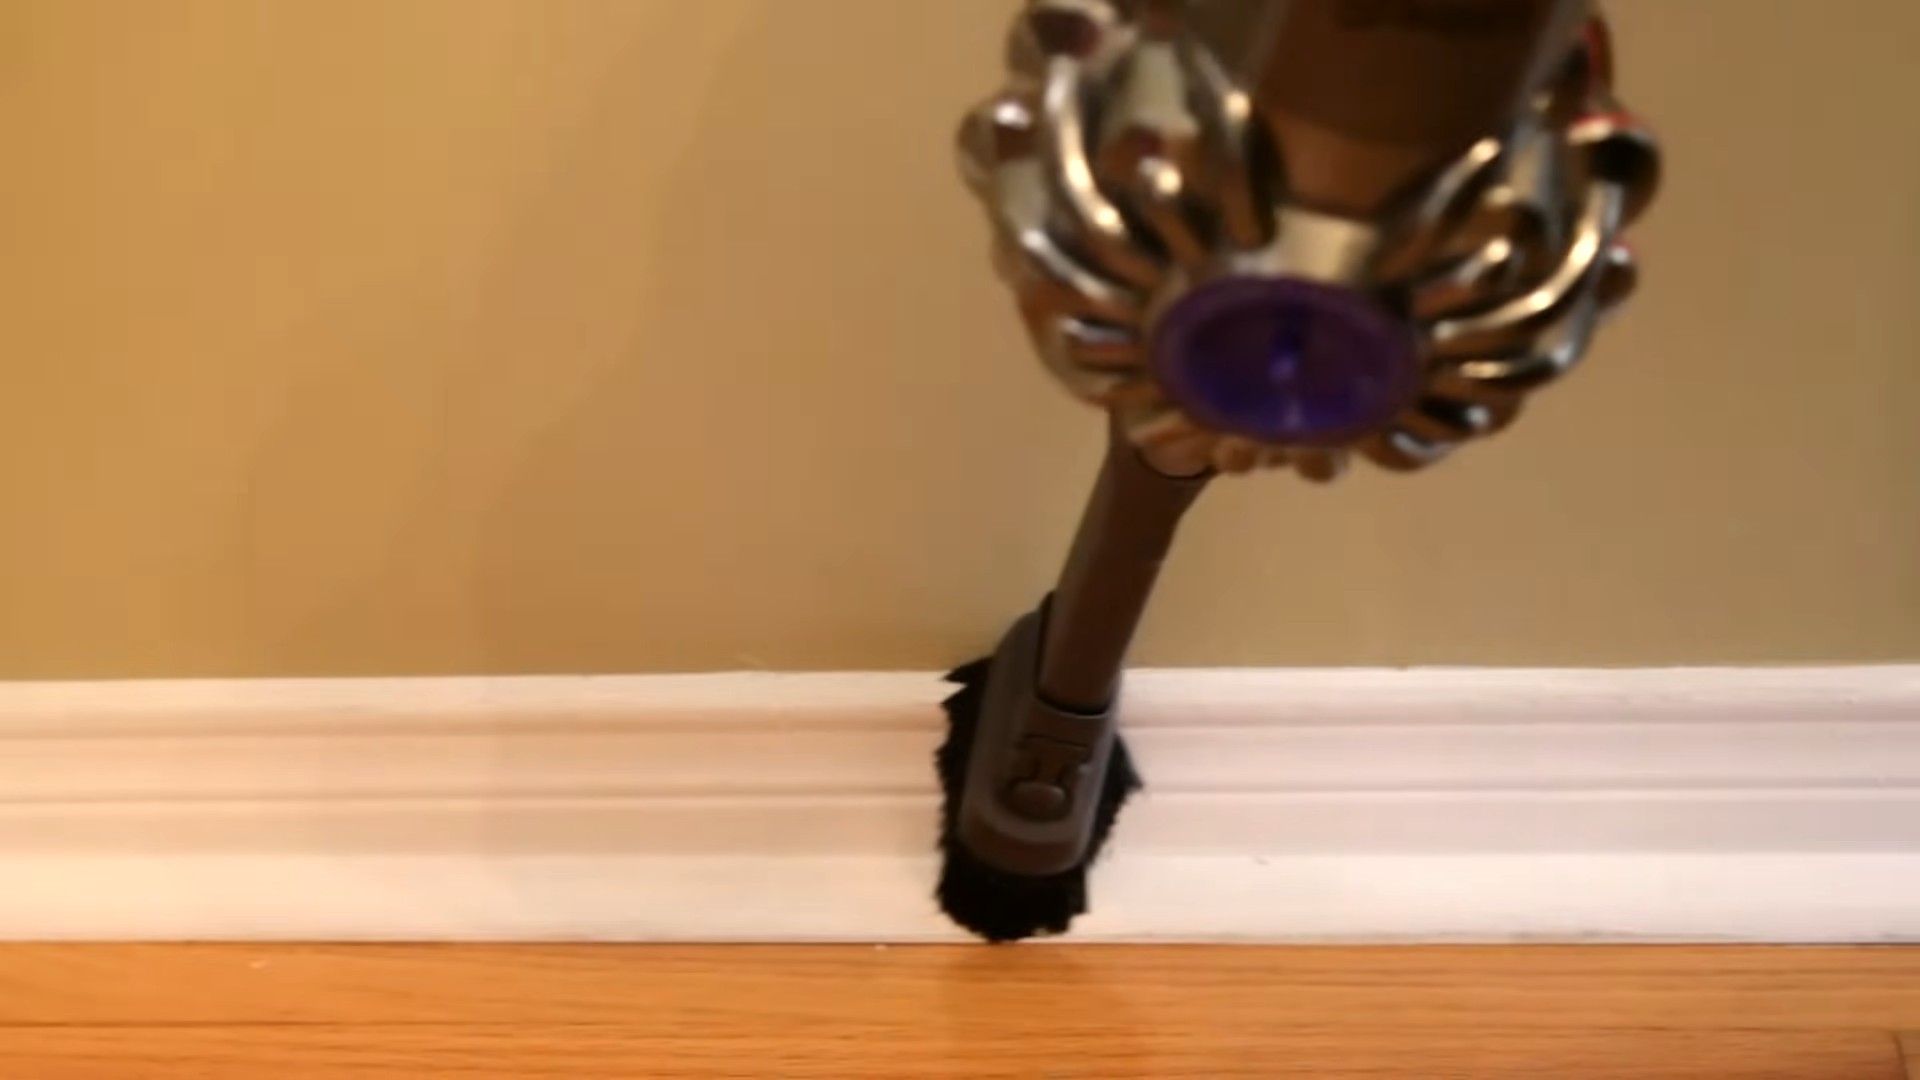
4. Vacuum Baseboards: Use the vacuum cleaner to remove dust and debris from the baseboards. A crevice tool can be helpful for getting into tight spaces.
5. Tape Off Sensitive Areas (Optional): If you have delicate trim or wallpaper, use painter’s tape to protect it from the cleaning solution.
Cleaning the Walls: Step-by-Step Guide
Now for the main event! Here’s how I clean my walls, step by step:
1. Prepare Your Cleaning Solution: Fill one bucket with your chosen cleaning solution and the other with clean, warm water for rinsing.
2. Dip and Wring: Dip a microfiber cloth or sponge into the cleaning solution, making sure it’s thoroughly saturated. Wring out the cloth or sponge until it’s damp, not dripping. You don’t want to soak the walls!
3. Wash the Walls: Starting at the top of the wall and working your way down, gently wipe the surface with the damp cloth or sponge. Use overlapping strokes to ensure you cover the entire area. Avoid scrubbing too hard, as this can damage the paint.
4. Rinse the Walls: Dip a clean microfiber cloth or sponge into the clean water, wring it out, and wipe the wall to remove any remaining cleaning solution.
5. Dry the Walls: Use a clean, dry microfiber cloth to dry the walls. This will prevent water spots and streaks.
6. Tackle Stubborn Stains: For stubborn stains or marks, try using a Magic Eraser. Wet the Magic Eraser and gently rub the stain. Be careful not to scrub too hard, as this can damage the paint. You can also try a paste of baking soda and water for tough spots. Apply the paste to the stain, let it sit for a few minutes, and then wipe it away with a damp cloth.
7. Repeat as Needed: If the walls are particularly dirty, you may need to repeat the washing and rinsing process.
8. Pay Attention to High-Traffic Areas: Areas around light switches, doorknobs, and countertops tend to get dirtier than other areas. Pay special attention to these areas and use a slightly stronger cleaning solution if necessary.
Cleaning the Baseboards: Bringing Back the Shine
Baseboards often get overlooked, but they can make a big difference in the overall cleanliness of a room. Here’s how I clean my baseboards:
1. Prepare Your Cleaning Solution: Use the same cleaning solution you used for the walls, or a slightly stronger solution if the baseboards are particularly dirty.
2. Dip and Wring: Dip a sponge or microfiber cloth into the cleaning solution, making sure it’s thoroughly saturated. Wring out the sponge or cloth until it’s damp, not dripping.
3. Wipe the Baseboards: Starting at one end of the baseboard and working your way to the other, gently wipe the surface with the damp sponge or cloth. Pay special attention to corners and crevices.
4. Use a Brush for Tight Spaces: For tight spaces and textured surfaces, use a soft-bristled brush to scrub away dirt and grime.
5. Rinse the Baseboards: Dip a clean sponge or microfiber cloth into the clean water, wring it out, and wipe the baseboards to remove any remaining cleaning solution.
6. Dry the Baseboards: Use a clean, dry microfiber cloth to dry the baseboards.
7. Tackle Stubborn Scuffs: For stubborn scuffs, try using a Magic Eraser. Wet the Magic Eraser and gently rub the scuff. Be careful not to scrub too hard, as this can damage the paint.
8. Consider a Protective Coat: After cleaning, you can apply a coat of wax or sealant to the baseboards to protect them from future dirt and grime. This is especially helpful in high-traffic areas.
Extra Tips and Tricks for Sparkling Walls and Baseboards
Here are a few extra tips and tricks I’ve learned over the years:
* Clean from Top to Bottom: Always clean from top to bottom to prevent drips from dirtying areas you’ve already cleaned.
* Work in Sections: Don’t try to clean the entire room at once. Work in sections to avoid getting overwhelmed.
* Change Your Water Frequently: Change your cleaning solution and rinse water frequently to prevent spreading dirt around.
* Ventilate the Room: Open windows or turn on a fan to ventilate the room and help the walls dry faster.
* Don’t Forget the Corners: Use a small brush or cotton swab to clean the corners of the walls and baseboards.
* Spot Clean Regularly: Spot clean your walls and baseboards regularly to prevent dirt and grime from building up.
* Use a Ladder Safely: If you’re using a ladder to reach high areas, make sure it’s stable and secure. Never reach too far, and always have someone spot you.
* Listen to Music or a Podcast: Cleaning can be a bit tedious, so put on some music or a podcast to make it more enjoyable!
Maintaining Your Clean Walls and Baseboards: A
Conclusion
So, there you have it! This simple, yet incredibly effective DIY trick for cleaning walls and baseboards is a game-changer for anyone looking to maintain a spotless home without resorting to harsh chemicals or expensive professional services. We’ve walked you through the process, highlighting the ease and affordability of using readily available ingredients to achieve sparkling clean surfaces.
Why is this a must-try? Because it’s not just about cleaning; it’s about creating a healthier, more inviting living space. Think about it: dust, grime, and everyday smudges accumulate on our walls and baseboards, often unnoticed until they become glaringly obvious. This buildup can harbor allergens and contribute to poor indoor air quality. Our DIY solution tackles these issues head-on, leaving your walls and baseboards not only visibly cleaner but also contributing to a fresher, healthier home environment.
Beyond the basic recipe, there’s plenty of room for customization. For instance, if you’re dealing with particularly stubborn stains, consider adding a tablespoon of baking soda to your cleaning solution for extra scrubbing power. For painted walls, always test the solution in an inconspicuous area first to ensure it doesn’t affect the paint’s finish. If you prefer a scented clean, a few drops of your favorite essential oil, like lavender or lemon, can be added to the water for a subtle, refreshing fragrance. Remember to always use a soft cloth or sponge to avoid scratching the surfaces, especially on delicate baseboards.
Don’t underestimate the power of regular maintenance. Incorporating this DIY wall and baseboard cleaning routine into your regular cleaning schedule – perhaps once a month or as needed – will prevent buildup and make future cleaning sessions even easier. It’s a small investment of time that yields significant returns in terms of cleanliness, air quality, and overall home appeal.
We are confident that once you try this DIY trick for cleaning walls and baseboards, you’ll be amazed by the results. It’s a simple, cost-effective, and environmentally friendly way to keep your home looking its best. So, grab your supplies, roll up your sleeves, and get ready to transform your walls and baseboards from dull to dazzling!
Now, we want to hear from you! Have you tried this DIY method? What were your results? Do you have any variations or tips to share? We encourage you to try this cleaning solution and share your experiences in the comments below. Your feedback will not only help other readers but also contribute to a community of DIY enthusiasts who are passionate about creating clean and healthy homes. Let’s make our homes shine, one wall and baseboard at a time!
Frequently Asked Questions (FAQs)
What kind of walls can I use this DIY cleaning solution on?
This DIY cleaning solution is generally safe for most painted walls, including those with latex, acrylic, and enamel finishes. However, it’s crucial to test the solution in an inconspicuous area first, such as behind furniture or in a corner, to ensure it doesn’t affect the paint’s color or finish. Avoid using this solution on wallpapered walls, as the moisture can damage the wallpaper adhesive. For delicate surfaces like textured walls or walls with special coatings, consult the manufacturer’s instructions or consider a professional cleaning service. Always err on the side of caution when cleaning unfamiliar surfaces.
Can I use this solution on matte paint?
Yes, you can use this solution on matte paint, but extra care is needed. Matte paint is more porous than other finishes, making it more susceptible to absorbing moisture and showing streaks. Use a very lightly dampened cloth or sponge, and avoid applying too much pressure. Work in small sections and dry the area immediately with a clean, dry cloth. Testing in an inconspicuous area is especially important with matte paint. If you notice any streaking or discoloration, discontinue use and consider a cleaning product specifically designed for matte finishes.
How often should I clean my walls and baseboards?
The frequency of cleaning depends on several factors, including the number of occupants in your home, the presence of pets, and your lifestyle. As a general guideline, cleaning walls and baseboards every 1-3 months is a good starting point. However, high-traffic areas like hallways and kitchens may require more frequent cleaning. If you notice visible dirt, dust, or smudges, it’s time to clean. Regular cleaning prevents buildup and makes future cleaning sessions easier and more effective.
What if I have stubborn stains or marks on my walls?
For stubborn stains or marks, you can try a few different approaches. First, make a paste of baking soda and water and gently rub it onto the stain using a soft cloth. Let it sit for a few minutes, then wipe it away with a damp cloth. For grease stains, a solution of dish soap and water may be effective. For scuff marks, a clean pencil eraser can sometimes do the trick. Always test any cleaning method in an inconspicuous area first. If the stain persists, consider using a commercial stain remover specifically designed for walls, following the manufacturer’s instructions carefully.
What type of cloth or sponge should I use?
A soft microfiber cloth is ideal for cleaning walls and baseboards. Microfiber cloths are gentle, absorbent, and effective at removing dirt and grime without scratching surfaces. Alternatively, you can use a soft sponge, but make sure it’s clean and free of abrasive particles. Avoid using rough or abrasive materials, as they can damage the paint or finish. When cleaning baseboards, a small brush or toothbrush can be helpful for reaching tight corners and crevices.
Is this DIY cleaning solution safe for children and pets?
This DIY cleaning solution is generally safe for children and pets, as it uses natural ingredients like vinegar and water. However, it’s still important to exercise caution. Keep the cleaning solution out of reach of children and pets when not in use. Ensure that the walls and baseboards are completely dry before allowing children or pets to come into contact with them. If you’re concerned about potential sensitivities, you can substitute the vinegar with a mild dish soap or use a cleaning product specifically designed for homes with children and pets.
Can I use this solution on wood baseboards?
Yes, you can use this solution on wood baseboards, but it’s important to be mindful of the type of finish. For painted wood baseboards, follow the same precautions as with painted walls, testing in an inconspicuous area first. For stained or varnished wood baseboards, use a very lightly dampened cloth and avoid prolonged exposure to moisture. After cleaning, dry the baseboards thoroughly with a clean, dry cloth. You can also use a wood cleaner or polish specifically designed for wood surfaces to maintain their shine and protect them from damage.
What are some alternative ingredients I can use in this DIY cleaning solution?
If you don’t have vinegar on hand, you can substitute it with lemon juice. Lemon juice has similar cleaning properties and a pleasant scent. Another alternative is to use a mild dish soap, diluted in water. Avoid using harsh chemicals or abrasive cleaners, as they can damage the paint or finish. For a natural disinfectant, you can add a few drops of tea tree oil to the cleaning solution. Always test any alternative ingredients in an inconspicuous area first to ensure they don’t cause any discoloration or damage.
How do I prevent streaks when cleaning walls?
To prevent streaks when cleaning walls and baseboards, avoid using too much cleaning solution. A lightly dampened cloth or sponge is all you need. Work in small sections and overlap each section slightly to ensure even coverage. After cleaning, dry the area immediately with a clean, dry cloth. Wiping in a consistent direction, such as up and down, can also help prevent streaks. If you notice any streaks, try wiping the area again with a clean, damp cloth and drying it thoroughly.
Leave a Comment