

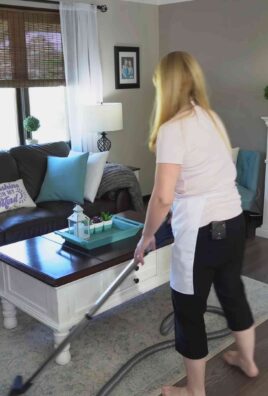
Daily Cleaning Hacks: Who doesn’t dream of a sparkling clean home without spending hours scrubbing and toiling? I know I do! Let’s face it, life is busy, and dedicating an entire weekend to cleaning just isn’t realistic for most of us. But what if I told you that you could maintain a tidy and fresh living space with just a few simple, daily habits and clever tricks?
The concept of daily cleaning isn’t new. In many cultures, a quick daily tidy-up has been a long-standing tradition, passed down through generations. Think of the Japanese concept of “Oosouji,” a thorough year-end cleaning, which highlights the importance of maintaining a clean and organized environment. While we might not be aiming for a year-end overhaul every day, adopting some of these principles can make a huge difference.
That’s where these daily cleaning hacks come in. This isn’t about achieving perfection; it’s about making small, manageable changes that prevent dirt and clutter from accumulating. Imagine spending just 15-20 minutes each day tackling specific areas, leaving you with more free time to enjoy the things you love. No more dreading the weekend cleaning marathon!
In this article, I’m going to share my favorite DIY cleaning tricks and hacks that will transform your daily routine. From quick kitchen clean-ups to effortless bathroom maintenance, these tips will help you create a cleaner, more comfortable home without sacrificing your precious time. So, let’s dive in and discover how to make daily cleaning a breeze!
DIY Daily Cleaning Hacks to Make Your Life Easier!
Okay, let’s be honest, nobody *really* enjoys cleaning. But a little bit of daily maintenance can prevent those overwhelming weekend cleaning marathons. I’m going to share some of my favorite DIY cleaning hacks that make keeping a tidy home surprisingly manageable. These are all things I actually *do*, so you know they’re practical and (relatively) painless!
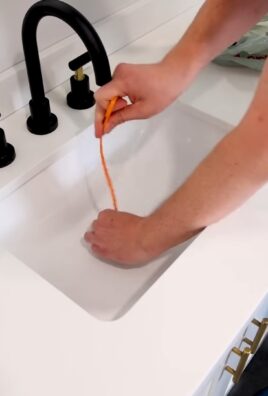
Hack 1: The 5-Minute Kitchen Sink Sparkle
This is my go-to for keeping my kitchen sink looking presentable. It takes literally five minutes, and the results are amazing.
What you’ll need:
* Baking soda
* White vinegar
* Lemon (optional, but adds a nice scent!)
* Scrub brush or sponge
* Hot water
Step-by-step instructions:
1. Clear the sink: Remove any dishes, food scraps, or other debris from the sink. Give it a quick rinse with hot water to loosen any stuck-on bits.
2. Baking soda power: Generously sprinkle baking soda all over the bottom and sides of the sink. Don’t be shy! The baking soda acts as a gentle abrasive.
3. Vinegar fizz: Pour white vinegar over the baking soda. You’ll see it fizz and bubble – that’s the magic happening! The vinegar reacts with the baking soda to help lift dirt and grime.
4. Scrub-a-dub-dub: Using your scrub brush or sponge, scrub the sink thoroughly. Pay extra attention to any stubborn stains or areas around the drain.
5. Lemon boost (optional): If you have a lemon on hand, cut it in half and use it to scrub the sink. The lemon juice adds extra cleaning power and a fresh, citrusy scent. Plus, it helps to deodorize the drain.
6. Rinse and shine: Rinse the sink thoroughly with hot water until all the baking soda and vinegar residue is gone.
7. Dry it off: Use a clean cloth or paper towel to dry the sink completely. This helps prevent water spots and keeps it looking shiny.
Hack 2: Microwave Steam Clean in Minutes
Microwaves can get *nasty* quickly. Splattered food, dried-on sauces… yuck! This steam cleaning method is super easy and requires minimal effort.
What you’ll need:
* Microwave-safe bowl
* White vinegar
* Water
* Sponge or cloth
Step-by-step instructions:
1. Prepare the solution: Fill the microwave-safe bowl with 1 cup of water and 1/4 cup of white vinegar.
2. Microwave magic: Place the bowl in the microwave and heat on high for 5-7 minutes. The water will boil and create steam, which will loosen the grime inside the microwave.
3. Let it sit: After the timer goes off, *don’t* open the microwave door immediately. Let the steam sit inside for another 2-3 minutes to further loosen the dirt.
4. Wipe it clean: Carefully remove the bowl (it will be hot!). Use a sponge or cloth to wipe down the inside of the microwave. The loosened grime should come off easily. For stubborn spots, you can dip the sponge in the vinegar water.
5. Clean the turntable: Remove the turntable and wash it with soap and water. Dry it thoroughly before placing it back in the microwave.
Hack 3: Daily Shower Spray to Prevent Grime Buildup
This is a game-changer! A quick spray after each shower prevents soap scum and mildew from building up, saving you tons of scrubbing time later.
What you’ll need:
* Spray bottle
* White vinegar
* Water
* Tea tree oil (optional, for added antibacterial properties)
Step-by-step instructions:
1. Mix the solution: Fill the spray bottle with equal parts white vinegar and water. If you’re using tea tree oil, add about 10-15 drops.
2. Spray after showering: After each shower, spray the solution all over the shower walls, door, and floor.
3. No rinsing needed: There’s no need to rinse! Just let the solution air dry. The vinegar smell will dissipate quickly.
Hack 4: Quick Toilet Bowl Refresh
Keep your toilet bowl fresh and clean with this simple daily hack.
What you’ll need:
* Toilet bowl cleaner (your favorite brand)
* Toilet brush
Step-by-step instructions:
1. Squirt and swirl: Squirt a small amount of toilet bowl cleaner around the rim of the toilet bowl.
2. Brush it out: Use your toilet brush to scrub the bowl thoroughly, paying attention to any stains or buildup.
3. Flush it away: Flush the toilet to rinse away the cleaner and any debris.
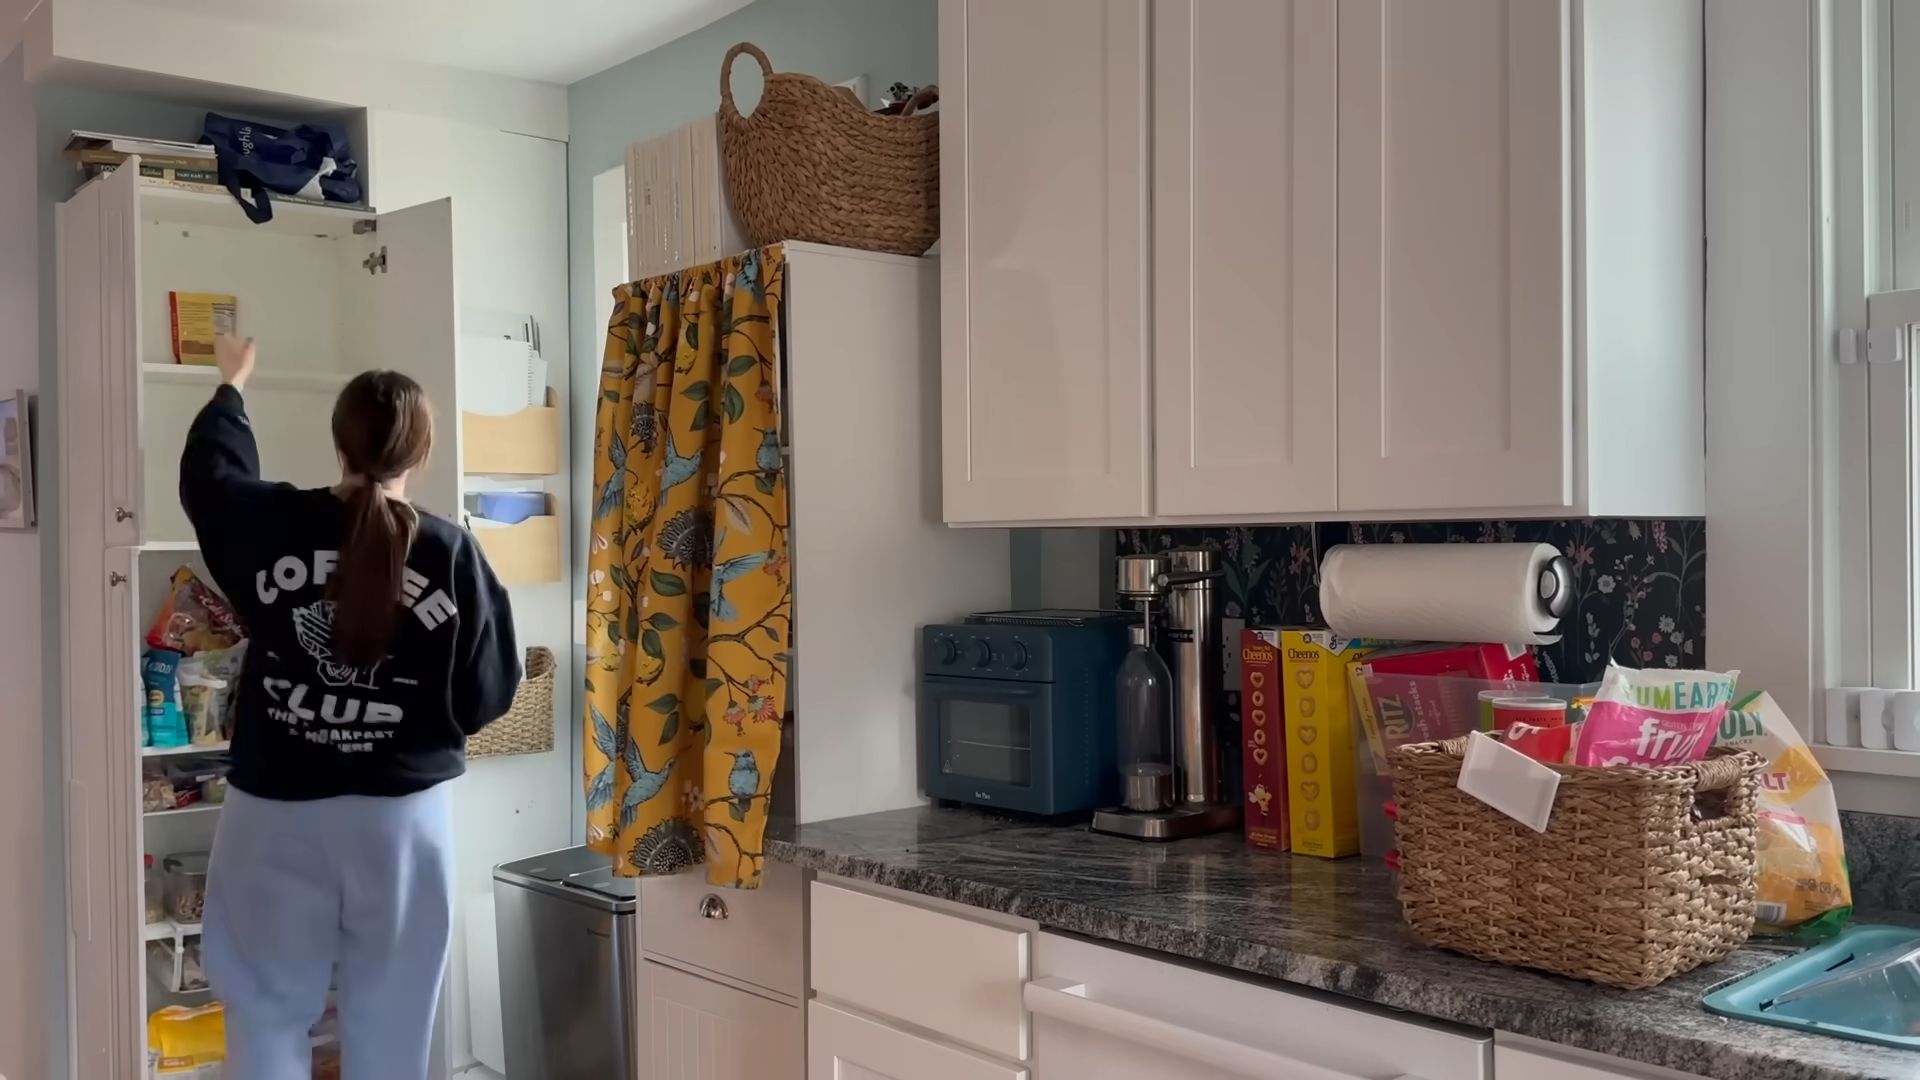
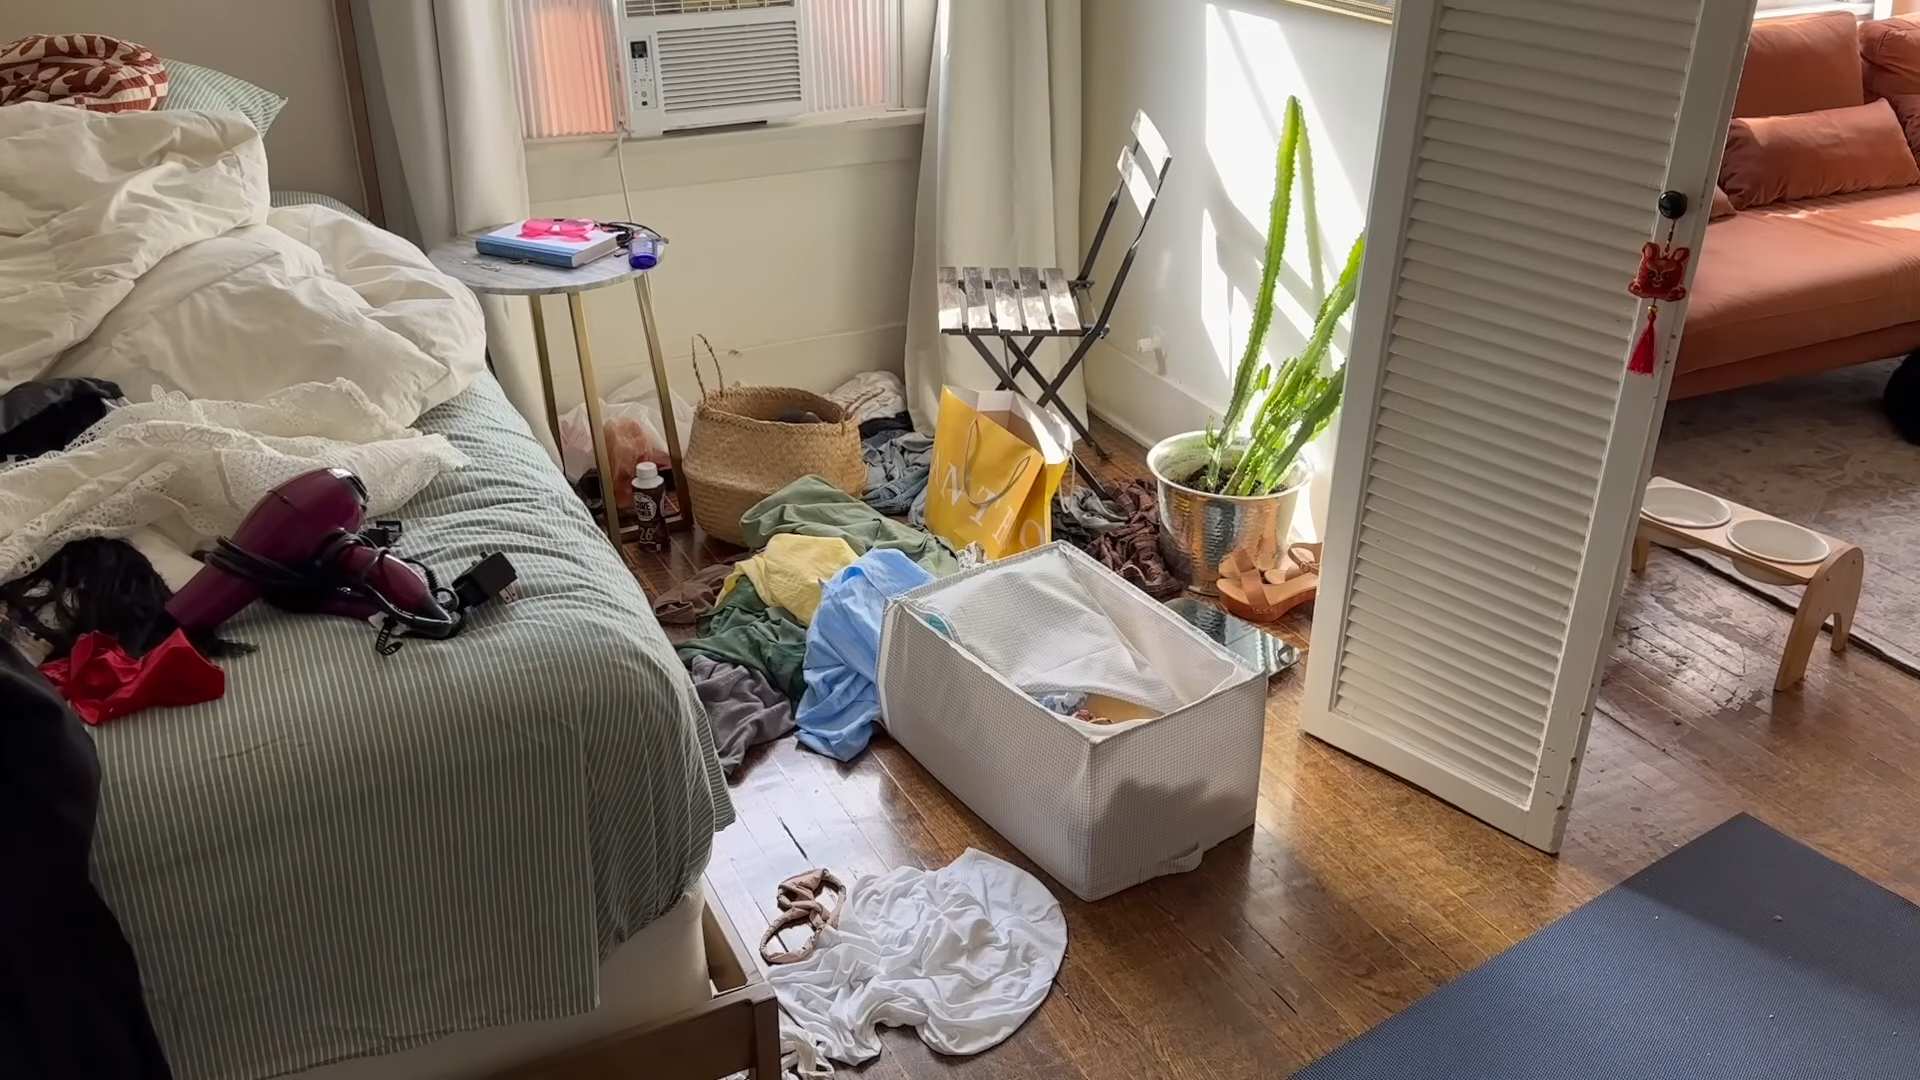
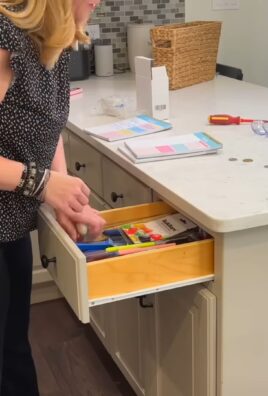
Hack 5: Decluttering Power Hour (or even 15 minutes!)
Okay, this isn’t exactly a *cleaning* hack, but it’s essential for keeping your home tidy. Dedicate just 15 minutes each day to decluttering one area of your home.
How to do it:
1. Choose your area: Pick a small area to focus on, such as a countertop, a drawer, or a shelf.
2. Set a timer: Set a timer for 15 minutes (or an hour if you’re feeling ambitious!).
3. Declutter ruthlessly: Go through the items in your chosen area and get rid of anything you don’t need, use, or love. Donate, recycle, or throw away as needed.
4. Put things back in their place: Once you’ve decluttered, put the remaining items back in an organized manner.
5. Repeat daily: Repeat this process every day, focusing on a different area each time. You’ll be amazed at how much clutter you can eliminate in just a few minutes each day!
Hack 6: The “One-Touch” Rule
This is a simple but powerful habit to develop. The idea is that every time you touch an item, you put it back in its proper place immediately.
How it works:
* Mail: As soon as you bring in the mail, sort through it and immediately discard junk mail. File important documents or pay bills right away.
* Clothes: When you take off your clothes, immediately put them in the hamper or hang them up in the closet.
* Dishes: After using a dish, rinse it and put it in the dishwasher (or wash it by hand) right away.
* Keys: Hang your keys on a designated hook as soon as you walk in the door.
By following the “one-touch” rule, you’ll prevent clutter from accumulating and keep your home looking tidy with minimal effort.
Hack 7: Spot Cleaning Walls and Baseboards
Walls and baseboards can accumulate dust, dirt, and scuff marks over time. Spot cleaning them regularly can prevent them from becoming too dirty.
What you’ll need:
* Soft cloth or sponge
* Warm water
* Mild dish soap (optional)
* Spray bottle (optional)
Step-by-step instructions:
1. Prepare your cleaning solution: In a bowl or spray bottle, mix warm water with a few drops of mild dish soap (if needed).
2. Dampen your cloth: Dampen your soft cloth or sponge with the cleaning solution. Make sure it’s not too wet, as you don’t want to saturate the walls.
3. Spot clean: Gently wipe away any dirt, dust, or scuff marks on the walls and baseboards.
4. Rinse (if needed): If you used soap, dampen a clean cloth with plain water and wipe the area again to remove any soap residue.
5. Dry: Use a dry cloth to dry the area.
Hack 8: Make Your Bed Every Morning
This is a classic tip for a reason! Making your bed takes just a few minutes, but it instantly makes your bedroom look more put-together and inviting. It also sets a positive tone for the day.
How to do it:
1. Straighten the sheets: Pull the sheets up and straighten them out.
2. Fluff the pillows: Fluff your pillows and arrange them neatly on the bed.
3. Pull up the comforter or duvet: Pull the comforter or duvet up and smooth it out.
4. Add any decorative pillows or throws: If you have any decorative pillows or throws, arrange them on the bed.
Hack 9: Wipe Down Kitchen Counters After Every Use
This is another simple habit that can make a big difference in keeping your kitchen clean.
What
Conclusion
So, there you have it! This simple yet incredibly effective DIY cleaning hack is a game-changer for anyone looking to streamline their daily cleaning routine and reclaim precious time. We’ve shown you how to create a powerful, all-purpose cleaner using ingredients you likely already have in your pantry. Forget spending a fortune on expensive, chemical-laden products when you can achieve sparkling results with this natural and budget-friendly alternative.
The beauty of this DIY cleaning solution lies not only in its effectiveness but also in its versatility. It’s safe for most surfaces, from countertops and sinks to floors and appliances. Plus, you can customize the scent to your liking by adding a few drops of your favorite essential oils. Imagine the invigorating aroma of lemon and eucalyptus filling your home as you effortlessly wipe away grime and dirt. Or perhaps the calming scent of lavender to create a more relaxing cleaning experience. The possibilities are endless!
Beyond the basic recipe, consider these variations to tailor the cleaner to your specific needs:
* For extra degreasing power: Add a tablespoon of washing soda to the mixture. Washing soda is a powerful alkali that cuts through grease and grime with ease.
* For stubborn stains: Pre-treat the stain with a paste made from baking soda and water before applying the cleaner. Let the paste sit for a few minutes before wiping it away.
* For a disinfectant boost: Add a few drops of tea tree oil, known for its antibacterial and antifungal properties.
This daily cleaning hack isn’t just about saving money; it’s about creating a healthier and more sustainable home environment. By reducing your reliance on harsh chemicals, you’re protecting your family and the planet. It’s a win-win situation!
We are confident that once you try this DIY cleaning solution, you’ll wonder how you ever lived without it. It’s simple, effective, and customizable – everything you could ask for in a cleaning product.
So, ditch the store-bought cleaners and embrace the power of DIY! We encourage you to give this recipe a try and see the amazing results for yourself. Don’t be afraid to experiment with different essential oils and variations to find the perfect formula for your home.
Most importantly, we want to hear about your experience! Share your tips, tricks, and success stories in the comments below. Let us know how this DIY cleaning hack has transformed your daily cleaning routine. Together, we can create a community of clean and happy homes!
Frequently Asked Questions (FAQs)
Is this DIY cleaner safe for all surfaces?
Generally, yes, this DIY cleaner is safe for most surfaces, including countertops, sinks, floors (tile, linoleum, sealed wood), appliances, and bathroom fixtures. However, it’s always a good idea to test it on an inconspicuous area first, especially on delicate surfaces like marble, granite, or painted wood. Avoid using it on porous surfaces that could absorb the solution. If you are unsure about a particular surface, consult the manufacturer’s instructions or a professional cleaner. The acidity of vinegar, while diluted, can potentially etch certain stone surfaces over time.
Can I use this cleaner on wood furniture?
While the diluted vinegar solution is generally safe for sealed wood floors, it’s not recommended for wood furniture, especially if it has a delicate finish. The acidity of the vinegar can damage the finish over time. For wood furniture, it’s best to use a cleaner specifically designed for wood or a gentle mixture of mild dish soap and water. Always test in an inconspicuous area first.
How long will this DIY cleaner last?
This DIY cleaner can last for several weeks when stored properly in an airtight container. However, it’s best to use it within a month for optimal effectiveness. Over time, the essential oils may lose their potency, and the solution may become less effective. Store the cleaner in a cool, dark place to prolong its shelf life.
What essential oils are best to use in this cleaner?
The best essential oils to use in this cleaner depend on your personal preferences and desired benefits. Some popular choices include:
* Lemon: Known for its refreshing scent and degreasing properties.
* Tea Tree: Has antibacterial and antifungal properties.
* Lavender: Provides a calming and relaxing scent.
* Eucalyptus: Has a refreshing and invigorating scent.
* Peppermint: Provides a refreshing and energizing scent.
Experiment with different combinations to find your favorite scent. Remember to use pure essential oils for the best results.
Can I use this cleaner to clean my windows and mirrors?
Yes, this DIY cleaner can be used to clean windows and mirrors. However, it’s important to use a clean microfiber cloth to avoid streaks. You can also dilute the cleaner further with water for a more streak-free finish. Some people prefer to use a separate solution of vinegar and water specifically for cleaning windows and mirrors.
What if I don’t have vinegar? Can I substitute it with something else?
While vinegar is a key ingredient in this recipe due to its cleaning and disinfecting properties, you can try substituting it with lemon juice in a pinch. Lemon juice also has acidic properties that can help to clean and disinfect surfaces. However, vinegar is generally more effective and affordable. If you are looking for a non-acidic alternative, you could try using a solution of baking soda and water, but it may not be as effective for disinfecting.
My cleaner smells too strongly of vinegar. How can I fix this?
If the vinegar smell is too strong, you can try adding more essential oils to mask the scent. You can also let the cleaner sit for a few days to allow the vinegar smell to dissipate. Another option is to dilute the cleaner further with water.
Is this cleaner safe to use around pets and children?
While this DIY cleaner is generally safer than commercial cleaners, it’s still important to take precautions when using it around pets and children. Keep the cleaner out of reach of children and pets. Avoid spraying it directly on pets or in areas where they frequently spend time. If your pet ingests the cleaner, contact your veterinarian immediately. Some essential oils can be toxic to pets, so research the safety of specific oils before using them in your cleaner.
Can I use this cleaner in a spray bottle?
Yes, this cleaner is perfect for use in a spray bottle. Make sure to use a clean spray bottle that has not been used for other cleaning products. Label the bottle clearly to avoid confusion.
What are the benefits of using a DIY cleaner over store-bought cleaners?
There are many benefits to using a DIY cleaner over store-bought cleaners, including:
* Cost-effective: DIY cleaners are typically much cheaper than store-bought cleaners.
* Natural and non-toxic: DIY cleaners are made with natural ingredients that are safer for your family and the environment.
* Customizable: You can customize the scent and strength of your DIY cleaner to suit your needs.
* Reduces waste: By making your own cleaner, you can reduce your reliance on plastic bottles and other packaging.
* Empowering: Making your own cleaner can be a fun and empowering experience.
Leave a Comment