

Daily Cleaning Routine: Are you tired of spending your weekends scrubbing and stressing over a messy house? Imagine reclaiming your precious free time and enjoying a consistently clean and inviting home, all without feeling overwhelmed. I know, it sounds too good to be true, right? But trust me, it’s absolutely achievable with the right daily cleaning routine!
Humans have been striving for clean and organized living spaces for centuries. From ancient rituals of sweeping and purifying homes to the more modern inventions of vacuums and cleaning solutions, the desire for a tidy environment is deeply ingrained in our culture. A clean home isn’t just about aesthetics; it’s about creating a sanctuary, a place where you can relax, recharge, and feel your best.
Let’s face it, life is busy! Juggling work, family, and social commitments often leaves little time or energy for tackling a mountain of housework. That’s where a well-structured daily cleaning routine comes in. By breaking down cleaning tasks into manageable, bite-sized chunks, you can prevent dirt and clutter from accumulating, making your weekly deep cleans a breeze. This DIY guide will provide you with simple yet effective tricks and hacks to establish a sustainable daily cleaning routine that fits seamlessly into your lifestyle. Get ready to say goodbye to weekend cleaning marathons and hello to a sparkling clean home, effortlessly!
Creating Your Dream Daily Cleaning Routine: A Step-by-Step Guide
Okay, let’s face it, cleaning isn’t exactly anyone’s favorite pastime. But a consistent daily cleaning routine can seriously transform your life. Trust me, I’ve been there – drowning in clutter and feeling overwhelmed. But after experimenting with different approaches, I’ve finally nailed down a routine that works for me, and I’m excited to share it with you! This isn’t about achieving spotless perfection; it’s about creating a manageable system that keeps your home feeling fresh and inviting, without sucking up all your free time.
Why a Daily Routine Matters
Before we dive into the nitty-gritty, let’s quickly touch on why a daily cleaning routine is so beneficial:
* Reduced Stress: A clean and organized space equals a calmer mind. Seriously, it’s amazing how much less stressed you feel when you’re not constantly tripping over things.
* More Free Time: Spending a little time each day prevents messes from piling up, saving you hours of deep cleaning on the weekends.
* Improved Health: Regular cleaning reduces dust, allergens, and germs, creating a healthier living environment.
* Increased Productivity: A tidy workspace can boost your focus and productivity, whether you work from home or just need a clear space to relax.
* A Sense of Accomplishment: Checking off even small cleaning tasks each day gives you a sense of accomplishment and motivates you to keep going.
Phase 1: The Morning Boost (15-20 minutes)
This is all about setting the tone for the day. Before you even think about checking your emails or scrolling through social media, dedicate a few minutes to these quick tasks:
1. Make Your Bed: I know, I know, it sounds cliché, but it really does make a difference! It instantly makes your bedroom look tidier and gives you a small victory to start your day.
2. Quick Tidy-Up: Do a quick scan of your living areas and put away anything that’s out of place. This could be clothes, books, toys, or anything else that doesn’t belong.
3. Wipe Down Kitchen Counters: After breakfast, wipe down your kitchen counters to remove any spills or crumbs. This prevents messes from hardening and becoming harder to clean later.
4. Load the Dishwasher (or Wash a Few Dishes): Don’t let dishes pile up in the sink! Load the dishwasher after breakfast, or if you don’t have one, wash a few essential items to keep the sink clear.
5. One-Minute Bathroom Wipe-Down: Keep a container of disinfecting wipes in your bathroom and give the sink and toilet seat a quick wipe-down. This helps prevent the buildup of germs and keeps your bathroom feeling fresh.
Phase 2: The Midday Maintenance (5-10 minutes)
This is a short burst of cleaning to keep things from getting out of hand during the day.
1. Spot Clean Spills Immediately: Don’t let spills sit! Clean them up as soon as they happen to prevent staining and make cleanup easier.
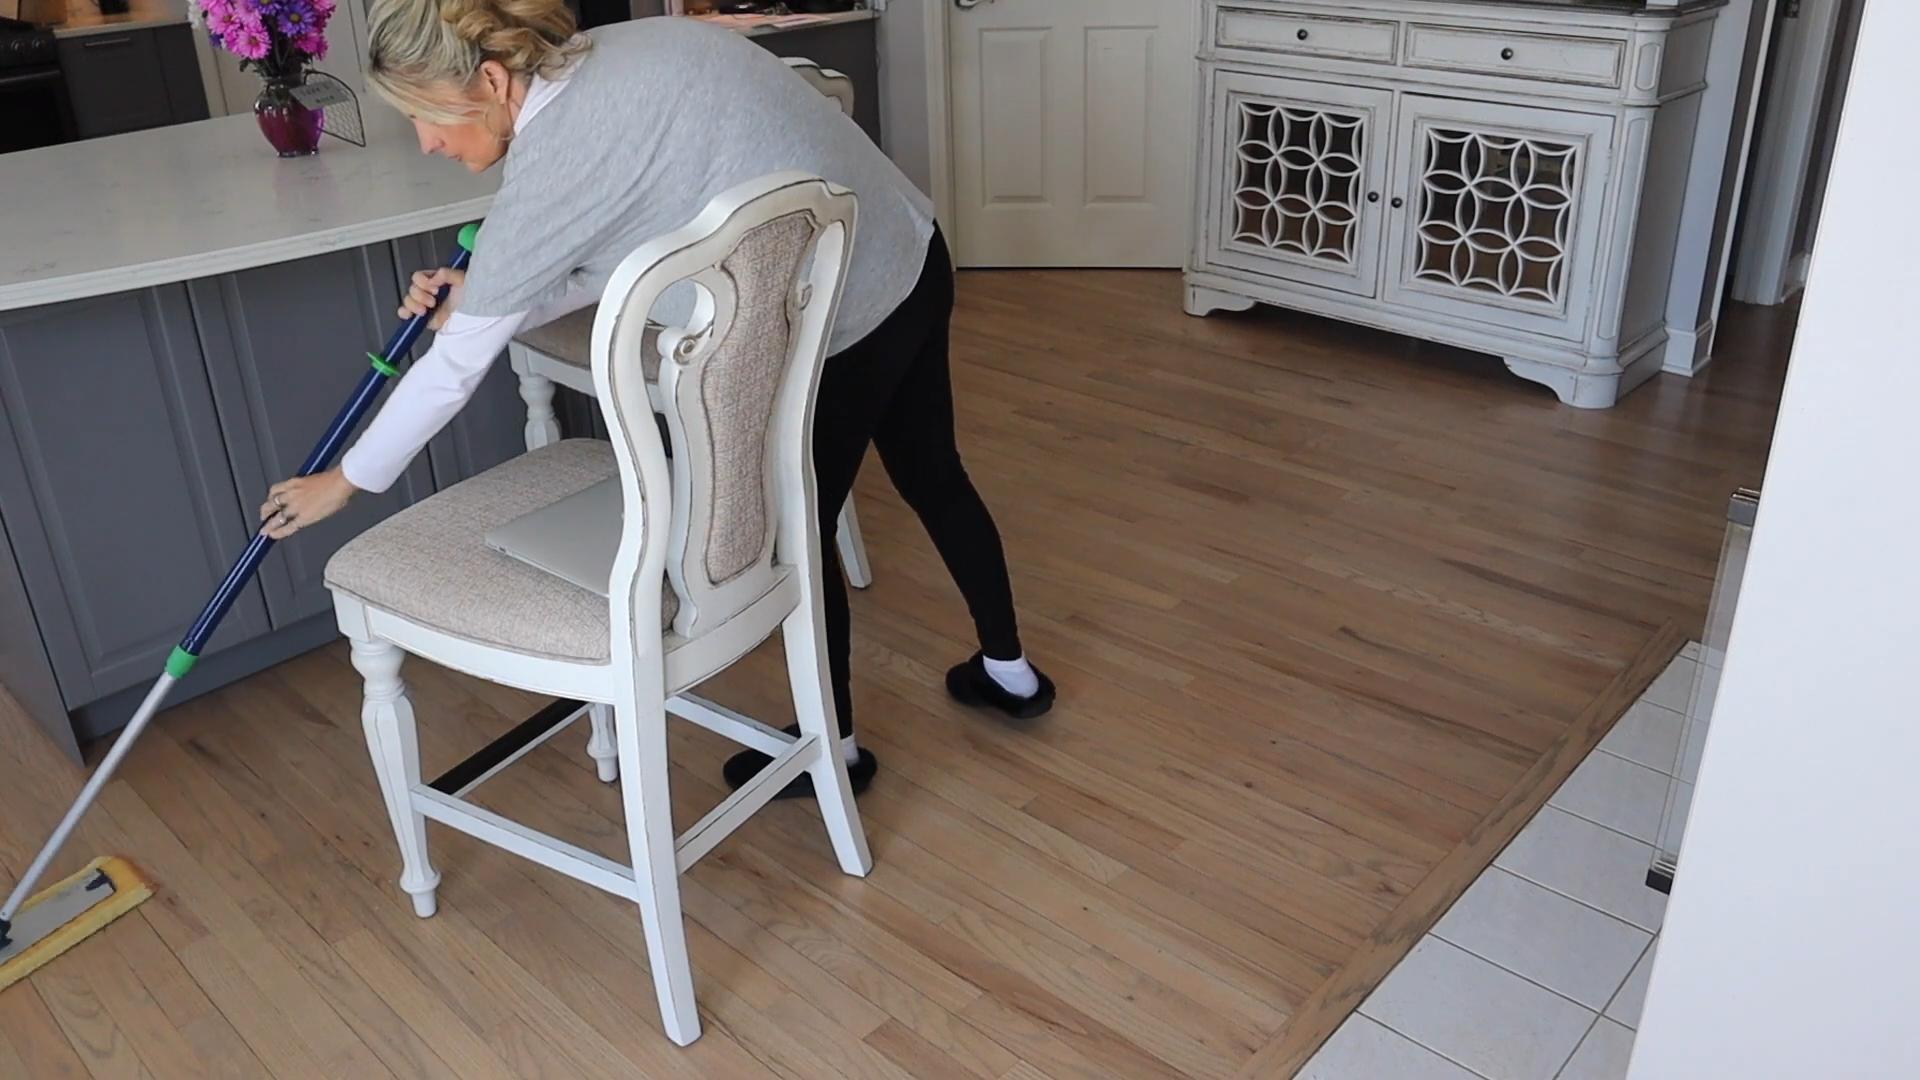
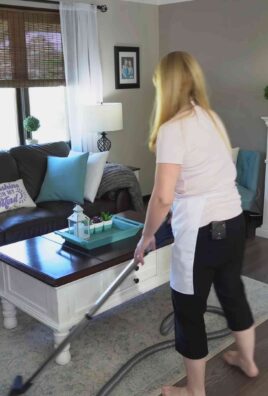
2. Quick Sweep or Vacuum High-Traffic Areas: If you have pets or kids, or if you just tend to track in a lot of dirt, give high-traffic areas a quick sweep or vacuum to keep the floors clean.
3. Empty Trash Cans as Needed: Don’t let trash cans overflow! Empty them as needed to prevent odors and keep your home clean.
4. Declutter One Area: Choose one small area, like a drawer, a shelf, or a corner of a room, and spend a few minutes decluttering it. Get rid of anything you don’t need or use.
Phase 3: The Evening Reset (20-30 minutes)
This is the most important part of the daily cleaning routine. It’s about resetting your home so you can relax and enjoy your evening.
1. Clear the Kitchen: After dinner, clear the table, load the dishwasher (or wash the dishes), and wipe down the counters and stovetop. This is crucial for preventing food odors and keeping your kitchen clean.
2. Tidy Up Living Areas: Put away any toys, books, or other items that are out of place in your living areas. Fluff the pillows and fold the blankets on the couch.
3. Quick Bathroom Clean: Give the bathroom sink and toilet another quick wipe-down. Hang up towels and put away any toiletries that are out.
4. Take Out the Trash: If the trash cans are full, take out the trash. This prevents odors and keeps your home clean.
5. Prepare for Tomorrow: Lay out your clothes for the next day, pack your lunch, and gather anything else you need to make your morning run smoothly.
6. Acknowledge your accomplishments: Take a moment to appreciate your clean and tidy home. You deserve it!
Specific Tasks and Deeper Dives
While the above is a great daily framework, some tasks need more attention on a less frequent basis. Here’s how I incorporate them:
* Laundry: I try to do one load of laundry every day or every other day. This prevents laundry from piling up and becoming overwhelming. I usually start a load in the morning and fold it in the evening while watching TV.
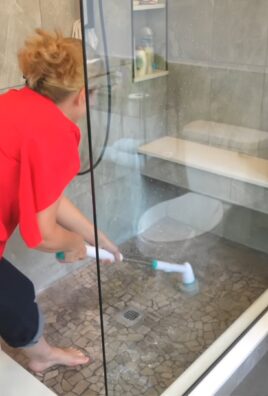
* Bathroom Cleaning (Deeper Clean): Once a week, I give the bathrooms a deeper clean, including scrubbing the toilets, showers, and floors.
* Floor Cleaning (Mopping/Vacuuming): I aim to mop or vacuum all the floors once a week.
* Dusting: I dust all surfaces once a week.
* Changing Bed Linens: I change the bed linens once a week.
Tools and Supplies to Keep on Hand
Having the right tools and supplies makes cleaning much easier and more efficient. Here are some of my essentials:
* Microfiber Cloths: These are great for cleaning all surfaces and are reusable and washable.
* Disinfecting Wipes: Perfect for quick wipe-downs in the bathroom and kitchen.
* All-Purpose Cleaner: A good all-purpose cleaner can be used on a variety of surfaces.
* Glass Cleaner: For streak-free windows and mirrors.
* Vacuum Cleaner: A good vacuum cleaner is essential for keeping floors clean. I personally love my stick vacuum for quick cleanups.
* Mop and Bucket: For mopping floors.
* Toilet Bowl Cleaner: For cleaning toilets.
* Dish Soap: For washing dishes.
* Sponges: For scrubbing.
* Trash Bags: For lining trash cans.
* Rubber Gloves: To protect your hands.
Tips for Staying Consistent
Consistency is key when it comes to a daily cleaning routine. Here are some tips to help you stay on track:
* Start Small: Don’t try to do too much at once. Start with a few simple tasks and gradually add more as you get comfortable.
* Make it a Habit: Incorporate your cleaning routine into your daily schedule. For example, always make your bed first thing in the morning.
* Set Reminders: Use your phone or calendar to set reminders for your cleaning tasks.
* Reward Yourself: Treat yourself to something you enjoy after completing your cleaning routine.
* Don’t Be Too Hard on Yourself: Everyone has off days. If you miss a day or two, don’t beat yourself up about it. Just get back on track as soon as you can.
* Enlist Help: If you live with others, enlist their help with the cleaning routine. Divide tasks and work together to keep your home clean.
* Make it Fun: Put on some music or a podcast while you clean to make it more enjoyable.
* Focus on the Benefits: Remember why you’re doing this. Focus on the benefits of a clean and organized home, such as reduced stress and increased productivity.
* Adjust as Needed: Your cleaning routine should be tailored to your specific needs and lifestyle. Don’t be afraid to adjust it as needed to make it work for you.
Troubleshooting Common Challenges
Even with the best intentions, you might encounter some challenges along the way. Here are some common issues and how to address them:
* Lack of Time: If you’re short on time, break down your cleaning routine into even smaller tasks. Even just spending 5-10 minutes a day can make a difference.
* Lack of Motivation: If you’re feeling unmotivated, try setting a timer for 15 minutes and see how much you can get done. Sometimes just getting started is the hardest part.
* Clutter Overload: If you’re feeling overwhelmed by clutter, start by decluttering one small area at a time. Don’t try to tackle everything at once.
* Procrastination: If you

Conclusion
So, there you have it! Transforming your daily cleaning routine with this simple yet incredibly effective DIY trick is more than just a way to save money; it’s about reclaiming your time, reducing your exposure to harsh chemicals, and creating a healthier, happier home. We’ve shown you how easy it is to whip up a powerful cleaning solution using ingredients you likely already have in your pantry.
Think about it: no more rushing to the store for expensive, pre-packaged cleaners filled with ingredients you can’t even pronounce. No more worrying about the potential impact those chemicals have on your family and pets. Instead, you’ll have a readily available, all-natural cleaner that tackles grime, grease, and everyday messes with ease.
This DIY approach isn’t just about convenience; it’s about empowerment. You’re taking control of your cleaning process, making informed choices about the products you use, and contributing to a more sustainable lifestyle. And the best part? You can customize this trick to perfectly suit your needs and preferences.
Consider these variations to elevate your DIY cleaning experience:
* **For a citrus boost:** Add a few drops of lemon, orange, or grapefruit essential oil for a refreshing scent and extra degreasing power.
* **For stubborn stains:** Pre-treat tough stains with a paste of baking soda and water before using your DIY cleaner.
* **For a disinfectant boost:** Add a few drops of tea tree oil, known for its antibacterial and antifungal properties.
* **For wood surfaces:** Dilute the solution further with water to prevent damage to delicate wood finishes. Always test in an inconspicuous area first.
* **For glass and mirrors:** Use a separate spray bottle with a mixture of white vinegar and water for streak-free shine.
This DIY cleaning trick is a game-changer for anyone looking to simplify their daily cleaning routine. It’s cost-effective, eco-friendly, and incredibly versatile. It’s time to ditch the harsh chemicals and embrace a more natural and sustainable approach to keeping your home sparkling clean.
We’re confident that once you try this DIY trick, you’ll wonder how you ever lived without it. It’s a simple yet powerful way to transform your daily cleaning routine and create a healthier, happier home.
Now, it’s your turn! We encourage you to give this DIY cleaning trick a try and see the amazing results for yourself. Don’t be afraid to experiment with different variations and find what works best for you.
And most importantly, we want to hear about your experience! Share your tips, tricks, and success stories in the comments below. Let’s build a community of DIY cleaning enthusiasts and inspire others to embrace a more natural and sustainable way of life. Your feedback is invaluable and will help us continue to improve and refine this DIY cleaning trick for everyone. Let us know how this DIY cleaning routine has helped you!
Frequently Asked Questions (FAQ)
What exactly are the benefits of using a DIY cleaner compared to store-bought options?
DIY cleaners offer a multitude of advantages. Firstly, they are significantly more cost-effective. You’re using ingredients you likely already have, avoiding the markup on pre-packaged cleaners. Secondly, they are environmentally friendly. You’re reducing plastic waste and avoiding harsh chemicals that can pollute waterways. Thirdly, you have complete control over the ingredients, ensuring you’re not exposing yourself or your family to harmful substances. Finally, DIY cleaners can be customized to suit your specific needs and preferences, allowing you to create a cleaning solution that’s perfectly tailored to your home.
Is this DIY cleaner safe to use around children and pets?
Generally, yes, this DIY cleaner is safer than many commercial alternatives, especially if you’re using ingredients like vinegar, baking soda, and water. However, it’s still crucial to exercise caution. Keep the cleaner out of reach of children and pets. Avoid spraying it directly into their eyes or mouths. If you’re using essential oils, research their safety for pets, as some can be toxic. Always supervise children when they are helping with cleaning, and ensure they understand the importance of not ingesting the cleaner. If you have any concerns, consult with your pediatrician or veterinarian.
Can I use this DIY cleaner on all surfaces in my home?
While this DIY cleaner is versatile, it’s not suitable for all surfaces. Avoid using it on porous surfaces like unsealed granite or marble, as the acidity of vinegar can damage them. Be cautious when using it on wood, especially unfinished wood, as it can cause discoloration or warping. Always test the cleaner in an inconspicuous area first to ensure it doesn’t damage the surface. For delicate surfaces, dilute the solution further with water. For glass and mirrors, use a separate cleaner specifically designed for those surfaces, such as a mixture of white vinegar and water.
How long does this DIY cleaner last?
The shelf life of this DIY cleaner depends on the ingredients you use. A simple mixture of vinegar, water, and baking soda will typically last for several weeks. However, if you’re adding fresh ingredients like citrus peels, the cleaner may only last for a week or two. To extend the shelf life, store the cleaner in a cool, dark place. If you notice any changes in color, odor, or consistency, discard the cleaner and make a fresh batch. It’s always best to make smaller batches of DIY cleaner to ensure freshness and prevent spoilage.
What if I don’t have all the ingredients listed in the recipe? Can I substitute them?
Yes, you can often substitute ingredients in this DIY cleaner, depending on what you have available. For example, if you don’t have white vinegar, you can use apple cider vinegar, although it may have a slightly different scent. If you don’t have baking soda, you can use washing soda, which is a stronger cleaning agent. If you don’t have essential oils, you can simply omit them or use a different type of essential oil that you have on hand. The key is to understand the purpose of each ingredient and choose a substitute that serves a similar function.
My DIY cleaner seems to leave streaks on surfaces. What am I doing wrong?
Streaking can occur for several reasons. One common cause is using too much cleaner. A little goes a long way, so try using less solution. Another cause is hard water. If you have hard water, it can leave mineral deposits on surfaces, causing streaks. Try using distilled water instead of tap water to make your cleaner. Finally, the type of cloth you’re using can also contribute to streaking. Microfiber cloths are excellent for cleaning and polishing surfaces without leaving streaks.
Can I use this DIY cleaner in my washing machine?
While some DIY cleaning solutions can be used in washing machines, this particular recipe is not specifically designed for that purpose. It’s best to use detergents specifically formulated for washing machines to ensure optimal cleaning performance and prevent damage to your machine. Using the wrong type of cleaner in your washing machine can lead to residue buildup, clogs, and other problems.
How often should I be cleaning my home using this DIY cleaner?
The frequency of cleaning depends on your lifestyle and personal preferences. However, a general guideline is to clean high-traffic areas like kitchens and bathrooms daily or every other day. Other areas of your home can be cleaned weekly or bi-weekly. Using this DIY cleaner as part of your daily cleaning routine can help you maintain a clean and healthy home without spending hours scrubbing and cleaning. Remember, consistency is key!

Leave a Comment