

DIY Beard Balm Recipe: Unlock the secret to a softer, healthier, and more manageable beard right in your own kitchen! Have you ever wondered how those perfectly groomed beards achieve their enviable shape and shine? The answer often lies in a well-crafted beard balm, and I’m here to tell you that you don’t need to spend a fortune on fancy store-bought products.
The tradition of beard grooming dates back centuries, with ancient civilizations using oils and balms to protect and style their facial hair. Think of the Egyptians, Assyrians, and Vikings – all cultures that valued a well-maintained beard as a symbol of status and masculinity. Today, the desire for a healthy, well-groomed beard remains strong, but modern life often leaves us short on time and resources.
That’s where this DIY beard balm recipe comes in! I know how frustrating it can be to deal with a dry, itchy, or unruly beard. Store-bought balms can be expensive and often contain ingredients you can’t even pronounce. By making your own, you control exactly what goes into it, ensuring a natural and nourishing product tailored to your specific needs. Plus, it’s a fun and rewarding project! This simple recipe will save you money, improve your beard’s health, and give you the satisfaction of creating something amazing with your own two hands. Let’s get started!
DIY Beard Balm: Tame Your Mane Like a Pro
Alright, fellas, let’s talk beard balm. Store-bought stuff can be pricey, and sometimes it’s packed with ingredients you can’t even pronounce. So, I’m going to show you how to make your own beard balm at home. It’s surprisingly easy, totally customizable, and way more satisfying than just grabbing something off the shelf. Plus, you’ll know exactly what’s going into your beard!
This recipe is designed to give you a balm that provides hold, conditions your beard, and leaves it smelling fantastic. We’ll be using natural ingredients that are good for your skin and hair. Let’s get started!
What You’ll Need: The Ingredient Rundown
Before we dive in, let’s gather our supplies. This is crucial, trust me. Nothing’s worse than getting halfway through and realizing you’re missing something.
* **Beeswax:** This is the backbone of your balm, providing hold and structure. I recommend using cosmetic-grade beeswax pellets – they’re easier to measure and melt.
* **Shea Butter:** Shea butter is a fantastic moisturizer, packed with vitamins and fatty acids that will keep your beard soft and healthy. Unrefined shea butter has a slightly nutty scent, which I personally like, but refined is fine too if you prefer a neutral base.
* **Carrier Oils:** These oils will nourish your beard and skin, adding shine and manageability. You’ll need a combination of oils for the best results. Here are my favorites:
* **Jojoba Oil:** Jojoba oil is very similar to the natural sebum produced by your skin, making it easily absorbed and non-greasy.
* **Argan Oil:** Argan oil is rich in antioxidants and vitamin E, promoting healthy hair growth and adding shine.
* **Sweet Almond Oil:** Sweet almond oil is a lightweight oil that’s great for softening and conditioning.
* **Essential Oils (Optional):** This is where you can really customize your balm! Choose scents you love and that have beneficial properties. Some popular choices include:
* **Cedarwood:** A classic masculine scent with grounding properties.
* **Sandalwood:** A warm, woody scent that’s both calming and sophisticated.
* **Peppermint:** A refreshing and invigorating scent (use sparingly, as it can be strong).
* **Tea Tree:** Has antiseptic and anti-inflammatory properties, great for keeping your beard clean and healthy.
* **Eucalyptus:** Another refreshing scent with antiseptic properties.
* **Double Boiler or Heat-Safe Bowl and Saucepan:** You’ll need a way to gently melt the ingredients. A double boiler is ideal, but a heat-safe bowl set over a simmering pot of water works just as well.
* **Measuring Spoons or a Kitchen Scale:** Accuracy is key for getting the right consistency.
* **Spoon or Spatula:** For stirring and mixing.
* **Containers:** You’ll need containers to store your finished balm. Small tins or jars work perfectly. Make sure they’re clean and dry.
The Recipe: Getting the Ratios Right
This recipe will make approximately 4 ounces of beard balm. You can easily adjust the quantities to make more or less, just keep the ratios the same.
* 1 ounce (28 grams) Beeswax
* 1 ounce (28 grams) Shea Butter
* 1 ounce (28 grams) Jojoba Oil
* 0.5 ounce (14 grams) Argan Oil
* 0.5 ounce (14 grams) Sweet Almond Oil
* 10-20 drops Essential Oils (adjust to your preference)
Step-by-Step Instructions: From Ingredients to Awesome Balm
Okay, let’s get down to business! Follow these steps carefully, and you’ll have a fantastic beard balm in no time.
1. **Prepare Your Double Boiler:** Fill the bottom pot of your double boiler with water and bring it to a simmer. If you’re using a bowl and saucepan, make sure the bowl fits snugly over the saucepan without touching the water.
2. **Combine Beeswax and Shea Butter:** Add the beeswax and shea butter to the top of the double boiler or the heat-safe bowl.
3. **Melt the Ingredients:** Gently heat the beeswax and shea butter, stirring occasionally, until they are completely melted and smooth. This may take a few minutes, so be patient.
4. **Add Carrier Oils:** Once the beeswax and shea butter are melted, remove the mixture from the heat. Add the jojoba oil, argan oil, and sweet almond oil. Stir well to combine.
5. **Incorporate Essential Oils:** Now it’s time to add your essential oils. Start with 10 drops and add more until you reach your desired scent strength. Remember, a little goes a long way! Stir thoroughly to distribute the essential oils evenly.
6. **Pour into Containers:** Carefully pour the melted balm into your prepared containers.
7. **Let it Cool and Harden:** Allow the balm to cool and harden completely at room temperature. This may take several hours, or you can speed up the process by placing the containers in the refrigerator for about an hour.
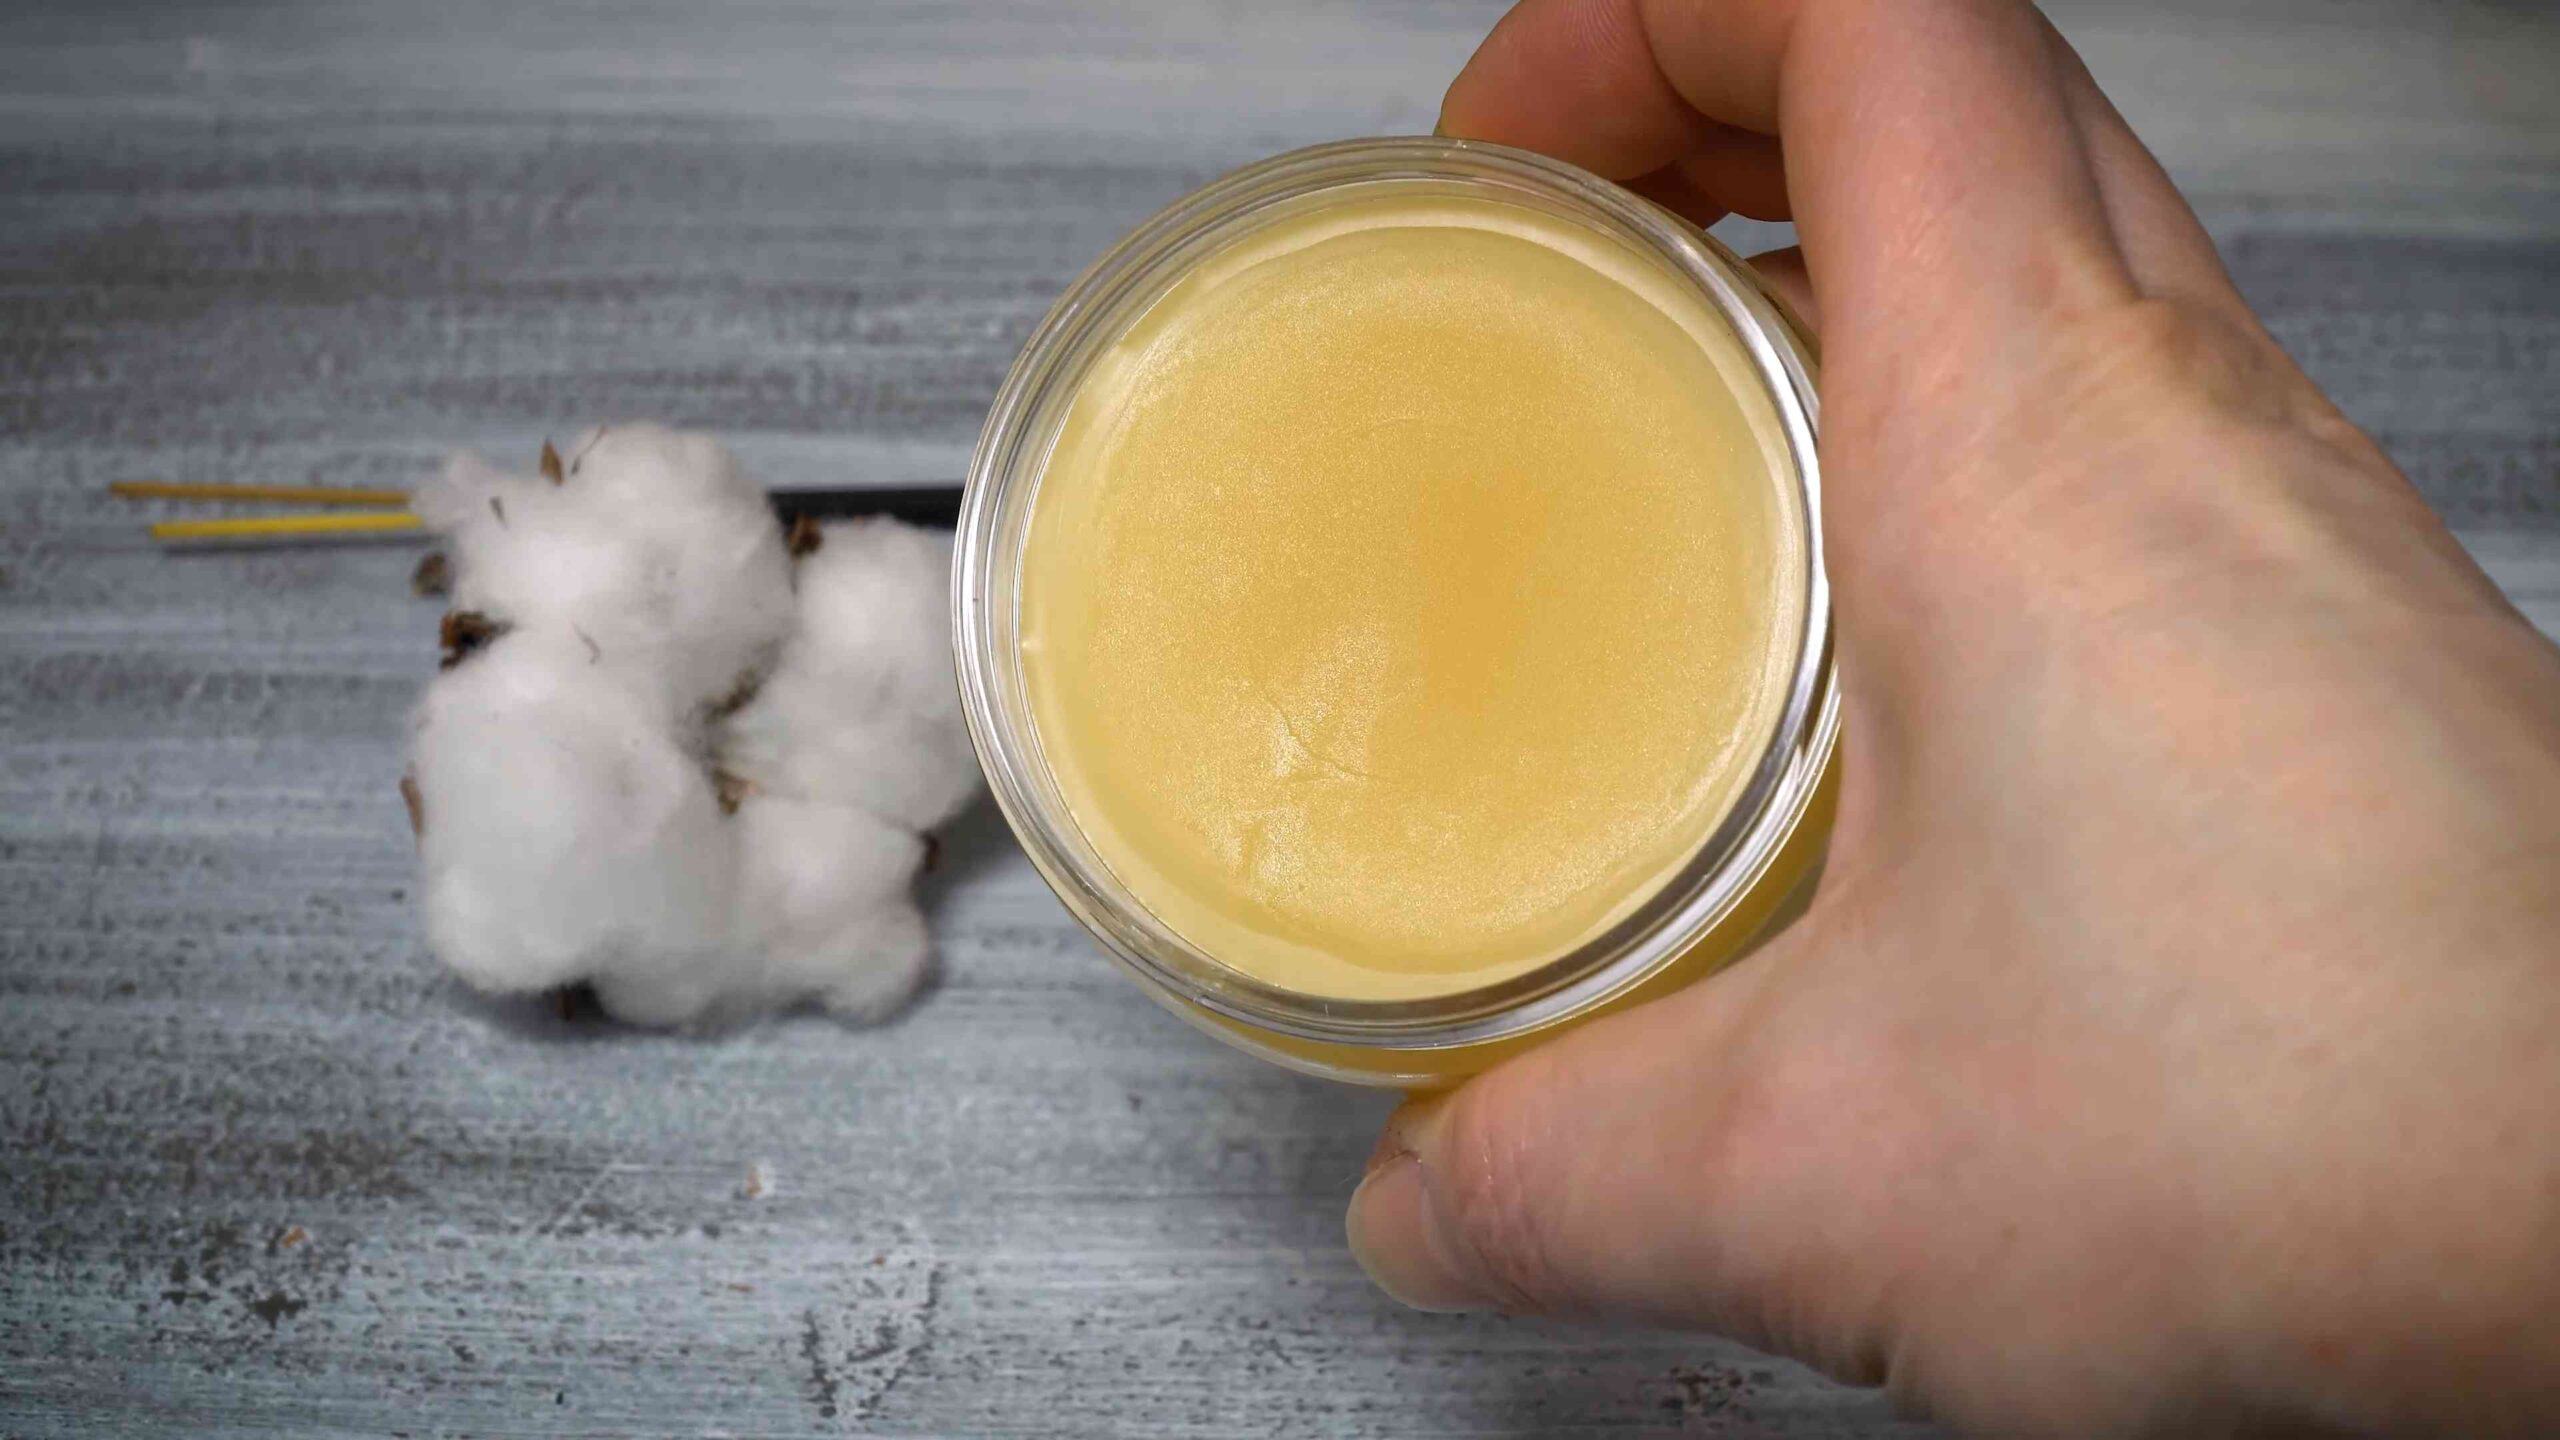
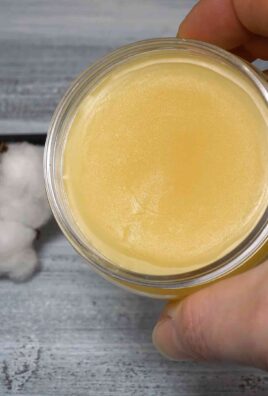
8. **Enjoy Your Homemade Beard Balm!** Once the balm is solid, it’s ready to use.
Using Your Beard Balm: Taming the Beast
Now that you’ve created your masterpiece, let’s talk about how to use it.
1. **Scrape a Small Amount:** Use your finger to scrape a small amount of balm from the container. Start with a pea-sized amount – you can always add more if needed.
2. **Rub Between Your Palms:** Rub the balm between your palms to warm it up and melt it slightly. This will make it easier to apply.
3. **Apply to Your Beard:** Work the balm evenly through your beard, starting at the roots and working your way to the tips. Make sure to get it all the way down to your skin.
4. **Style as Desired:** Use a comb or brush to style your beard as desired. The balm will provide hold and help to tame any stray hairs.
5. **Reapply as Needed:** Reapply the balm as needed throughout the day to maintain your style and keep your beard looking its best.
Troubleshooting: Common Issues and Solutions
Sometimes things don’t go exactly as planned. Here are a few common issues you might encounter and how to fix them:
* **Balm is Too Hard:** If your balm is too hard, it likely has too much beeswax. Next time, reduce the amount of beeswax and increase the amount of carrier oils. You can also try gently reheating the balm and adding a little more oil.
* **Balm is Too Soft:** If your balm is too soft, it likely doesn’t have enough beeswax. Next time, increase the amount of beeswax and reduce the amount of carrier oils. You can also try gently reheating the balm and adding a little more beeswax.
* **Balm is Grainy:** This can happen if the shea butter wasn’t melted properly or if it cooled too slowly. To fix it, gently reheat the balm until it’s completely melted and then cool it quickly in the refrigerator.
* **Scent is Too Strong/Weak:** Adjust the amount of essential oils to your preference. Remember, you can always add more, but you can’t take it out!
Customization: Making it Your Own
The best part about making your own beard balm is that you can customize it to your exact preferences. Here are a few ideas:
* **Experiment with Different Carrier Oils:** Try using different combinations of carrier oils to find what works best for your beard. Some other options include coconut oil, avocado oil, and grapeseed oil.
* **Create Your Own Scent Blends:** Don’t be afraid to mix and match essential oils to create your own unique scent blends. Just make sure the scents complement each other.
* **Add Other Beneficial Ingredients:** You can also add other ingredients to your balm, such as vitamin E oil, aloe vera gel, or lanolin.
Storage: Keeping Your Balm Fresh
To keep your beard balm fresh and effective, store it in a cool, dark place. Avoid exposing it to direct sunlight or extreme temperatures. Properly stored, your beard balm should last for several months.
Safety Precautions: A Word of Caution
While making beard balm is generally safe, there are a few precautions to keep in mind:
* **Use Caution When Working with Heat:** Be careful when melting the ingredients, as hot wax can cause burns.
* **Test for Allergies:** Before using any new ingredients, test a small amount on your skin to check for allergic reactions.
* **Use Essential Oils Safely:** Essential oils are potent and can cause skin irritation if used undiluted. Always dilute them in a carrier oil before applying them to your skin.
* **Keep Out of Reach of Children and Pets:** Essential oils can be harmful if ingested.
Final Thoughts: Rock That Awesome Beard!
So there you have it! A complete guide to making your own beard balm. It’s a fun,

Conclusion
So, there you have it! Crafting your own DIY beard balm isn’t just a fun project; it’s a game-changer for your beard care routine. It’s about taking control of what you put on your skin, knowing exactly what ingredients are nourishing your beard, and saving money in the long run. Forget those overpriced, mass-produced balms filled with questionable chemicals. This homemade version is all about natural goodness, tailored to your specific needs and preferences.
Why is this a must-try? Because it’s effective, customizable, and empowering. You’re not just buying a product; you’re creating a solution. A solution that tames unruly hairs, hydrates dry skin, promotes healthy growth, and leaves you with a beard that looks and feels fantastic. The subtle, natural scent is a welcome bonus, far superior to the often overpowering fragrances found in commercial products.
But the beauty of this DIY beard balm lies in its versatility. Feel free to experiment with different essential oils to create your signature scent. Love a woody aroma? Try cedarwood or sandalwood. Prefer something refreshing? Peppermint or eucalyptus might be your go-to. You can also adjust the ratios of beeswax, shea butter, and carrier oils to achieve your desired consistency. Want a balm with a stronger hold? Increase the beeswax. Need more hydration? Add more shea butter or a richer carrier oil like argan or avocado oil.
Consider adding a touch of lanolin for extra moisture retention, especially during the colder months. For a balm with anti-inflammatory properties, infuse your carrier oil with calendula or chamomile before starting the recipe. If you’re prone to beard itch, a few drops of tea tree oil can work wonders (use sparingly, as it’s potent).
Don’t be intimidated by the process. It’s surprisingly simple, even for beginners. The satisfaction of creating something yourself, knowing exactly what went into it, is incredibly rewarding. Plus, you’ll have a beard balm that’s perfectly suited to your beard’s unique needs.
We wholeheartedly encourage you to give this DIY beard balm recipe a try. It’s an investment in your beard’s health and appearance, and a testament to the power of natural ingredients. Once you experience the difference, you’ll never go back to store-bought balms again.
And most importantly, we want to hear about your experience! Share your creations, variations, and tips in the comments below. Let us know what essential oil combinations you loved, what adjustments you made to the recipe, and how this DIY balm has transformed your beard. Your feedback will not only inspire others but also help us refine and improve this recipe for everyone. So, grab your ingredients, get creative, and let’s build a community of beard-loving DIYers!
Frequently Asked Questions (FAQ)
What exactly is beard balm and why do I need it?
Beard balm is a grooming product designed to condition, style, and nourish your beard. It typically contains a blend of waxes, butters, and oils that work together to tame unruly hairs, moisturize the skin underneath, and promote healthy beard growth. Unlike beard oil, which is primarily a moisturizer, beard balm offers a light hold, allowing you to shape and style your beard. If you’re experiencing beard itch, dryness, or flyaway hairs, beard balm can be a lifesaver. It’s an essential part of a well-rounded beard care routine.
What are the key ingredients in this DIY beard balm and what do they do?
The core ingredients in this recipe are beeswax, shea butter, and carrier oils. Beeswax provides hold and helps to seal in moisture. Shea butter is a rich emollient that deeply moisturizes the skin and beard, leaving it soft and supple. Carrier oils, such as jojoba, argan, or sweet almond oil, provide additional hydration and nutrients. Essential oils are added for fragrance and therapeutic benefits. Each ingredient plays a crucial role in creating a balm that conditions, styles, and protects your beard.
Can I substitute any of the ingredients in this recipe?
Absolutely! The beauty of DIY is the ability to customize. You can substitute shea butter with cocoa butter or mango butter, although these will result in a slightly different texture. For carrier oils, feel free to experiment with your favorites, such as grapeseed, avocado, or coconut oil (use fractionated coconut oil to avoid a greasy feel). If you’re allergic to beeswax, you can try candelilla wax, but be aware that it has a stronger hold. When it comes to essential oils, the possibilities are endless. Just be sure to choose oils that are safe for topical use and that you enjoy the scent of.
How do I choose the right essential oils for my beard balm?
The best essential oils for your beard balm depend on your personal preferences and desired benefits. For a masculine scent, consider cedarwood, sandalwood, or pine. For a refreshing aroma, try peppermint, eucalyptus, or tea tree. Lavender and chamomile are great for soothing irritated skin. Rosemary and clary sage are believed to promote hair growth. Always dilute essential oils properly and perform a patch test before applying them to your entire beard. Avoid using phototoxic oils (like some citrus oils) if you’ll be exposed to direct sunlight.
How do I store my DIY beard balm?
Store your DIY beard balm in an airtight container in a cool, dark place. A small tin or jar works perfectly. Avoid storing it in direct sunlight or extreme temperatures, as this can affect its consistency and shelf life. Properly stored, your beard balm should last for several months.
How often should I use beard balm?
The frequency of beard balm application depends on your beard type and climate. Generally, you can use it once or twice a day, after showering or washing your face. Start with a small amount and work it into your beard, focusing on the ends. Adjust the amount based on your beard’s needs. If you live in a dry climate or have a particularly dry beard, you may need to use it more often.
My beard balm is too hard/soft. How can I fix it?
If your beard balm is too hard, it likely has too much beeswax. You can remelt it and add more carrier oil or shea butter to soften it. If it’s too soft, it probably needs more beeswax. Remelt it and add a small amount of beeswax until you achieve the desired consistency. Remember to make small adjustments and test the consistency as you go.
Can I use this beard balm on my mustache?
Yes, absolutely! This DIY beard balm is perfect for taming and styling your mustache as well. Just use a smaller amount and focus on shaping and defining your mustache hairs.
Is this beard balm safe for sensitive skin?
This recipe is generally safe for sensitive skin, as it uses natural ingredients. However, it’s always a good idea to perform a patch test before applying it to your entire beard. Apply a small amount to a discreet area of skin and wait 24 hours to see if any irritation occurs. If you have particularly sensitive skin, consider using unscented carrier oils and avoiding essential oils altogether.
How can I make a vegan version of this beard balm?
To make a vegan beard balm, simply substitute the beeswax with candelilla wax or soy wax. Candelilla wax has a stronger hold than beeswax, so you may need to use slightly less. Soy wax is a softer alternative that provides a more pliable hold.
Leave a Comment