

DIY carpet stain remover: Let’s face it, accidents happen! Whether it’s a spilled glass of wine, muddy paw prints, or a rogue coffee splash, carpet stains are an inevitable part of life. But before you resign yourself to living with unsightly blemishes or shelling out big bucks for professional cleaning, I’m here to tell you that you can conquer those stains yourself with some simple, effective, and budget-friendly DIY solutions.
For centuries, resourceful homeowners have been concocting their own cleaning remedies, drawing on the power of natural ingredients to tackle household messes. Think about it – our grandmothers didn’t have a shelf full of specialized stain removers! They relied on the wisdom passed down through generations, using ingredients like vinegar, baking soda, and lemon juice to keep their homes sparkling. This tradition of resourcefulness is something I deeply admire, and I’m excited to share some of those time-tested secrets with you.
Why is a DIY carpet stain remover so essential? Well, store-bought stain removers can be expensive and often contain harsh chemicals that can be harmful to your family and pets. Plus, who wants to run to the store every time a spill happens? With my easy-to-follow recipes and tips, you’ll be armed with the knowledge to tackle almost any carpet stain using ingredients you probably already have in your pantry. So, let’s dive in and learn how to banish those stains for good!
“`html
DIY Carpet Stain Remover: Banish Stains Like a Pro!
Hey there, fellow DIY enthusiasts! Are you tired of those unsightly carpet stains mocking you every time you walk by? I know I was! Store-bought stain removers can be expensive and often filled with harsh chemicals. That’s why I’m so excited to share my go-to, super-effective, and budget-friendly DIY carpet stain remover recipe. Trust me, this stuff is magic!
What You’ll Need: Your Stain-Fighting Arsenal
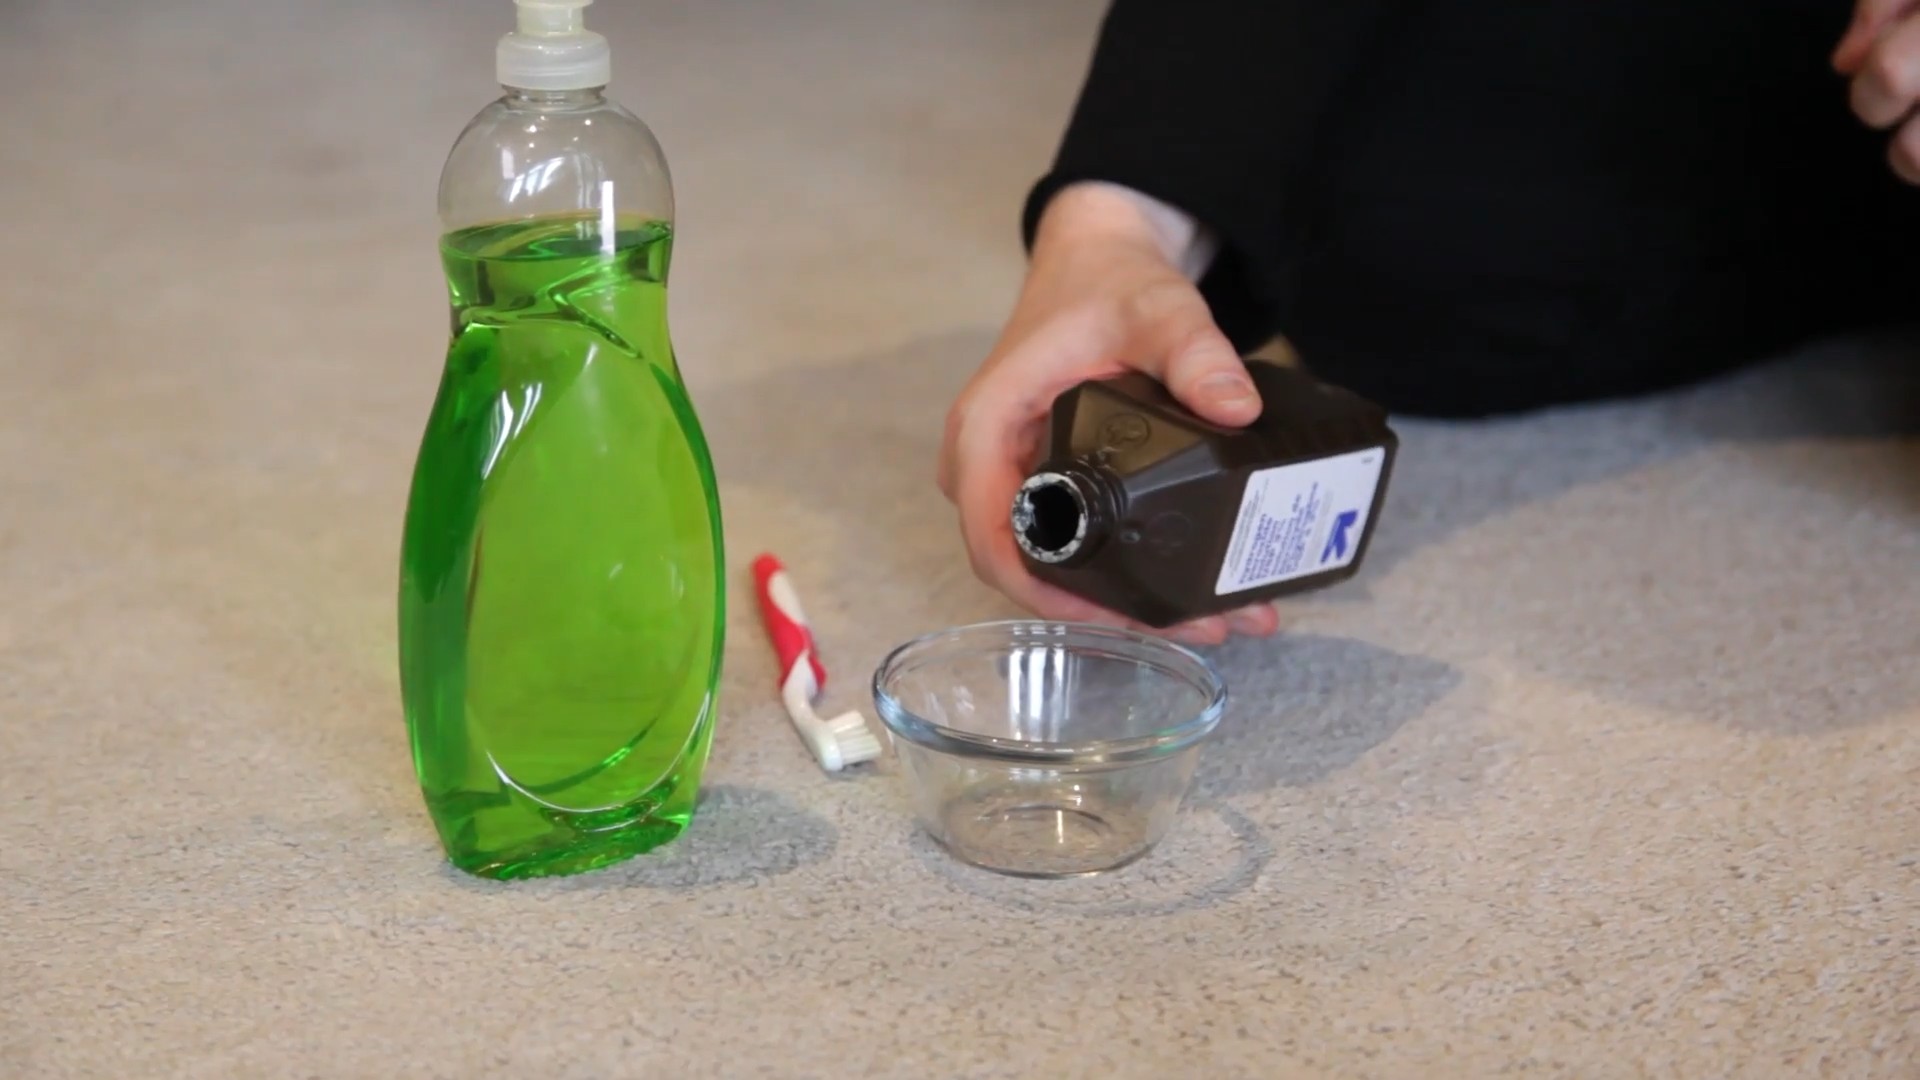
Before we dive in, let’s gather our supplies. The best part? You probably already have most of these ingredients in your pantry!
* **White Vinegar:** This is our main cleaning agent. Vinegar’s acidity helps break down stains and deodorizes.
* **Baking Soda:** The dynamic duo! Baking soda helps lift stains and absorb odors.
* **Dish Soap (Clear, Non-Bleach):** A gentle surfactant to help loosen the stain. Avoid anything with bleach, as it can damage your carpet.
* **Hydrogen Peroxide (3%):** This is optional, but it’s fantastic for brightening and removing tougher stains, especially on lighter carpets. Always test in an inconspicuous area first!
* **Spray Bottle:** For easy application.
* **Clean White Cloths or Paper Towels:** Avoid colored cloths, as the dye could transfer to your carpet.
* **Vacuum Cleaner:** To finish the job and fluff up the carpet fibers.
* **Spoon or Scrub Brush (Soft Bristles):** For agitating the stain (use gently!).
* **Warm Water:** To dilute the solution and help lift the stain.
* **Optional: Essential Oils (Lemon, Lavender, Tea Tree):** A few drops can add a pleasant scent and boost cleaning power.
The Magic Formula: Mixing Your Stain Remover
Alright, let’s get mixing! I’ve experimented with different ratios, and this is the one that works best for me:
1. **Prepare the Base:** In your spray bottle, combine 1 cup of warm water and 1/2 cup of white vinegar.
2. **Add the Soap:** Add 1 tablespoon of clear dish soap. Gently swirl the bottle to mix, avoiding excessive suds.
3. **Hydrogen Peroxide Boost (Optional):** If you’re using hydrogen peroxide, add 1/4 cup to the mixture. Remember to test on a hidden area first!
4. **Essential Oil Enhancement (Optional):** If desired, add 5-10 drops of your favorite essential oil. Lemon and tea tree are great for their cleaning properties, while lavender adds a calming scent.
5. **Shake Well:** Give the bottle a good shake to ensure all the ingredients are thoroughly combined.
Stain Removal: The Step-by-Step Guide
Now for the moment of truth! Follow these steps to banish those stains for good:
1. **Blot the Stain:** If the stain is fresh, immediately blot up as much of the liquid as possible with a clean white cloth or paper towel. Work from the outside of the stain inward to prevent it from spreading. The quicker you act, the better your chances of complete removal!
2. **Test in a Hidden Area:** Before applying the stain remover to the entire stain, test it in an inconspicuous area of your carpet, such as under a piece of furniture or in a closet. This will ensure that the solution doesn’t discolor or damage your carpet. Let it sit for a few minutes, then blot with a clean cloth. If there’s no adverse reaction, proceed to the next step.
3. **Apply the Stain Remover:** Generously spray the stain with your DIY stain remover. Make sure the area is thoroughly saturated, but avoid over-soaking the carpet.
4. **Let it Sit:** Allow the stain remover to sit on the stain for 5-10 minutes. This will give the solution time to penetrate the stain and break it down. For older or tougher stains, you can let it sit for up to 30 minutes.
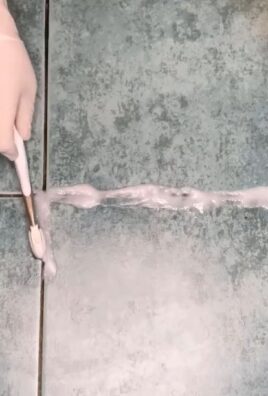
5. **Agitate the Stain (Gently!):** Using a clean white cloth or a soft-bristled scrub brush, gently agitate the stain. Work in a circular motion, starting from the outside and working your way inward. Be careful not to scrub too hard, as this can damage the carpet fibers.
6. **Blot Again:** Blot the stain with a clean white cloth or paper towel to absorb the stain remover and the loosened stain. Continue blotting until the cloth comes up clean.
7. **Baking Soda Power:** Sprinkle a generous amount of baking soda over the treated area. This will help absorb any remaining moisture and odors.
8. **Let it Dry:** Allow the baking soda to sit on the carpet for several hours, or preferably overnight. This will give it ample time to absorb any remaining moisture and odors.
9. **Vacuum Thoroughly:** Once the baking soda is completely dry, vacuum the area thoroughly to remove the baking soda and any remaining residue.
10. **Inspect and Repeat (If Necessary):** Inspect the area to see if the stain is completely gone. If not, repeat steps 3-9. For particularly stubborn stains, you may need to repeat the process several times.
Tackling Specific Stain Types: A Quick Guide
Different stains require slightly different approaches. Here are some tips for tackling common carpet stains:
* **Pet Stains:** For pet stains, it’s crucial to neutralize the odor to prevent your pet from re-offending. After removing the stain, consider using an enzymatic cleaner specifically designed for pet stains.
* **Red Wine Stains:** Act fast! Blot up as much wine as possible, then pour a generous amount of salt over the stain to absorb the remaining liquid. Let it sit for several hours, then vacuum. Follow up with the DIY stain remover if necessary.
* **Coffee Stains:** Coffee stains can be tricky. Try blotting with club soda before applying the DIY stain remover.
* **Grease Stains:** For grease stains, sprinkle cornstarch or baking soda over the stain to absorb the grease. Let it sit for several hours, then vacuum. Follow up with the DIY stain remover.
* **Ink Stains:** Ink stains can be particularly stubborn. Try blotting with rubbing alcohol before applying the DIY stain remover.
Preventing Future Stains: Proactive Measures
Prevention is always better than cure! Here are some tips to help prevent future carpet stains:
* **Act Fast:** The sooner you address a stain, the easier it will be to remove.
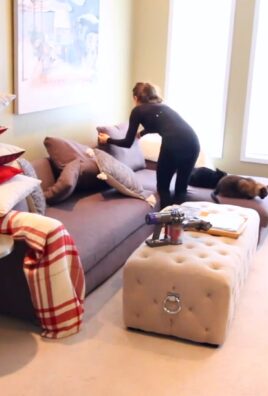
* **Use Rugs and Mats:** Place rugs and mats in high-traffic areas to protect your carpet from dirt and spills.
* **Regular Vacuuming:** Vacuum your carpets regularly to remove dirt and debris that can contribute to staining.
* **Professional Cleaning:** Consider having your carpets professionally cleaned every 12-18 months to remove deep-seated dirt and stains.
* **No Shoes Policy:** Implement a “no shoes” policy in your home to reduce the amount of dirt and grime tracked onto your carpets.
* **Carpet Protector:** Apply a carpet protector spray to help repel stains and make your carpets easier to clean.
Important Considerations: Safety First!
While this DIY stain remover is generally safe, it’s important to take a few precautions:
* **Always Test:** As mentioned before, always test the solution in an inconspicuous area before applying it to the entire stain.
* **Ventilation:** Ensure good ventilation when using the stain remover.
* **Avoid Contact with Eyes and Skin:** Avoid direct contact with your eyes and skin. If contact occurs, rinse thoroughly with water.
* **Keep Out of Reach of Children and Pets:** Store the stain remover in a safe place, out of reach of children and pets.
* **Don’t Mix with Bleach:** Never mix this stain remover with bleach, as it can create harmful fumes.
Troubleshooting: What to Do When Things Go Wrong
Sometimes, despite our best efforts, stains can be stubborn. Here are some troubleshooting tips:
* **Stain is Still Visible:** If the stain is still visible after several attempts, try using a stronger solution of hydrogen peroxide (always test first!). You can also try using a commercial stain remover specifically designed for the type of stain you’re dealing with.
* **Carpet is Discolored:** If the stain remover has discolored your carpet, try blotting the area with a clean white cloth dampened with water. You may also need to consult a professional carpet cleaner.
* **Odor Lingers:** If an odor lingers after removing the stain, try sprinkling baking soda over the area and letting it sit overnight. You can also use an odor-eliminating spray.
I hope this guide helps you conquer those pesky carpet stains! Remember, patience and persistence are key. With a little elbow grease and this amazing DIY stain remover, you can keep your carpets looking fresh and clean for years to come. Happy cleaning!
“`

Conclusion
So, there you have it! This DIY carpet stain remover isn’t just another cleaning hack; it’s a game-changer for anyone who wants to keep their carpets looking fresh and vibrant without resorting to harsh chemicals or expensive professional services. We’ve walked you through a simple, effective, and budget-friendly method to tackle those everyday spills and stubborn stains that inevitably find their way onto our carpets.
Why is this DIY trick a must-try? Because it’s powerful, safe, and readily accessible. The ingredients are likely already in your pantry, saving you a trip to the store and a dent in your wallet. More importantly, you’re in control of what goes onto your carpets, avoiding potentially harmful chemicals that can irritate allergies or pose risks to children and pets. This homemade solution is a testament to the fact that effective cleaning doesn’t have to come at the expense of your health or the environment.
But the beauty of DIY lies in its adaptability. Feel free to experiment with variations to suit your specific needs and preferences. For instance, if you’re dealing with a particularly stubborn stain, you might consider adding a few drops of essential oil known for its stain-fighting properties, such as lemon or tea tree oil. Just be sure to test it in an inconspicuous area first to ensure it doesn’t discolor your carpet.
Another variation involves adjusting the ratio of ingredients depending on the type of stain. For oily stains, a slightly higher concentration of dish soap might be beneficial. For protein-based stains like blood or milk, cold water is crucial to prevent the stain from setting further. Remember, observation and adaptation are key to achieving the best results.
Beyond the basic recipe, consider incorporating a pre-treatment step for heavily soiled areas. A simple paste of baking soda and water, applied to the stain and allowed to dry before vacuuming, can work wonders in lifting embedded dirt and grime. This pre-treatment can significantly enhance the effectiveness of the DIY carpet stain remover.
We also encourage you to consider the type of carpet you’re cleaning. While this DIY solution is generally safe for most carpets, it’s always a good idea to perform a spot test in an inconspicuous area before applying it to the entire stain. This is especially important for delicate or antique carpets.
Ultimately, the success of this DIY carpet stain remover hinges on your willingness to give it a try. Don’t be intimidated by the prospect of making your own cleaning solution. It’s surprisingly easy, and the results are often far superior to store-bought alternatives.
We’re confident that you’ll be amazed by the cleaning power of this simple yet effective solution. So, go ahead, gather your ingredients, and prepare to say goodbye to those unsightly carpet stains.
And now, we want to hear from you! We encourage you to try this DIY carpet stain remover and share your experience with us. Did it work wonders on a particularly stubborn stain? Did you discover a variation that worked even better? Your feedback is invaluable and helps us refine and improve our recipes for the benefit of everyone. Share your tips, tricks, and success stories in the comments below. Let’s create a community of DIY cleaning enthusiasts who are passionate about keeping their homes clean and healthy without breaking the bank.
Don’t wait any longer – reclaim your carpets and enjoy a cleaner, fresher home today!
Frequently Asked Questions (FAQ)
1. What types of stains can this DIY carpet stain remover effectively clean?
This DIY carpet stain remover is surprisingly versatile and can tackle a wide range of common household stains. It’s particularly effective on spills like coffee, tea, juice, wine, pet accidents, food stains, and even some types of grease and oil. However, the effectiveness may vary depending on the age and severity of the stain, as well as the type of carpet fiber. For older, deeply embedded stains, multiple applications or a pre-treatment might be necessary. It’s always a good idea to test the solution on a small, inconspicuous area of the carpet first to ensure it doesn’t cause any discoloration or damage.
2. Is this DIY carpet stain remover safe for all types of carpets?
While this DIY solution is generally considered safe for most carpets, it’s crucial to exercise caution and perform a spot test before applying it to the entire stained area. Different carpet fibers react differently to cleaning solutions. For example, delicate fibers like wool or silk may require a more diluted solution or a specialized cleaning method. Always check the manufacturer’s recommendations for your specific carpet type before using any cleaning product, including homemade ones. If you’re unsure, consult a professional carpet cleaner.
3. Can I use this DIY carpet stain remover on upholstery?
Yes, this DIY carpet stain remover can often be used on upholstery, but with the same precautions as with carpets. Always perform a spot test in an inconspicuous area first to ensure it doesn’t damage or discolor the fabric. Upholstery fabrics can be even more delicate than carpets, so it’s essential to proceed with caution. Avoid over-wetting the fabric, and blot the area thoroughly after cleaning. If you’re dealing with delicate or antique upholstery, it’s best to consult a professional cleaner.
4. How long should I leave the DIY carpet stain remover on the stain before blotting it up?
The dwell time for the DIY carpet stain remover depends on the severity of the stain. For fresh, light stains, a few minutes might be sufficient. For older, more stubborn stains, you can leave the solution on for up to 15-20 minutes. However, it’s important to monitor the area closely and prevent the solution from drying completely on the carpet. If the solution starts to dry, lightly mist it with water to keep it moist. After the dwell time, blot the area thoroughly with a clean, dry cloth, working from the outside of the stain inward to prevent it from spreading.
5. What if the stain doesn’t come out completely after the first application?
Don’t be discouraged if the stain doesn’t disappear completely after the first application. Some stains, especially older or deeply embedded ones, may require multiple treatments. Repeat the process as needed, allowing the solution to dwell for the appropriate amount of time each time. You can also try using a soft-bristled brush to gently agitate the stain and help the solution penetrate deeper into the fibers. Remember to blot the area thoroughly after each application.
6. Can I add essential oils to this DIY carpet stain remover?
Yes, you can add a few drops of essential oils to this DIY carpet stain remover for added cleaning power and a pleasant scent. Lemon, tea tree, and eucalyptus oils are known for their stain-fighting and antibacterial properties. However, it’s important to use essential oils sparingly and to test them in an inconspicuous area first to ensure they don’t discolor the carpet. Some essential oils can also be irritating to sensitive skin, so wear gloves when handling them.
7. How do I prevent the stain from spreading while cleaning?
To prevent the stain from spreading while cleaning, always blot the area from the outside of the stain inward. This will help contain the stain and prevent it from spreading to surrounding areas. Avoid rubbing the stain, as this can push it deeper into the carpet fibers and make it more difficult to remove. Use a clean, dry cloth for each blotting motion to avoid re-depositing the stain onto the carpet.
8. What is the best way to dry the carpet after using this DIY stain remover?
After blotting the area thoroughly, it’s important to dry the carpet as quickly as possible to prevent mold and mildew growth. You can use a clean, dry towel to absorb any remaining moisture. You can also use a fan or a hairdryer (on a cool setting) to speed up the drying process. Ensure the area is well-ventilated to allow moisture to evaporate. Avoid walking on the damp carpet until it’s completely dry.
9. Is baking soda really effective for removing carpet stains?
Yes, baking soda is a natural deodorizer and absorbent, making it an effective ingredient for removing carpet stains. It helps to lift stains and absorb odors, leaving your carpet smelling fresh. For best results, sprinkle baking soda liberally over the stain, let it sit for several hours or overnight, and then vacuum it up thoroughly.
10. What is the shelf life of this DIY carpet stain remover?
This DIY carpet stain remover is best used fresh. Since it doesn’t contain any preservatives, it’s recommended to mix only the amount you need for immediate use. If you have any leftover solution, store it in an airtight container in a cool, dark place for up to a week. However, its effectiveness may diminish over time.

Leave a Comment