

DIY Citrus Microwave Cleaner: Are you tired of that lingering, funky smell and stubborn splatters inside your microwave? Let’s face it, cleaning the microwave is nobody’s favorite chore! But what if I told you there’s a super easy, all-natural way to get your microwave sparkling clean and smelling amazing, using something you probably already have in your kitchen?
For generations, people have relied on the power of citrus to freshen and disinfect their homes. From ancient civilizations using lemon juice to clean surfaces to modern-day aromatherapy utilizing citrus essential oils, the bright, clean scent of citrus is synonymous with cleanliness and well-being. This simple DIY Citrus Microwave Cleaner trick taps into that age-old wisdom, offering a safe and effective alternative to harsh chemical cleaners.
Why is this DIY trick so essential? Because a clean microwave isn’t just about aesthetics; it’s about hygiene! Splattered food can harbor bacteria and create unpleasant odors that can affect the taste of your food. Plus, who wants to spend precious time scrubbing away at baked-on messes? This DIY Citrus Microwave Cleaner hack will save you time, money, and effort, leaving you with a fresh, clean microwave and more time to enjoy the things you love. So, let’s ditch the chemicals and embrace the power of citrus!

DIY Citrus Microwave Cleaner: A Fresh & Effective Hack!
Hey everyone! Are you tired of that lingering microwave smell and the splattered food remnants clinging to the inside? I know I was! Store-bought microwave cleaners can be expensive and often filled with harsh chemicals. So, I decided to try a natural and budget-friendly solution: a DIY citrus microwave cleaner. It’s super easy, smells amazing, and works like a charm. Let’s get started!
What You’ll Need
Before we dive in, let’s gather our supplies. This is a pretty simple project, so you probably already have most of these items on hand.
* Citrus Fruit: Lemons, limes, oranges, or grapefruits – any of these will work wonders! I usually use lemons because I always have them around, but feel free to experiment with your favorite citrus scent. You’ll need at least one, but two is even better for a stronger cleaning power.
* Water: Plain old tap water is perfect.
* Microwave-Safe Bowl: Make sure it’s a bowl that can withstand the heat of the microwave. Glass or ceramic bowls are ideal.
* Sponge or Cloth: For wiping down the microwave interior.
* Optional: White Vinegar: A splash of vinegar can boost the cleaning power, especially for stubborn stains.
Step-by-Step Instructions
Okay, let’s get this microwave sparkling! Follow these simple steps, and you’ll have a fresh and clean microwave in no time.
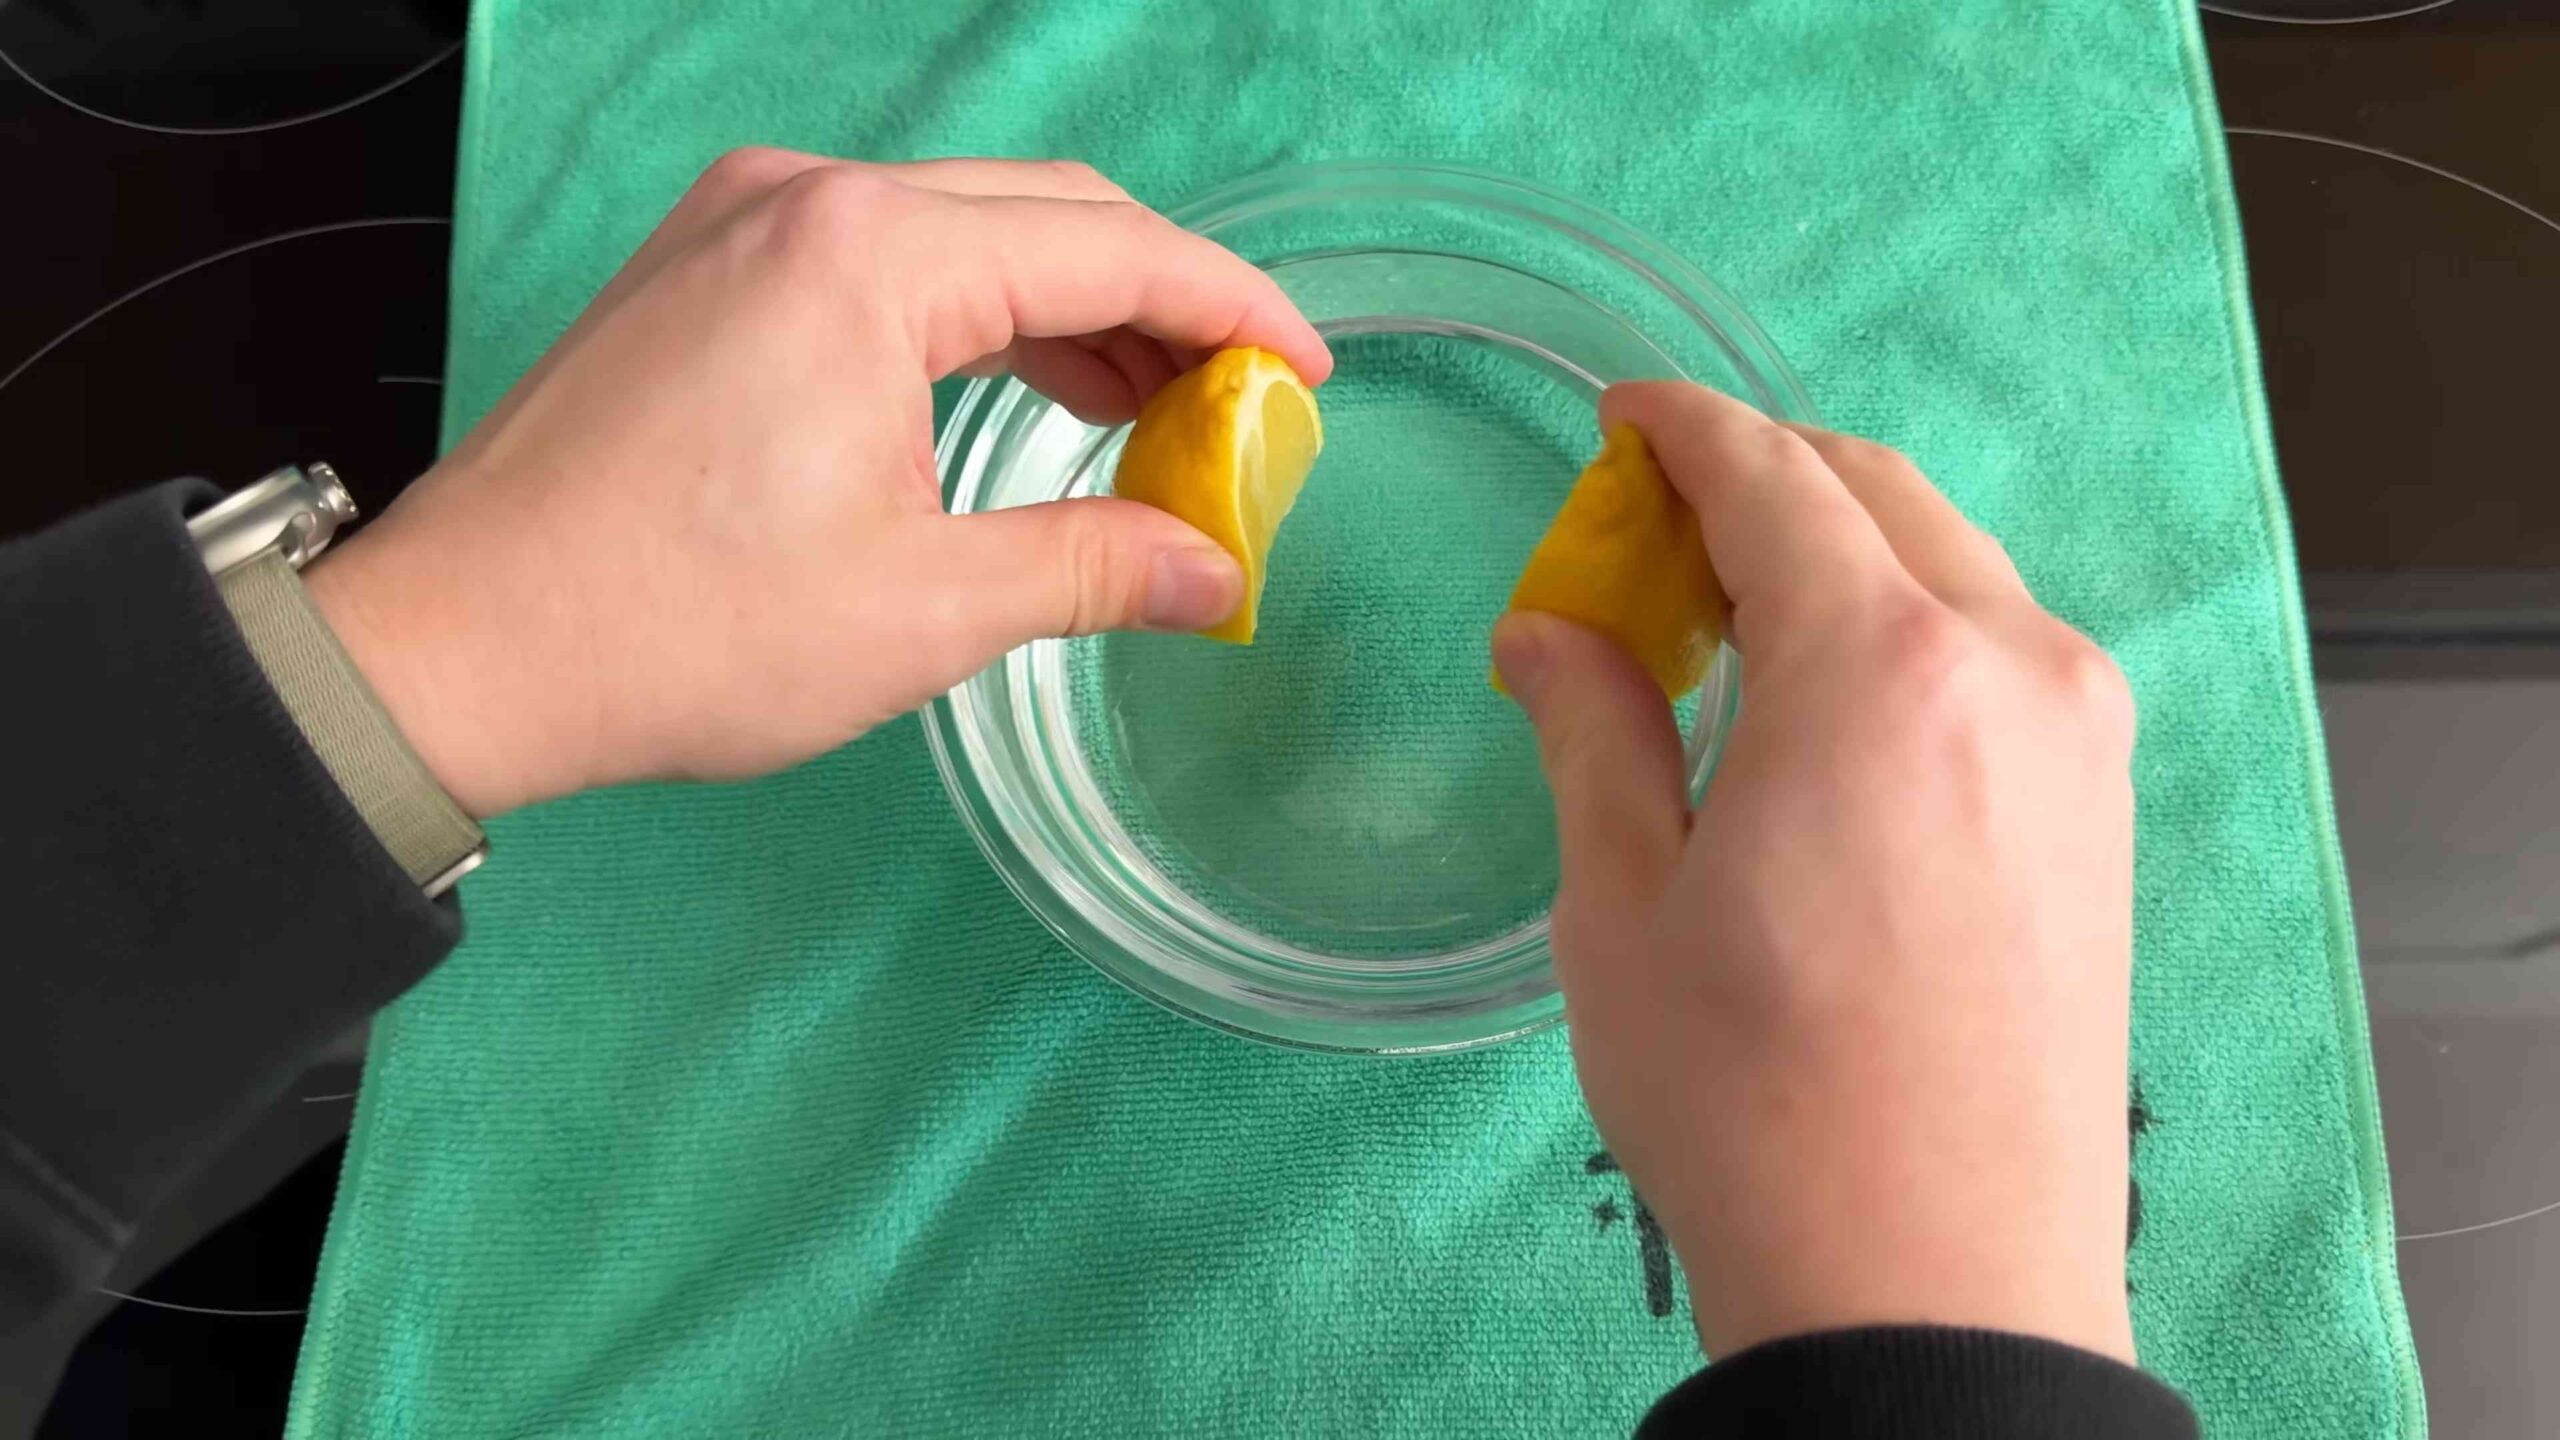
1. Prepare the Citrus: First, cut your citrus fruit in half. You can either squeeze the juice into your microwave-safe bowl or simply place the halves directly into the bowl. I usually squeeze the juice first to release all those lovely citrus oils. If you’re using larger fruits like oranges or grapefruits, you might only need one half.
2. Add Water: Now, pour about one cup of water into the bowl. The water will create steam, which is essential for loosening the grime inside the microwave.
3. Optional: Add Vinegar: If you’re dealing with particularly stubborn stains or odors, add a tablespoon or two of white vinegar to the water. Vinegar is a natural disinfectant and degreaser, and it works wonders in combination with the citrus.
4. Microwave the Mixture: Place the bowl in the microwave and heat it on high for 3-5 minutes. The goal is to bring the water to a boil and create plenty of steam. The exact time will depend on your microwave’s power, so keep an eye on it. You want the water to be actively boiling and steaming.
5. Let it Steam: Once the timer goes off, do not open the microwave door immediately! This is a crucial step. Let the steam work its magic for another 5-10 minutes. The steam will loosen the food particles and make them much easier to wipe away. The longer you let it sit, the better the results.
6. Carefully Remove the Bowl: After the steaming period, carefully remove the bowl from the microwave. It will be hot, so use oven mitts or a towel to protect your hands.
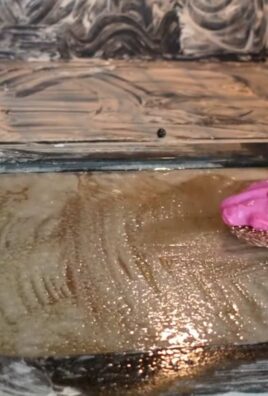
7. Wipe Down the Interior: Now comes the satisfying part! Using your sponge or cloth, wipe down the interior of the microwave. You’ll be amazed at how easily the grime comes off. The steam and citrus have done their job, loosening even the most stubborn splatters. Pay attention to the top, bottom, sides, and door of the microwave.
8. Clean the Turntable and Roller Ring: Remove the turntable and roller ring from the microwave. Wash them with warm, soapy water. These parts often accumulate food debris and can contribute to unpleasant odors. Rinse them thoroughly and dry them before placing them back in the microwave.
9. Dry the Interior: Once you’ve wiped down the entire interior, use a clean, dry cloth to dry any remaining moisture. This will prevent water spots and leave your microwave looking extra shiny.
10. Enjoy Your Fresh, Clean Microwave! That’s it! Your microwave should now be sparkling clean and smelling wonderfully fresh.
Troubleshooting & Tips
Even with a simple DIY project like this, you might encounter a few hiccups. Here are some tips and troubleshooting advice to help you achieve the best results.
* Stubborn Stains: If you have some particularly stubborn stains that won’t come off easily, try making a paste of baking soda and water. Apply the paste to the stains, let it sit for a few minutes, and then scrub gently with a sponge.
* Lingering Odors: If your microwave still has a lingering odor after cleaning, try placing a small bowl of baking soda inside the microwave overnight. Baking soda is a natural odor absorber and can help eliminate any remaining smells.
* Preventative Measures: To keep your microwave clean and fresh, try covering your food with a microwave-safe lid or plastic wrap when heating it up. This will prevent splatters and make cleanup much easier.
* Citrus Alternatives: If you don’t have any citrus fruits on hand, you can also use vinegar alone. Simply mix equal parts water and vinegar in a microwave-safe bowl and follow the same steps as above. While it won’t smell as pleasant as citrus, it’s still an effective cleaning solution.
* Frequency: I try to clean my microwave at least once a week, or more often if I’ve had a particularly messy cooking session. Regular cleaning will prevent grime from building up and make the job much easier in the long run.
* Lemon Peels: Don’t throw away those lemon peels! You can add them to your garbage disposal to freshen it up or use them to deodorize your refrigerator.
Why This Works
You might be wondering why this simple DIY method is so effective. Here’s a breakdown of the science behind it:
* Steam: The steam created by heating the water loosens the dried-on food particles and makes them easier to wipe away. It’s like a mini steam cleaning session for your microwave.
* Citric Acid: The citric acid in citrus fruits is a natural degreaser and disinfectant. It helps to break down grease and grime, making them easier to remove. It also has antibacterial properties, which help to kill germs and bacteria.
* Aromatherapy: The citrus scent is a natural deodorizer and leaves your microwave smelling fresh and clean. It’s a much more pleasant alternative to the harsh chemical smells of store-bought cleaners.
* Vinegar (Optional): Vinegar is a powerful cleaning agent that can dissolve grease, grime, and mineral deposits. It also has antibacterial and antiviral properties, making it an excellent addition to your cleaning routine.
Cost-Effective and Eco-Friendly
One of the best things about this DIY microwave cleaner is that it’s incredibly cost-effective. You’re using ingredients that you likely already have on hand, so you’re saving money compared to buying commercial cleaners. Plus, it’s an eco-friendly option because you’re avoiding harsh chemicals and reducing your reliance on plastic packaging.
Safety First!
While this DIY cleaner is generally safe, it’s important to take a few precautions:
* Hot Bowl: Be extremely careful when removing the bowl from the microwave, as it will be very hot. Use oven mitts or a towel to protect your hands.
* Steam: Avoid getting too close to the steam when opening the microwave door, as it can cause burns.
* Ventilation: Make sure your kitchen is well-ventilated when cleaning the microwave, especially if you’re using vinegar.
* Allergies: If you have any allergies to citrus fruits, be cautious when using this method.
Variations and Experimentation
Feel free to experiment with different citrus fruits and combinations to find your favorite scent. You can also add a few drops of essential oils, such as lemon, orange, or grapefruit, to boost the fragrance.
Another variation is to use leftover citrus peels instead of fresh fruit. Simply place the peels in the bowl with water and follow the same steps. This is a great way to reduce waste and get the most out of your citrus fruits.
You can also try adding a few sprigs of fresh herbs, such as rosemary or thyme, to the bowl for a more complex and aromatic cleaning experience.
Beyond the Microwave: Other Uses for Citrus Cleaning
The power of citrus cleaning doesn’t stop at the microwave! You can use citrus peels and juice to clean and deodorize other areas of your home as well.
* Garbage Disposal: Toss citrus peels into your garbage disposal to freshen it up and eliminate odors.
* Cutting Boards: Rub a lemon half over your wooden cutting boards to disinfect them and remove food stains.
* Stainless Steel: Use a lemon wedge to polish stainless steel surfaces, such as sinks and faucets.
* Refrigerator: Place a bowl of lemon juice or a few lemon peels in your refrigerator to absorb odors.
* All-Purpose Cleaner: Infuse vinegar with citrus peels to create a natural all-purpose
Conclusion
So, there you have it! This simple, all-natural DIY citrus microwave cleaner is more than just a cleaning hack; it’s a game-changer for your kitchen routine. Forget harsh chemicals and lingering artificial scents. This method harnesses the potent cleaning power of citrus, leaving your microwave sparkling clean and smelling wonderfully fresh.
Why is this a must-try? Because it’s effective, eco-friendly, and incredibly easy. You’re likely already throwing away those lemon or orange peels, so why not put them to good use? Not only will you be reducing waste, but you’ll also be saving money on expensive, store-bought cleaners. Plus, the natural citrus scent is a welcome change from the overpowering chemical smells of conventional cleaning products.
But the benefits don’t stop there. This DIY citrus microwave cleaner is also incredibly versatile. Feel free to experiment with different citrus fruits. Limes and grapefruits work just as well, each imparting its unique fragrance. For an extra boost of cleaning power, add a tablespoon of white vinegar to the water. Vinegar is a natural disinfectant and degreaser that complements the citrus perfectly. You can also add a few drops of your favorite essential oil, like lavender or tea tree, for an even more personalized scent.
Another variation to consider is the soaking time. While the recipe suggests 5 minutes, you can adjust this depending on the level of grime in your microwave. For particularly stubborn messes, try increasing the soaking time to 10 minutes or even repeating the process. The steam will help to loosen even the most baked-on food particles.
This DIY citrus microwave cleaner is a win-win for your kitchen and the environment. It’s a simple, effective, and sustainable way to keep your microwave clean and fresh.
We wholeheartedly encourage you to give this DIY trick a try. It’s so easy, you’ll wonder why you haven’t been doing it all along! And once you’ve experienced the magic of citrus cleaning, we’d love to hear about your experience. Share your results, variations, and tips in the comments below. Let’s create a community of clean, eco-conscious kitchens! What citrus fruits did you use? Did you add any essential oils? Did you find that a longer soaking time was necessary for your microwave? Your feedback will help others discover the best ways to utilize this fantastic cleaning method.
Don’t just take our word for it – try it yourself and see the difference. You’ll be amazed at how easily you can achieve a sparkling clean microwave with just a few simple ingredients and a little bit of citrus power. So, grab those citrus peels, fill a microwave-safe bowl with water, and get ready to experience the joy of a naturally clean and fresh microwave. Happy cleaning!
Frequently Asked Questions (FAQ)
Q: What types of citrus fruits work best for this DIY microwave cleaner?
A: While lemons and oranges are the most commonly used citrus fruits, you can experiment with a variety of options. Limes, grapefruits, and even tangerines can be used effectively. Each citrus fruit will impart a slightly different scent, so feel free to choose your favorite. The key is the citric acid present in all these fruits, which helps to loosen grime and grease. Don’t be afraid to mix and match citrus peels for a unique fragrance blend!
Q: Can I use bottled lemon juice instead of fresh citrus peels?
A: While fresh citrus peels are preferred for their natural oils and fragrance, you can use bottled lemon juice as a substitute in a pinch. Use about 2-3 tablespoons of lemon juice in the water. However, keep in mind that the results may not be as effective as using fresh peels, as the bottled juice may not contain the same concentration of oils. Fresh is always best for optimal cleaning power and scent.
Q: How long should I microwave the water and citrus peels?
A: The recommended microwave time is 5 minutes. This allows the water to boil and create steam, which helps to loosen the grime and grease inside the microwave. However, you may need to adjust the time depending on the power of your microwave and the level of dirtiness. If your microwave is particularly dirty, you can increase the time to 7-10 minutes. Just be sure to keep an eye on the water level and add more if necessary.
Q: Is it safe to use this DIY cleaner on all types of microwaves?
A: Yes, this DIY citrus microwave cleaner is generally safe to use on all types of microwaves. However, it’s always a good idea to check your microwave’s manual for any specific cleaning instructions or warnings. As a precaution, avoid using abrasive sponges or scrub brushes, as these can scratch the interior of your microwave. A soft cloth or sponge is all you need to wipe away the loosened grime.
Q: What if my microwave is still dirty after using this method?
A: If your microwave is particularly dirty, you may need to repeat the process or try a few additional techniques. First, try increasing the soaking time to 10-15 minutes. This will allow the steam to penetrate the grime more effectively. You can also add a tablespoon of white vinegar to the water for an extra boost of cleaning power. If stubborn spots remain, try using a paste of baking soda and water to gently scrub them away. Remember to always wipe down the interior of your microwave thoroughly after cleaning.
Q: How often should I clean my microwave using this method?
A: The frequency of cleaning depends on how often you use your microwave and how messy it gets. As a general rule, it’s a good idea to clean your microwave at least once a week to prevent grime and grease from building up. If you use your microwave frequently or tend to make messy meals, you may need to clean it more often. This DIY citrus microwave cleaner is so easy and effective that you can easily incorporate it into your regular cleaning routine.
Q: Can I use this method to clean other appliances besides the microwave?
A: While this method is specifically designed for cleaning microwaves, you can adapt it for other appliances with caution. The steam generated by boiling water with citrus can help loosen grime in ovens, but be sure to follow your oven’s specific cleaning instructions and avoid overheating. You can also use the citrus-infused water to wipe down countertops and other surfaces, but always test a small, inconspicuous area first to ensure it doesn’t damage the finish.
Q: How do I get rid of the citrus smell after cleaning?
A: The citrus smell should dissipate naturally within a few hours. If you find the scent too strong, you can leave the microwave door open for a while to allow it to air out. You can also place a small bowl of baking soda inside the microwave to absorb any lingering odors. Alternatively, you can use a damp cloth to wipe down the interior of the microwave with plain water.
Q: Is this DIY cleaner safe for children and pets?
A: Yes, this DIY citrus microwave cleaner is generally safe for children and pets, as it uses only natural ingredients. However, it’s always a good idea to keep children and pets away from the microwave while it’s in use and to ensure that all surfaces are thoroughly wiped down after cleaning. If your child or pet ingests any of the citrus-infused water, it’s unlikely to cause any harm, but it’s always best to consult with a doctor or veterinarian if you have any concerns.


Leave a Comment