

DIY Gold Chain Wall Lamp: Ever dreamed of adding a touch of Hollywood glamour to your home without breaking the bank? I know I have! Forget those overpriced designer lighting fixtures; we’re diving headfirst into a dazzling DIY project that will transform your space with a touch of elegance and a whole lot of personality.
The concept of using chains in interior design isn’t new. Think back to the opulent chandeliers of the Victorian era, where cascading chains added a sense of grandeur. Or consider the more modern, industrial-chic aesthetic that embraces exposed metal and raw materials. This project blends both worlds, offering a sophisticated yet edgy vibe.
Why a DIY gold chain wall lamp, you ask? Well, let’s be honest, good lighting is essential for creating the right ambiance in any room. But finding unique, stylish wall lamps that fit your budget can be a real challenge. This DIY project not only saves you money but also allows you to customize the design to perfectly match your personal style and existing decor. Plus, who doesn’t love the satisfaction of saying, “I made that!” when guests admire your handiwork? So, grab your tools, and let’s get ready to illuminate your home with this stunning DIY Gold Chain Wall Lamp!

DIY Gold Chain Wall Lamp: A Touch of Glam for Your Space
Hey there, fellow DIY enthusiasts! I’m so excited to share this project with you – a stunning gold chain wall lamp that I recently created. It’s surprisingly easy to make and adds a touch of elegance and modern flair to any room. Forget those expensive designer lamps; we’re making our own! This project is perfect for adding ambient lighting to a bedroom, living room, or even a hallway. Let’s get started!
Materials You’ll Need:
Before we dive in, let’s gather all the necessary materials. Having everything on hand will make the process smooth and enjoyable.
* Gold Chain: This is the star of the show! I used a decorative gold chain with large links. The length will depend on how long you want your lamp to hang. I recommend measuring the desired length from the wall to where you want the bulb to sit, then doubling it and adding a bit extra for draping.
* Wall Sconce Kit: You can find these online or at most hardware stores. Look for one that includes a mounting bracket, a light socket, wiring, and a switch (optional, but highly recommended). Make sure the kit is rated for the type of bulb you plan to use.
* Light Bulb: Choose a bulb that complements the gold chain. I opted for an Edison-style bulb with a warm, inviting glow. LED bulbs are energy-efficient and come in various styles.
* Lamp Cord: You’ll need a length of lamp cord to connect the sconce to a power outlet. Choose a color that blends well with your wall or the gold chain.
* Wire Strippers: Essential for safely stripping the insulation from the lamp cord wires.
* Screwdriver: A Phillips head screwdriver will be needed for mounting the sconce and connecting the wires.
* Electrical Tape: For insulating the wire connections and ensuring safety.
* Drill and Drill Bits: To create pilot holes for mounting the sconce bracket to the wall.
* Wall Anchors: If you’re not mounting the sconce to a stud, you’ll need wall anchors to provide secure support. Choose anchors that are appropriate for the weight of the lamp.
* Pliers: Helpful for bending and manipulating the chain links.
* Measuring Tape: For accurate measurements.
* Safety Glasses: Always protect your eyes when working with tools.
* Gloves: To protect your hands.
* Optional: Gold Spray Paint: If your sconce kit isn’t gold, you can spray paint it to match the chain.
* Optional: Chain Cutter/Pliers: To cut the chain if needed.
Step-by-Step Instructions:
Okay, let’s get down to the nitty-gritty! Follow these steps carefully, and you’ll have your gorgeous gold chain wall lamp up in no time.
1. Preparing the Sconce Kit:
1. Unpack and Inspect: Carefully unpack your sconce kit and make sure all the components are present and in good condition. Read the instructions that came with the kit.
2. Spray Paint (Optional): If your sconce kit isn’t gold and you want it to match the chain, now’s the time to spray paint it. Apply several light coats, allowing each coat to dry completely before applying the next. This will prevent drips and ensure an even finish. Let it dry completely before moving on.
3. Assemble the Sconce: Follow the instructions that came with your sconce kit to assemble the basic sconce fixture. This usually involves attaching the light socket to the mounting bracket.
2. Attaching the Gold Chain:
1. Measure and Cut (If Necessary): Determine the desired length of the chain. Remember to account for the drape and the distance from the wall to the bulb. If necessary, use chain cutters or pliers to shorten the chain.
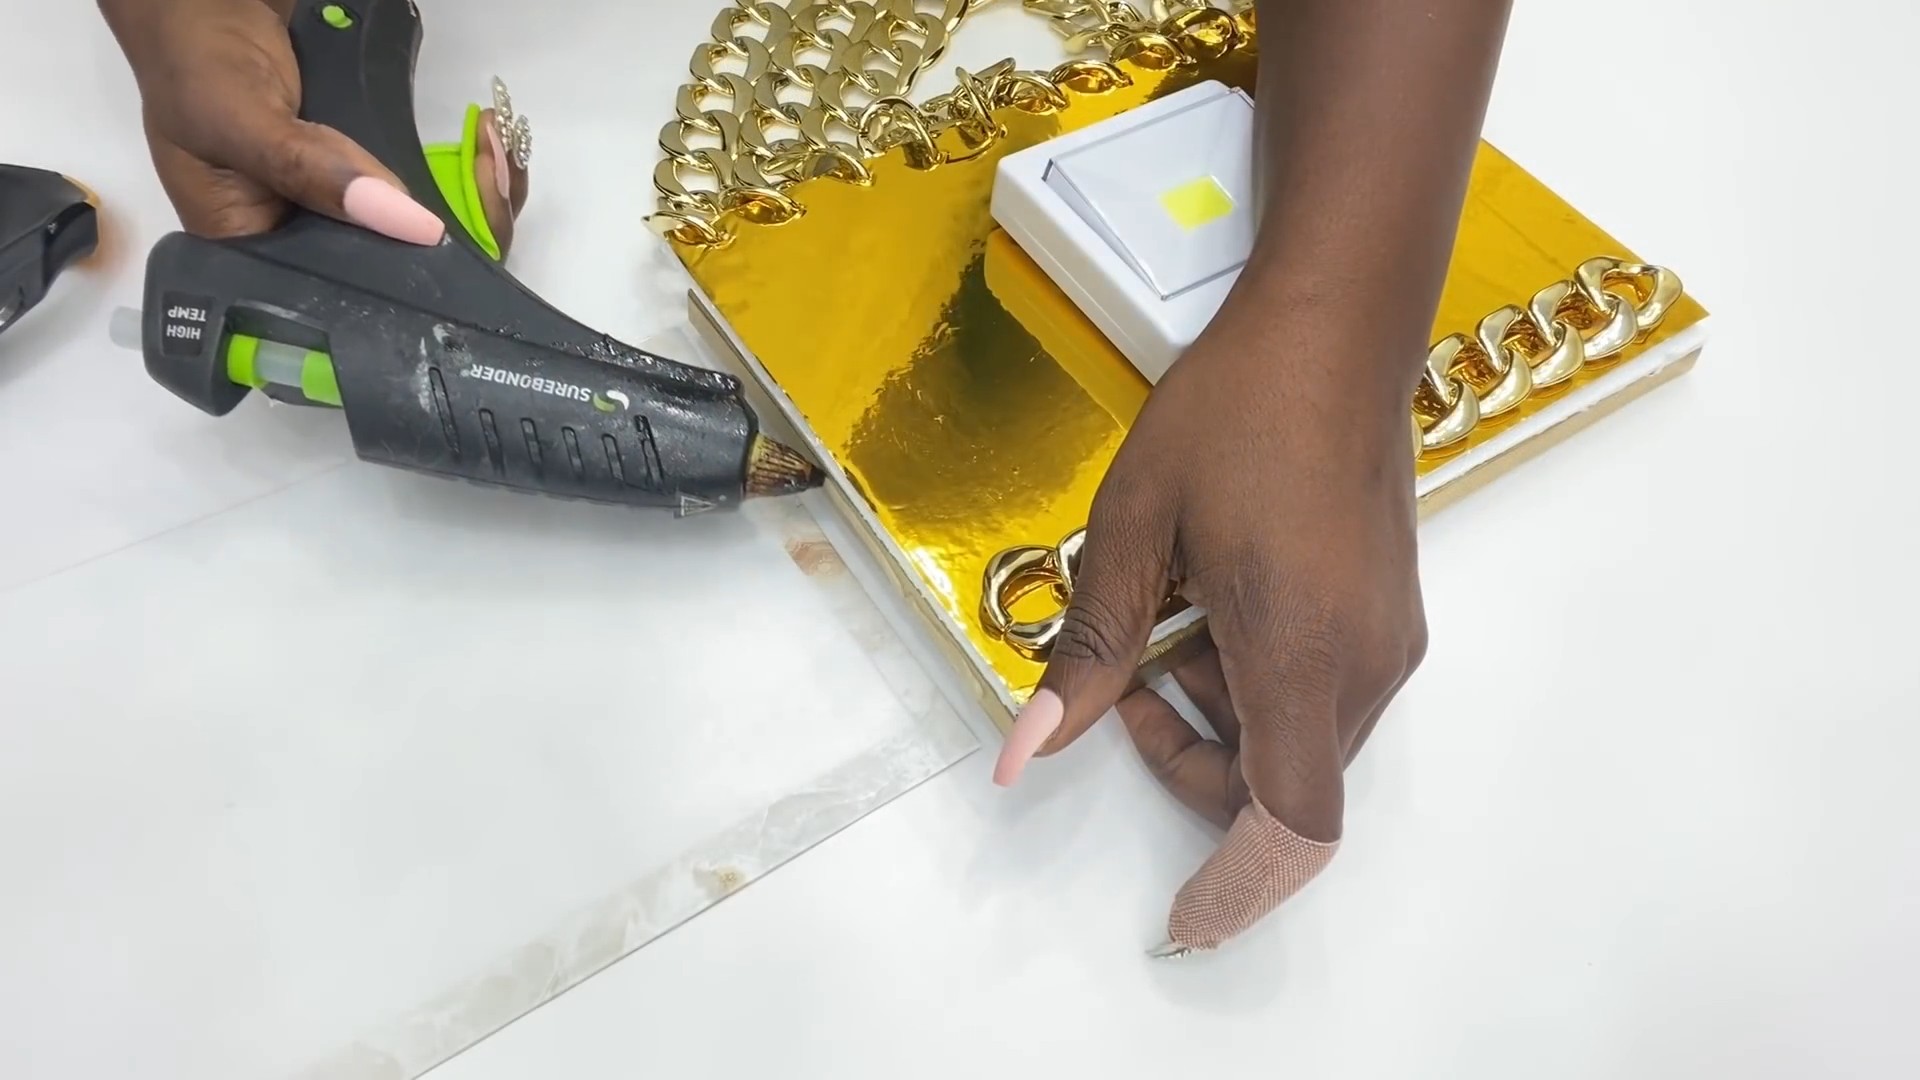
2. Attach the Chain to the Sconce: This is where the magic happens! There are a few ways to attach the chain.
* Option 1 (Direct Attachment): If the sconce has a loop or hook, you can directly attach the chain to it. Use pliers to open a link in the chain and attach it to the loop. Close the link securely.
* Option 2 (Using a Carabiner or S-Hook): If the sconce doesn’t have a suitable attachment point, you can use a small carabiner or S-hook to connect the chain. Attach the carabiner or S-hook to the sconce and then attach the chain to the carabiner or S-hook.
* Option 3 (Drilling a Hole): As a last resort, you can carefully drill a small hole in the sconce bracket to attach the chain. Make sure the hole is large enough to accommodate a chain link, but not so large that it compromises the structural integrity of the sconce.
3. Secure the Chain: Make sure the chain is securely attached to the sconce. Give it a gentle tug to test its strength.
3. Wiring the Lamp:
Safety First! Before you start wiring, make sure the power is turned off at the circuit breaker.
1. Prepare the Lamp Cord: Use wire strippers to carefully strip about 1/2 inch of insulation from the ends of the lamp cord wires.
2. Connect the Wires: Connect the lamp cord wires to the wires in the sconce kit. Typically, you’ll connect the black wire (hot) from the lamp cord to the black wire in the sconce, and the white wire (neutral) from the lamp cord to the white wire in the sconce. Use wire connectors (usually included in the sconce kit) to make the connections. Twist the wires together tightly and then screw on the wire connector.
3. Secure the Connections: Wrap each wire connection with electrical tape to insulate it and prevent short circuits.
4. Tuck the Wires: Carefully tuck the wires into the sconce housing, making sure they don’t get pinched or damaged.
4. Mounting the Sconce to the Wall:
1. Choose a Location: Select the perfect spot for your new wall lamp. Consider the height, the proximity to a power outlet, and the overall aesthetic of the room.
2. Mark the Mounting Holes: Hold the sconce bracket against the wall and use a pencil to mark the locations of the mounting holes.
3. Drill Pilot Holes: Use a drill and a drill bit that’s slightly smaller than the diameter of your wall anchors to drill pilot holes at the marked locations.
4. Install Wall Anchors (If Necessary): If you’re not mounting the sconce to a stud, install wall anchors in the pilot holes. Follow the instructions that came with your wall anchors.
5. Mount the Sconce Bracket: Align the sconce bracket with the pilot holes (or wall anchors) and use screws to attach it to the wall. Make sure the bracket is securely mounted.
6. Attach the Sconce: Attach the sconce to the mounting bracket. This usually involves sliding the sconce onto the bracket and tightening a screw or two.
5. Final Touches:
1. Install the Light Bulb: Screw in your chosen light bulb.
2. Plug It In: Plug the lamp cord into a power outlet.
3. Test the Lamp: Turn on the switch (if your sconce has one) and make sure the lamp works.
4. Adjust the Chain: Adjust the drape of the gold chain to your liking. You can use pliers to bend the chain links if necessary.
5. Admire Your Handiwork! Step back and admire your beautiful new gold chain wall lamp! You did it!
Troubleshooting:
* Lamp Doesn’t Turn On: Double-check all the wire connections. Make sure the light bulb is working. Check the circuit breaker.
* Sconce is Wobbly: Make sure the sconce bracket is securely mounted to the wall. Use larger wall anchors if necessary.
* Chain is Too Long/Short: Adjust the length of the chain by adding or removing links.
Tips and Tricks:
* Experiment with Different Chain Styles: Don’t be afraid to get creative with the chain! You can use different sizes, shapes, and colors of chain to create a unique look.
* Add a Dimmer Switch: Install a dimmer switch to control the brightness of the lamp. This is a great way to create ambiance.
* Use a Smart Bulb: Use a smart bulb that can be controlled with your smartphone or voice assistant.
* Consider the Room’s Decor: Choose a chain and bulb that complement the existing decor of the room.
* Get Creative with the Sconce: You can customize the sconce by adding paint, fabric, or other embellishments.
I hope you enjoyed this
Conclusion
So, there you have it! Transforming an ordinary space into a haven of golden light and sophisticated style is now within your reach. This DIY gold chain wall lamp project isn’t just about saving money; it’s about unleashing your creativity, adding a personal touch to your home décor, and experiencing the satisfaction of crafting something beautiful with your own hands.
Why is this DIY trick a must-try? Because it’s a game-changer. It allows you to achieve a high-end look without the high-end price tag. Store-bought gold chain lamps can easily cost hundreds of dollars, but with a little ingenuity and some readily available materials, you can create a stunning piece that rivals anything you’d find in a designer showroom. Beyond the cost savings, this project offers unparalleled customization. You control the length of the chain, the style of the lamp shade, and even the type of bulb you use, ensuring that your new wall lamp perfectly complements your existing décor.
But the benefits don’t stop there. This project is surprisingly beginner-friendly. You don’t need to be a seasoned DIYer to tackle this project. With clear instructions and a little patience, anyone can create a beautiful and functional gold chain wall lamp. It’s a fantastic way to learn new skills, boost your confidence, and add a unique conversation starter to your home.
Ready to take your DIY game to the next level?
Consider these variations to truly make the project your own:
* **Chain Alternatives:** While gold chain offers a classic and elegant look, don’t be afraid to experiment with other materials. Consider using silver chain for a more modern aesthetic, or even rope for a rustic, bohemian vibe.
* **Shade Styles:** The lampshade is where you can really let your personality shine. Opt for a drum shade for a clean and contemporary look, a pleated shade for a touch of vintage charm, or even a bare bulb for an industrial edge.
* **Adding Embellishments:** Take your lamp to the next level by adding embellishments to the chain or the shade. Consider wrapping the chain with ribbon, adding beads, or even painting it a different color. You could also embellish the shade with fabric trim, tassels, or even decoupage.
* **Smart Lighting:** Integrate a smart bulb into your DIY gold chain wall lamp to control the brightness and color temperature with your smartphone or voice assistant. This adds a modern touch and allows you to create the perfect ambiance for any occasion.
* **Double the Impact:** Create a pair of these lamps to flank a bed or sofa for a balanced and symmetrical look.
We are confident that you’ll love the results. This DIY gold chain wall lamp is more than just a light fixture; it’s a statement piece that reflects your creativity and personal style. So, gather your materials, roll up your sleeves, and get ready to transform your space.
Don’t forget to share your creations with us! We’d love to see your unique interpretations of this DIY project. Tag us on social media and use the hashtag #DIYGoldChainLamp to show off your handiwork and inspire others. We can’t wait to see what you create!
Frequently Asked Questions (FAQ)
What tools and materials do I need for this DIY gold chain wall lamp project?
You’ll generally need the following: a length of gold chain (the length will depend on your desired lamp height), a wall sconce kit (including a light socket, wiring, and mounting hardware), a lampshade of your choice, a light bulb, pliers, wire strippers, a screwdriver, and potentially a drill (depending on your wall type and the mounting hardware). You might also want to have safety glasses and gloves on hand. Remember to always disconnect the power before working with any electrical components.
How do I determine the correct length of gold chain to use?
Measure the distance from where you want the lamp to hang on the wall to the desired height of the lampshade. Add a few extra inches for attaching the chain to the sconce and the lampshade. It’s always better to have a little extra chain than not enough, as you can easily remove links if needed.
Is this DIY project safe for someone with no electrical experience?
While this project is relatively simple, working with electricity always carries a risk. If you are not comfortable working with electrical wiring, it is highly recommended that you consult a qualified electrician. Safety should always be your top priority. Ensure you disconnect the power supply before starting any electrical work. Double-check all connections and follow the instructions provided with your wall sconce kit carefully.
What type of light bulb should I use for my DIY gold chain wall lamp?
The type of light bulb you use will depend on the style of your lampshade and your personal preferences. LED bulbs are a great option because they are energy-efficient and long-lasting. You can also choose from a variety of bulb shapes and colors to create the desired ambiance. Make sure the bulb wattage is compatible with your lampshade and the light socket. Consider using a dimmer switch to adjust the brightness of the lamp.
Can I use a different type of chain instead of gold?
Absolutely! The beauty of this DIY project is that you can customize it to your liking. Silver chain, rope, or even beaded strands can be used instead of gold chain. Just make sure the chain is strong enough to support the weight of the lampshade and the light bulb. Consider the overall aesthetic you’re trying to achieve when choosing your chain material.
How do I attach the gold chain to the wall sconce and the lampshade?
Most wall sconce kits will have a loop or hook where you can attach the chain. Use pliers to open and close the chain links to securely attach the chain to the sconce and the lampshade. Make sure the connections are strong and secure to prevent the lamp from falling. You may need to use additional hardware, such as S-hooks or carabiners, depending on the design of your sconce and lampshade.
What if my wall is not suitable for mounting a wall sconce?
If you have plaster walls or are renting and cannot make permanent changes, consider using a temporary mounting solution, such as adhesive hooks or command strips. However, make sure the hooks or strips are strong enough to support the weight of the lamp. Alternatively, you could adapt the design to create a hanging lamp that plugs into a wall outlet.
How can I clean my DIY gold chain wall lamp?
To clean your lamp, first, disconnect it from the power source. Use a soft, dry cloth to dust the chain and the lampshade. For stubborn dirt or grime, you can use a slightly damp cloth with a mild soap solution. Avoid using harsh chemicals or abrasive cleaners, as they can damage the finish of the chain and the lampshade. Regularly dusting your lamp will help keep it looking its best.
Where can I find inspiration for different lampshade styles?
Pinterest, home décor magazines, and online retailers are great sources of inspiration for lampshade styles. Consider the overall style of your room and choose a lampshade that complements your existing décor. You can also find tutorials online for making your own custom lampshades.
What if I want to add a dimmer switch to my DIY gold chain wall lamp?
Adding a dimmer switch is a great way to control the brightness of your lamp and create the perfect ambiance. You can purchase a dimmer switch at most hardware stores. Make sure the dimmer switch is compatible with the type of light bulb you are using. Follow the instructions provided with the dimmer switch carefully when installing it. If you are not comfortable working with electrical wiring, it is recommended that you consult a qualified electrician.


Leave a Comment