

DIY natural home cleaners – sounds intimidating, right? But trust me, it’s easier than you think, and way more rewarding than grabbing that brightly colored bottle from the store! I’m so excited to share some simple, effective recipes that will not only leave your home sparkling but also keep it free from harsh chemicals.
The concept of cleaning with natural ingredients isn’t new. In fact, before the advent of mass-produced cleaning products, our ancestors relied on the power of nature to keep their homes clean and healthy. Think about it: vinegar, baking soda, and essential oils have been used for centuries for their cleaning and disinfecting properties. It’s a return to a simpler, more sustainable way of living.
Why should you ditch the store-bought stuff and embrace DIY natural home cleaners? Well, for starters, many commercial cleaners contain ingredients that can be harmful to our health and the environment. From skin irritations to respiratory problems, the potential risks are significant. Plus, those plastic bottles contribute to pollution. By making your own cleaners, you’re taking control of what you bring into your home and reducing your environmental footprint. I know I feel better knowing my family isn’t breathing in harmful fumes!
This article is packed with easy-to-follow recipes and tips that will empower you to create your own effective and eco-friendly cleaning solutions. Get ready to transform your cleaning routine and discover the joy of a naturally clean home!
DIY Natural Home Cleaners: Ditch the Chemicals and Embrace the Green!
Hey there, fellow DIY enthusiasts! I’m so excited to share some of my favorite recipes for natural home cleaners. I’ve been making my own cleaning products for years now, and honestly, I’ll never go back to store-bought. Not only are these recipes super effective, but they’re also much better for your health, your wallet, and the environment. Plus, it’s kind of fun to whip up a batch of something that smells amazing and actually works!
Here’s the deal: we’re going to cover a few essential cleaners that will tackle most of your household messes. Get ready to say goodbye to harsh chemicals and hello to a sparkling clean, naturally fresh home!
All-Purpose Cleaner: Your Go-To for Everything
This is my absolute must-have cleaner. I use it on countertops, sinks, appliances, you name it! It’s gentle enough for everyday use but strong enough to cut through grime.
What you’ll need:
* Spray bottle (16 oz is a good size)
* 1 cup white vinegar
* 1 cup water
* 10-20 drops of your favorite essential oil (lemon, lavender, tea tree, and eucalyptus are great choices)
Step-by-step instructions:
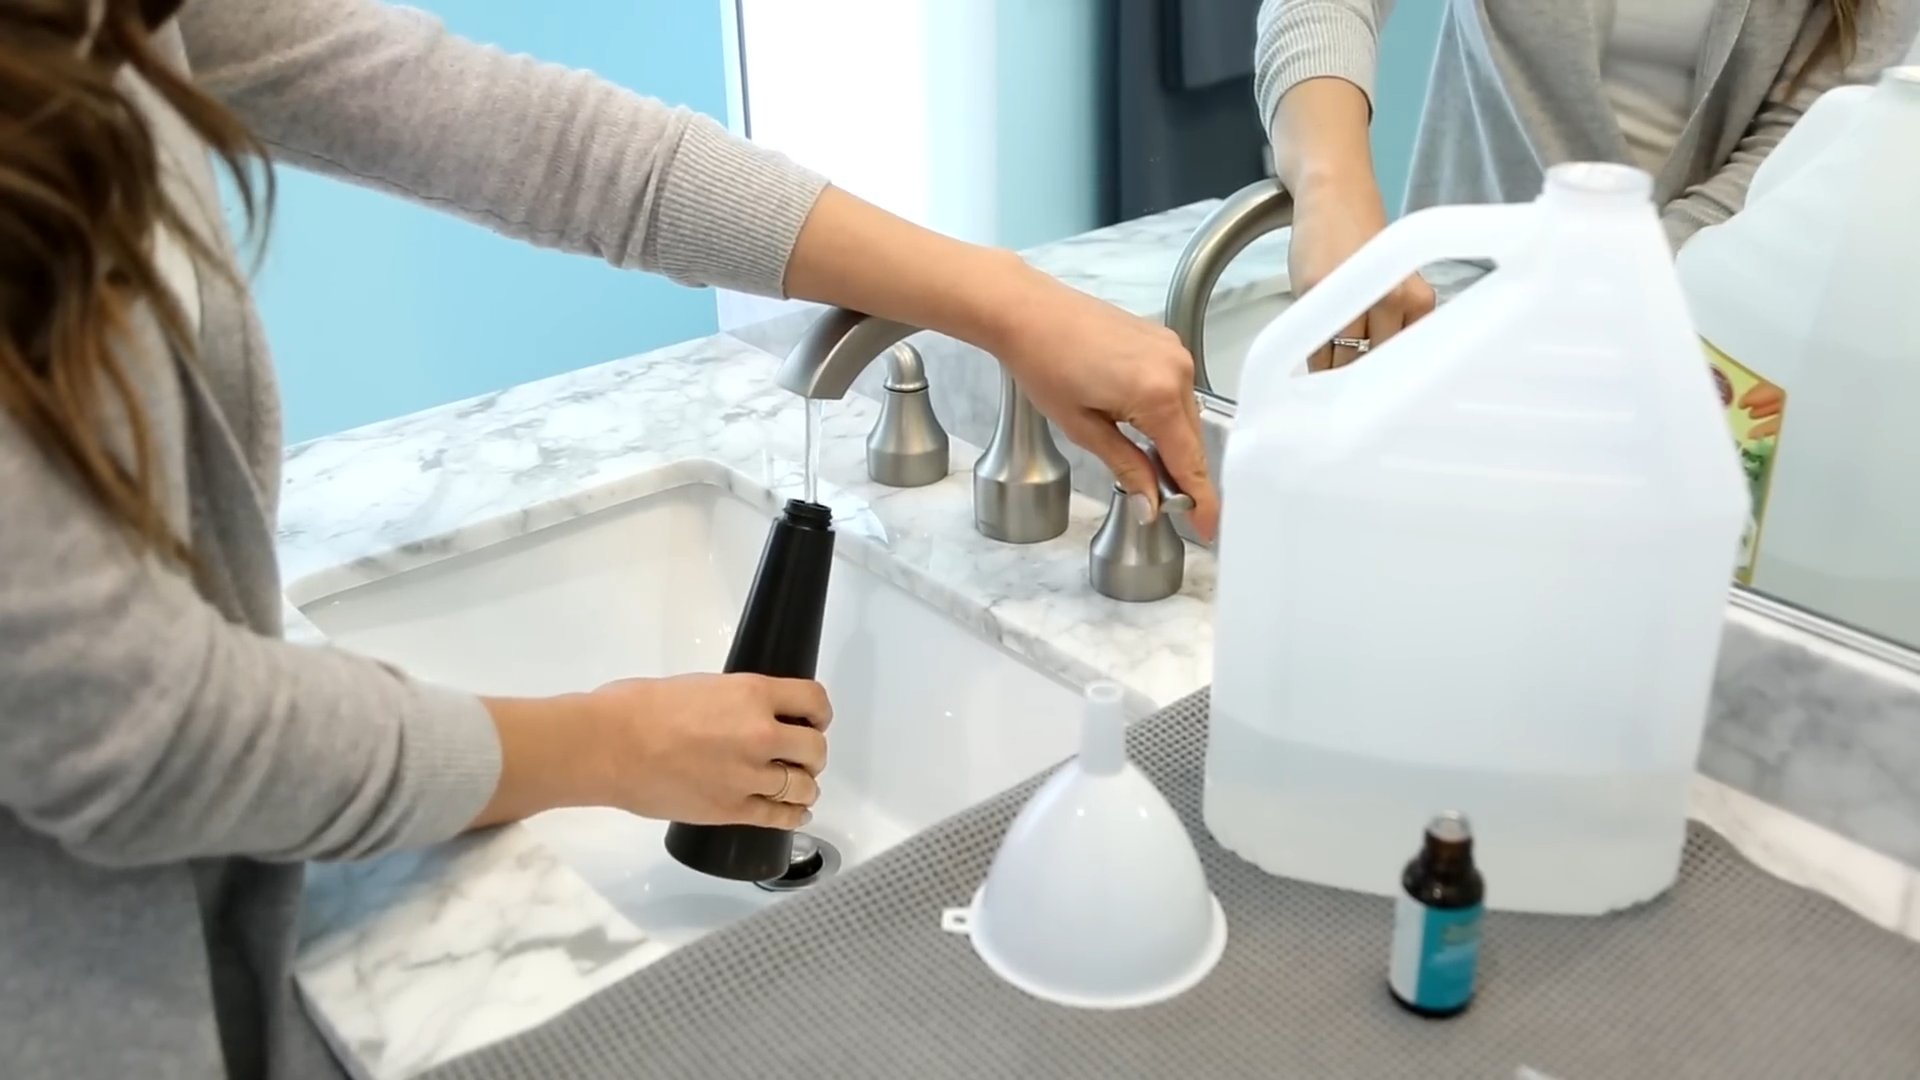
1. Gather your ingredients: Make sure you have everything ready to go before you start. It makes the process so much smoother!
2. Combine vinegar and water: Pour the white vinegar and water into your spray bottle.
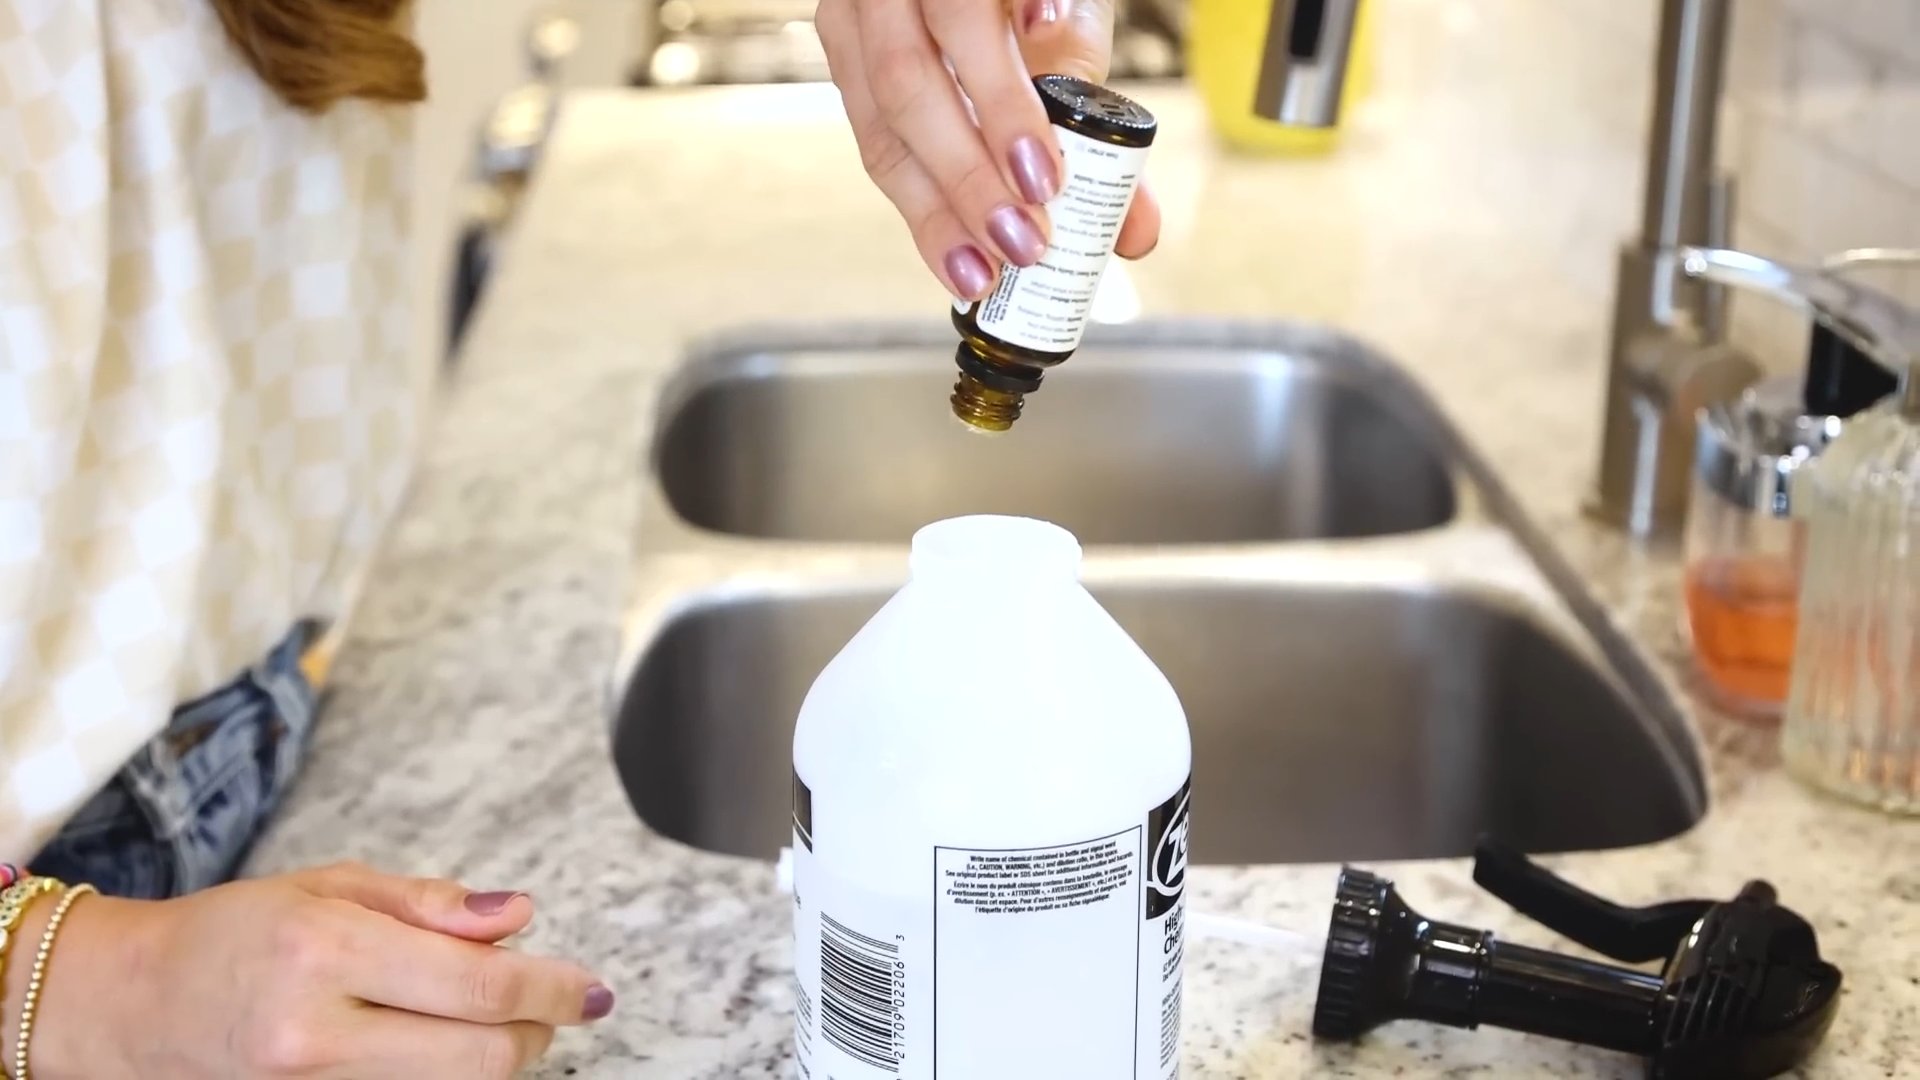
3. Add essential oils: Add your chosen essential oils. I usually start with 10 drops and then add more if I want a stronger scent. Remember, essential oils not only smell great but also have antibacterial and antiseptic properties.
4. Shake well: Secure the spray nozzle and shake the bottle vigorously to combine all the ingredients.
5. Label your bottle: This is important! You don’t want to accidentally mistake it for something else. I usually write “All-Purpose Cleaner” and the date I made it.
6. Start cleaning! Spray the cleaner onto the surface you want to clean and wipe it down with a clean cloth or sponge. For tougher messes, let the cleaner sit for a few minutes before wiping.
Important Note: While vinegar is generally safe, avoid using it on natural stone surfaces like granite or marble, as it can etch them over time.
Glass Cleaner: Streak-Free Shine Every Time
Say goodbye to streaks and smudges! This glass cleaner is incredibly simple and effective.
What you’ll need:
* Spray bottle
* 2 cups water
* 1/4 cup white vinegar
* 2 tablespoons rubbing alcohol (isopropyl alcohol)
Step-by-step instructions:
1. Prepare your spray bottle: Make sure your spray bottle is clean and empty.
2. Mix the ingredients: Combine the water, white vinegar, and rubbing alcohol in the spray bottle.
3. Shake it up: Secure the spray nozzle and shake well to mix everything together.
4. Label clearly: Label the bottle “Glass Cleaner” to avoid any confusion.
5. Spray and wipe: Spray the cleaner onto your windows, mirrors, or glass surfaces. Use a clean microfiber cloth to wipe the surface dry. For best results, use a clean, dry cloth for the final wipe to eliminate any streaks.
Pro Tip: Newspaper can also be used to wipe down glass for a streak-free shine! Just crumple it up and use it like a cloth.
Toilet Bowl Cleaner: Naturally Fresh and Clean
This toilet bowl cleaner uses the power of baking soda and vinegar to fizz away grime and leave your toilet smelling fresh.
What you’ll need:
* 1/2 cup baking soda
* 1 cup white vinegar
* Toilet brush
* Essential oils (optional, for added fragrance)
Step-by-step instructions:
1. Sprinkle baking soda: Sprinkle the baking soda into the toilet bowl, making sure to coat the sides as much as possible.
2. Pour in the vinegar: Slowly pour the white vinegar into the bowl. You’ll see it fizz and bubble as it reacts with the baking soda.
3. Let it sit: Allow the mixture to sit for at least 15-20 minutes. For tougher stains, you can let it sit for longer, even overnight.
4. Scrub and flush: Use your toilet brush to scrub the bowl thoroughly, paying attention to any stains or buildup.
5. Flush the toilet: Flush the toilet to rinse away the cleaner.
6. Add essential oils (optional): For a fresh scent, you can add a few drops of your favorite essential oil to the bowl after flushing. Tea tree oil is a great choice for its antibacterial properties.
Oven Cleaner: Tackling Baked-On Grime
Cleaning the oven is probably my least favorite chore, but this natural oven cleaner makes it a lot easier!
What you’ll need:
* Baking soda
* Water
* Spray bottle
* Spatula or scraper
* Gloves (optional, but recommended)
Step-by-step instructions:
1. Remove oven racks: Take out the oven racks and set them aside. You can soak them in hot, soapy water while you’re cleaning the oven.
2. Make a baking soda paste: In a bowl, mix baking soda with enough water to form a thick paste. The consistency should be similar to frosting.
3. Coat the oven: Using your hands (with gloves on) or a spatula, spread the baking soda paste all over the inside of the oven, avoiding the heating elements. Be generous with the paste, especially on areas with baked-on grime.
4. Let it sit overnight: This is the key! Let the baking soda paste sit in the oven overnight (or for at least 12 hours). This gives it time to loosen the grime.
5. Wipe away the paste: The next day, use a damp cloth or sponge to wipe away the baking soda paste. You may need to use a spatula or scraper to remove stubborn bits of grime.
6. Spray with vinegar: Fill a spray bottle with white vinegar and spray it all over the inside of the oven. The vinegar will react with any remaining baking soda and help to loosen any remaining grime.
7. Wipe again: Wipe the oven clean with a damp cloth or sponge. You may need to rinse the cloth frequently to remove all the residue.
8. Replace oven racks: Once the oven is clean and dry, replace the oven racks.
Important Note: Always unplug your oven before cleaning it.
Drain Cleaner: Unclogging Drains Naturally
This is a great alternative to harsh chemical drain cleaners. It’s safe, effective, and uses ingredients you probably already have in your pantry.
What you’ll need:
* 1 cup baking soda
* 2 cups boiling water
* 1 cup white vinegar
Step-by-step instructions:
1. Pour baking soda down the drain: Pour the baking soda down the clogged drain.
2. Pour in boiling water: Carefully pour the boiling water down the drain. Let it sit for a few minutes.
3. Add vinegar: Pour the white vinegar down the drain. You’ll see it fizz and bubble as it reacts with the baking soda.
4. Let it sit: Let the mixture sit for at least 30 minutes, or even longer for stubborn clogs.
5. Flush with hot water: Flush the drain with hot water for several minutes to clear away any remaining debris.
Repeat if necessary: If the drain is still clogged, repeat the process. For really stubborn clogs, you may need to use a plunger in addition to this method.
Furniture Polish: Revive Your Wood Furniture
This simple furniture polish will help to restore the shine and luster to your wood furniture.
What you’ll need:
* Spray bottle
* 1/4 cup olive oil
* 1/4 cup white vinegar
* A few drops of lemon essential oil (optional, for added fragrance)
* Soft cloth
Step-by-step instructions:
1. Combine ingredients: In the spray bottle, combine the olive oil, white vinegar, and lemon essential oil (if using).
2. Shake well: Secure the spray nozzle and shake the bottle well to mix the ingredients.
3. Spray lightly: Lightly spray the polish onto your wood furniture.
4. Wipe with a soft cloth: Use a soft cloth to wipe the furniture, following the grain of the wood. Buff the surface to a shine.
Test in an inconspicuous area: Before polishing your entire piece of furniture, test the polish in an inconspicuous area to make sure it doesn’t damage
Conclusion
So, there you have it! Ditching harsh chemicals and embracing the power of DIY natural home cleaners is not just a trend; it’s a conscious choice for a healthier home, a happier planet, and a lighter wallet. We’ve explored some incredibly effective and surprisingly simple recipes that utilize ingredients you likely already have in your pantry. From tackling stubborn grease to banishing bathroom grime, these natural solutions prove that you don’t need a cocktail of synthetic compounds to achieve a sparkling clean.
Why is this a must-try? Because it’s about more than just cleaning. It’s about taking control of the ingredients you bring into your home and reducing your exposure to potentially harmful chemicals. It’s about minimizing your environmental impact by opting for biodegradable and sustainable alternatives. And frankly, it’s about the satisfaction of knowing you’re creating something effective and safe with your own two hands.
But the beauty of DIY lies in its adaptability. Feel free to experiment with these recipes to find what works best for you and your home. For instance, if you’re not a fan of the scent of vinegar, try infusing it with citrus peels for a few weeks before using it in your cleaning solutions. Lavender, rosemary, and tea tree essential oils are also fantastic additions, offering both a pleasant aroma and added antibacterial properties. For tougher stains, consider adding a bit of washing soda to your all-purpose cleaner for an extra boost of cleaning power. You can also adjust the ratios of ingredients to suit your specific needs. If you find a particular cleaner too strong, simply dilute it with more water.
Don’t be afraid to get creative! Perhaps you’ll discover a unique combination of ingredients that works wonders in your home. The possibilities are endless.
We truly believe that once you experience the effectiveness and peace of mind that comes with using DIY natural home cleaners, you’ll never go back to conventional products. The subtle, natural scents, the knowledge that you’re not exposing your family to harmful chemicals, and the satisfaction of creating something yourself are all incredibly rewarding.
So, we encourage you to take the plunge and try these recipes. Start with one or two that appeal to you and see how they work in your home. We’re confident that you’ll be pleasantly surprised. And most importantly, we want to hear about your experience! Share your tips, tricks, and variations in the comments below. Let’s build a community of eco-conscious cleaners and inspire others to make the switch to a healthier, more sustainable way of life. What are you waiting for? Your journey to a naturally clean home starts now!
Frequently Asked Questions (FAQs)
What are the benefits of using DIY natural home cleaners compared to store-bought cleaners?
DIY natural home cleaners offer a multitude of benefits. Firstly, they significantly reduce your exposure to harsh chemicals, many of which are known irritants, allergens, or even carcinogens. Store-bought cleaners often contain synthetic fragrances, dyes, and preservatives that can trigger sensitivities and negatively impact indoor air quality. Secondly, DIY cleaners are often much more affordable. Ingredients like vinegar, baking soda, and lemon juice are readily available and cost a fraction of what you’d pay for commercial cleaning products. Thirdly, they are environmentally friendly. By using natural ingredients, you’re reducing your reliance on petroleum-based chemicals and minimizing the amount of plastic waste generated by disposable cleaning bottles. Finally, you have complete control over the ingredients, allowing you to customize your cleaners to suit your specific needs and preferences.
Are DIY natural home cleaners as effective as store-bought cleaners?
Yes, in many cases, DIY natural home cleaners can be just as effective, if not more so, than their store-bought counterparts. Ingredients like vinegar and baking soda possess powerful cleaning and disinfecting properties. Vinegar is a natural acid that can cut through grease, dissolve mineral deposits, and kill bacteria. Baking soda is a mild abrasive that can scrub away dirt and grime without scratching surfaces. Essential oils like tea tree and lavender have antibacterial and antifungal properties, adding an extra layer of cleaning power. While some heavy-duty cleaning tasks may require a bit more elbow grease, the overall effectiveness of DIY cleaners is undeniable. The key is to use the right ingredients for the specific cleaning task at hand.
What are some essential ingredients to keep on hand for making DIY natural home cleaners?
A well-stocked DIY cleaning arsenal should include the following essential ingredients:
* **White Vinegar:** A versatile cleaner, disinfectant, and deodorizer.
* **Baking Soda:** A mild abrasive, deodorizer, and pH regulator.
* **Lemon Juice:** A natural acid that cuts through grease and disinfects.
* **Castile Soap:** A gentle and effective all-purpose cleaner.
* **Essential Oils:** Add fragrance and antibacterial/antifungal properties (e.g., tea tree, lavender, lemon, eucalyptus).
* **Washing Soda (Sodium Carbonate):** A powerful cleaner and degreaser (use with caution on delicate surfaces).
* **Borax (Sodium Borate):** A natural mineral with cleaning, disinfecting, and deodorizing properties (use with caution around children and pets).
* **Distilled Water:** Used to dilute cleaning solutions.
* **Spray Bottles:** For storing and dispensing your homemade cleaners.
* **Microfiber Cloths:** For effective and streak-free cleaning.
Are there any surfaces or materials that I should avoid using DIY natural home cleaners on?
While DIY natural home cleaners are generally safe and effective, there are a few surfaces and materials that you should avoid using them on:
* **Granite and Marble:** Acidic cleaners like vinegar and lemon juice can etch and damage these natural stone surfaces. Use a pH-neutral cleaner specifically designed for stone.
* **Waxed Wood Floors:** Vinegar can strip the wax finish from wood floors. Use a mild soap and water solution instead.
* **Electronics:** Avoid spraying any liquid directly onto electronic devices. Use a slightly damp microfiber cloth to wipe them down.
* **Unsealed Grout:** Vinegar can damage unsealed grout. Use a baking soda paste or a commercial grout cleaner.
* **Certain Fabrics:** Test any cleaning solution on an inconspicuous area of fabric before applying it to the entire surface.
How should I store my DIY natural home cleaners?
Store your DIY natural home cleaners in clean, labeled spray bottles or containers. It’s important to label each container clearly with the name of the cleaner and the date it was made. This will prevent accidental misuse and ensure that you’re using fresh solutions. Store your cleaners in a cool, dark place away from direct sunlight and heat. Some essential oils can degrade when exposed to light and heat. Keep your cleaners out of reach of children and pets. While the ingredients are natural, they can still be harmful if ingested.
How long do DIY natural home cleaners typically last?
The shelf life of DIY natural home cleaners varies depending on the ingredients used. Cleaners made with water and without preservatives typically last for about 1-3 months. Cleaners made with vinegar or alcohol can last longer, up to 6 months or more. Essential oils can also help to extend the shelf life of your cleaners. If you notice any changes in color, odor, or consistency, it’s best to discard the cleaner and make a fresh batch.
Can I use essential oils in all of my DIY natural home cleaners?
While essential oils can add a pleasant fragrance and antibacterial/antifungal properties to your DIY natural home cleaners, it’s important to use them safely and responsibly. Always dilute essential oils properly before using them. A general guideline is to use 10-15 drops of essential oil per cup of water or other liquid. Avoid using essential oils around pregnant women, infants, and pets, as some oils can be harmful. Do your research and choose essential oils that are safe for your specific needs and sensitivities.
What is the best way to dispose of DIY natural home cleaners that I no longer need?
Most DIY natural home cleaners can be safely disposed of down the drain. However, it’s always a good idea to dilute them with plenty of water before pouring them down the drain. Avoid pouring large quantities of undiluted cleaners down the drain, as this can potentially harm your plumbing system. If you’re unsure about how to dispose of a particular cleaner, consult your local waste management authority for guidance.
How can I make my DIY natural home cleaning routine more sustainable?
There are several ways to make your DIY natural home cleaning routine even more sustainable:
* **Use reusable containers:** Instead of buying new spray bottles, reuse old ones or invest in durable, refillable bottles.
* **Buy ingredients in bulk:** This reduces packaging waste and often saves you money.
* **Compost food scraps:** Use lemon peels and other food scraps to make citrus-infused vinegar or other cleaning solutions.
* **Use reusable cloths and sponges:** Ditch disposable paper towels and sponges in favor of reusable microfiber cloths and sponges.
* **Make your own cleaning supplies:** Instead of buying new sponges and scrub brushes, try making your own from natural materials like loofah or coconut coir.
* **Reduce your consumption:** The best way to be sustainable is to simply use less. Clean regularly to prevent dirt and grime from building up, reducing the need for harsh cleaning products.
By incorporating these tips into your DIY natural home cleaning routine, you can minimize your environmental impact and create a
Leave a Comment