

DIY recycled glass projects are not just a trendy way to spend an afternoon; they’re a fantastic way to add a personal touch to your home and garden while being kind to our planet! Have you ever looked at a pile of empty wine bottles or jam jars and thought, “There *must* be something cool I can do with these?” Well, you’re absolutely right! For centuries, resourceful individuals have found creative ways to repurpose discarded materials, and glass is no exception. From ancient mosaics made with broken glass to modern-day art installations, the history of glass recycling is rich and inspiring.
But why should *you* dive into the world of DIY recycled glass? In today’s world, where sustainability is more important than ever, finding ways to reduce waste is crucial. Plus, let’s be honest, store-bought garden decor can be expensive and often lacks that unique, handmade charm. Imagine transforming those old bottles into stunning planters, whimsical garden ornaments, or even beautiful mosaic pathways. Not only will you be saving money and reducing your environmental footprint, but you’ll also be adding a personal touch to your outdoor space that reflects your creativity and style. I’m excited to share some easy and inspiring DIY tricks that will turn your trash into treasure, making your garden a truly unique and eco-friendly haven!
Transforming Old Glass Bottles into Stunning Home Decor
Hey there, fellow DIY enthusiasts! I’m super excited to share one of my favorite upcycling projects with you: turning those empty glass bottles you’re about to toss into gorgeous, one-of-a-kind home decor pieces. Not only is this project incredibly satisfying, but it’s also a fantastic way to reduce waste and add a personal touch to your living space. Get ready to unleash your creativity!
What You’ll Need
Before we dive in, let’s gather all the necessary materials. Trust me, having everything organized beforehand will make the whole process much smoother and more enjoyable.
* **Glass Bottles:** The stars of the show! Collect various shapes and sizes of glass bottles. Wine bottles, beer bottles, juice bottles – anything goes! Just make sure they’re clean and dry.
* **Glass Cutter:** A good quality glass cutter is essential for making clean, precise cuts. I recommend a pistol-grip cutter for better control.
* **Safety Glasses:** Safety first! Always protect your eyes when working with glass.
* **Gloves:** Protect your hands from sharp edges and potential cuts.
* **Sandpaper (Various Grits):** We’ll use sandpaper to smooth out any rough edges after cutting. I suggest having coarse, medium, and fine grit sandpaper on hand.
* **Water:** We’ll need cold water for the scoring and separating process.
* **Candles (Optional):** If you’re planning to make candle holders, you’ll need candles that fit inside your bottles.
* **Paint (Optional):** Acrylic paint, spray paint, or glass paint – the choice is yours! Use whatever colors and finishes you love.
* **Paintbrushes (Optional):** For applying paint.
* **Decorations (Optional):** Twine, ribbon, beads, glitter, stencils – let your imagination run wild!
* **Epoxy or Strong Adhesive (Optional):** For attaching decorations or joining glass pieces.
* **Cutting Oil (Optional):** Some people prefer to use cutting oil with their glass cutter for smoother scoring.
* **Old Towels or Rags:** For cleaning up spills and protecting your work surface.
* **A Large Container:** Big enough to submerge the bottles in water.
Preparing Your Bottles
This step is crucial for ensuring a clean and safe cutting process.
1. **Cleaning:** Thoroughly wash your glass bottles with soap and water to remove any labels, residue, or dirt. I find that soaking them in warm, soapy water for a while helps loosen stubborn labels.
2. **Drying:** Make sure the bottles are completely dry before proceeding. Any moisture can interfere with the glass cutting process.
3. **Label Removal:** If you’re having trouble removing labels, try using a hairdryer to heat the adhesive. You can also use a razor blade or scraper to gently peel them off. For sticky residue, try rubbing alcohol or Goo Gone.
Cutting the Glass
This is where the magic happens! Take your time and be patient. It might take a few tries to get the hang of it, but don’t get discouraged.
1. **Marking the Cut Line:** Decide where you want to cut the bottle. Use a marker or grease pencil to draw a clear, straight line around the bottle. This will be your guide for the glass cutter. You can use a bottle cutting jig for a more precise and consistent cut. These are available online or at craft stores.
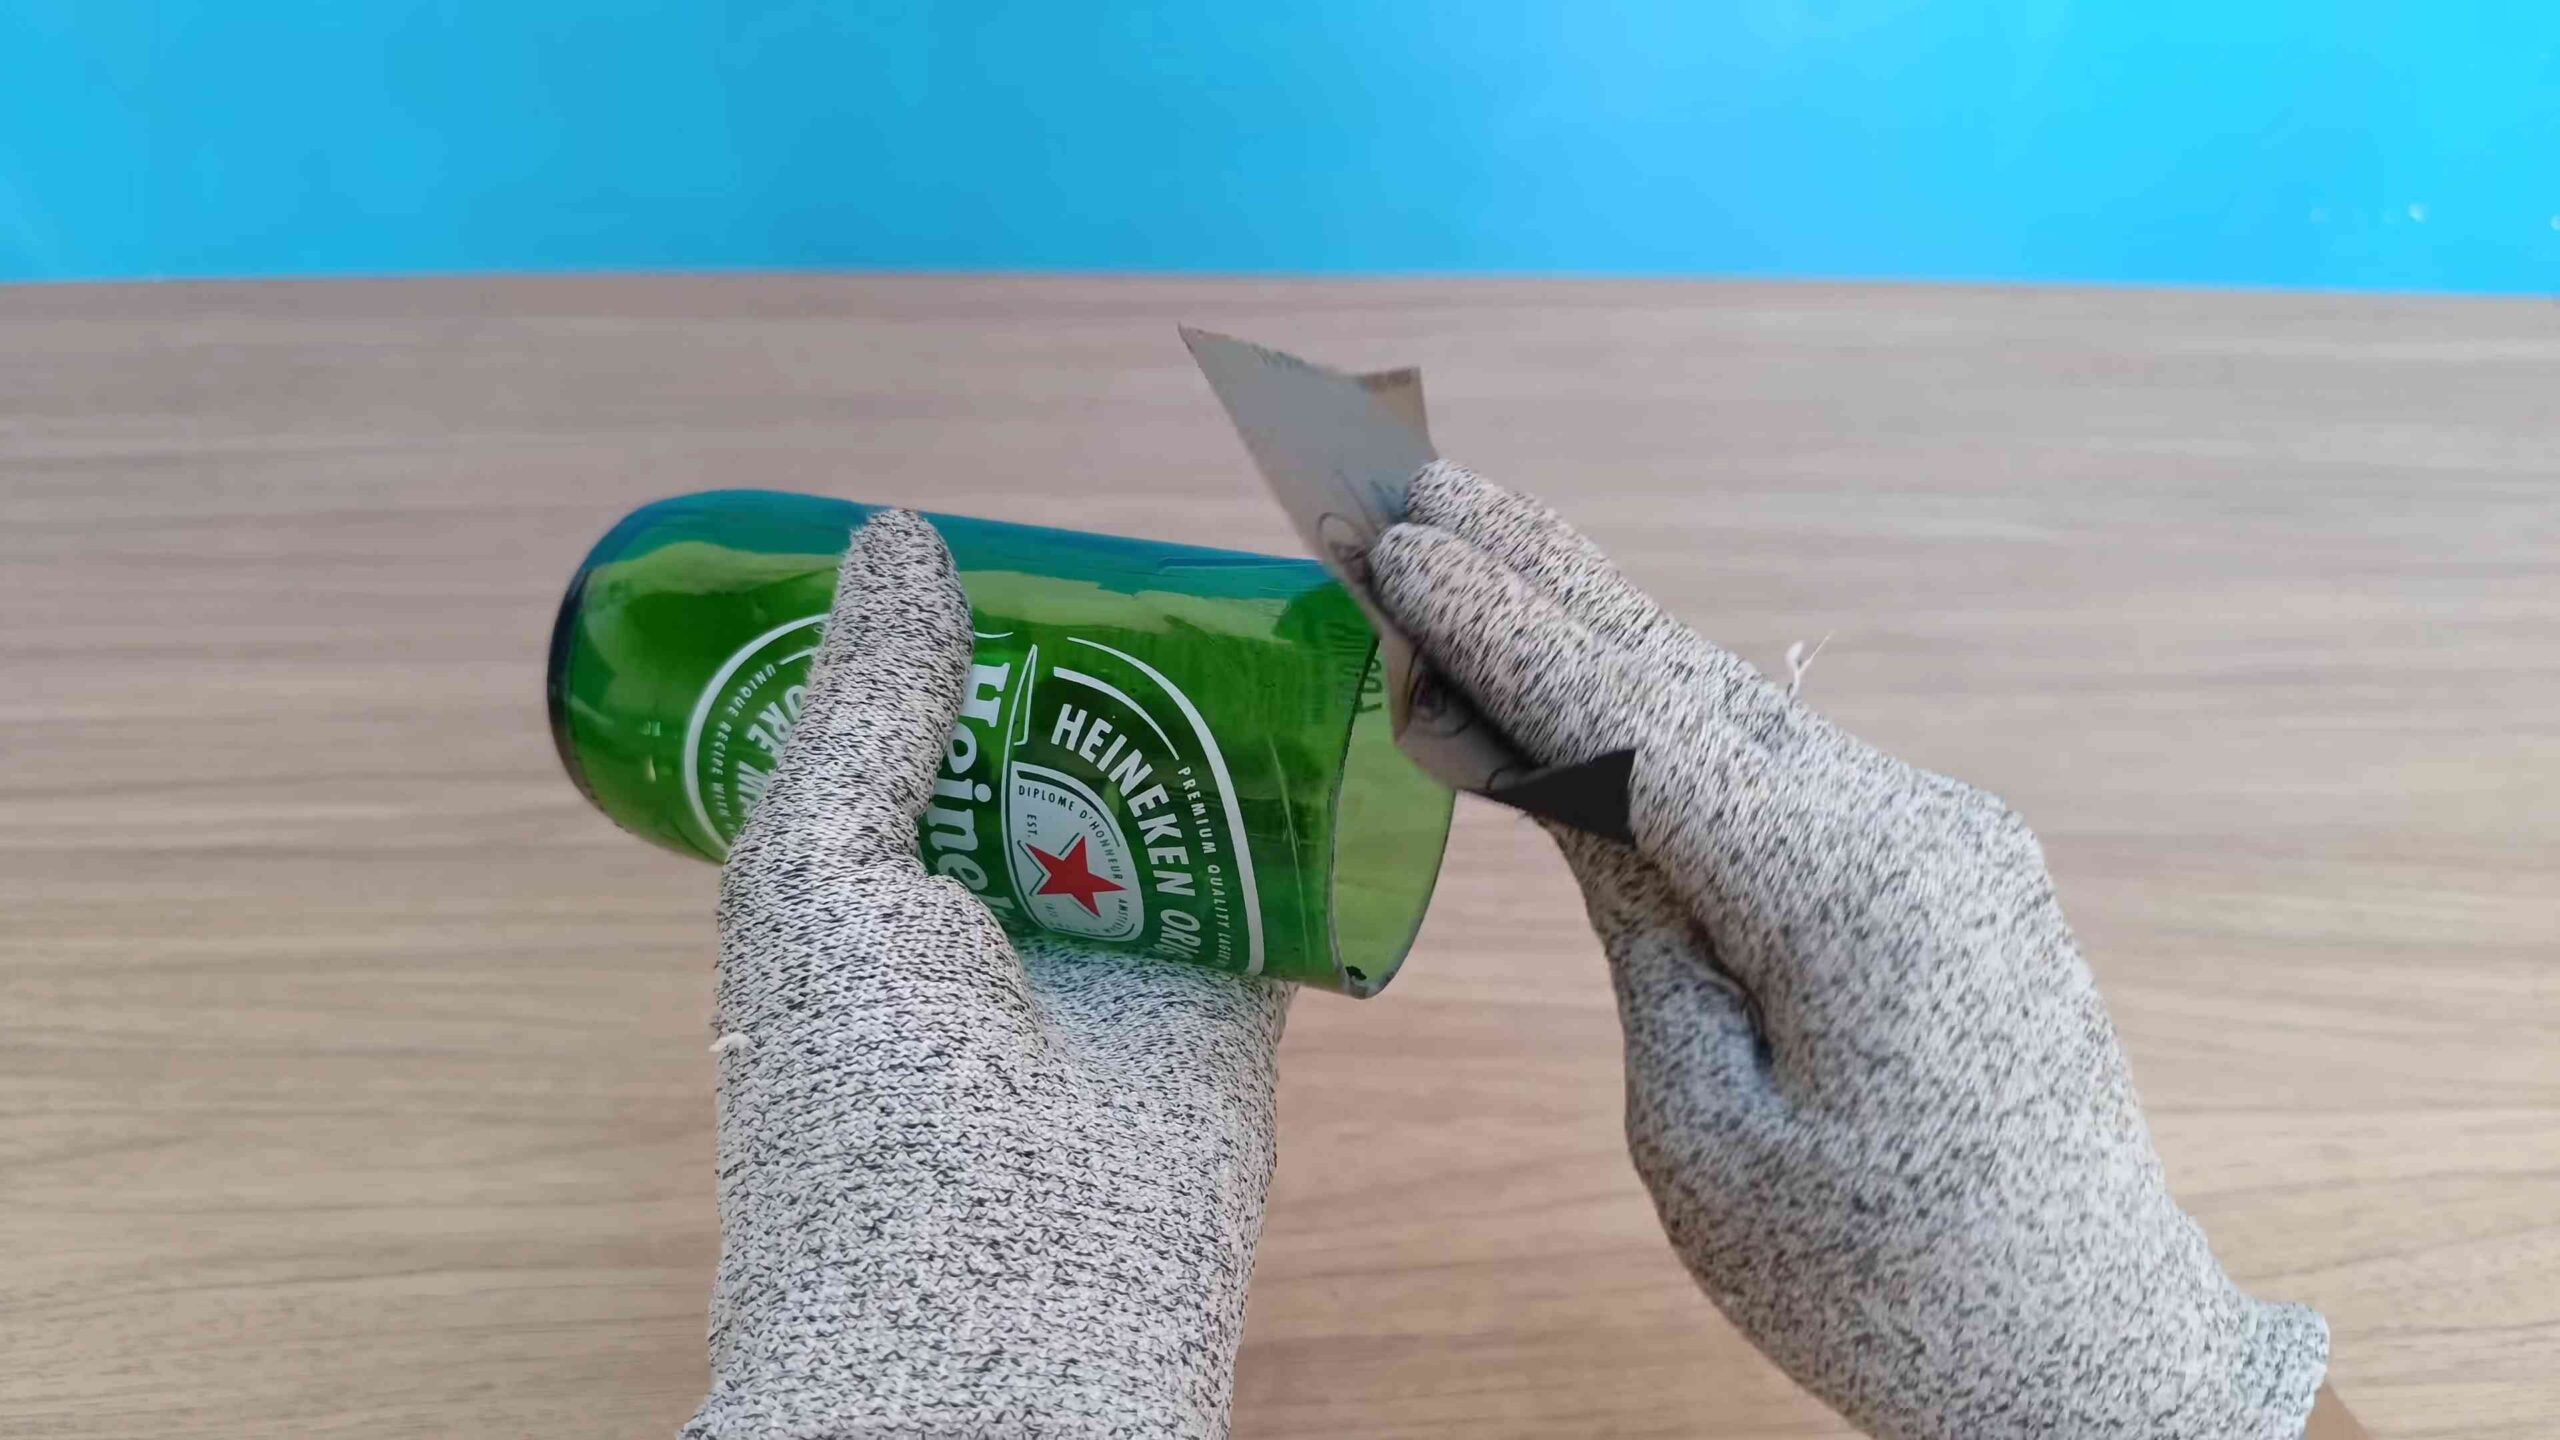
2. **Scoring the Glass:** Now, carefully score the glass along the marked line with your glass cutter. Apply firm, even pressure as you roll the cutter around the bottle. You should hear a slight scratching sound. Only score the line once. Multiple passes can actually weaken the glass and make it more difficult to break cleanly. If you’re using cutting oil, apply a small amount to the cutting wheel before scoring.
3. **Separating the Glass:** This is where the hot and cold water trick comes in. Carefully pour boiling water over the scored line, followed immediately by ice-cold water. Alternate between hot and cold water several times. The rapid temperature change will cause the glass to expand and contract, eventually causing it to separate along the scored line. Be patient; it might take a few cycles.
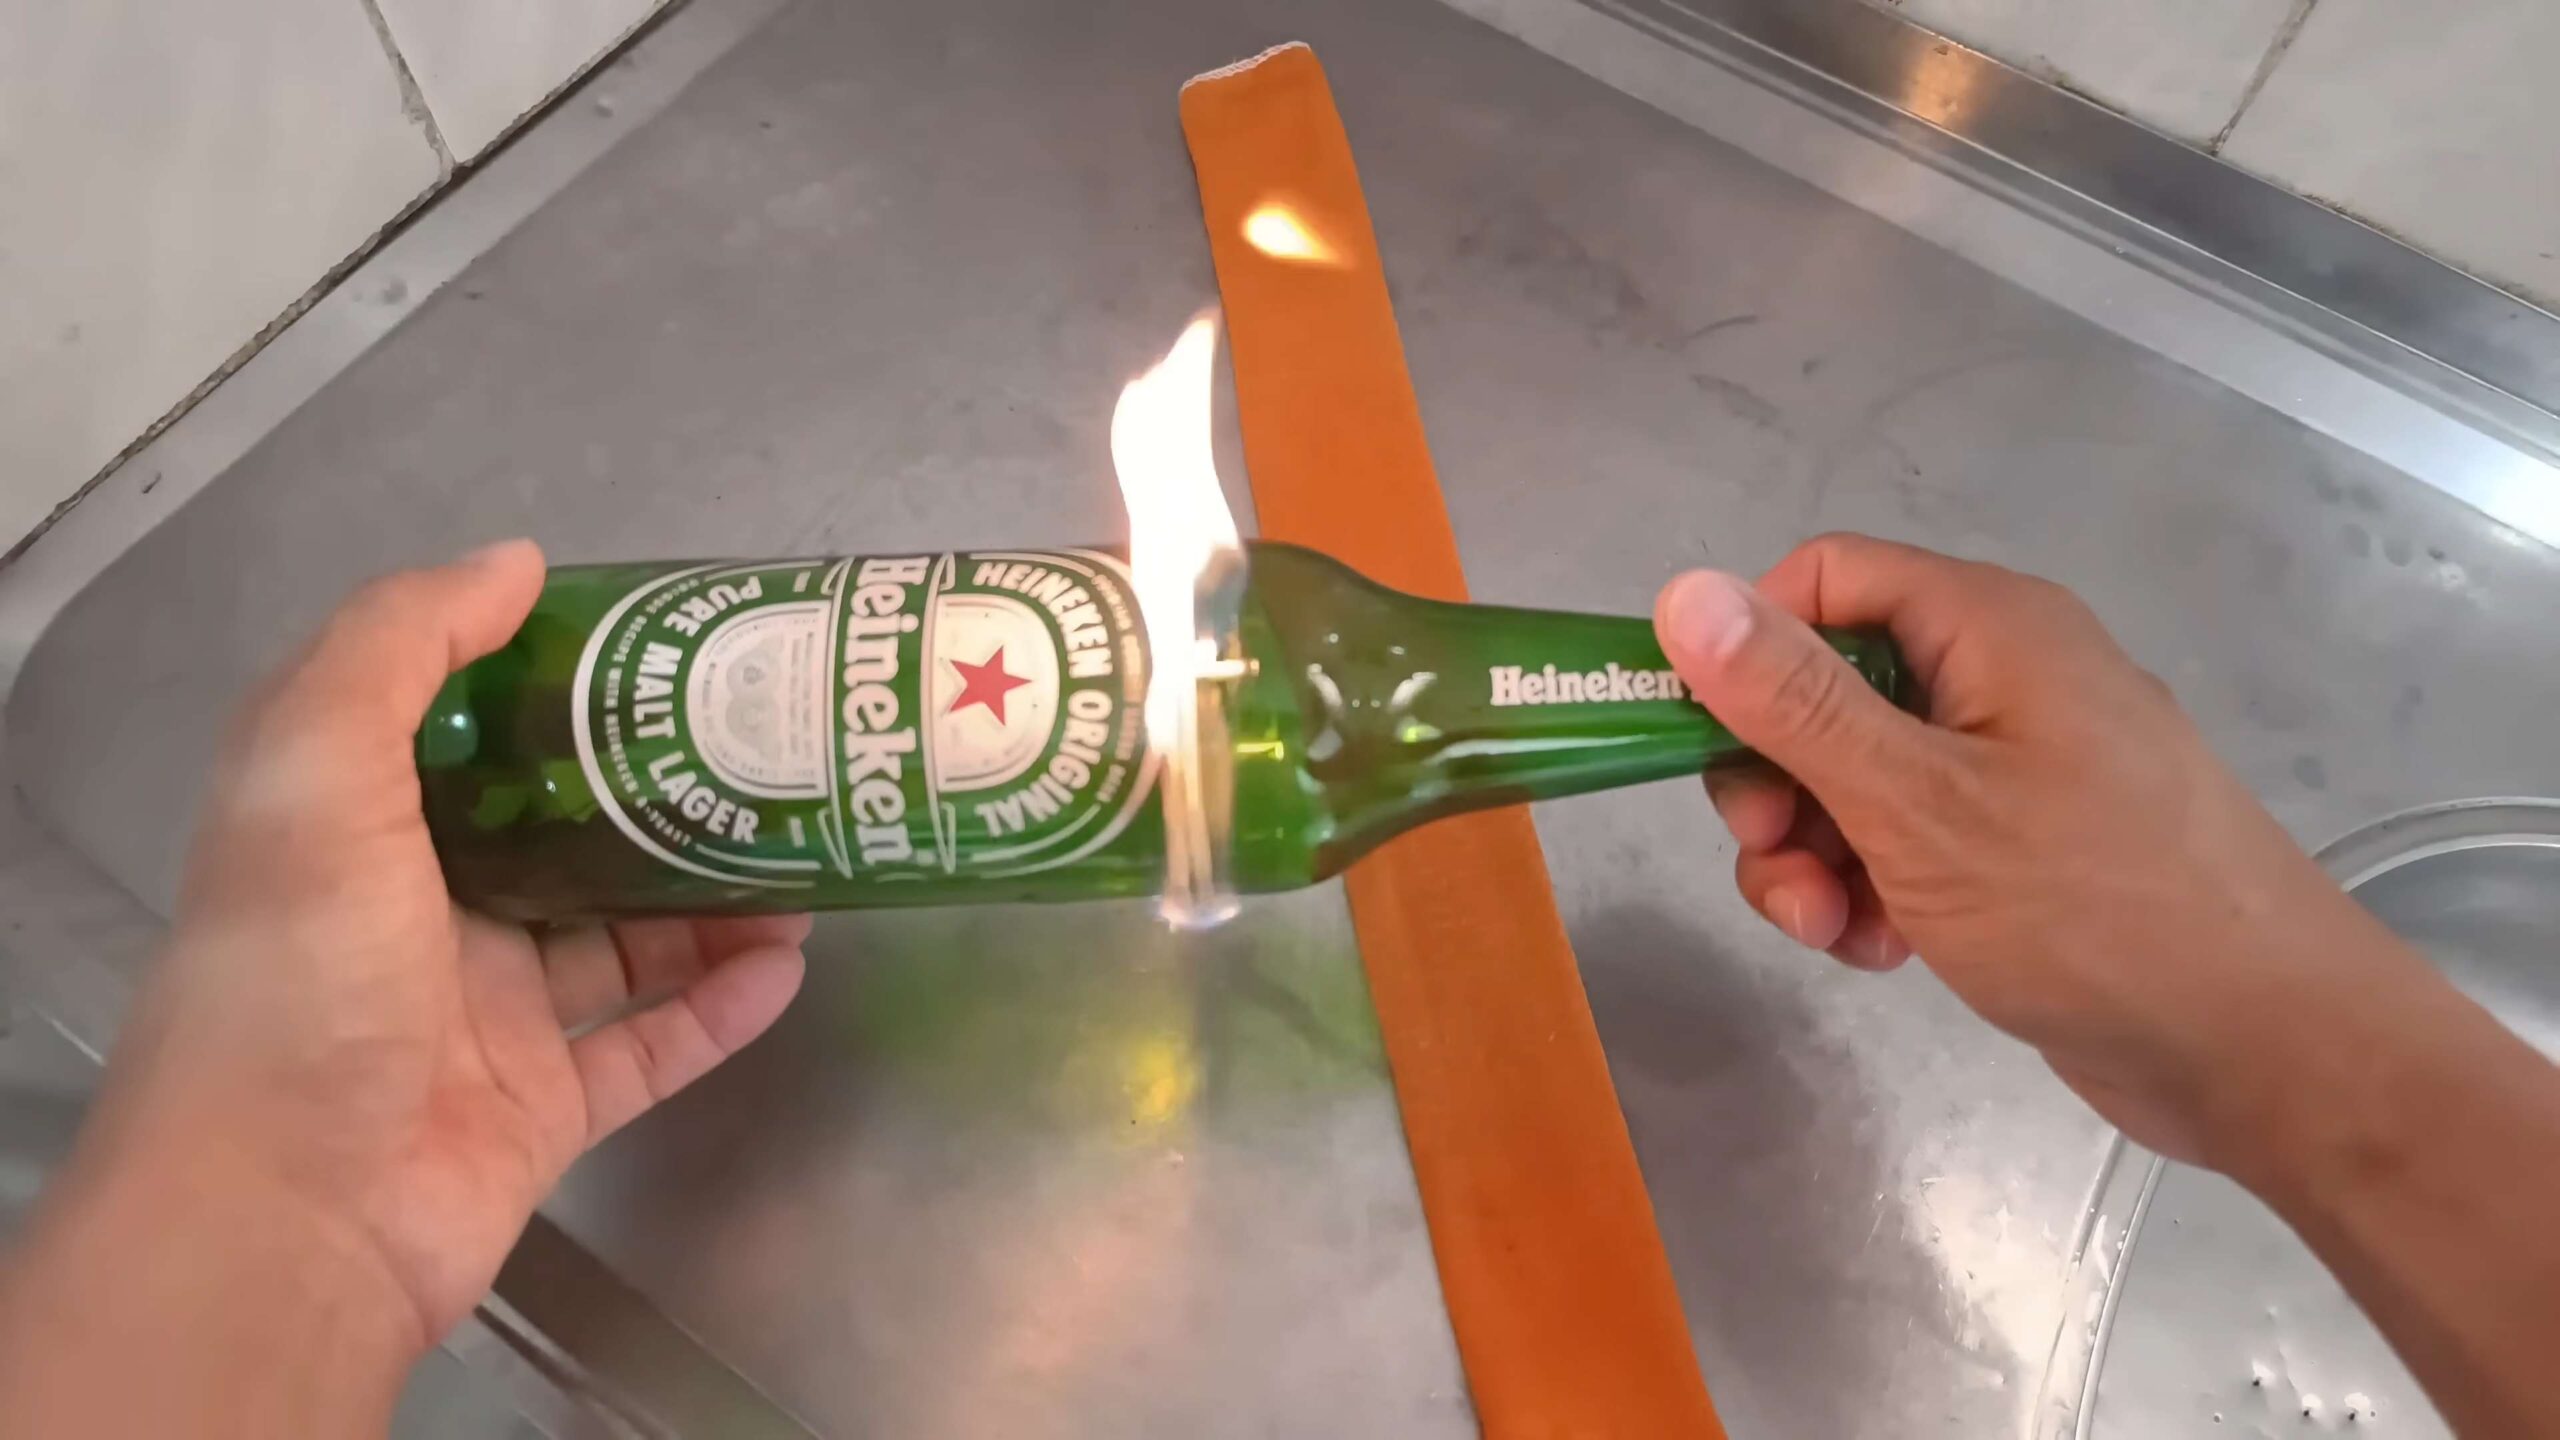
4. **Alternative Separation Method:** If the hot and cold water method doesn’t work, you can try using a candle or lighter. Carefully heat the scored line with the flame, rotating the bottle slowly and evenly. Then, quickly dip the bottle into ice-cold water. This method can be a bit more risky, so be extra careful.
5. **Dealing with Stubborn Breaks:** Sometimes, the glass won’t break cleanly. If this happens, try scoring the line again and repeating the hot and cold water process. You can also try gently tapping the scored line with a small hammer or the handle of your glass cutter.
Smoothing the Edges
Once you’ve successfully cut the glass, you’ll need to smooth out the sharp edges to make them safe to handle.
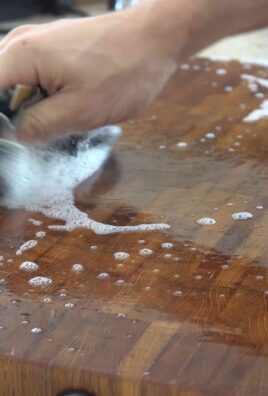
1. **Initial Sanding:** Start with a coarse-grit sandpaper (around 120 grit) to remove any large chips or rough spots. Wet the sandpaper and the edge of the glass to reduce friction and dust.
2. **Medium Sanding:** Switch to a medium-grit sandpaper (around 220 grit) to further smooth the edge. Continue to wet the sandpaper and the glass.
3. **Fine Sanding:** Finish with a fine-grit sandpaper (around 400 grit or higher) to create a smooth, polished edge. This step is crucial for preventing cuts and making the glass comfortable to hold.
4. **Polishing (Optional):** For an even smoother finish, you can use a polishing compound and a buffing wheel. This will give the glass a professional-looking shine.
5. **Safety Note:** Always wear gloves and safety glasses when sanding glass.
Decorating Your Upcycled Creations
Now for the fun part! This is where you can really let your creativity shine and personalize your glass creations.
1. **Painting:** Acrylic paint, spray paint, and glass paint are all great options for decorating your glass bottles. Choose colors and finishes that complement your home decor.
* **Acrylic Paint:** Apply acrylic paint with a paintbrush or sponge. You can create intricate designs, abstract patterns, or simple solid colors.
* **Spray Paint:** Spray paint is a quick and easy way to cover large areas. Be sure to use spray paint specifically designed for glass for best results. Apply thin, even coats to avoid drips and runs.
* **Glass Paint:** Glass paint is specially formulated to adhere to glass surfaces. It comes in a variety of colors and finishes, including transparent, opaque, and frosted.
2. **Adding Embellishments:** Twine, ribbon, beads, glitter, and stencils can all be used to add extra flair to your glass creations.
* **Twine and Ribbon:** Wrap twine or ribbon around the bottle to create a rustic or elegant look. Secure the ends with glue or tie them in a knot.
* **Beads and Glitter:** Glue beads or glitter onto the bottle to add sparkle and shine.
* **Stencils:** Use stencils to create intricate designs and patterns.
3. **Creating Candle Holders:** Turn your upcycled glass bottles into beautiful candle holders. Simply place a candle inside the bottle and enjoy the warm, inviting glow. You can use tea lights, votive candles, or pillar candles, depending on the size of the bottle.
4. **Making Vases:** Use your upcycled glass bottles as vases for fresh flowers or greenery. The unique shapes and colors of the bottles will add a touch of personality to your floral arrangements.
5. **Crafting Drinking Glasses:** With careful cutting and sanding, you can transform larger bottles into unique drinking glasses. Just be sure to thoroughly smooth the edges to prevent cuts.
6. **Creating Storage Containers:** Use your upcycled glass bottles to store small items like cotton balls, Q-tips, or craft supplies. The clear glass allows you to easily see what’s inside.
7. **Etching:** Glass etching cream can be used to create frosted designs on your bottles. Apply the cream to the glass using a stencil or freehand design, let it sit for the recommended time, and then rinse it off.
8. **Decoupage:** Decoupage involves gluing paper cutouts onto the glass surface. You can use patterned paper, magazine clippings, or even fabric scraps.
9. **Mosaic:** Break small pieces of colored glass or tiles and glue them onto the bottle to create a mosaic design.
Safety Tips
Working with glass can be dangerous if you’re not careful. Here are a few safety tips to keep in mind:
* **Always wear safety glasses and gloves when cutting and sanding glass.**
* **Work in a well-ventilated area.**
* **Be careful when handling sharp edges.**
* **Dispose of glass scraps properly.**
* **If you’re using power tools, follow the manufacturer’s instructions carefully.**
* **Keep children and pets away from your work area.**
I hope you found this guide helpful and inspiring! Remember
Conclusion
So, there you have it! Transforming discarded glass into stunning, personalized décor is not only incredibly rewarding but also a fantastic way to embrace sustainable living. This DIY recycled glass project is more than just a craft; it’s a statement. It’s a statement about reducing waste, about appreciating the beauty in the unexpected, and about adding a unique, handcrafted touch to your home.
Why is this a must-try? Because it’s accessible, affordable, and adaptable. You likely already have the primary ingredient – discarded glass jars and bottles – sitting in your recycling bin. The other materials are readily available at most craft stores or even online. And the possibilities are truly endless.
Think beyond simple vases. Consider creating mosaic tiles for a backsplash, crafting unique candle holders, or even embedding crushed glass into concrete for a dazzling patio feature. Experiment with different colors of glass, different crushing techniques (from coarse shards to fine powder), and different finishing methods. You could even try adding pigments to the melted glass for a truly custom color palette.
For a rustic look, leave the edges of your recycled glass creations slightly rough. For a more polished aesthetic, invest in a glass grinder to smooth out any sharp edges. If you’re feeling adventurous, explore glass fusing techniques to create intricate patterns and designs.
Don’t be afraid to experiment with different types of glass too. Clear glass offers a clean, modern look, while colored glass adds a vibrant pop of personality. Brown or green glass can create a warm, earthy feel. Remember to always prioritize safety when working with glass. Wear appropriate safety glasses and gloves to protect yourself from sharp edges and potential hazards.
This DIY recycled glass project is not just about creating something beautiful; it’s about contributing to a more sustainable future. By repurposing discarded glass, you’re reducing landfill waste and conserving valuable resources. It’s a small act with a big impact.
We wholeheartedly encourage you to give this DIY project a try. It’s a fantastic way to unleash your creativity, add a personal touch to your home, and make a positive impact on the environment. We are confident that you will find the process both enjoyable and rewarding.
Once you’ve created your masterpiece, we’d love to see it! Share your creations with us on social media using [Your Hashtag Here]. We can’t wait to see what you come up with! Let’s inspire each other to embrace sustainable crafting and transform discarded materials into treasures.
Frequently Asked Questions (FAQs)
What types of glass are suitable for recycling into crafts?
Almost any type of glass can be recycled into crafts, but some are easier to work with than others. Soda bottles, beer bottles, wine bottles, and glass jars are all excellent choices. Avoid using tempered glass (like ovenware or some Pyrex) as it can shatter unexpectedly when heated or crushed. Also, be cautious with leaded crystal, as it contains lead and may not be suitable for all applications. Always clean the glass thoroughly before starting any project.
Is it safe to melt glass at home? What safety precautions should I take?
Melting glass at home requires careful planning and adherence to strict safety precautions. It’s generally not recommended to melt glass in a standard oven, as it doesn’t reach high enough temperatures and can be dangerous. A kiln specifically designed for glass fusing is the safest and most effective option.
Safety is paramount when working with glass. Always wear safety glasses to protect your eyes from flying shards. Use heavy-duty gloves to protect your hands from cuts. Work in a well-ventilated area to avoid inhaling any fumes. If you’re crushing glass, consider using a hammer and a sturdy bag or container to contain the shards. Never heat glass that is wet or damp, as it can explode.
How do I crush glass safely for mosaic projects?
Crushing glass for mosaic projects can be done safely with the right tools and precautions. Place the glass inside a heavy-duty canvas bag or wrap it in several layers of thick cloth. Use a hammer to break the glass into smaller pieces. The size of the pieces will depend on your project. For finer pieces, you can use a glass grinder or a mortar and pestle. Always wear safety glasses and gloves during this process. After crushing, carefully sort through the pieces to remove any sharp edges or splinters.
What are some creative project ideas using recycled glass?
The possibilities are endless! Here are a few ideas to get you started:
* **Vases and Candle Holders:** Simple yet elegant, these are great beginner projects.
* **Mosaic Tiles:** Create stunning backsplashes, tabletops, or wall art.
* **Garden Art:** Embed crushed glass into concrete stepping stones or create colorful glass sculptures.
* **Jewelry:** Use small pieces of glass to create unique pendants, earrings, and bracelets.
* **Coasters:** Glue glass pieces onto cork or tile coasters for a personalized touch.
* **Picture Frames:** Decorate plain picture frames with glass shards for a unique look.
* **Wind Chimes:** String together glass pieces to create a beautiful and melodic wind chime.
How can I add color to my recycled glass creations?
There are several ways to add color to your recycled glass creations:
* **Use Colored Glass:** The easiest way is to simply use colored glass bottles and jars.
* **Glass Paints:** Apply glass paints to the surface of your finished project.
* **Glass Dyes:** Add glass dyes to molten glass for a vibrant and permanent color.
* **Enamels:** Use glass enamels to create intricate designs and patterns.
* **Frit:** Frit is crushed glass that is available in a wide range of colors and sizes. It can be used to add texture and color to fused glass projects.
Where can I find inspiration for DIY recycled glass projects?
The internet is a treasure trove of inspiration! Search for “DIY recycled glass projects” on Pinterest, YouTube, and Google Images. You’ll find countless tutorials, ideas, and tips to get you started. Also, check out craft blogs and online forums for inspiration and advice from other crafters. Don’t be afraid to experiment and develop your own unique style.
How do I clean and prepare glass for recycling projects?
Cleaning glass before using it for DIY projects is essential for safety and hygiene. Remove any labels or stickers by soaking the glass in warm, soapy water. Use a scraper or sponge to remove any stubborn residue. Rinse the glass thoroughly with clean water and allow it to dry completely before starting your project. For projects involving melting or fusing glass, it’s especially important to remove any contaminants, as they can affect the final result.
What if I don’t have access to a kiln for melting glass?
While a kiln is ideal for melting glass, there are alternative methods you can explore. Some crafters use a microwave kiln, which is a smaller and more affordable option. However, microwave kilns are limited in size and may not be suitable for all projects. Another option is to use cold-working techniques, such as cutting, grinding, and polishing glass without melting it. These techniques can be used to create beautiful and intricate designs.
How do I dispose of leftover glass scraps safely?
Dispose of leftover glass scraps responsibly. Wrap the scraps in several layers of newspaper or cardboard and secure them with tape. Label the package clearly as “Broken Glass” to alert waste handlers. You can also check with your local recycling center to see if they accept glass scraps for recycling. Never dispose of broken glass in a way that could pose a hazard to others.


Leave a Comment