

Easy Ceiling Fan Cleaning Steps: Let’s face it, we all love the refreshing breeze from our ceiling fans, especially during those hot summer months. But have you ever looked up and noticed the dreaded layer of dust clinging to the blades? Yuck! It’s a common problem, and honestly, cleaning ceiling fans often feels like a chore we put off for as long as humanly possible. I know I do!
While ceiling fans have become a modern convenience, their history stretches back to ancient times. Think of the punkah fans used in India, operated by servants to cool royalty. Today, we have automated versions, but the need for clean, circulating air remains the same. And just like those ancient fans, our modern versions need a little TLC to keep them working efficiently and looking their best.
But why is it so important to tackle this dusty dilemma? Well, beyond the obvious aesthetic reasons, a dirty ceiling fan can actually impact your health and your wallet! Dust accumulation can trigger allergies and respiratory issues, and a struggling, dust-laden fan has to work harder, potentially increasing your energy bill. That’s why mastering easy ceiling fan cleaning steps is crucial. This DIY guide will provide you with simple, effective techniques to banish that dust and keep your fan spinning smoothly, saving you time, money, and maybe even a few sneezes. So, grab your supplies, and let’s get started!
DIY Ceiling Fan Cleaning Hack: Say Goodbye to Dust Bunnies!
Okay, let’s be honest, cleaning ceiling fans is one of those chores we all dread. Reaching up high, battling gravity, and inevitably getting a face full of dust – no thanks! But fear not, my friends! I’ve got a super easy, super effective DIY hack that will have your ceiling fans sparkling in no time, with minimal effort and maximum dust-catching power. This method uses a pillowcase, and trust me, it’s a game-changer.
What You’ll Need
Before we dive in, let’s gather our supplies. You probably have most of these things already!
* A pillowcase (an old one you don’t mind getting dusty is perfect)
* A sturdy step stool or ladder (safety first!)
* All-purpose cleaner or dusting spray (optional, but helpful for stubborn grime)
* A microfiber cloth or duster (for any stray dust)
* Gloves (optional, but recommended if you’re sensitive to dust)
The Pillowcase Cleaning Method: Step-by-Step
This is where the magic happens! The pillowcase acts like a dust trap, preventing those dreaded dust showers.
1. Safety First: Before you even think about touching that fan, make sure it’s turned OFF! You don’t want any accidental spinning incidents. Also, position your step stool or ladder securely under the fan. Make sure it’s stable and you feel comfortable reaching the blades.
2. Pillowcase Prep: Grab your pillowcase. If you’re using a cleaning spray, lightly mist the inside of the pillowcase with it. This will help the dust cling to the fabric. Don’t overdo it – you don’t want a soggy pillowcase!
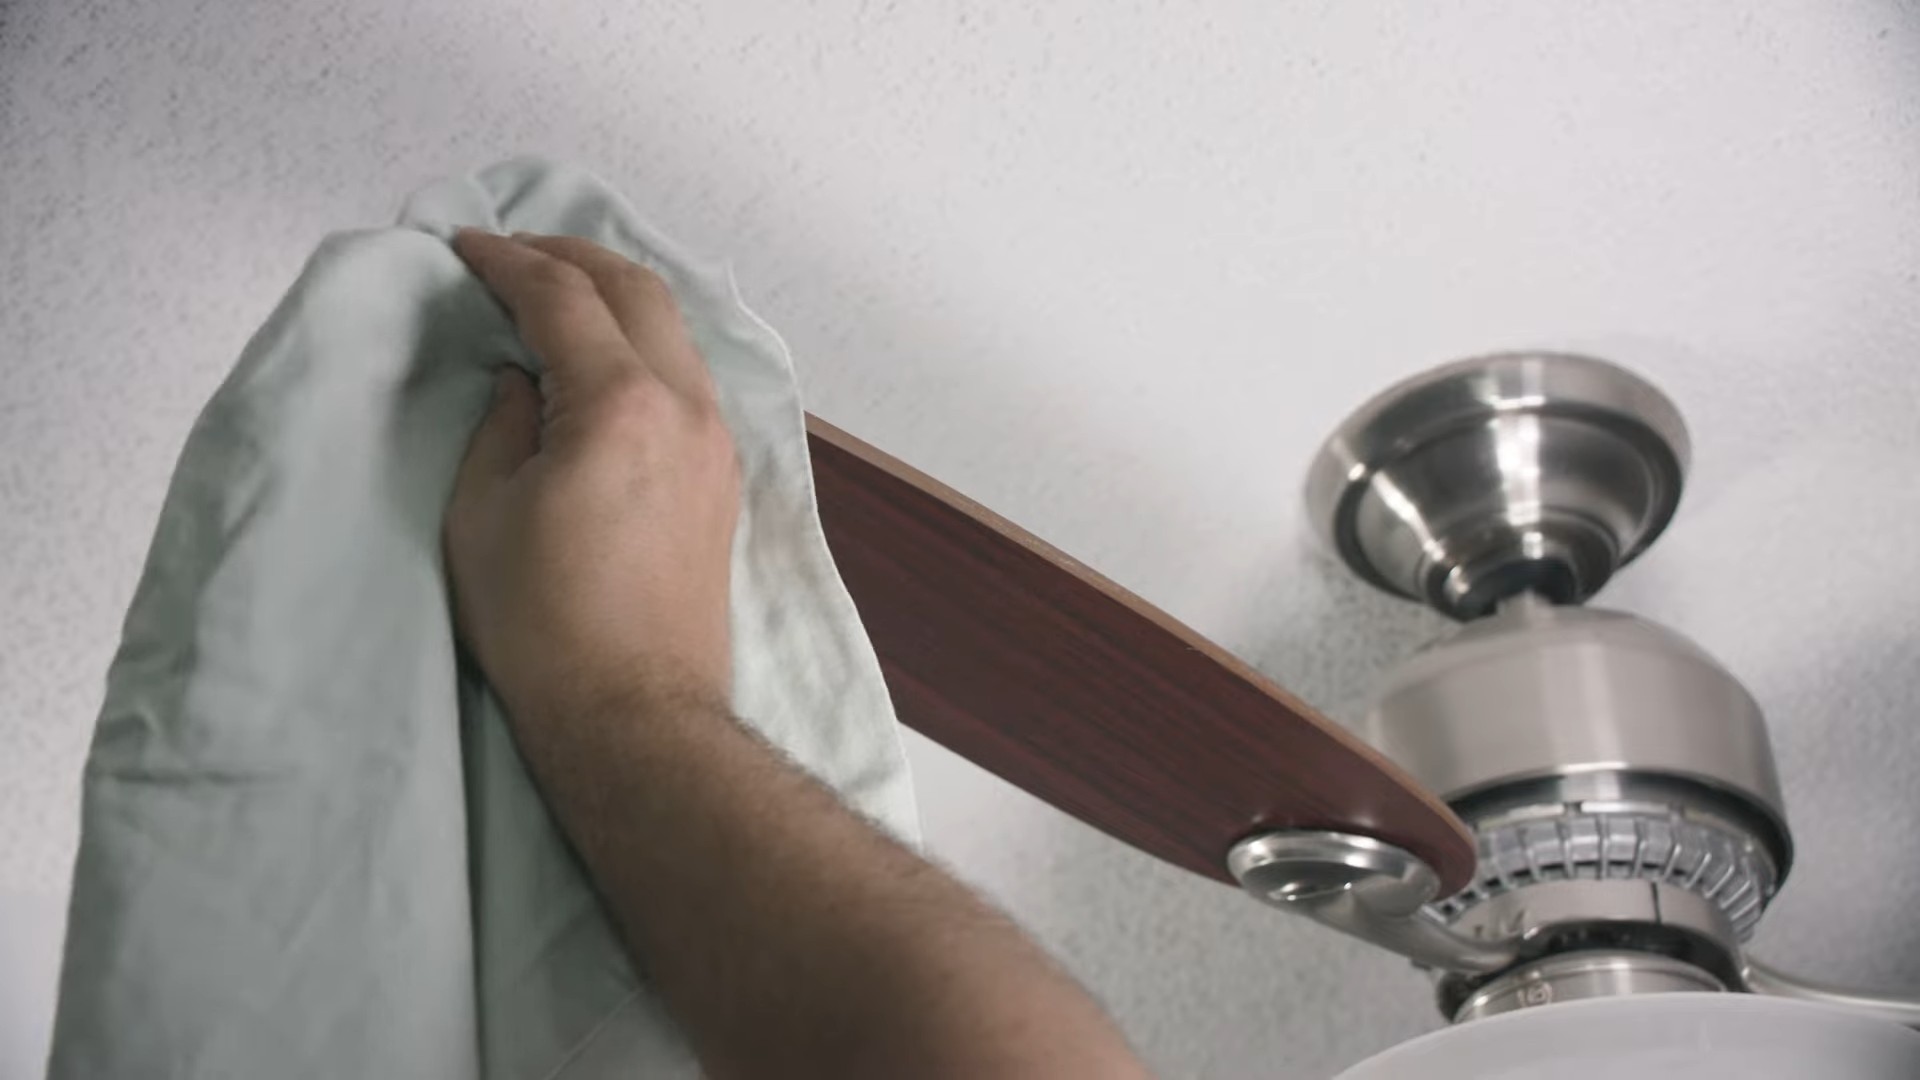
3. Encase the Blade: Carefully slide the pillowcase over one of the fan blades, like you’re putting a sock on a foot. Make sure the entire blade is inside the pillowcase.
4. Wipe and Trap: Gently press the pillowcase against the top and bottom of the blade, and slowly slide the pillowcase off the blade. As you slide, the pillowcase will trap all the dust and grime inside.
5. Repeat for Each Blade: Repeat steps 3 and 4 for each blade of the ceiling fan. Try to use a clean section of the pillowcase for each blade to maximize dust absorption.
6. Empty the Pillowcase: Once you’ve cleaned all the blades, take the pillowcase outside and shake it out thoroughly. You’ll be amazed (and maybe a little disgusted) at how much dust you’ve collected! You can also wash the pillowcase in your washing machine.
7. Final Touches: Use a microfiber cloth or duster to wipe down the fan motor housing and any remaining dust particles on the blades or surrounding area.
Dealing with Stubborn Grime
Sometimes, dust isn’t the only culprit. You might have some sticky grime or grease buildup, especially in the kitchen. Here’s how to tackle it:
1. Pre-Treat with Cleaner: Before using the pillowcase method, spray the affected blades with your all-purpose cleaner. Let it sit for a few minutes to loosen the grime.
2. Extra Scrubbing Power: If the grime is really stubborn, you can use a slightly damp cloth (with a little cleaner) to gently scrub the blades before using the pillowcase. Be careful not to use too much water, as you don’t want to damage the fan.
3. Pillowcase Clean-Up: After scrubbing, proceed with the pillowcase method as described above. The pillowcase will help remove any remaining residue and leave the blades sparkling.
Maintaining Your Clean Ceiling Fan
Now that your ceiling fan is clean, let’s talk about keeping it that way!
* Regular Dusting: Aim to dust your ceiling fan at least once a month. This will prevent dust buildup and make cleaning much easier in the long run.
* Dryer Sheet Trick: This is a fun one! Rub a dryer sheet over the fan blades after cleaning. The anti-static properties of the dryer sheet will help repel dust and keep your fan cleaner for longer.
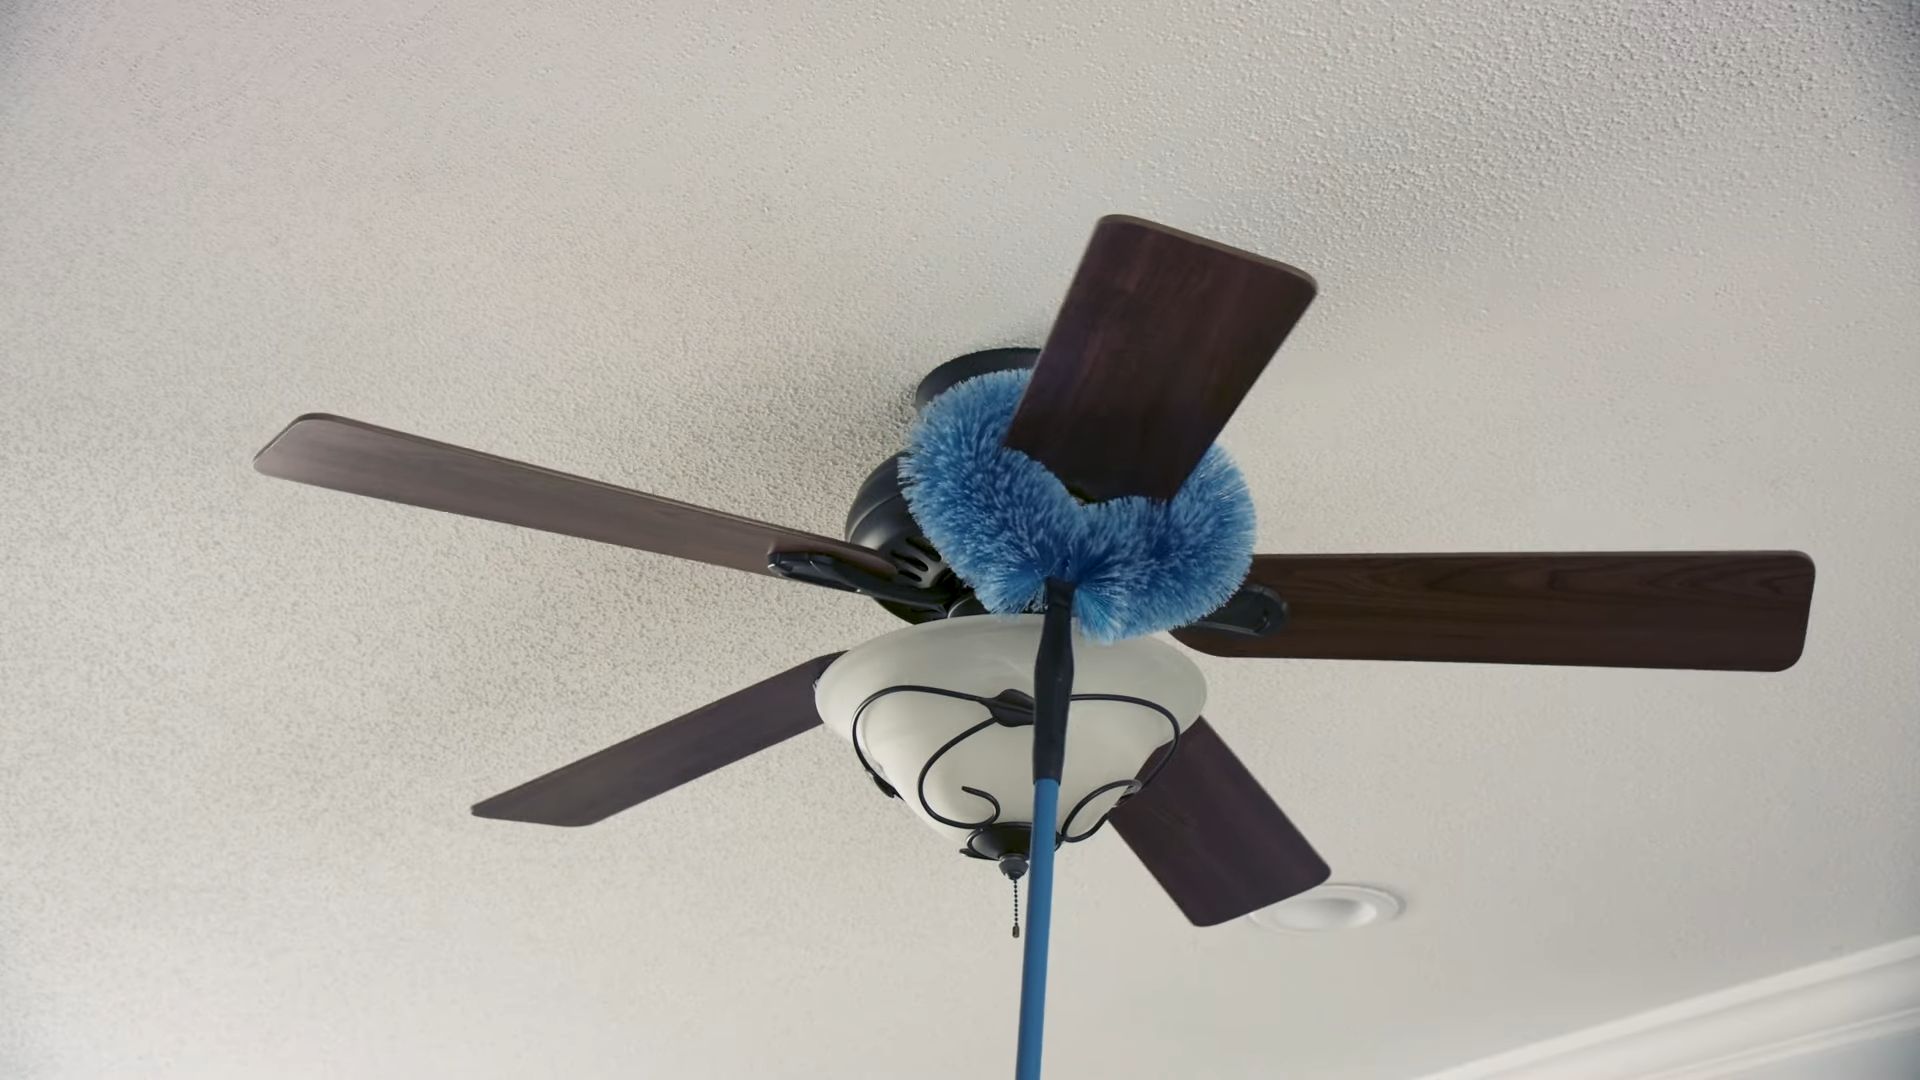
* Consider a Fan Duster: Invest in a long-handled fan duster. These dusters are specifically designed to reach ceiling fans and make dusting a breeze.
Choosing the Right Pillowcase
While any pillowcase will work in a pinch, here are a few things to consider when choosing the best pillowcase for the job:
* Material: A cotton or microfiber pillowcase is ideal. These materials are absorbent and will effectively trap dust.
* Size: A standard-size pillowcase is usually sufficient, but a larger pillowcase might be helpful if you have particularly large fan blades.
* Color: A darker-colored pillowcase will hide the dust better, so you won’t be as grossed out by what you’re collecting!
Safety Tips for Cleaning Ceiling Fans
Cleaning ceiling fans can be a bit precarious, so it’s important to prioritize safety.
* Always Turn Off the Fan: I can’t stress this enough! Make sure the fan is completely off before you start cleaning.
* Use a Sturdy Step Stool or Ladder: Don’t try to reach the fan from an unstable surface. Use a step stool or ladder that is in good condition and placed on a level surface.
* Have Someone Spot You: If possible, have someone stand nearby while you’re cleaning to provide extra stability and assistance.
* Don’t Overreach: If you can’t comfortably reach a blade, move the step stool or ladder closer. Don’t strain yourself or risk falling.
* Wear Eye Protection: Consider wearing safety glasses or goggles to protect your eyes from falling dust.
Why This Hack Works So Well
The pillowcase method is so effective because it:
* Traps Dust: The pillowcase completely encases the blade, preventing dust from falling onto you and your furniture.
* Easy to Use: It’s a simple and straightforward method that anyone can do.
* Cost-Effective: You probably already have a pillowcase lying around, so there’s no need to buy any special cleaning tools.
* Reduces Mess: It minimizes the amount of dust that gets scattered around the room, making cleanup a breeze.
Troubleshooting Common Issues
Even with the best methods, you might encounter a few challenges. Here are some solutions to common problems:
* Dust Still Falling: If you’re still getting dust falling, make sure you’re completely encasing the blade with the pillowcase and pressing firmly as you slide it off. You might also need to use a slightly damp cloth to pre-clean the blades if they’re particularly dusty.
* Pillowcase Getting Too Dirty: If the pillowcase is getting saturated with dust, switch to a clean pillowcase or wash the current one mid-cleaning.
* Reaching the Fan: If you’re having trouble reaching the fan, try using a longer step stool or ladder. You can also try using a long-handled duster in conjunction with the pillowcase method.
* Fan Blades Still Sticky: If the fan blades are still sticky after cleaning, try using a stronger cleaning solution or scrubbing them more vigorously. You might also need to repeat the cleaning process a few times.
So there you have it! My foolproof DIY ceiling fan cleaning hack. Give it a try, and I promise you’ll be amazed at how easy and effective it is. Happy cleaning!
Conclusion
So, there you have it! This simple, yet incredibly effective, DIY ceiling fan cleaning trick is a game-changer for anyone tired of dusty blades and the sneezing fits that come with them. Forget precariously balancing on ladders with spray bottles and cloths, only to have dust rain down on you. This method is faster, cleaner, and frankly, a whole lot more enjoyable.
Why is this a must-try? Because it saves you time, effort, and potential back pain. It’s a cost-effective solution that utilizes materials you likely already have at home. And most importantly, it delivers sparkling clean ceiling fan blades without the mess. Think of all the time you’ll save – time you can spend on more enjoyable activities, like finally finishing that book or binge-watching your favorite show. Plus, a clean ceiling fan operates more efficiently, potentially saving you money on your energy bill in the long run.
But don’t just take our word for it. Experiment with variations to find what works best for you. For instance, if you’re dealing with particularly stubborn grime, try adding a few drops of dish soap to your cleaning solution. For a fresh scent, consider adding a few drops of your favorite essential oil, like lavender or lemon, to the water. If you have a very high ceiling, you might need to attach the pillowcase to a longer extension pole for easier reach. You can also use microfiber cloths instead of pillowcases for a lint-free finish. Remember to always unplug the fan or turn off the breaker before cleaning for safety.
We’re confident that once you try this DIY ceiling fan cleaning method, you’ll never go back to your old ways. It’s a simple, effective, and satisfying solution to a common household problem. So, ditch the dust and embrace the clean!
We encourage you to give this trick a try and share your experience with us. Did it work as well for you as it did for us? Did you discover any helpful variations or tips? Let us know in the comments below! We love hearing from our readers and learning from your experiences. Your feedback helps us improve our content and provide even more helpful tips and tricks for making your life easier. So, go ahead, conquer that dusty ceiling fan, and tell us all about it! We can’t wait to hear from you.
Frequently Asked Questions (FAQ)
Q: What kind of pillowcase should I use?
A: A standard-sized pillowcase works best. The material isn’t too critical, but a cotton or cotton-blend pillowcase is ideal. Avoid using silk or other delicate fabrics, as they may not be as effective at trapping dust. An old pillowcase that you don’t mind getting a little dirty is perfect for this task. The key is to ensure the pillowcase is large enough to comfortably cover each fan blade.
Q: Is it safe to use cleaning solutions on my ceiling fan blades?
A: Generally, yes, but it’s always a good idea to test any cleaning solution on a small, inconspicuous area of the fan blade first to ensure it doesn’t damage the finish. Avoid using harsh chemicals or abrasive cleaners, as these can scratch or discolor the blades. A mild solution of water and dish soap is usually sufficient for most ceiling fans. If you’re unsure about the type of finish on your fan blades, consult the manufacturer’s instructions or website for specific cleaning recommendations. Remember to always unplug the fan or turn off the breaker before cleaning to prevent electrical shock.
Q: How often should I clean my ceiling fan?
A: The frequency of cleaning depends on several factors, including the amount of dust in your home, whether you have pets, and how often you use your ceiling fan. As a general rule, cleaning your ceiling fan every one to three months is a good practice. If you notice a significant buildup of dust, or if you have allergies, you may need to clean it more frequently. Regular cleaning will not only improve the air quality in your home but also help your ceiling fan operate more efficiently.
Q: What if the dust is really caked on and difficult to remove?
A: For stubborn dust and grime, try pre-treating the fan blades with a damp cloth before using the pillowcase method. You can also add a small amount of dish soap or vinegar to your cleaning solution for extra cleaning power. Let the solution sit on the blades for a few minutes to loosen the dirt before wiping them down. If the dust is still difficult to remove, you may need to repeat the process or use a soft-bristled brush to gently scrub the blades. Be careful not to apply too much pressure, as this could damage the finish.
Q: Can I use this method on other types of fans, like standing fans or box fans?
A: While this method is specifically designed for ceiling fans, you can adapt it for other types of fans with some modifications. For standing fans, you can use a smaller pillowcase or a microfiber cloth to wipe down the blades. For box fans, you may need to remove the front grill to access the blades more easily. Always unplug the fan before cleaning and be careful not to damage any of the internal components.
Q: What if I don’t have a pillowcase? Can I use something else?
A: Yes, you can use a microfiber cloth or an old t-shirt instead of a pillowcase. The key is to use a soft, absorbent material that will trap the dust and prevent it from falling onto the floor. Wrap the cloth or t-shirt around the fan blade and wipe it down in the same way you would with a pillowcase. You may need to use multiple cloths or t-shirts if the fan is particularly dusty.
Q: Is it necessary to unplug the ceiling fan before cleaning?
A: Absolutely! Safety should always be your top priority. Unplugging the ceiling fan or turning off the breaker is essential to prevent electrical shock. Even if the fan is not running, there is still a risk of electrical current if it is plugged in. Taking this simple precaution can help ensure your safety while cleaning.
Q: Will this method work on all types of ceiling fans, including those with intricate designs or different blade materials?
A: This method is generally effective on most types of ceiling fans. However, if your fan has intricate designs or delicate blade materials, you may need to take extra care. For fans with intricate designs, use a soft-bristled brush or a cotton swab to clean hard-to-reach areas. For fans with delicate blade materials, such as wood or fabric, use a gentle cleaning solution and avoid applying too much pressure. Always test any cleaning solution on a small, inconspicuous area first to ensure it doesn’t damage the finish.
Q: How can I prevent my ceiling fan from getting so dusty in the first place?
A: There are several things you can do to minimize dust buildup on your ceiling fan. Regularly dusting your home, especially in areas near the fan, can help reduce the amount of dust that settles on the blades. Using an air purifier can also help remove dust and other particles from the air. Additionally, consider using a ceiling fan cover when the fan is not in use to protect it from dust.

Leave a Comment