

Easy cleaning hacks for families – that’s what every busy parent dreams of, right? I know I do! Let’s face it, between school runs, playdates, and trying to squeeze in some semblance of a social life, keeping a house sparkling clean can feel like an impossible task. But what if I told you there are simple, effective ways to conquer the chaos and reclaim your weekends?
Cleaning, in its essence, has always been a part of family life. From ancient civilizations using natural remedies to keep their homes tidy to the rise of modern cleaning products, the desire for a clean and healthy living space is deeply ingrained in our history. But the modern family faces unique challenges – time constraints, eco-consciousness, and the sheer volume of “stuff” that accumulates.
That’s where these easy cleaning hacks for families come in. This isn’t about spending hours scrubbing; it’s about working smarter, not harder. I’m going to share some of my favorite DIY tricks and tips that will help you tackle those everyday messes quickly and efficiently. Imagine having more time to spend with your loved ones, pursuing your hobbies, or simply relaxing in a clean and comfortable home. Sounds good, doesn’t it? Let’s dive in and discover how to make cleaning less of a chore and more of a breeze!
DIY Cleaning Hacks for Busy Families: Reclaim Your Weekend!
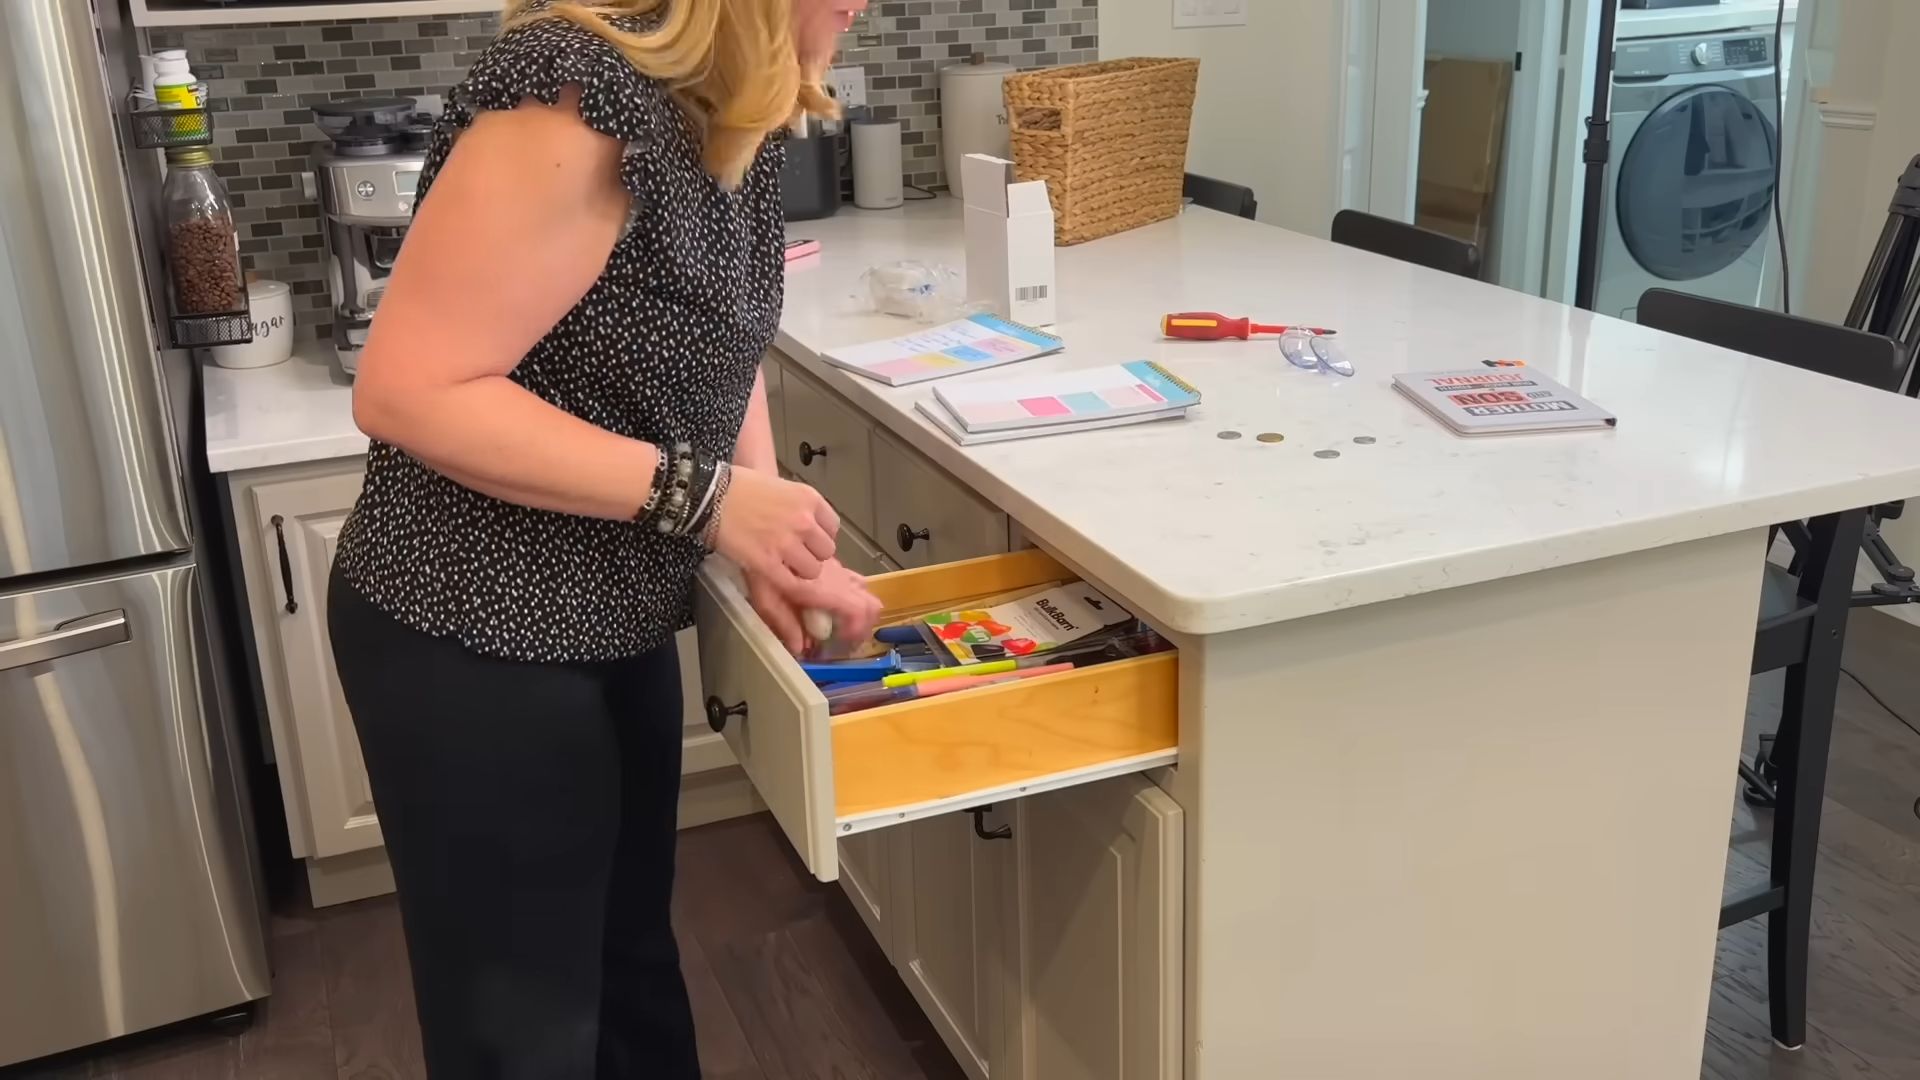
Okay, let’s be honest, cleaning with kids around feels like painting the Golden Gate Bridge – you finish one end, and it’s already time to start again! But fear not, fellow parents! I’ve compiled some tried-and-true cleaning hacks that will save you time, money, and maybe even a little bit of your sanity. These are all things I’ve personally used and adapted to fit my own chaotic family life, so I know they work!
Hack #1: The Microwave Deep Clean (Without the Elbow Grease!)
Microwaves are notorious for becoming splattered, sticky messes. But nobody wants to spend ages scrubbing. This hack uses the power of steam to loosen all that gunk, making it a breeze to wipe clean.
What you’ll need:
* 1 cup of water
* 1 tablespoon of white vinegar or lemon juice (vinegar is my go-to for stubborn messes!)
* Microwave-safe bowl
* Sponge or cloth
Step-by-step instructions:
1. Combine the ingredients: Pour the water and vinegar (or lemon juice) into the microwave-safe bowl.
2. Microwave the mixture: Place the bowl in the microwave and heat on high for 5-7 minutes. You want the water to boil and create a good amount of steam.
3. Let it sit: This is the crucial part! Leave the microwave door closed for another 3-5 minutes. The steam will work its magic, loosening all the dried-on food.
4. Wipe it clean: Carefully remove the bowl (it will be hot!). Use your sponge or cloth to easily wipe away the loosened grime. You’ll be amazed at how easily it comes off!
5. Stubborn spots? If you have any particularly stubborn spots, dip your sponge in the remaining water/vinegar mixture and give them a little extra attention.
Hack #2: Sparkling Shower Doors with Dish Soap and Vinegar
Shower doors are magnets for soap scum and hard water stains. This simple solution will leave them sparkling without harsh chemicals.
What you’ll need:
* Spray bottle
* Equal parts dish soap and white vinegar (I usually do about 1/2 cup of each)
* Scrub brush or sponge
* Water for rinsing
Step-by-step instructions:
1. Mix the solution: In your spray bottle, combine the dish soap and white vinegar. You might want to warm the vinegar slightly in the microwave (just for a few seconds!) to help it mix better.
2. Spray the doors: Generously spray the shower doors with the mixture. Make sure to cover all the areas with soap scum and hard water stains.
3. Let it sit: Allow the solution to sit on the doors for at least 30 minutes. For really tough stains, you can let it sit for up to an hour.
4. Scrub and rinse: Use your scrub brush or sponge to scrub the doors, paying extra attention to the areas with the most buildup. Rinse thoroughly with water.
5. Dry the doors: To prevent water spots, dry the doors with a clean towel or squeegee.
Pro Tip: For ongoing maintenance, keep a squeegee in your shower and use it after each shower to prevent soap scum buildup.
Hack #3: The Magic of Baking Soda Paste for Oven Cleaning
Oven cleaning is the chore everyone dreads. But this baking soda paste method is surprisingly effective and avoids those harsh chemical fumes.
What you’ll need:
* Baking soda
* Water
* Spatula or scraper
* Spray bottle with white vinegar
* Sponge or cloth
Step-by-step instructions:
1. Prepare the oven: Remove the oven racks and any loose debris.
2. Make the paste: In a bowl, mix baking soda with enough water to form a thick, spreadable paste. I usually start with about 1/2 cup of baking soda and add water a little at a time until I get the right consistency.
3. Apply the paste: Spread the baking soda paste all over the inside of your oven, avoiding the heating elements. Pay special attention to areas with baked-on grease and food.
4. Let it sit overnight: This is the key! Let the paste sit for at least 12 hours, or even overnight. The longer it sits, the better it will work.
5. Spray with vinegar: The next day, spray the baking soda paste with white vinegar. This will cause it to fizz and loosen the grime even further.
6. Scrub and wipe: Use your spatula or scraper to remove as much of the paste as possible. Then, use a sponge or cloth to wipe away any remaining residue. You may need to rinse the sponge frequently.
7. Repeat if necessary: For really stubborn areas, you may need to repeat the process.
8. Replace the racks: Once the oven is clean and dry, replace the oven racks.
Hack #4: Freshen Up Your Garbage Disposal with Citrus Peels
Garbage disposals can get pretty stinky. This simple hack uses citrus peels to freshen them up and help break down food particles.
What you’ll need:
* Citrus peels (lemon, lime, orange, grapefruit – any kind will work!)
* Ice cubes
* Water
Step-by-step instructions:
1. Gather your citrus peels: Save your citrus peels after you’ve used the fruit.
2. Turn on the cold water: Run cold water into the disposal.
3. Add the peels and ice: Turn on the garbage disposal and slowly feed the citrus peels and ice cubes into it. The ice helps to scrub the disposal blades, while the citrus peels release their natural oils and freshen the disposal.
4. Let it run: Let the disposal run for about 30 seconds to a minute.
5. Turn off the water and disposal: Turn off the water and disposal.
Pro Tip: You can also add a little bit of baking soda to the disposal along with the citrus peels for extra cleaning power.
Hack #5: Dusting Like a Pro: The Pillowcase Fan Blade Trick
Dusting ceiling fan blades is a pain. Dust goes everywhere! This hack keeps the dust contained and makes the job much easier.
What you’ll need:
* Old pillowcase
* Step stool or ladder
Step-by-step instructions:
1. Prepare the pillowcase: Slide the pillowcase over one of the fan blades, encasing it completely.
2. Wipe the blade: Press the pillowcase against the blade and slowly slide it off, trapping the dust inside the pillowcase.
3. Repeat for each blade: Repeat the process for each fan blade.
4. Empty the pillowcase: Once you’ve dusted all the blades, take the pillowcase outside and shake it out to remove the dust. You can also wash the pillowcase.
Hack #6: Cleaning Blinds with a Sock
Cleaning blinds can be tedious, but this sock trick makes it much faster and easier.
What you’ll need:
* Old sock
* White vinegar and water solution (equal parts)
* Bowl
Step-by-step instructions:
1. Mix the cleaning solution: In a bowl, mix equal parts white vinegar and water.
2. Dampen the sock: Put the sock on your hand and dip it into the cleaning solution. Wring out any excess liquid.
3. Clean the blinds: Use your sock-covered hand to wipe each slat of the blinds. The sock will pick up the dust and dirt.
4. Rinse and repeat: If the sock gets too dirty, rinse it out and re-dip it in the cleaning solution.
5. Dry the blinds: Allow the blinds to air dry.
Hack #7: Unclogging Drains with Baking Soda and Vinegar
Forget expensive drain cleaners! This natural solution can often unclog drains effectively.
What you’ll need:
* 1 cup baking soda
* 2 cups white vinegar
* Hot water
Step-by-step instructions:
1. Pour in the baking soda: Pour the baking soda down the drain.
2. Add the vinegar: Immediately pour the vinegar down the drain after the baking soda.
3. Let it fizz: Let the mixture fizz for about 30 minutes.
4. Flush with hot water: After 30 minutes, flush the drain with hot water.
Pro Tip: For really stubborn clogs, you may need to repeat the process.
Hack #8: Removing Water Rings from Wood Furniture
Those dreaded water
Conclusion
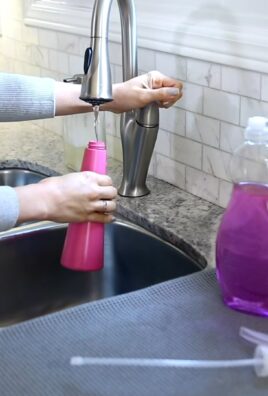
So, there you have it! This simple yet incredibly effective DIY cleaning hack is a game-changer for busy families. We’ve shown you how to create a powerful, all-natural cleaning solution using ingredients you likely already have in your pantry. Forget spending a fortune on harsh chemicals and embrace a safer, more sustainable way to keep your home sparkling.
But why is this DIY trick a must-try? It’s more than just saving money (although that’s a definite perk!). It’s about creating a healthier environment for your loved ones, especially children and pets who are more susceptible to the harmful effects of commercial cleaners. It’s about reducing your environmental footprint by minimizing plastic waste and avoiding toxic chemicals that pollute our waterways. And, let’s be honest, it’s incredibly satisfying to know you’re tackling grime with a solution you made yourself!
This easy cleaning hack isn’t just limited to countertops and sinks. Consider these variations to expand its cleaning power:
* For stubborn stains on carpets or upholstery: Add a tablespoon of borax to the solution for extra stain-fighting power. Always test in an inconspicuous area first.
* To freshen laundry: Add a cup of the solution to your washing machine along with your regular detergent. It’s especially effective for removing odors and brightening whites.
* For a natural air freshener: Dilute the solution with water in a spray bottle and spritz around your home. Add a few drops of your favorite essential oil for a customized scent. Lavender, lemon, and eucalyptus are all great choices.
* To clean your microwave: Heat a cup of the solution in the microwave for a few minutes. The steam will loosen grime, making it easy to wipe clean.
We understand that trying something new can be daunting, but we promise this DIY cleaning hack is worth the effort. It’s quick, easy, and incredibly effective. Plus, it’s a great way to involve your kids in household chores and teach them about the importance of using natural cleaning products.
We’re confident that once you try this DIY cleaning hack, you’ll never go back to store-bought cleaners. It’s a simple, sustainable, and effective way to keep your home clean and healthy.
So, what are you waiting for? Gather your ingredients, mix up a batch of this amazing cleaning solution, and experience the difference for yourself. We’re eager to hear about your results! Share your experiences, tips, and variations in the comments below. Let’s build a community of families who are committed to creating cleaner, healthier homes, one DIY cleaning hack at a time. We can’t wait to see how this transforms your cleaning routine!
Frequently Asked Questions (FAQ)
Is this DIY cleaning solution safe for all surfaces?
While this DIY cleaning solution is generally safe for most surfaces, it’s always a good idea to test it in an inconspicuous area first, especially on delicate materials like wood or painted surfaces. The acidity of the vinegar could potentially damage certain finishes. Avoid using it on natural stone surfaces like marble or granite, as it can etch the surface. For these surfaces, a pH-neutral cleaner is recommended. When in doubt, consult the manufacturer’s instructions for your specific surface.
How long does the DIY cleaning solution last?
This DIY cleaning solution is best used within a few weeks. Since it doesn’t contain any preservatives, it can eventually spoil. To maximize its shelf life, store it in a cool, dark place in an airtight container. You’ll know it’s time to make a fresh batch if you notice any discoloration or an unusual odor. Making a new batch is quick and easy, so it’s best to err on the side of caution.
Can I use a different type of vinegar?
While white vinegar is the most commonly recommended type of vinegar for cleaning due to its high acidity and lack of color, you can experiment with other types of vinegar, such as apple cider vinegar. However, keep in mind that apple cider vinegar has a lower acidity than white vinegar, so it may not be as effective for tough cleaning jobs. Also, the color of apple cider vinegar could potentially stain light-colored surfaces, so it’s important to test it in an inconspicuous area first.
What essential oils are best to add to the DIY cleaning solution?
The best essential oils to add to your DIY cleaning solution depend on your personal preferences and the desired effect. Some popular choices include:
* Lemon: Known for its antibacterial and antiviral properties, as well as its refreshing scent.
* Lavender: Has a calming and relaxing scent, and also possesses antibacterial properties.
* Tea Tree: A powerful antiseptic and antifungal agent, making it ideal for cleaning bathrooms and kitchens.
* Eucalyptus: Has a strong, invigorating scent and is known for its antibacterial and antiviral properties.
* Peppermint: A refreshing and energizing scent, and also has antibacterial properties.
When adding essential oils, start with a few drops and adjust to your liking. Be sure to use pure essential oils, not fragrance oils, for the best results.
Is this DIY cleaning solution safe for pets and children?
This DIY cleaning solution is generally safer for pets and children than commercial cleaners, as it doesn’t contain harsh chemicals. However, it’s still important to keep it out of reach of children and pets, as ingestion could cause irritation. If your pet or child ingests the solution, contact your veterinarian or poison control center immediately. Also, be mindful of the essential oils you use, as some essential oils can be toxic to pets. Always research the safety of essential oils before using them around animals.
Can I use this DIY cleaning solution on my hardwood floors?
Using vinegar on hardwood floors is a debated topic. While some people swear by it, others warn against it, as the acidity of the vinegar can potentially damage the finish over time. If you choose to use this DIY cleaning solution on your hardwood floors, dilute it significantly with water and use a microfiber mop to avoid oversaturating the floor. Always test in an inconspicuous area first and avoid using it on waxed floors. A pH-neutral cleaner specifically designed for hardwood floors is generally the safest option.
What if I don’t have all the ingredients?
The beauty of this DIY cleaning hack is its flexibility. If you don’t have all the ingredients, you can still make a basic cleaning solution with just vinegar and water. The baking soda and essential oils are optional additions that enhance the cleaning power and scent. However, vinegar and water alone can still be effective for many cleaning tasks.
How does this DIY cleaning hack help with easy cleaning for families?
This DIY cleaning hack simplifies cleaning for families in several ways. First, it uses readily available and affordable ingredients, eliminating the need to run to the store for specialized cleaning products. Second, it’s quick and easy to make, saving time and effort. Third, it’s versatile and can be used for a variety of cleaning tasks, reducing the number of different cleaning products you need to keep on hand. Finally, it’s safer for families with children and pets, as it doesn’t contain harsh chemicals. By streamlining the cleaning process and using safer ingredients, this DIY cleaning hack makes it easier for families to maintain a clean and healthy home.

Leave a Comment