

Easy Dusting Hacks: Let’s face it, nobody *loves* dusting. It’s one of those chores that feels like a never-ending battle against the inevitable accumulation of, well, everything! But what if I told you that conquering dust bunnies and achieving a sparkling clean home could be easier and even, dare I say, a little bit fun?
For centuries, humans have been devising ways to keep their living spaces clean. From ancient civilizations using rudimentary tools to remove dirt and debris, to the modern marvels of microfiber cloths and robotic vacuums, the quest for a dust-free environment is a timeless pursuit. Think about it – even in ancient Egypt, servants meticulously cleaned the pharaoh’s palaces, ensuring a pristine environment fit for royalty. While we might not be cleaning for a pharaoh, we all deserve a clean and healthy home!
That’s where these easy dusting hacks come in. In today’s busy world, who has time to spend hours meticulously dusting every nook and cranny? We’re all juggling work, family, and countless other commitments. These DIY tricks are designed to save you time, effort, and maybe even a little sanity. They’ll help you tackle those dusty surfaces quickly and efficiently, leaving you with more time to enjoy the things you actually love. Plus, a dust-free home isn’t just about aesthetics; it’s about improving air quality and creating a healthier living environment for you and your loved ones. So, let’s dive in and discover some simple yet effective ways to banish dust from your home for good!
Easy Dusting Hacks: Say Goodbye to Grime!
Okay, let’s face it, dusting is nobody’s favorite chore. But a clean home is a happy home, right? So, I’m going to share some of my favorite DIY dusting hacks that will make the process faster, easier, and even a little bit… dare I say… enjoyable? Let’s dive in!
Hack 1: The Mighty Microfiber Sock Duster
This is my go-to for quick and easy dusting, especially on blinds and furniture. It’s cheap, effective, and uses materials you probably already have!
What You’ll Need:
* An old sock (microfiber is best, but any clean sock will do)
* A spray bottle filled with water or a dusting spray (optional)
Step-by-Step Instructions:
1. Prepare the Sock: Simply slide the sock over your hand like a glove. Make sure it fits snugly so you have good control.
2. Slightly Dampen (Optional): If you want to pick up more dust and prevent it from just flying around, lightly mist the sock with water or your favorite dusting spray. Don’t soak it! Just a light spritz will do.
3. Dust Away! Now, go to town! For blinds, slide your sock-covered fingers between each slat. For furniture, wipe down surfaces in smooth, even strokes. The microfiber will grab the dust and hold onto it.
4. Shake and Repeat: As the sock gets dusty, shake it out over a trash can or outside. You can also rinse it under water and wring it out if it gets too grimy. Then, keep dusting!
5. Launder When Done: When you’re finished dusting, toss the sock in the washing machine. It’s ready to be used again next time!
Hack 2: The DIY Swiffer Duster Refill
Those Swiffer Dusters are super convenient, but the refills can get expensive. Here’s how to make your own!
What You’ll Need:
* An old Swiffer Duster handle
* Microfiber cloths (the fluffy kind work best)
* Scissors
* Hot glue gun (optional, but recommended for extra security)
Step-by-Step Instructions:
1. Prepare the Microfiber Cloth: Lay the microfiber cloth flat. You’ll need to cut it into strips that are slightly longer than the Swiffer Duster head. The width of the strips depends on how fluffy you want your duster to be. I usually aim for strips that are about 1-2 inches wide.
2. Fringe the Strips: Now, cut fringes along both sides of each strip, leaving about an inch uncut in the middle. This will create the fluffy, dust-grabbing effect.
3. Attach to the Swiffer Head: This is where you have a couple of options.
* Option 1 (Simple): Simply wrap the fringed strips around the Swiffer Duster head, overlapping them slightly. The static cling of the microfiber should hold them in place pretty well.
* Option 2 (More Secure): For a more secure hold, use a hot glue gun to attach the strips to the Swiffer Duster head. Apply a small dab of hot glue to the center of each strip and press it firmly onto the head.
4. Fluff and Dust! Once all the strips are attached, fluff up the duster with your fingers. Now you’re ready to dust! The microfiber fringes will trap dust and dirt just like the store-bought refills.
5. Replace as Needed: When the refill gets too dirty, simply remove the old strips and replace them with new ones. You can wash and reuse the microfiber strips if you prefer.
Hack 3: The Paintbrush Dusting Tool
This is perfect for getting into those hard-to-reach places, like crevices, keyboards, and decorative items.
What You’ll Need:
* An old paintbrush (a soft-bristled one is best)
Step-by-Step Instructions:
1. Choose Your Brush: Select a paintbrush that’s clean and has soft bristles. A small to medium-sized brush works well for most dusting tasks.
2. Dust Those Tight Spots: Use the paintbrush to gently brush away dust from hard-to-reach areas. The bristles will get into crevices and corners that a regular duster can’t reach.
3. Clean the Brush: After dusting, clean the paintbrush by tapping it against a trash can or rinsing it under water. Let it dry completely before storing it.
Hack 4: The Dryer Sheet Dusting Trick
This hack not only removes dust but also helps to repel it! Dryer sheets contain antistatic properties that prevent dust from clinging to surfaces.
What You’ll Need:
* Dryer sheets (used or new)
Step-by-Step Instructions:
1. Grab a Dryer Sheet: You can use either a new or used dryer sheet for this hack. Used ones work just as well!
2. Wipe Down Surfaces: Simply wipe down surfaces with the dryer sheet. The antistatic properties will help to remove dust and prevent it from settling back down.
3. Enjoy Dust-Free Surfaces: Your surfaces will not only be dust-free but also have a pleasant scent!
Important Note: Be careful when using dryer sheets on dark wood furniture, as they can sometimes leave a slight residue. Test in an inconspicuous area first.
Hack 5: The Compressed Air Keyboard Cleaner
Keyboards are dust magnets! This hack uses compressed air to blast away dust and debris from between the keys.
What You’ll Need:
* A can of compressed air
Step-by-Step Instructions:
1. Turn Off Your Device: Before you start, turn off your computer or laptop to prevent any accidental keystrokes.
2. Aim and Spray: Hold the can of compressed air upright and aim the nozzle at the keyboard. Use short bursts of air to blast away dust and debris from between the keys.
3. Tilt and Repeat: Tilt the keyboard at different angles to help dislodge any stubborn dust particles.
4. Wipe Down the Keys: After using the compressed air, wipe down the keys with a slightly damp cloth to remove any remaining dust or grime.
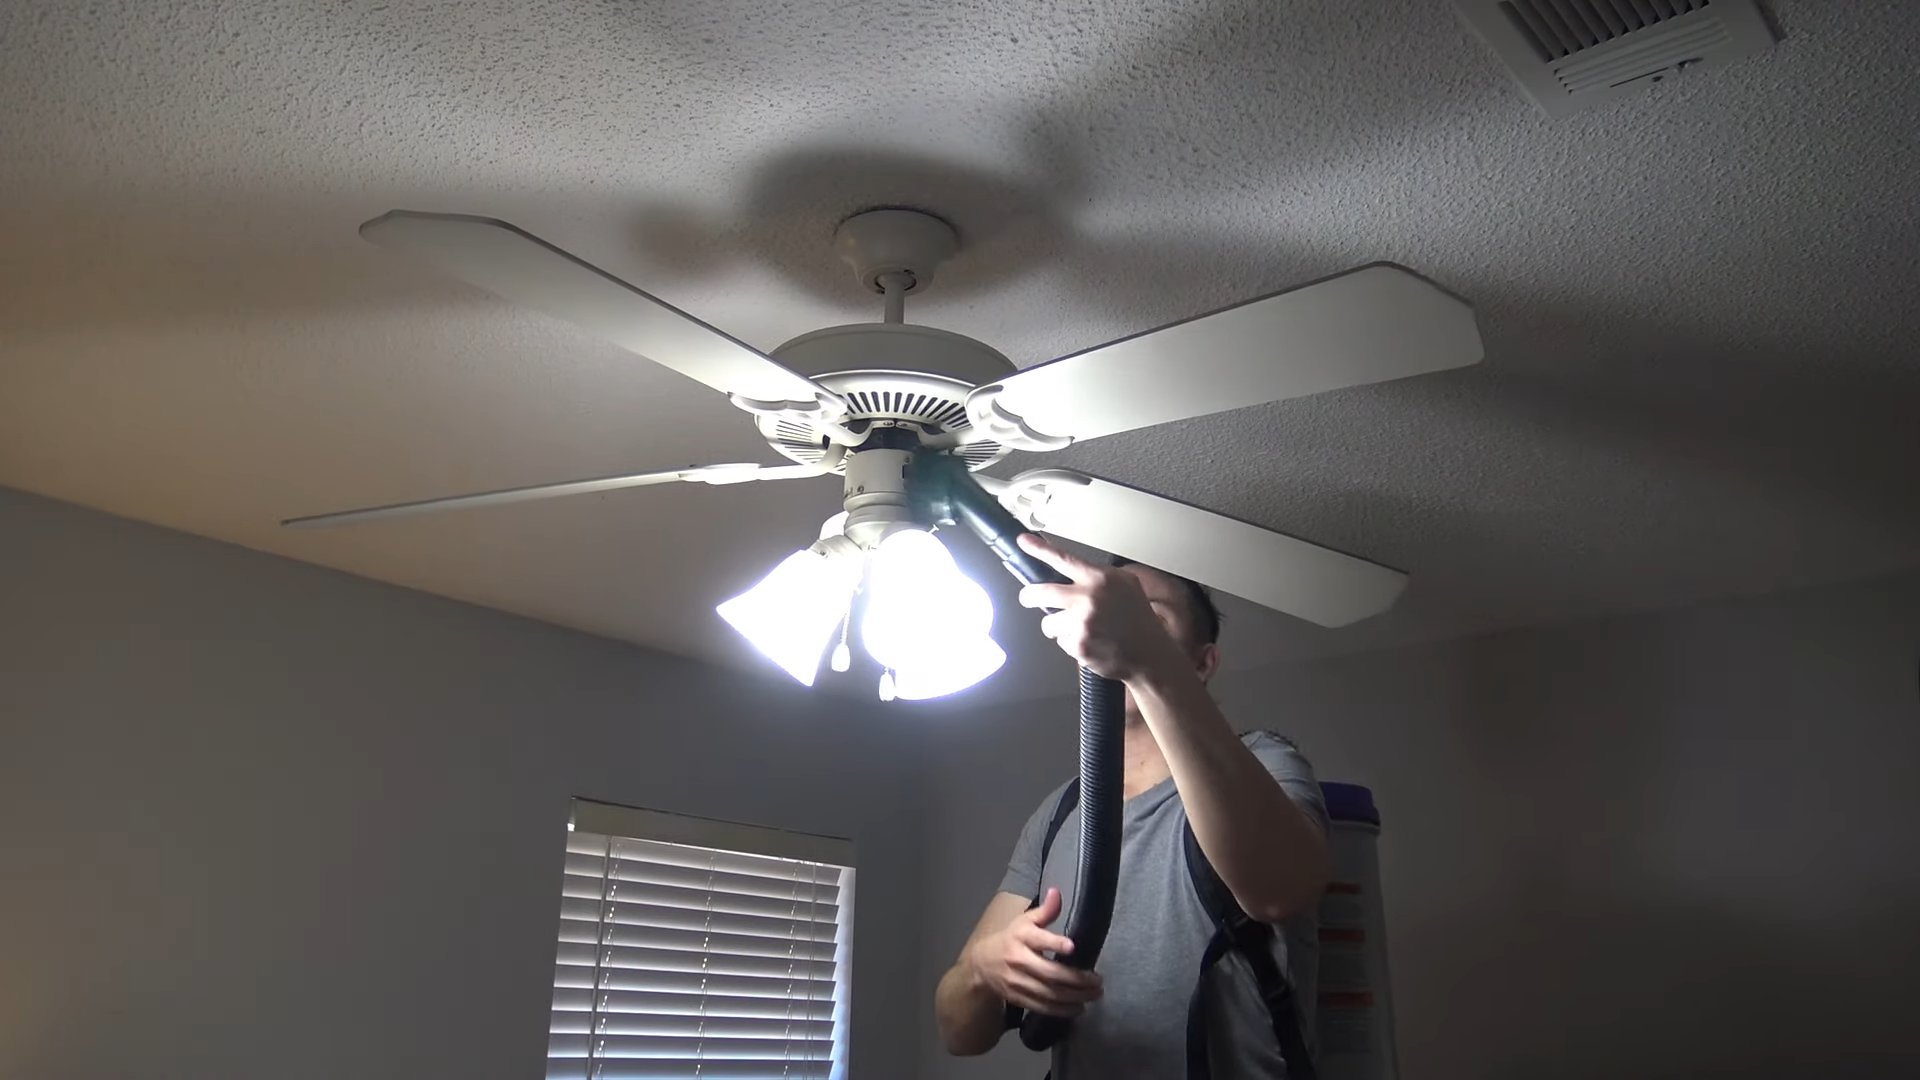
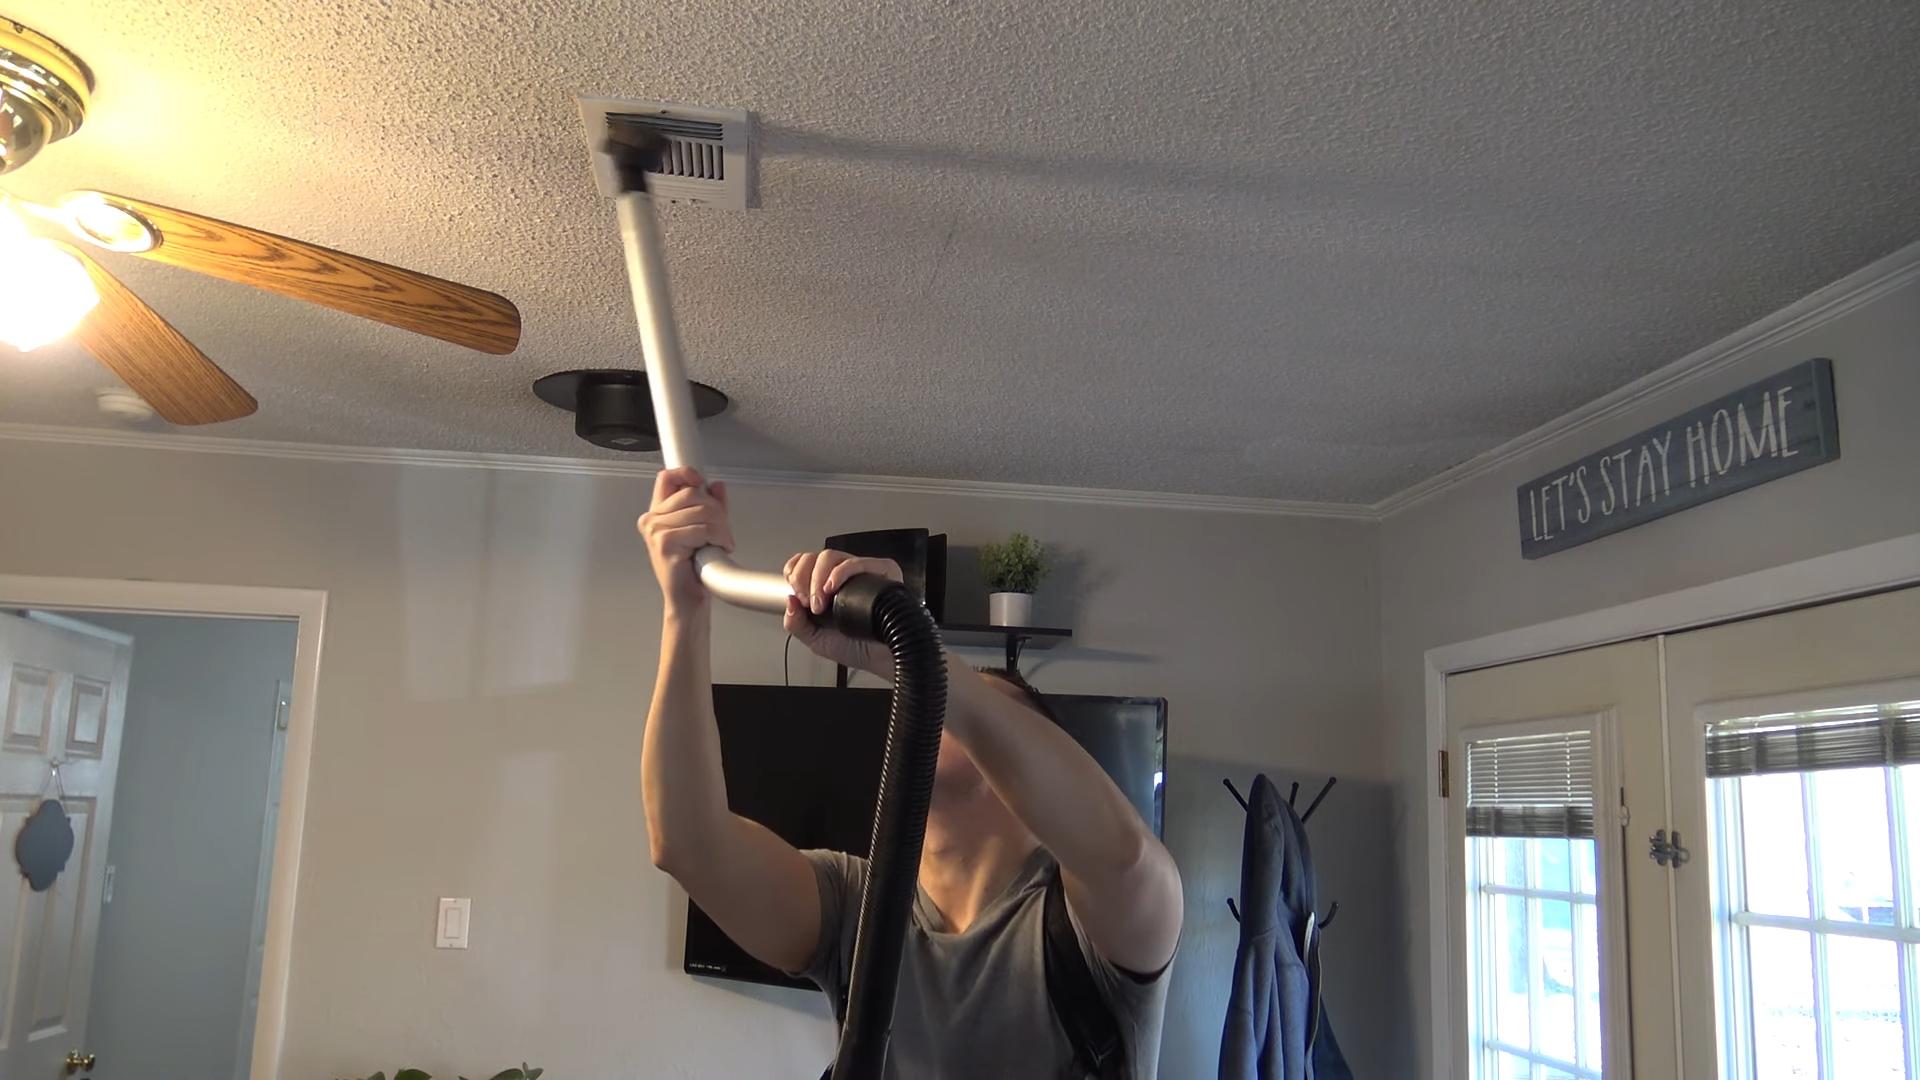
Hack 6: The Vacuum Attachment Power-Up
Your vacuum cleaner isn’t just for floors! Use the attachments to dust furniture, curtains, and even walls.
What You’ll Need:
* A vacuum cleaner with attachments (a soft brush attachment is ideal)
Step-by-Step Instructions:
1. Choose the Right Attachment: Select the appropriate attachment for the surface you’re dusting. A soft brush attachment is best for delicate surfaces like furniture and curtains. A crevice tool can be used for hard-to-reach areas.
2. Vacuum Away: Use the vacuum attachment to gently vacuum dust from surfaces. For curtains, start at the top and work your way down. For furniture, use smooth, even strokes.
3. Empty the Vacuum: After dusting, empty the vacuum cleaner bag or canister to prevent dust from recirculating.
Hack 7: The Pillowcase Ceiling Fan Duster
Ceiling fans are notorious for collecting dust. This hack makes it easy to clean them without getting dust all over yourself.
What You’ll Need:
* An old pillowcase
Step-by-Step Instructions:
1. Prepare the Pillowcase: Slide the pillowcase over one of the ceiling fan blades, encasing it completely.
2. Wipe and Collect: Gently wipe the blade with the pillowcase, trapping the dust inside.
3. Repeat for Each Blade: Repeat the process for each blade of the ceiling fan.
4. Empty the Pillowcase: Once you’ve cleaned all the blades, carefully remove the pillowcase and empty the dust into a trash can or outside.
5. Wash the Pillowcase: Toss the pillowcase in the washing machine to clean it for future use.
Hack 8: The Lemon Oil Wood Polish
This hack not only dusts but also polishes and protects your wood furniture.
What You’ll Need:
* Lemon oil
* A soft cloth
Step-by-Step Instructions:
1. Apply Lemon Oil: Apply a small amount of lemon oil to a soft cloth.
2. Polish and Dust: Wipe down your wood furniture with the lemon oil-soaked cloth. The lemon oil will remove dust, polish the wood, and help to protect it from future damage.
3. Buff to a Shine: Use a clean, dry cloth to buff the furniture to a shine.
Important Note: Always test lemon oil in an inconspicuous area first to make sure it doesn’t damage the finish.
Conclusion
So, there you have it! This easy dusting hack isn’t just about cleaning; it’s about reclaiming your time and enjoying a cleaner, healthier home environment. We’ve explored a simple yet incredibly effective method that transforms the often-dreaded chore of dusting into a breeze. Forget spending hours moving furniture, wrestling with stubborn dust bunnies, and inhaling clouds of allergens. This DIY approach, using readily available materials, offers a superior clean, minimizes effort, and saves you money in the long run.
Why is this a must-try? Because it’s efficient, eco-friendly, and customizable. You’re not just wiping away dust; you’re creating a protective barrier that repels future buildup. This means less frequent dusting and more time for the things you truly enjoy. Plus, you’re reducing your reliance on harsh chemical cleaners, contributing to a healthier indoor air quality for you and your family.
Looking for variations? Absolutely! Consider adding a few drops of your favorite essential oil to the cleaning solution for a subtle, refreshing scent. Lavender, lemon, and eucalyptus are all excellent choices that not only smell wonderful but also possess natural antibacterial properties. For delicate surfaces like wood furniture, you can substitute the water with a mixture of olive oil and vinegar for a nourishing and polishing effect. Always test a small, inconspicuous area first to ensure compatibility. Another variation is to use microfiber cloths instead of cotton. Microfiber is known for its superior dust-trapping abilities and leaves surfaces streak-free.
This easy dusting hack is a game-changer for anyone looking to simplify their cleaning routine and achieve a consistently dust-free home. It’s a testament to the power of simple solutions and a reminder that sometimes, the most effective methods are also the most accessible.
We wholeheartedly encourage you to give this DIY trick a try. You’ll be amazed at the difference it makes. And more importantly, we want to hear about your experience! Share your results, your variations, and any tips you discover along the way in the comments section below. Let’s build a community of clean-home enthusiasts and help each other conquer the dust! Did you find a particular essential oil blend that worked wonders? Did you adapt the technique for a specific type of furniture? Your insights could be invaluable to others. So, grab your supplies, get dusting, and let us know how it goes! We can’t wait to hear from you.
Frequently Asked Questions (FAQ)
What exactly makes this dusting hack “easy”?
The “easy” aspect comes from several factors. First, it uses readily available ingredients that you likely already have in your home: water, vinegar (or lemon juice), and a microfiber cloth. Second, the process is straightforward and requires minimal effort. You simply mix the solution, dampen the cloth, and wipe down surfaces. There’s no need for harsh chemicals, specialized equipment, or extensive scrubbing. Finally, the solution creates a protective barrier that helps repel dust, making future cleanings even easier. The simplicity and efficiency are what truly define this as an easy dusting hack.
Is vinegar safe to use on all surfaces?
While vinegar is a fantastic natural cleaner, it’s not suitable for all surfaces. Avoid using vinegar on marble, granite, and other natural stone surfaces, as the acidity can etch and damage them. It’s also best to avoid using vinegar on waxed furniture, as it can strip the wax finish. Before using vinegar on any delicate or valuable surface, always test it in a small, inconspicuous area first to ensure it doesn’t cause any discoloration or damage. For these sensitive surfaces, consider using a mixture of mild dish soap and water instead.
Can I use something other than vinegar?
Yes, absolutely! If you’re not a fan of the vinegar smell or are concerned about using it on certain surfaces, you can substitute it with lemon juice. Lemon juice has similar cleaning properties to vinegar and leaves behind a fresh, citrusy scent. You can also use a mild dish soap diluted in water. Just be sure to use a very small amount of soap to avoid leaving behind a residue. Another option is to use a commercial dusting spray that is specifically designed for the type of surface you’re cleaning. Always follow the manufacturer’s instructions when using commercial products.
How often should I use this dusting hack?
The frequency of dusting depends on several factors, including the amount of dust in your environment, the number of people and pets in your home, and your personal preferences. As a general guideline, dusting once a week is a good starting point. However, if you live in a dusty area or have pets that shed a lot, you may need to dust more frequently, perhaps two or three times a week. Conversely, if you live in a relatively clean environment, you may only need to dust every other week. The key is to observe your surfaces and dust them as needed to maintain a clean and healthy home.
What kind of cloth is best for dusting?
Microfiber cloths are generally considered the best choice for dusting. They are made of tightly woven fibers that effectively trap and lift dust particles, rather than simply pushing them around. Microfiber cloths are also very absorbent, which helps to remove dirt and grime. Another advantage of microfiber cloths is that they are lint-free, so they won’t leave behind any unwanted residue on your surfaces. If you don’t have microfiber cloths, you can use soft cotton cloths, such as old t-shirts or towels. Just be sure to use clean cloths and avoid using cloths that are heavily soiled or have a rough texture, as these can scratch your surfaces.
Will this dusting hack work on electronics?
Yes, but with caution. When dusting electronics, it’s important to avoid getting any liquid inside the devices. Always unplug the electronic device before dusting it. Instead of spraying the cleaning solution directly onto the cloth, lightly dampen the cloth with the solution and wring out any excess liquid. Gently wipe down the surfaces of the electronic device, being careful not to apply too much pressure. For hard-to-reach areas, such as keyboards, you can use a can of compressed air to blow away dust and debris. You can also use a dry microfiber cloth to wipe down screens and other delicate surfaces.
How do I clean the dusting cloth after using this hack?
Cleaning your dusting cloth is essential to prevent the spread of dust and dirt. After each use, rinse the cloth thoroughly with warm water and a mild detergent. If the cloth is heavily soiled, you can wash it in the washing machine with your regular laundry. Avoid using fabric softeners, as they can leave a residue on the cloth that will reduce its effectiveness. Tumble dry the cloth on low heat or hang it to dry. Once the cloth is dry, store it in a clean, dry place until you’re ready to use it again. Regularly cleaning your dusting cloth will help to keep it in good condition and ensure that it continues to effectively remove dust and dirt.
Can I add essential oils to the dusting solution?
Yes, adding essential oils to your dusting solution can provide a pleasant scent and offer additional cleaning benefits. Some essential oils, such as lavender, lemon, and tea tree oil, have antibacterial and antifungal properties. To add essential oils to your dusting solution, simply add a few drops (5-10 drops per cup of water) to the mixture. Be sure to use high-quality essential oils that are safe for use on surfaces. Before using an essential oil on a delicate surface, test it in a small, inconspicuous area first to ensure it doesn’t cause any discoloration or damage.
What if I have allergies? Will this dusting hack help?
Yes, this dusting hack can be particularly beneficial for people with allergies. By using a damp cloth instead of a dry one, you’re trapping dust and allergens instead of simply stirring them up into the air. The vinegar or lemon juice in the solution can also help to neutralize allergens and reduce their impact. Additionally, regularly dusting your home can help to reduce the overall amount of allergens present, which can lead to a significant improvement in your allergy symptoms. Consider using a HEPA filter vacuum cleaner in conjunction with this dusting hack for even better allergy control.

Leave a Comment