

Fast home cleaning tricks are a lifesaver, aren’t they? Let’s be honest, who actually *enjoys* spending their entire weekend scrubbing and dusting? I know I don’t! We all crave that sparkling, fresh feeling of a clean home, but the thought of the time and effort involved can be seriously daunting. That’s where these clever DIY hacks come in – they’re your secret weapon against the never-ending battle with dust bunnies and grime.
Throughout history, maintaining a clean home has been a symbol of health, prosperity, and even social standing. Think about the meticulous cleaning rituals in ancient cultures, or the Victorian obsession with spotless parlors. While our methods have evolved, the desire for a clean and comfortable living space remains deeply ingrained. But in today’s fast-paced world, we need solutions that fit our busy schedules.
That’s why I’m so excited to share these fast home cleaning tricks with you! This isn’t about spending hours on end with harsh chemicals and complicated routines. It’s about working smarter, not harder, and reclaiming your precious time. Imagine having a clean and inviting home without sacrificing your entire weekend. Sounds good, right? These DIY cleaning hacks are designed to be quick, easy, and effective, using everyday items you probably already have in your pantry. Get ready to transform your cleaning routine and enjoy a sparkling home with minimal effort!

Speed Cleaning Secrets: My Guide to a Sparkling Home in Record Time!
Okay, let’s be honest, who *really* loves cleaning? I definitely don’t! But a clean home is a happy home, right? So, I’ve spent years perfecting my speed cleaning routine, and I’m finally ready to share my secrets with you. Get ready to reclaim your weekends and enjoy a spotless space without sacrificing your precious free time!
The Pre-Game: Setting Yourself Up for Success
Before we dive into the actual cleaning, a little prep work goes a long way. Think of it as stretching before a marathon – you wouldn’t skip that, would you?
* Gather Your Supplies: Nothing slows you down like running back and forth for cleaning products. Create a cleaning caddy (I use an old bucket!) with all your essentials:
* All-purpose cleaner
* Glass cleaner
* Bathroom cleaner
* Disinfectant wipes
* Microfiber cloths (lots of them!)
* Paper towels
* Sponges
* Trash bags
* Rubber gloves (protect those hands!)
* Vacuum cleaner
* Mop and bucket (or a spray mop – game changer!)
* Declutter First: This is HUGE. You can’t clean effectively if you’re constantly moving clutter around. Grab a laundry basket and do a quick sweep of each room, picking up anything that doesn’t belong. Put things away immediately or toss them in the basket to deal with later.
* Open Windows: Fresh air makes everything feel cleaner and helps cleaning products dry faster. Plus, it just makes the whole process more pleasant!
* Put on Some Music: Crank up your favorite tunes! Cleaning is way more fun with a good soundtrack. I personally love upbeat pop or some classic rock to get me motivated.
* Set a Timer: This is optional, but I find it really helps me stay focused. Decide how much time you want to spend on each room and stick to it. You’d be surprised how much you can accomplish in just 15 minutes!
The Main Event: Room-by-Room Speed Cleaning
Now for the fun part (okay, maybe not *fun*, but definitely rewarding!). We’re going to tackle each room systematically, focusing on the areas that make the biggest impact.
Kitchen Blitz
The kitchen is often the heart of the home, but it can also be a magnet for messes. Let’s get it sparkling!
1. Clear the Counters: Just like with the decluttering phase, remove everything from your countertops. This gives you a clear surface to work with and makes cleaning much easier.
2. Load the Dishwasher (or Wash Dishes): Don’t let dirty dishes pile up! Load the dishwasher efficiently or, if you don’t have one, fill the sink with hot, soapy water and get to scrubbing. Let dishes air dry on a rack to save time.
3. Wipe Down Counters and Backsplash: Spray your all-purpose cleaner on the countertops and backsplash and wipe clean with a microfiber cloth. Pay special attention to areas where food splatters are common.
4. Clean the Sink: Sprinkle baking soda in the sink, then add a little vinegar. Let it fizz for a few minutes, then scrub with a sponge. Rinse thoroughly. This is a great way to remove stains and odors.
5. Microwave Magic: Heat a cup of water with a few tablespoons of vinegar in the microwave for 2-3 minutes. The steam will loosen any stuck-on food. Carefully remove the cup and wipe down the inside of the microwave with a sponge.
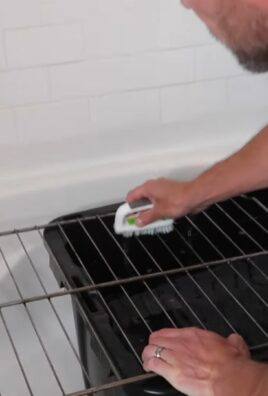
6. Stovetop Sparkle: Remove the grates from your stovetop and soak them in hot, soapy water. While they’re soaking, wipe down the stovetop with all-purpose cleaner. Once the grates are clean, dry them thoroughly and replace them.
7. Quick Floor Sweep or Mop: Sweep or vacuum the floor to remove any crumbs or debris. Then, mop with your favorite floor cleaner. If you have a spray mop, this step is even faster!
8. Empty the Trash: A full trash can can make the whole kitchen feel dirty. Take out the trash and replace the liner.
Bathroom Blast
Bathrooms can get grimy quickly, but with a few simple steps, you can have them looking fresh and clean in no time.
1. Spray Shower/Tub: Spray your shower or tub with bathroom cleaner. Let it sit for a few minutes to loosen soap scum and grime.
2. Clean the Toilet: Squirt toilet bowl cleaner under the rim and let it sit while you clean other areas. Then, scrub the bowl with a toilet brush and flush. Wipe down the exterior of the toilet with disinfectant wipes.
3. Wipe Down Counters and Sink: Spray your bathroom cleaner on the countertops and sink and wipe clean with a microfiber cloth. Pay special attention to toothpaste splatters and water spots.
4. Clean the Mirror: Spray glass cleaner on the mirror and wipe clean with a microfiber cloth.
5. Scrub Shower/Tub: Scrub the shower or tub with a sponge or scrub brush. Rinse thoroughly.
6. Quick Floor Clean: Sweep or vacuum the floor to remove hair and debris. Then, mop with your favorite floor cleaner.
7. Replace Towels: Hang fresh, clean towels to instantly freshen up the bathroom.
Living Room Refresh
The living room is where we relax and entertain, so it’s important to keep it tidy and inviting.
1. Fluff and Arrange Pillows and Blankets: This simple step can make a big difference in the overall appearance of the room.
2. Dust Surfaces: Use a microfiber cloth to dust all surfaces, including coffee tables, end tables, shelves, and electronics.
3. Straighten Up: Arrange magazines, books, and other items neatly.
4. Vacuum or Sweep Floors: Vacuum carpets and rugs or sweep hard floors to remove dust and debris.
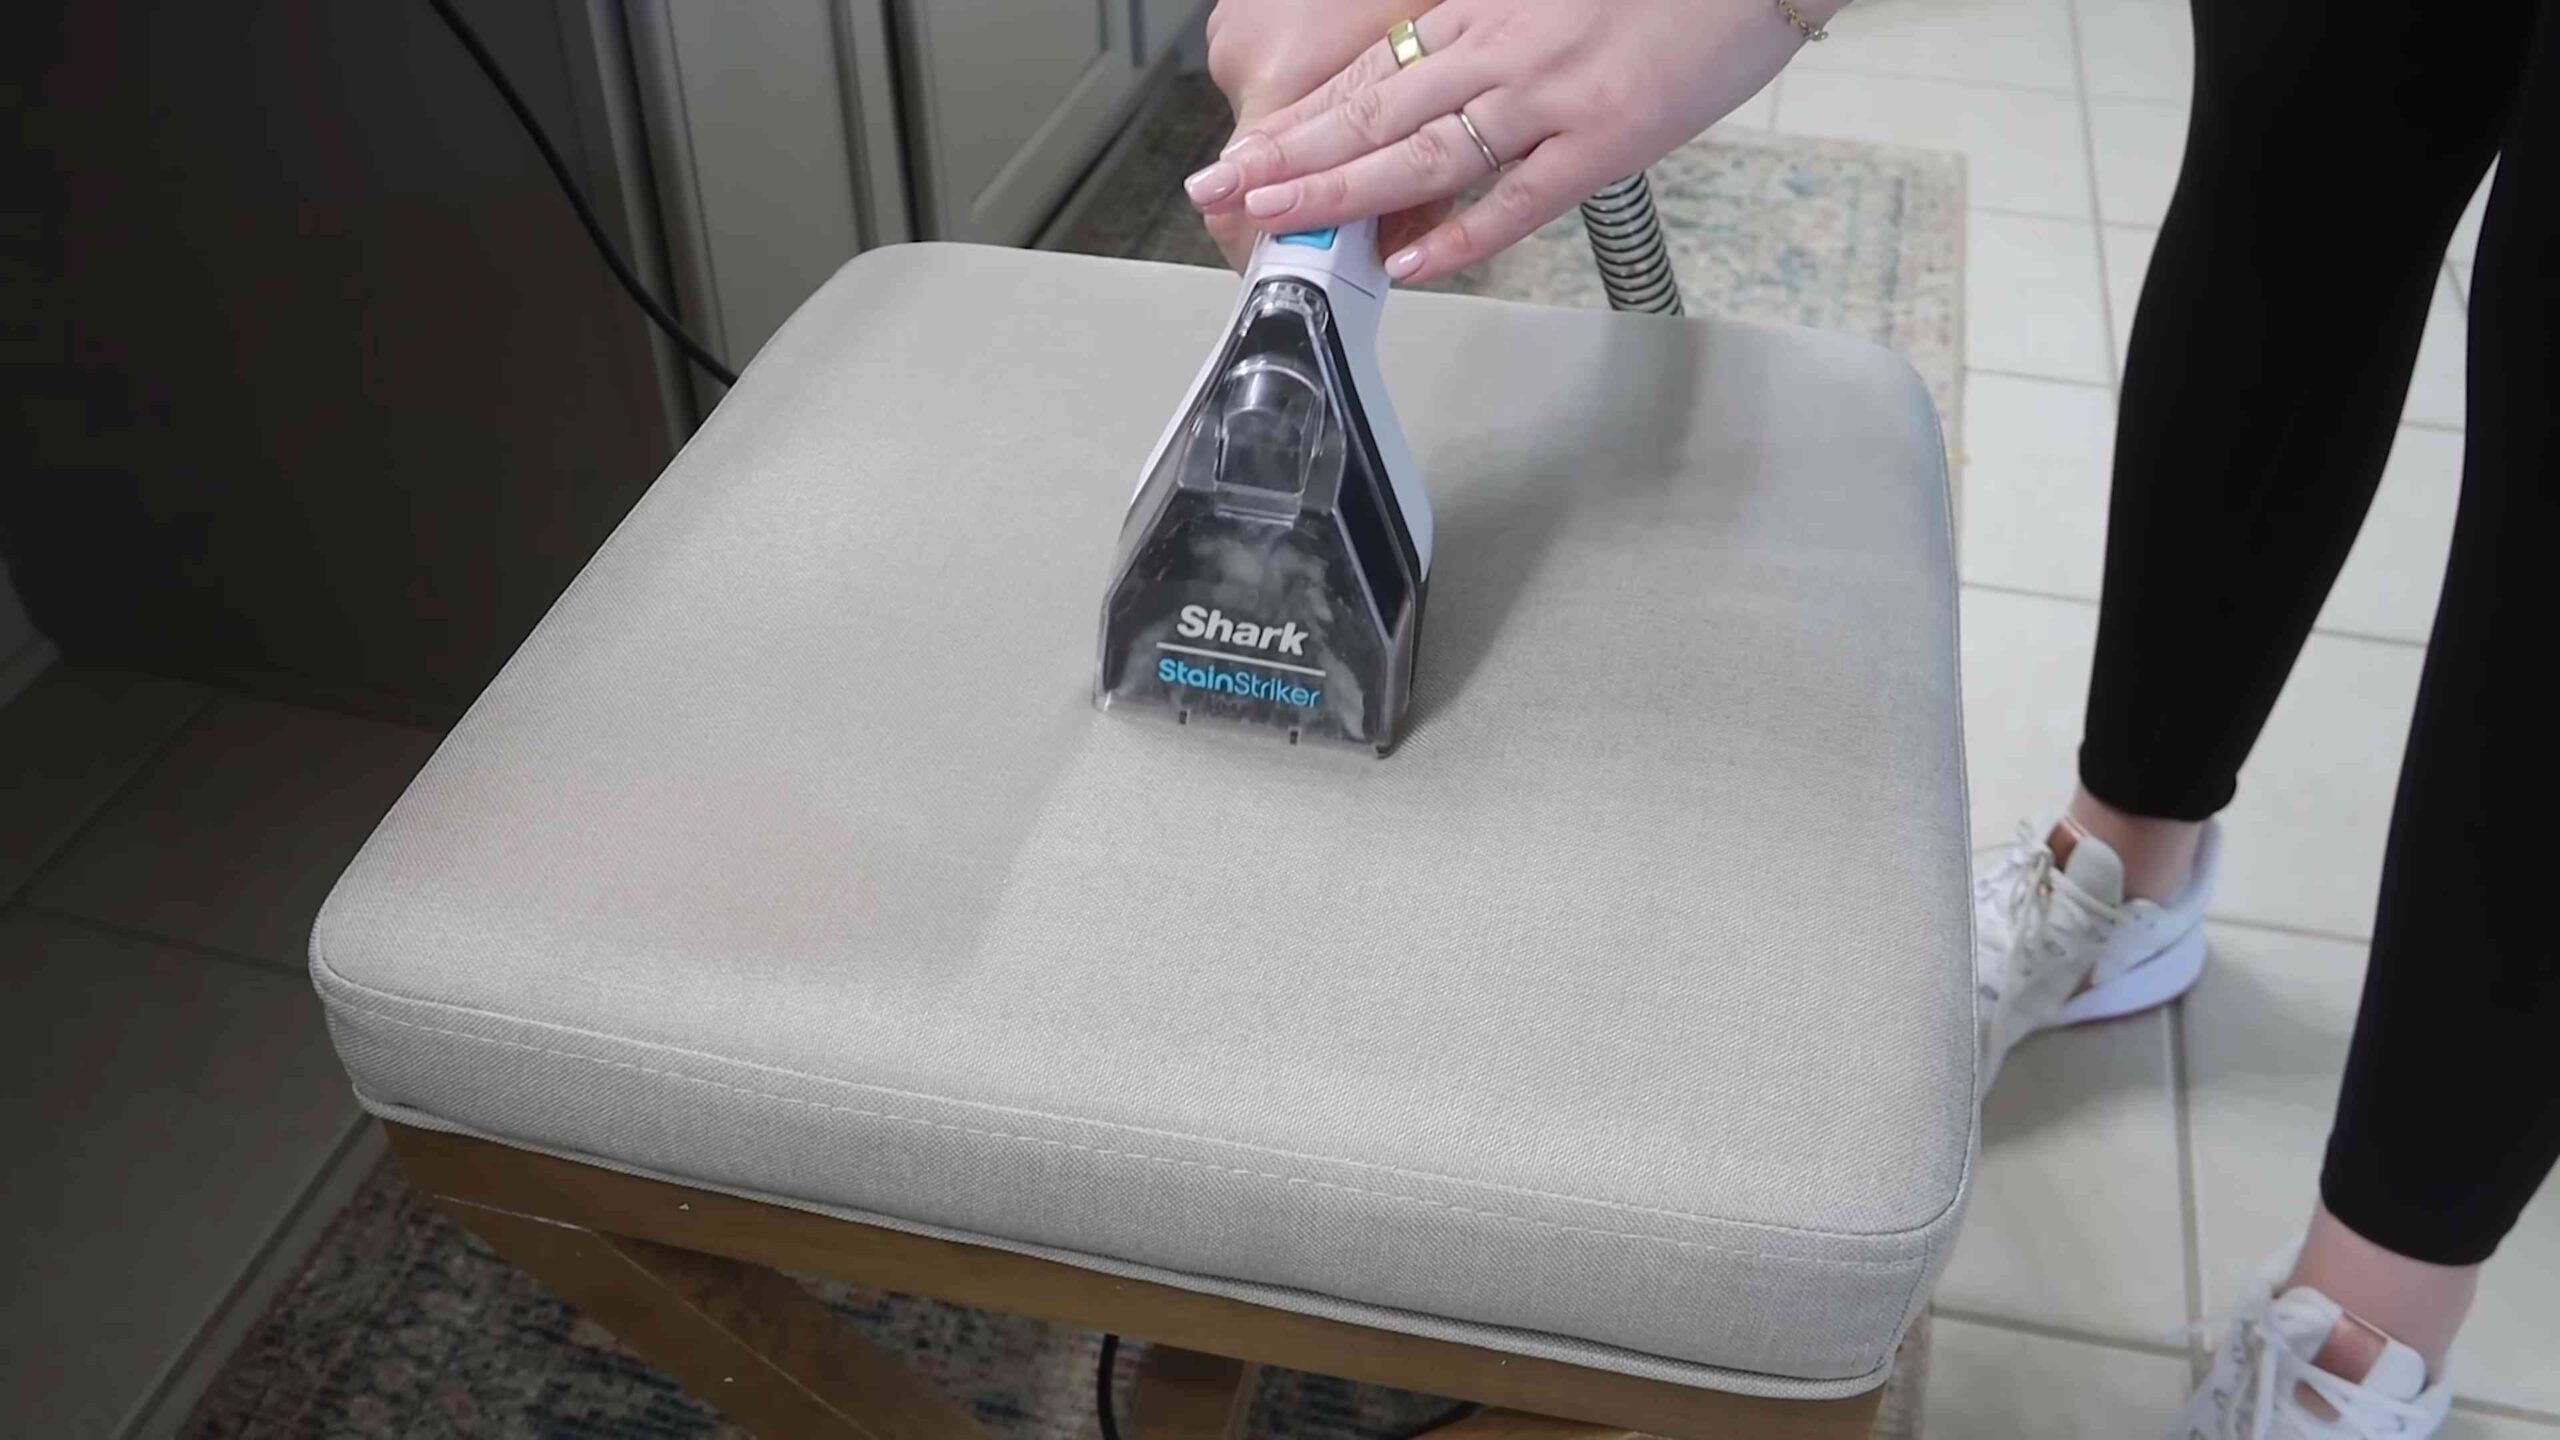
5. Spot Clean Upholstery: If you notice any stains on your upholstery, spot clean them with a fabric cleaner.
6. Empty Trash Cans: Empty any trash cans in the living room and replace the liners.
Bedroom Boost
Your bedroom should be a sanctuary, so let’s make it a clean and relaxing space.
1. Make the Bed: This is the single most important thing you can do to make your bedroom look cleaner.
2. Declutter Surfaces: Remove any clutter from your nightstands, dressers, and other surfaces.
3. Dust Surfaces: Use a microfiber cloth to dust all surfaces.
4. Vacuum or Sweep Floors: Vacuum carpets and rugs or sweep hard floors.
5. Put Away Clothes: Hang up or fold any clothes that are lying around.
6. Open Windows: Let in some fresh air to ventilate the room.
The Finishing Touches: Little Things That Make a Big Difference
These final steps will take your speed cleaning to the next level.
* Take Out the Trash: Gather all the trash bags from each room and take them out to the curb.
* Light a Candle or Diffuse Essential Oils: A pleasant scent can make your home feel even cleaner and more inviting. I love using lavender or lemon essential oils.
* Do a Final Walk-Through: Take a quick walk through each room to make sure you haven’t missed anything.
Extra Tips and Tricks for Speed Cleaning Success
* Clean as You Go: The best way to keep your home clean is to clean up messes as they happen. Wipe up spills immediately, put away items after you use them, and do a quick tidy-up each evening.
* Delegate Tasks: If you live with others, enlist their help! Assign each person a specific task or room to clean.
* Don’t Strive for Perfection: Remember, the goal is to get your home clean quickly, not to achieve perfection. Don’t get bogged down in the details.
* Invest in Good Cleaning Tools: High-quality cleaning tools can make a big difference in the speed and effectiveness of your cleaning. I highly recommend investing in good microfiber cloths, a spray mop, and a powerful vacuum cleaner.
* Embrace the Power of Multi-Tasking: While waiting for cleaning products to sit, do other tasks like wiping down surfaces or emptying trash cans.
* Don’t Forget the Details (Eventually!): While speed cleaning focuses on the essentials, schedule time for deeper cleaning tasks like cleaning windows, washing curtains, and organizing closets on a less frequent basis.
* Make it a Habit: The more you speed clean, the faster and more efficient you’ll become. Try to incorporate speed cleaning into your routine at least once a week.
So there you have it! My ultimate guide to speed cleaning. With these tips and tricks, you can have a sparkling home in
Conclusion
So, there you have it! These fast home cleaning tricks aren’t just about saving time; they’re about reclaiming your weekends and enjoying a cleaner, healthier living space without the stress and expense of harsh chemicals or endless scrubbing. We’ve explored simple yet effective methods, from the transformative power of vinegar and baking soda to the surprising versatility of everyday items like microfiber cloths and lemon peels.
The beauty of these DIY solutions lies in their adaptability. Feel free to experiment with the ratios and ingredients to find what works best for your specific needs and preferences. For instance, if you’re tackling stubborn hard water stains in your bathroom, consider adding a bit of borax to your vinegar cleaning solution for an extra boost. Or, if you prefer a more fragrant cleaning experience, infuse your vinegar with citrus peels or essential oils like lavender or tea tree. Remember to always test any new cleaning solution in an inconspicuous area first to ensure it doesn’t damage the surface.
These fast home cleaning tricks are not just about cleaning; they’re about creating a more sustainable and eco-friendly lifestyle. By reducing your reliance on commercially produced cleaning products, you’re minimizing your exposure to potentially harmful chemicals and reducing plastic waste. It’s a win-win for your home and the environment.
Don’t be intimidated by the idea of DIY cleaning. These methods are incredibly simple and straightforward, even for beginners. The key is to start small, be patient, and don’t be afraid to experiment. You might be surprised at how effective and satisfying these homemade solutions can be.
We wholeheartedly encourage you to give these fast home cleaning tricks a try. Pick one or two that resonate with you and incorporate them into your cleaning routine. You’ll be amazed at how much time and money you can save, and how much cleaner and fresher your home will feel.
But the journey doesn’t end here! We’re eager to hear about your experiences. Did you try any of these tricks? Did you discover any variations that worked particularly well for you? Share your tips, tricks, and stories in the comments below. Let’s create a community of DIY cleaning enthusiasts and learn from each other. Your insights could be invaluable to someone else who’s just starting out.
Cleaning doesn’t have to be a chore. With these fast home cleaning tricks, it can be a quick, easy, and even enjoyable part of your routine. So, grab your vinegar, baking soda, and microfiber cloths, and get ready to transform your home into a sparkling oasis! We can’t wait to hear about your success stories!
FAQ
What are the benefits of using DIY cleaning solutions compared to store-bought products?
DIY cleaning solutions offer a multitude of benefits. Firstly, they are often significantly cheaper than commercially produced cleaning products. The ingredients, such as vinegar, baking soda, and lemon juice, are readily available and inexpensive. Secondly, DIY solutions are generally safer for your health and the environment. They avoid harsh chemicals, artificial fragrances, and other potentially harmful ingredients found in many store-bought cleaners. This reduces your exposure to toxins and minimizes your environmental impact. Thirdly, DIY cleaning allows for customization. You can adjust the ingredients and ratios to suit your specific cleaning needs and preferences. For example, you can add essential oils for fragrance or increase the concentration of vinegar for tougher stains. Finally, making your own cleaning products can be a fun and empowering experience, giving you more control over the products you use in your home.
Are DIY cleaning solutions as effective as commercial cleaners?
In many cases, yes! DIY cleaning solutions can be just as effective, if not more so, than commercial cleaners, especially for everyday cleaning tasks. Vinegar, for example, is a powerful disinfectant and degreaser, while baking soda is an excellent deodorizer and mild abrasive. Lemon juice is a natural bleaching agent and can help remove stains. The key is to use the right ingredients for the right task and to follow the instructions carefully. For heavily soiled or specialized cleaning situations, you might need to experiment or consider a commercial cleaner, but for most household cleaning needs, DIY solutions are a viable and effective alternative.
What are some common mistakes to avoid when making DIY cleaning solutions?
One common mistake is mixing incompatible ingredients. For example, never mix bleach with vinegar or ammonia, as this can create toxic fumes. Always research the potential reactions of different ingredients before combining them. Another mistake is using the wrong concentration of ingredients. Too much of one ingredient can damage surfaces or be ineffective. Always follow the recommended ratios and test the solution in an inconspicuous area first. Additionally, failing to properly store DIY cleaning solutions can lead to spoilage or contamination. Store solutions in airtight containers and label them clearly. Finally, neglecting safety precautions, such as wearing gloves or eye protection, can lead to skin irritation or other injuries.
Can I use essential oils in my DIY cleaning solutions? If so, which ones are best?
Yes, you can definitely use essential oils in your DIY cleaning solutions! Essential oils not only add a pleasant fragrance but also offer additional cleaning and disinfecting properties. Some of the best essential oils for cleaning include:
* **Tea Tree Oil:** Known for its antibacterial, antiviral, and antifungal properties.
* **Lavender Oil:** Has antiseptic and antibacterial properties and a calming scent.
* **Lemon Oil:** A natural degreaser and disinfectant with a refreshing citrus scent.
* **Eucalyptus Oil:** Has antibacterial and antiviral properties and a strong, invigorating scent.
* **Peppermint Oil:** Has antibacterial and antifungal properties and a refreshing, energizing scent.
When using essential oils, add a few drops to your cleaning solution and shake well before each use. Be sure to use pure, therapeutic-grade essential oils for the best results.
How should I store my DIY cleaning solutions?
Proper storage is crucial for maintaining the effectiveness and safety of your DIY cleaning solutions. Store your solutions in airtight containers, preferably glass or BPA-free plastic. Label each container clearly with the name of the solution and the date it was made. Store solutions in a cool, dark place away from direct sunlight and heat, as these can degrade the ingredients. Keep solutions out of reach of children and pets. For solutions containing essential oils, use dark-colored bottles to protect the oils from light. Finally, discard any solutions that show signs of spoilage, such as discoloration, separation, or a foul odor.
Are there any surfaces that I should avoid using DIY cleaning solutions on?
While DIY cleaning solutions are generally safe for most surfaces, there are some exceptions. Avoid using vinegar on natural stone surfaces like marble, granite, and limestone, as it can etch and damage them. Also, avoid using abrasive cleaners like baking soda on delicate surfaces like polished wood or stainless steel, as they can scratch them. When in doubt, test the solution in an inconspicuous area first to ensure it doesn’t damage the surface. Always consult the manufacturer’s instructions for specific cleaning recommendations for your surfaces.
How often should I make new batches of my DIY cleaning solutions?
The shelf life of DIY cleaning solutions varies depending on the ingredients. Solutions containing water or other perishable ingredients should be made in small batches and used within a few weeks. Solutions containing vinegar, baking soda, or essential oils can last longer, typically several months. Always check for signs of spoilage before using a solution, such as discoloration, separation, or a foul odor. It’s generally best to make new batches of your DIY cleaning solutions every few months to ensure their effectiveness.

Leave a Comment