

Forgotten cleaning areas – we all have them! Those little nooks and crannies, the spots behind appliances, or even the tops of door frames that seem to perpetually escape our cleaning radar. Let’s be honest, sometimes we intentionally “forget” about them, right? I know I’m guilty! But ignoring these areas can lead to a build-up of dust, grime, and even allergens, impacting the overall cleanliness and air quality of your home.
Throughout history, maintaining a clean home has been a sign of prosperity and well-being. From ancient civilizations using natural remedies for cleaning to the modern-day obsession with spotless surfaces, the desire for a clean living space is deeply ingrained in us. But in our busy lives, it’s easy to overlook those forgotten cleaning areas that contribute to a truly healthy and happy home.
That’s why I’ve put together this guide filled with easy DIY tricks and hacks to tackle those often-neglected spots. We’ll uncover simple solutions using everyday household items, saving you time, money, and the frustration of a never-ending cleaning cycle. Get ready to transform your home into a sparkling sanctuary, one forgotten area at a time!
DIY Deep Clean: Tackling Those Forgotten Cleaning Spots
Okay, let’s be honest, we all have those areas in our homes that we conveniently “forget” to clean. You know, the spots that aren’t immediately visible but contribute to a general feeling of…grime. Well, no more! I’m going to walk you through a deep clean of those often-overlooked areas, leaving your house feeling truly fresh and sparkling. Get ready to roll up your sleeves!
Phase 1: Kitchen Deep Dive
The kitchen is a breeding ground for forgotten messes. Let’s tackle them head-on.
Areas We’ll Conquer:
* Inside the Dishwasher
* Underneath Appliances (Refrigerator, Stove)
* Grout Between Tiles
* Range Hood Filter
* Garbage Disposal
Step-by-Step Instructions:
1. Dishwasher Detox:
* First, empty your dishwasher completely. No stray forks allowed!
* Clean the Filter: Locate the filter (usually at the bottom). Remove it and rinse it thoroughly under hot water. Use an old toothbrush to scrub away any stubborn food particles.
* Vinegar Power Wash: Place a dishwasher-safe cup filled with one cup of white vinegar on the top rack. Run the dishwasher on the hottest cycle. This will help dissolve grease and mineral buildup.
* Baking Soda Freshener: Sprinkle a cup of baking soda on the bottom of the dishwasher and run a short, hot cycle. This will neutralize odors and leave it smelling fresh.
* Wipe Down the Door and Seals: Use a damp cloth with a mild detergent to wipe down the dishwasher door, edges, and rubber seals. Pay special attention to any areas with visible grime.
2. Appliance Underbelly Adventure:
* Safety First! Unplug the appliance before you start. This is crucial!
* Refrigerator Roll-Out: Carefully roll the refrigerator out from the wall. You might need a helper for this, especially if it’s a large fridge.
* Vacuum the Dust Bunnies: Use your vacuum cleaner with the hose attachment to suck up all the dust, dirt, and pet hair that has accumulated underneath and behind the refrigerator.
* Wipe Down the Floor: Use a damp mop or cloth to clean the floor underneath the refrigerator. You might find some sticky spills or crumbs lurking there.
* Stove Slide-Out: Repeat the process for your stove. Be extra careful around the gas line if you have a gas stove.
* Inspect and Clean Coils (Refrigerator): While you have the refrigerator pulled out, take a look at the coils on the back. If they’re dusty, use a vacuum cleaner with a brush attachment to gently clean them. This will help your refrigerator run more efficiently.
3. Grout Grime Busting:
* Baking Soda Paste: Mix baking soda with a little water to create a thick paste.
* Apply the Paste: Apply the paste to the grout lines.
* Scrub-a-Dub-Dub: Use an old toothbrush or a grout brush to scrub the grout lines. You’ll see the grime start to lift.
* Vinegar Rinse: Spray the grout lines with white vinegar. The vinegar will react with the baking soda, creating a fizzing action that helps to further loosen the dirt.
* Wipe Clean: Wipe the grout lines clean with a damp cloth.
* Stubborn Stains: For really stubborn stains, you can try using a commercial grout cleaner or a bleach pen (use with caution and proper ventilation).
4. Range Hood Filter Refresh:
* Remove the Filter: Carefully remove the range hood filter.
* Soak in Hot, Soapy Water: Fill a sink or tub with hot, soapy water. Add a degreasing dish soap.
* Soak and Scrub: Let the filter soak for at least 30 minutes. Then, use a scrub brush to scrub away the grease and grime.
* Rinse Thoroughly: Rinse the filter thoroughly with hot water.
* Dry Completely: Allow the filter to dry completely before replacing it.
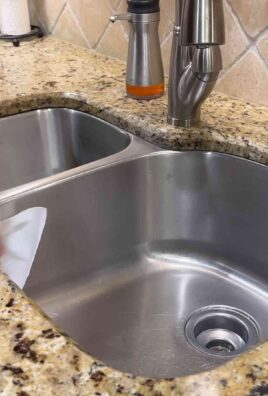
5. Garbage Disposal Goodness:
* Ice and Citrus: Toss a handful of ice cubes and some citrus peels (lemon, lime, or orange) into the garbage disposal.
* Run Cold Water: Run cold water while you turn on the garbage disposal. The ice will help to dislodge any food particles, and the citrus peels will freshen the disposal.
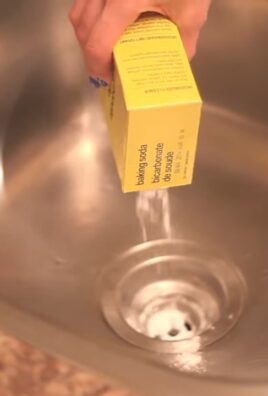
* Baking Soda and Vinegar Flush: Pour 1/2 cup of baking soda down the drain, followed by 1 cup of white vinegar. Let it fizz for about 30 minutes.
* Flush with Hot Water: Flush the garbage disposal with hot water for several minutes.
Phase 2: Bathroom Blitz
Bathrooms are another haven for hidden dirt and grime. Let’s get them sparkling!
Areas We’ll Conquer:
* Showerhead
* Toilet Base and Behind
* Shower Curtain/Door
* Bathroom Fan
* Toothbrush Holder
Step-by-Step Instructions:
1. Showerhead Shine:
* Vinegar Soak: Fill a plastic bag with white vinegar.
* Secure the Bag: Secure the bag around the showerhead with a rubber band, ensuring that the showerhead is submerged in the vinegar.
* Soak Overnight: Let the showerhead soak overnight. This will dissolve mineral buildup.
* Remove and Rinse: Remove the bag and rinse the showerhead thoroughly with water.
* Scrub Stubborn Spots: If there are any stubborn spots, use an old toothbrush to scrub them away.
2. Toilet Tango:
* The Base: Wipe down the entire base of the toilet with a disinfectant cleaner. Pay special attention to the area where the toilet meets the floor.
* Behind the Throne: Use a long-handled brush or a damp cloth attached to a stick to clean behind the toilet. This area is often neglected and can accumulate dust and grime.
* Under the Rim: Use a toilet bowl cleaner with a nozzle to squirt cleaner under the rim of the toilet bowl. Let it sit for a few minutes, then scrub with a toilet brush.
3. Shower Curtain/Door Drama:
* Shower Curtain Cleaning: If you have a fabric shower curtain, check the care label. Most fabric shower curtains can be machine washed. Add a cup of baking soda to the wash to help remove mildew and odors.
* Vinyl Shower Curtain Cleaning: For vinyl shower curtains, you can wipe them down with a solution of warm water and dish soap. For stubborn mildew stains, try using a solution of bleach and water (use with caution and proper ventilation).
* Shower Door Sparkle: Use a glass cleaner to clean your shower door. For hard water stains, try using a solution of white vinegar and water. You can also use a squeegee after each shower to prevent water spots from forming.
4. Bathroom Fan Fantastic:
* Safety First! Turn off the power to the bathroom fan at the circuit breaker.
* Remove the Cover: Carefully remove the bathroom fan cover.
* Vacuum the Dust: Use your vacuum cleaner with the brush attachment to vacuum the dust and debris from the fan blades and the inside of the fan housing.
* Wash the Cover: Wash the fan cover with warm, soapy water.
* Dry and Replace: Allow the fan cover to dry completely before replacing it.
5. Toothbrush Holder Tidiness:
* Empty and Rinse: Empty the toothbrush holder and rinse it with hot water.
* Dishwasher or Soak: If your toothbrush holder is dishwasher-safe, run it through the dishwasher. Otherwise, soak it in a solution of hot water and vinegar for about 30 minutes.
* Scrub and Dry: Scrub the toothbrush holder with a brush to remove any buildup. Rinse it thoroughly and allow it to dry completely before replacing your toothbrushes.
Phase 3: Living Area Refresh
Let’s not forget the living areas where we spend so much time!
Areas We’ll Conquer:
* Baseboards
* Light Fixtures
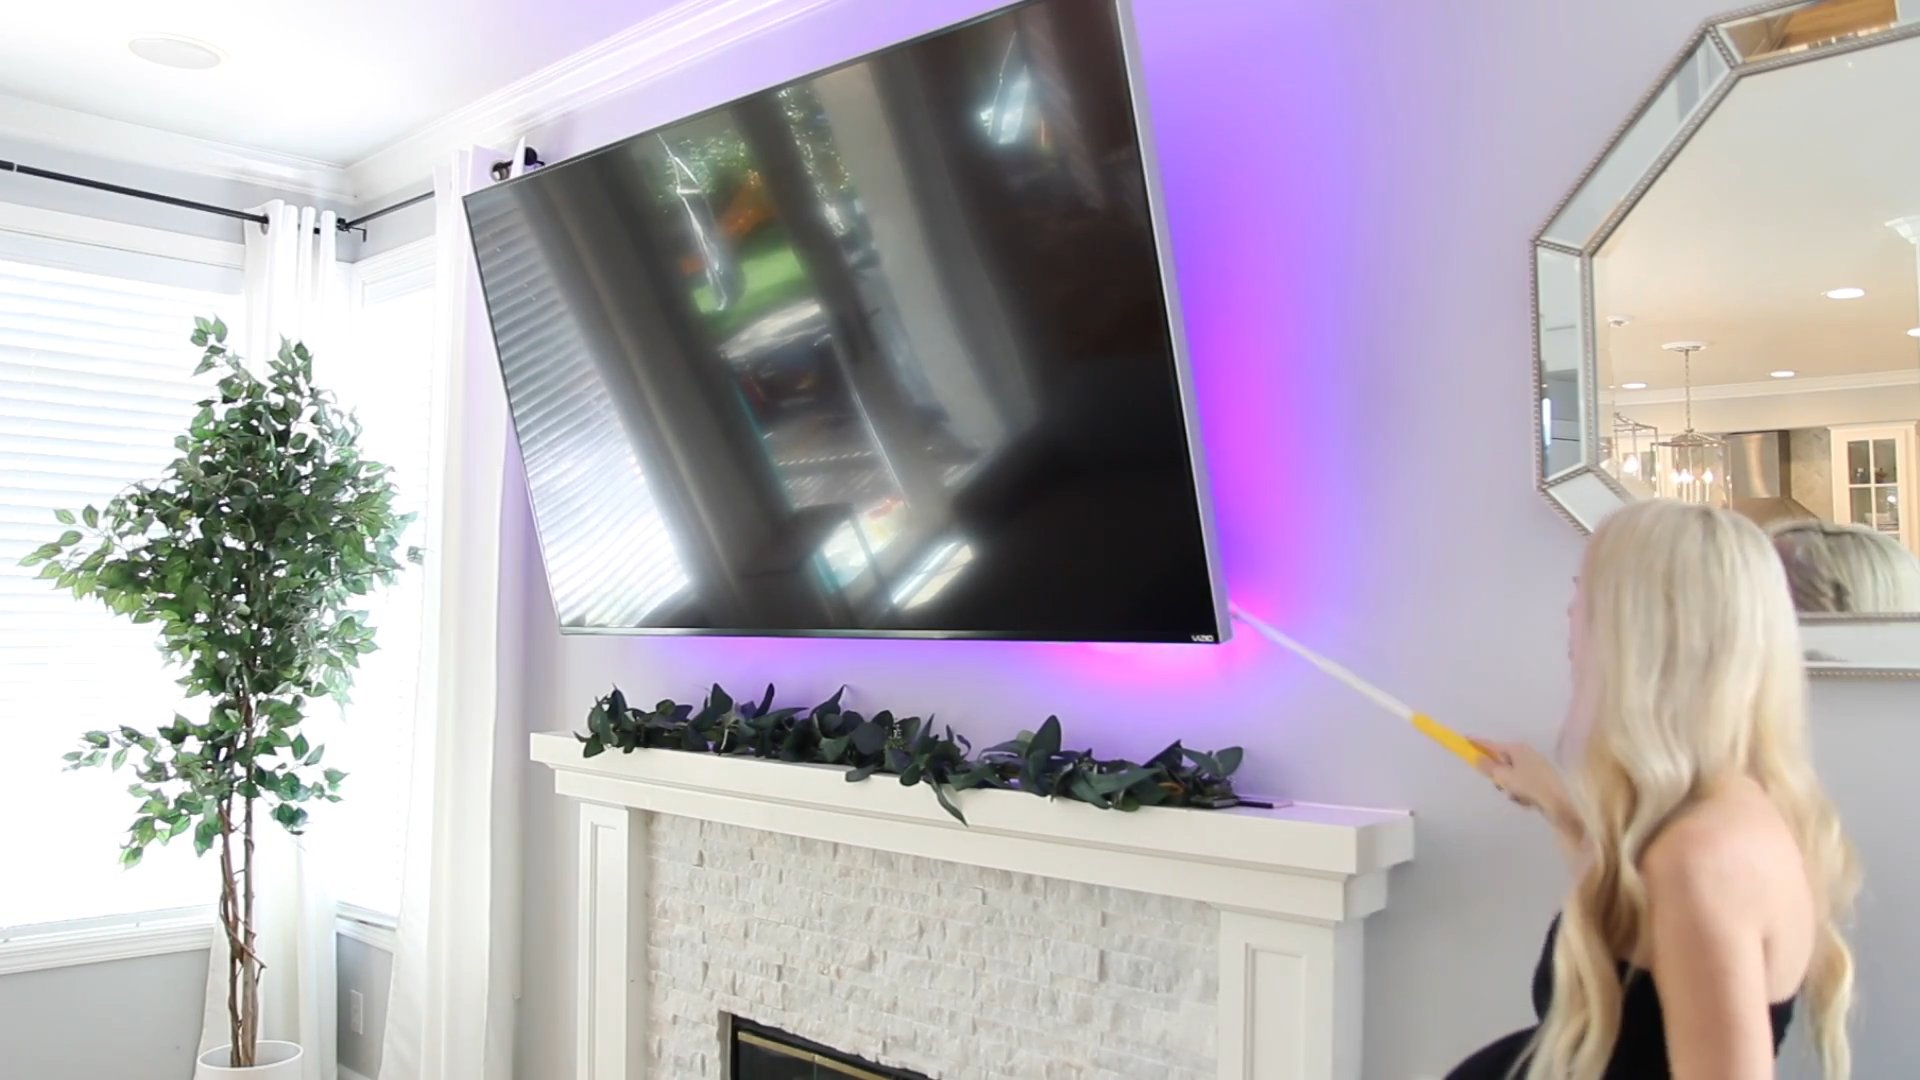
* Electronics Screens
* Upholstery
Step-by-Step Instructions:
1. Baseboard Beauty:
* Dust First: Use a vacuum cleaner with a brush attachment or a microfiber duster to remove dust from the baseboards.
* Wipe Down: Wipe down the baseboards with a damp cloth and a mild detergent.
* Magic Eraser for Sc

Conclusion
So, there you have it! Reclaiming those often-forgotten cleaning areas in your home doesn’t have to be a daunting task. By implementing this simple, yet effective DIY cleaning trick, you’re not just cleaning; you’re creating a healthier, more pleasant living environment. Think about it: the grime lurking in your dishwasher’s crevices, the dust bunnies breeding behind your refrigerator, the soap scum clinging to your showerhead – all contributing to potential allergens and a less-than-sparkling home.
This DIY solution is a must-try because it’s cost-effective, uses ingredients you likely already have in your pantry, and is surprisingly powerful. Commercial cleaners often contain harsh chemicals that can be harmful to your health and the environment. This method offers a natural alternative that’s just as effective, if not more so, in tackling those stubborn messes.
But don’t just take our word for it! We encourage you to experiment and adapt this DIY cleaning trick to suit your specific needs and preferences. For instance, if you’re dealing with particularly stubborn mildew in your shower, consider adding a few drops of tea tree oil to your cleaning solution for its antifungal properties. Or, if you prefer a more citrusy scent, lemon essential oil can be a refreshing addition. You could even try using a different type of vinegar, such as apple cider vinegar, for a slightly milder scent.
The key is to find what works best for you and your home. Remember to always test any cleaning solution in an inconspicuous area first to ensure it doesn’t damage the surface.
We’re confident that once you try this DIY cleaning trick, you’ll be amazed at the results. It’s a simple, effective, and eco-friendly way to tackle those forgotten cleaning areas and create a cleaner, healthier home.
Now, we want to hear from you! Have you tried this DIY cleaning trick? What variations did you use? What were your results? Share your experiences and tips in the comments below. Let’s create a community of clean-home enthusiasts who are passionate about finding natural and effective cleaning solutions. Your insights could help others discover the joy of a truly clean and healthy home. Don’t forget to share this article with your friends and family so they can benefit from this amazing DIY cleaning trick too! Let’s conquer those forgotten cleaning areas together!
Frequently Asked Questions (FAQ)
What are the “forgotten cleaning areas” this article refers to?
The “forgotten cleaning areas” are those spots in your home that often get overlooked during regular cleaning routines. These can include areas like:
* Inside the dishwasher (especially the filter and door seals)
* Behind and under large appliances like refrigerators and ovens
* Showerheads and faucet aerators
* Washing machine dispensers and seals
* Light fixtures and ceiling fans
* Baseboards and door frames
* Grout between tiles
* Garbage disposal
These areas tend to accumulate dirt, dust, grime, and even mold over time, making them important to address for a truly clean home.
What is the basic DIY cleaning trick mentioned in the article?
While the specific recipe isn’t detailed in this conclusion, the article likely outlines a simple, natural cleaning solution using common household ingredients like vinegar, baking soda, and possibly essential oils. The exact proportions and application methods would be found in the main body of the article. The core principle is to leverage the cleaning power of these natural ingredients to effectively remove dirt, grime, and odors from the forgotten cleaning areas.
Is vinegar safe to use on all surfaces?
No, vinegar is not safe to use on all surfaces. Avoid using vinegar on natural stone surfaces like marble, granite, and limestone, as it can etch and damage them. It’s also best to avoid using vinegar on waxed wood, cast iron, and electronics screens. Always test the cleaning solution in an inconspicuous area first to ensure it doesn’t cause any damage or discoloration.
Can I use a different type of vinegar besides white vinegar?
Yes, you can experiment with different types of vinegar. Apple cider vinegar is a popular alternative with a slightly milder scent. However, white vinegar is generally preferred for cleaning due to its higher acidity level, which makes it more effective at disinfecting and removing grime. Balsamic vinegar should be avoided due to its sugar content, which can leave a sticky residue.
How often should I clean these forgotten areas?
The frequency of cleaning these areas depends on your lifestyle and the amount of use they receive. However, a good rule of thumb is to clean them at least once every 1-3 months. Areas like the dishwasher filter and washing machine dispenser may require more frequent cleaning, perhaps once a month, to prevent buildup and odors.
What if the grime is really stubborn?
For particularly stubborn grime, you can try a few things:
* Let the cleaning solution sit for a longer period of time before scrubbing.
* Use a more abrasive cleaning tool, such as an old toothbrush or a scrubbing brush.
* Make a paste of baking soda and water and apply it to the area, letting it sit for a few minutes before scrubbing.
* Repeat the cleaning process if necessary.
Can I use essential oils in the cleaning solution?
Yes, essential oils can be a great addition to your DIY cleaning solution. They not only add a pleasant scent but also offer additional cleaning and disinfecting properties. Some popular essential oils for cleaning include tea tree oil (antifungal), lemon oil (degreasing), lavender oil (antibacterial), and eucalyptus oil (antiseptic). Use essential oils sparingly, typically a few drops per cleaning solution.
How do I clean the dishwasher filter?
To clean the dishwasher filter:
1. Locate the filter (usually at the bottom of the dishwasher).
2. Remove the filter and rinse it under warm water to remove any large debris.
3. Use a soft brush to scrub away any remaining grime.
4. Soak the filter in a solution of vinegar and water for about 30 minutes to loosen any stubborn buildup.
5. Rinse the filter thoroughly and replace it in the dishwasher.
How do I clean the showerhead?
To clean the showerhead:
1. Fill a plastic bag with white vinegar.
2. Secure the bag around the showerhead with a rubber band, ensuring the showerhead is submerged in the vinegar.
3. Let it soak for at least 30 minutes, or preferably overnight.
4. Remove the bag and run hot water through the showerhead to flush out any remaining vinegar and debris.
5. Use a toothbrush to scrub away any remaining mineral deposits.
Is this DIY cleaning trick environmentally friendly?
Yes, this DIY cleaning trick is generally considered more environmentally friendly than using commercial cleaners. It utilizes natural ingredients like vinegar and baking soda, which are biodegradable and less harmful to the environment. By making your own cleaning solutions, you can also reduce your reliance on plastic bottles and packaging.
Leave a Comment