

Grow Bell Peppers Easily, even if you think you don’t have a green thumb! Have you ever dreamed of biting into a crisp, juicy bell pepper, fresh from your own garden? Imagine the vibrant colors adding a pop to your salads and stir-fries, all thanks to your own hard work. Well, stop dreaming and start doing! This DIY guide is packed with simple, effective tricks to help you cultivate a bountiful bell pepper harvest, no matter your experience level.
Bell peppers have a rich history, originating in South America and spreading throughout the world thanks to their adaptability and delicious flavor. They’ve been a staple in cuisines for centuries, adding sweetness and a satisfying crunch to countless dishes. But beyond their culinary appeal, growing your own bell peppers offers a unique connection to nature and a sense of accomplishment.
Let’s face it, store-bought bell peppers can be expensive and sometimes lack that fresh, vibrant taste. Plus, knowing exactly where your food comes from and how it’s grown is incredibly rewarding. That’s why learning how to grow bell peppers easily is a game-changer. I’m going to share my favorite DIY hacks and tips that will help you overcome common challenges, from choosing the right varieties to protecting your plants from pests. Get ready to transform your garden into a bell pepper paradise!
Grow Bell Peppers Easily: My Foolproof DIY Guide
Hey there, fellow gardening enthusiasts! I’m so excited to share my tried-and-true method for growing bell peppers that are bursting with flavor and color. Forget those tiny, sad peppers you sometimes find at the grocery store – we’re going for vibrant, juicy giants! This guide is packed with all the tips and tricks I’ve learned over the years, so even if you’re a beginner, you’ll be harvesting a bumper crop in no time.
Choosing the Right Bell Pepper Variety
Before we even think about planting, let’s talk about variety. Not all bell peppers are created equal! Some are better suited for certain climates, and some just taste better (in my humble opinion!). Here are a few of my favorites:
* California Wonder: This is a classic for a reason! It’s reliable, produces large, blocky green peppers that turn red when ripe, and is relatively easy to grow.
* Yolo Wonder: Similar to California Wonder, but often more disease-resistant. A great choice if you’ve had problems with pepper diseases in the past.
* Golden Bell: If you want something a little different, try Golden Bell. It produces beautiful yellow peppers that are slightly sweeter than the red varieties.
* Purple Beauty: For a truly unique addition to your garden, go for Purple Beauty. The peppers start out green and turn a deep, glossy purple as they mature. They have a slightly different flavor profile, too – a bit more earthy and complex.
* Italian Sweet: While not technically a bell pepper, these are very similar in shape and size, but have a sweeter, milder flavor. They are great for roasting and grilling.
Pro Tip: Check your local nursery or garden center for varieties that are known to thrive in your specific climate. They’ll be able to give you personalized recommendations!
Starting Your Bell Pepper Seeds (or Buying Seedlings)
You have two options here: start your own seeds indoors or buy seedlings from a nursery. Starting from seed gives you more control over the variety and can be more cost-effective, but it requires a bit more time and effort. Buying seedlings is quicker and easier, but you’ll have fewer choices.
Starting Seeds Indoors
I prefer to start my bell pepper seeds indoors about 8-10 weeks before the last expected frost. This gives them a head start and ensures a longer growing season.
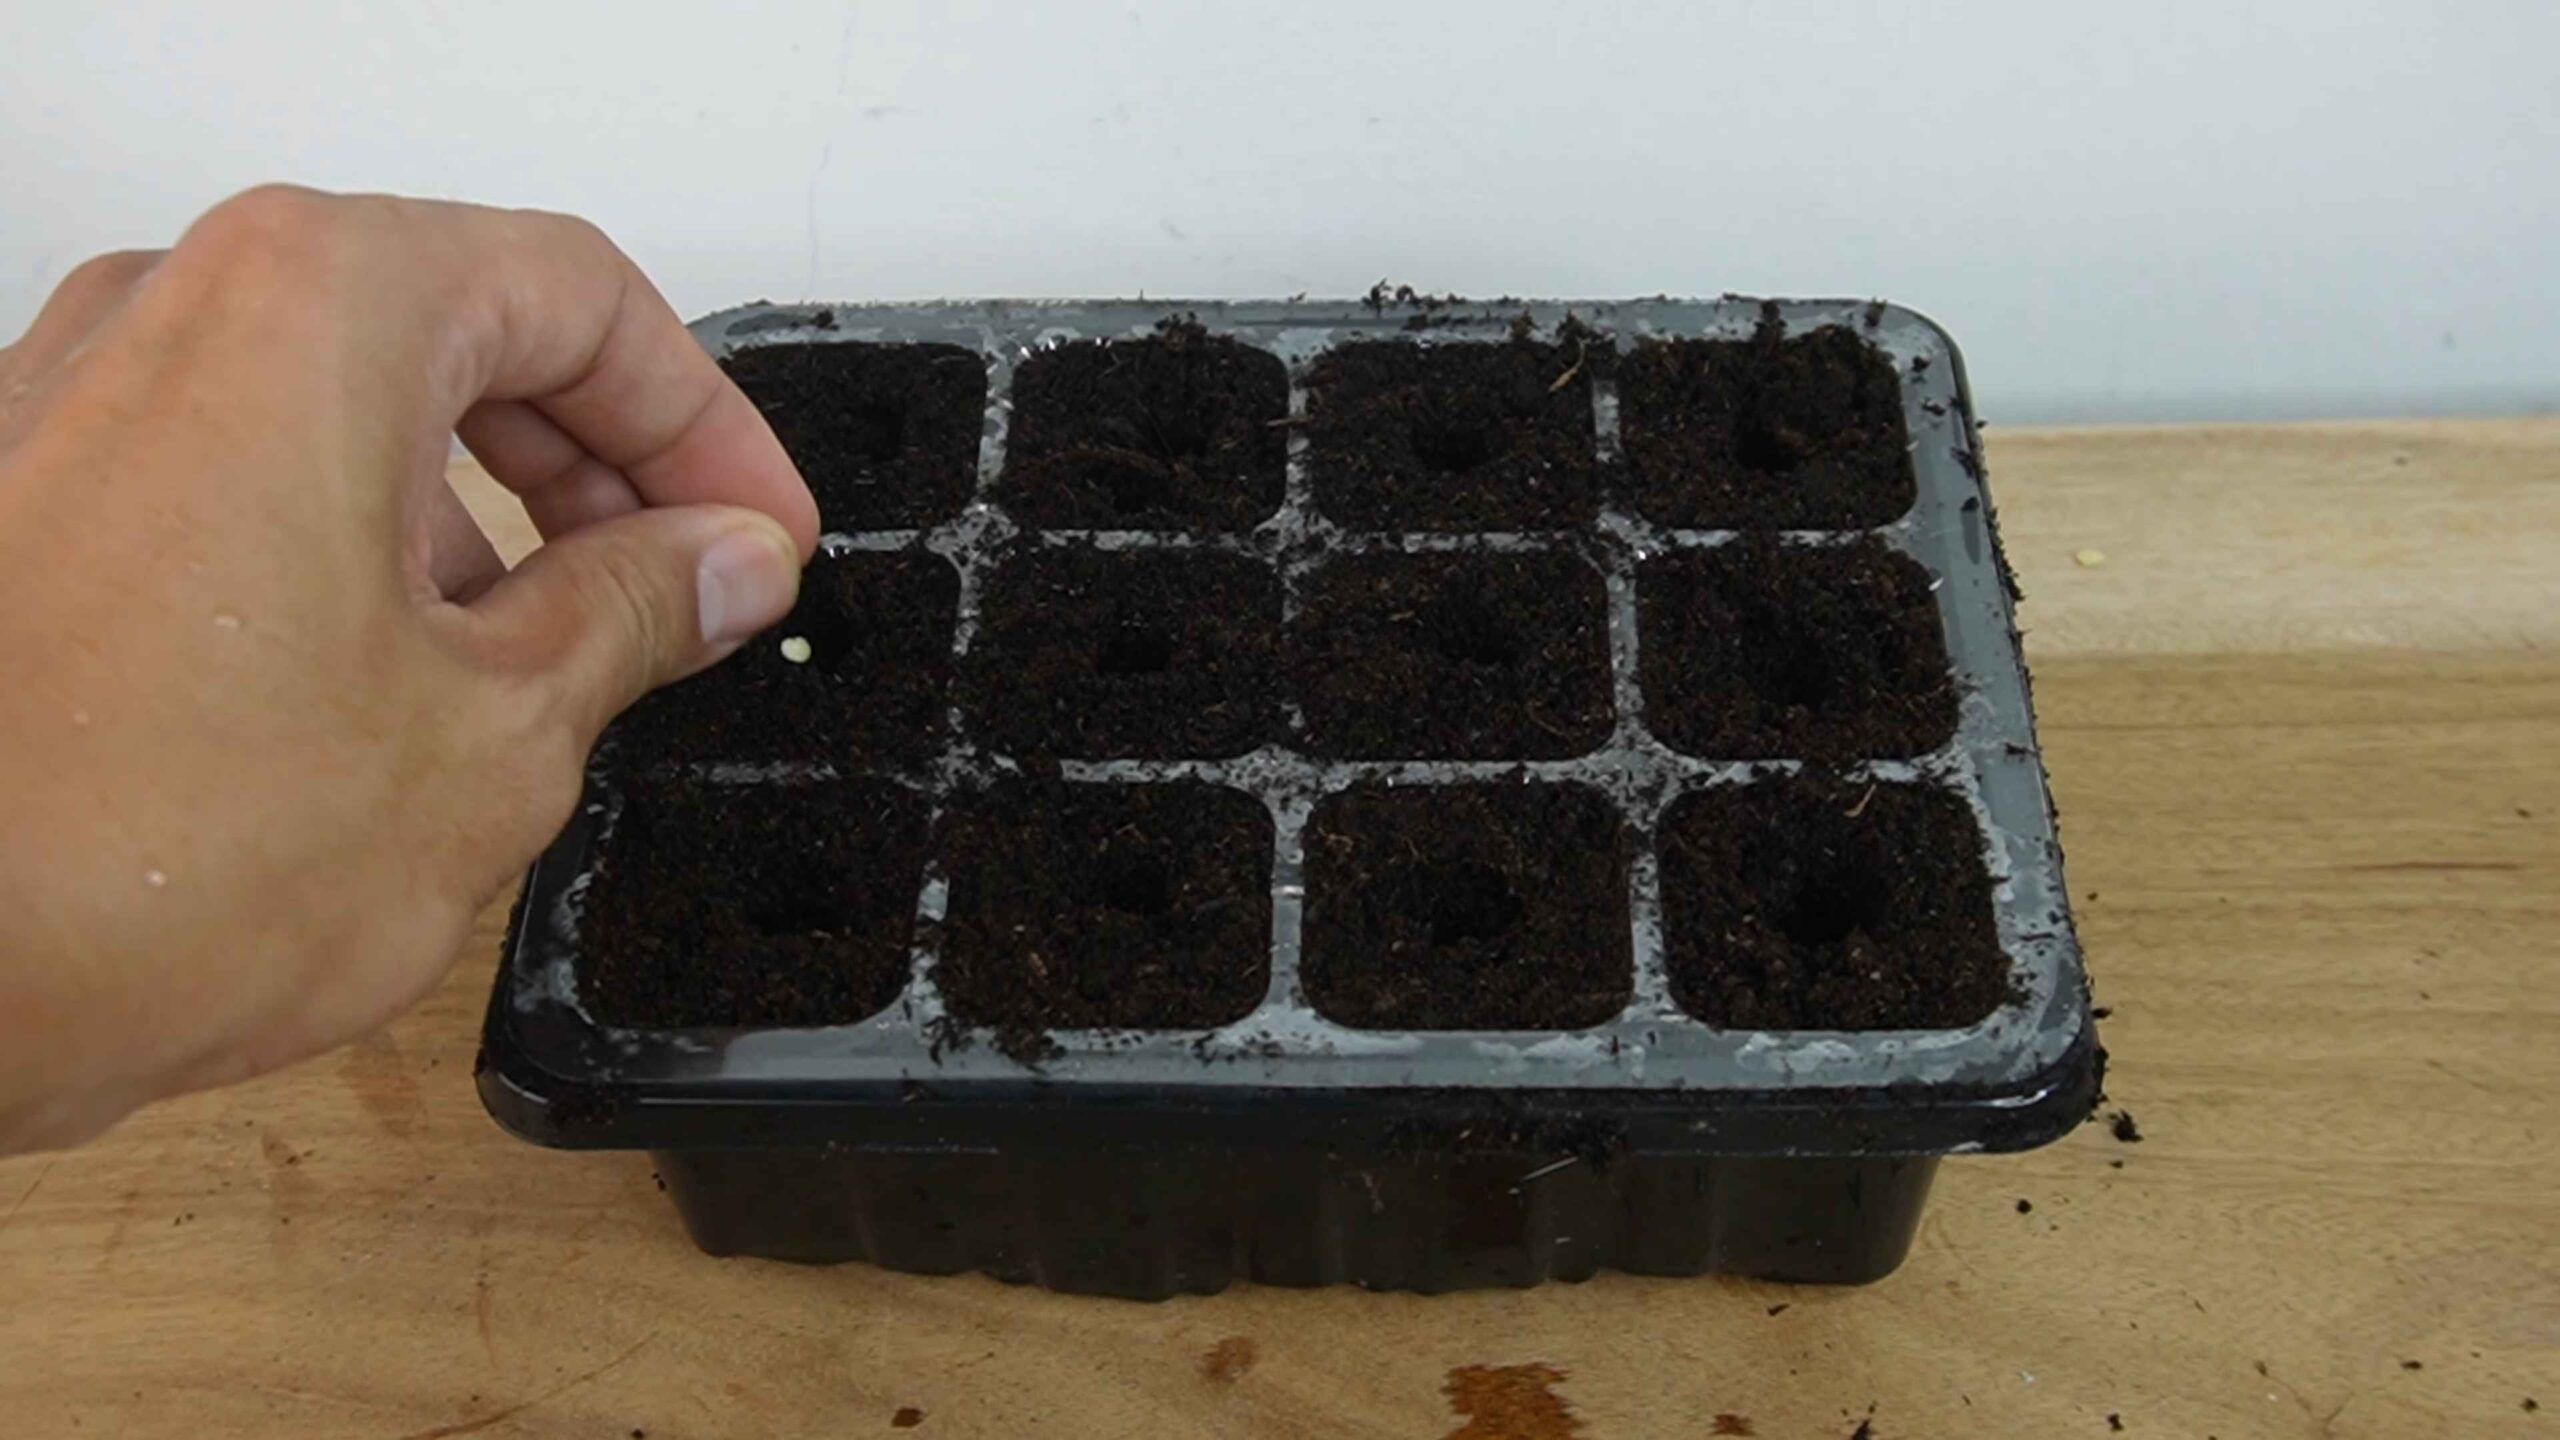
1. Gather Your Supplies: You’ll need seed starting trays or small pots, seed starting mix (not regular potting soil!), bell pepper seeds, a spray bottle, and a heat mat (optional, but helpful).
2. Sow the Seeds: Fill your seed starting trays or pots with seed starting mix. Moisten the mix with the spray bottle – it should be damp, but not soggy. Sow the seeds about ¼ inch deep, placing 2-3 seeds in each cell or pot.
3. Provide Warmth and Light: Bell pepper seeds need warmth to germinate. Place the trays or pots on a heat mat if you have one. Cover them with a clear plastic dome or plastic wrap to create a humid environment. Place them under grow lights or in a sunny window.
4. Keep the Soil Moist: Check the soil moisture daily and mist with the spray bottle as needed. Don’t let the soil dry out completely, but also avoid overwatering.
5. Thin the Seedlings: Once the seedlings emerge (usually in 7-14 days), remove the plastic dome or wrap. If you planted multiple seeds in each cell or pot, thin them out to one seedling per cell or pot. Choose the strongest, healthiest-looking seedling and snip off the others at the soil line.
6. Harden Off the Seedlings: Before transplanting the seedlings outdoors, you need to “harden them off.” This means gradually exposing them to outdoor conditions over a period of 1-2 weeks. Start by placing them outside in a sheltered location for an hour or two each day, gradually increasing the amount of time they spend outdoors. This will help them adjust to the sun, wind, and temperature changes.
Buying Seedlings
If you’re buying seedlings, choose plants that are healthy and vigorous, with sturdy stems and dark green leaves. Avoid plants that are leggy, yellowed, or have any signs of pests or diseases.
Preparing Your Garden Bed
Bell peppers need a sunny spot with well-drained soil. They also prefer slightly acidic soil with a pH of 6.0-6.8.
1. Choose a Sunny Location: Bell peppers need at least 6-8 hours of direct sunlight per day.
2. Prepare the Soil: Dig a hole and amend the soil with compost or well-rotted manure. This will improve drainage, add nutrients, and help retain moisture.
3. Test the Soil pH: If you’re not sure about your soil pH, you can buy a soil testing kit at your local garden center. If the pH is too high (alkaline), you can lower it by adding sulfur or peat moss.
4. Space the Plants: Space the plants about 18-24 inches apart in rows that are 24-36 inches apart. This will give them enough room to grow and allow for good air circulation.
Transplanting Your Bell Pepper Plants
Once the danger of frost has passed and the soil has warmed up, it’s time to transplant your bell pepper plants into the garden.
1. Water the Seedlings: Water the seedlings thoroughly before transplanting.
2. Dig the Holes: Dig holes that are slightly larger than the root balls of the seedlings.
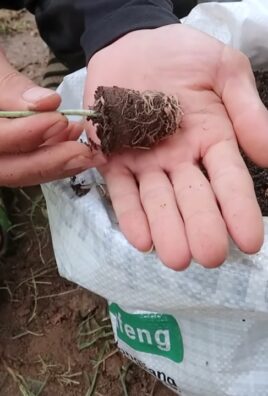
3. Remove the Seedlings from Their Containers: Gently remove the seedlings from their containers, being careful not to damage the roots.
4. Place the Seedlings in the Holes: Place the seedlings in the holes, making sure that the top of the root ball is level with the surrounding soil.
5. Fill in the Holes: Fill in the holes with soil and gently firm the soil around the plants.
6. Water Thoroughly: Water the plants thoroughly after transplanting.
7. Mulch Around the Plants: Mulch around the plants with straw, wood chips, or other organic material. This will help retain moisture, suppress weeds, and regulate soil temperature.
Caring for Your Bell Pepper Plants
Now that your bell pepper plants are in the ground, it’s time to give them the care they need to thrive.
1. Water Regularly: Bell peppers need consistent moisture, especially during hot, dry weather. Water deeply and regularly, aiming for about 1 inch of water per week. Avoid overhead watering, as this can promote fungal diseases.
2. Fertilize Regularly: Bell peppers are heavy feeders, so they need regular fertilization. Use a balanced fertilizer (e.g., 10-10-10) every 2-3 weeks. You can also side-dress the plants with compost or well-rotted manure.
3. Provide Support: As the plants grow and the peppers get heavier, they may need support. Use stakes or cages to keep the plants upright and prevent the branches from breaking.
4. Pinch Off Suckers: Suckers are small shoots that grow from the base of the plant. Pinch them off to encourage the plant to focus its energy on producing peppers.
5. Watch Out for Pests and Diseases: Bell peppers can be susceptible to a variety of pests and diseases, including aphids, flea beetles, blossom end rot, and fungal diseases. Inspect your plants regularly and take action if you see any signs of problems. Insecticidal soap or neem oil can be effective for controlling many pests. For fungal diseases, try copper fungicide or a baking soda spray.
Harvesting Your Bell Peppers
The moment you’ve been waiting for! Bell peppers are typically ready to harvest about 60-90 days after transplanting, depending on the variety.
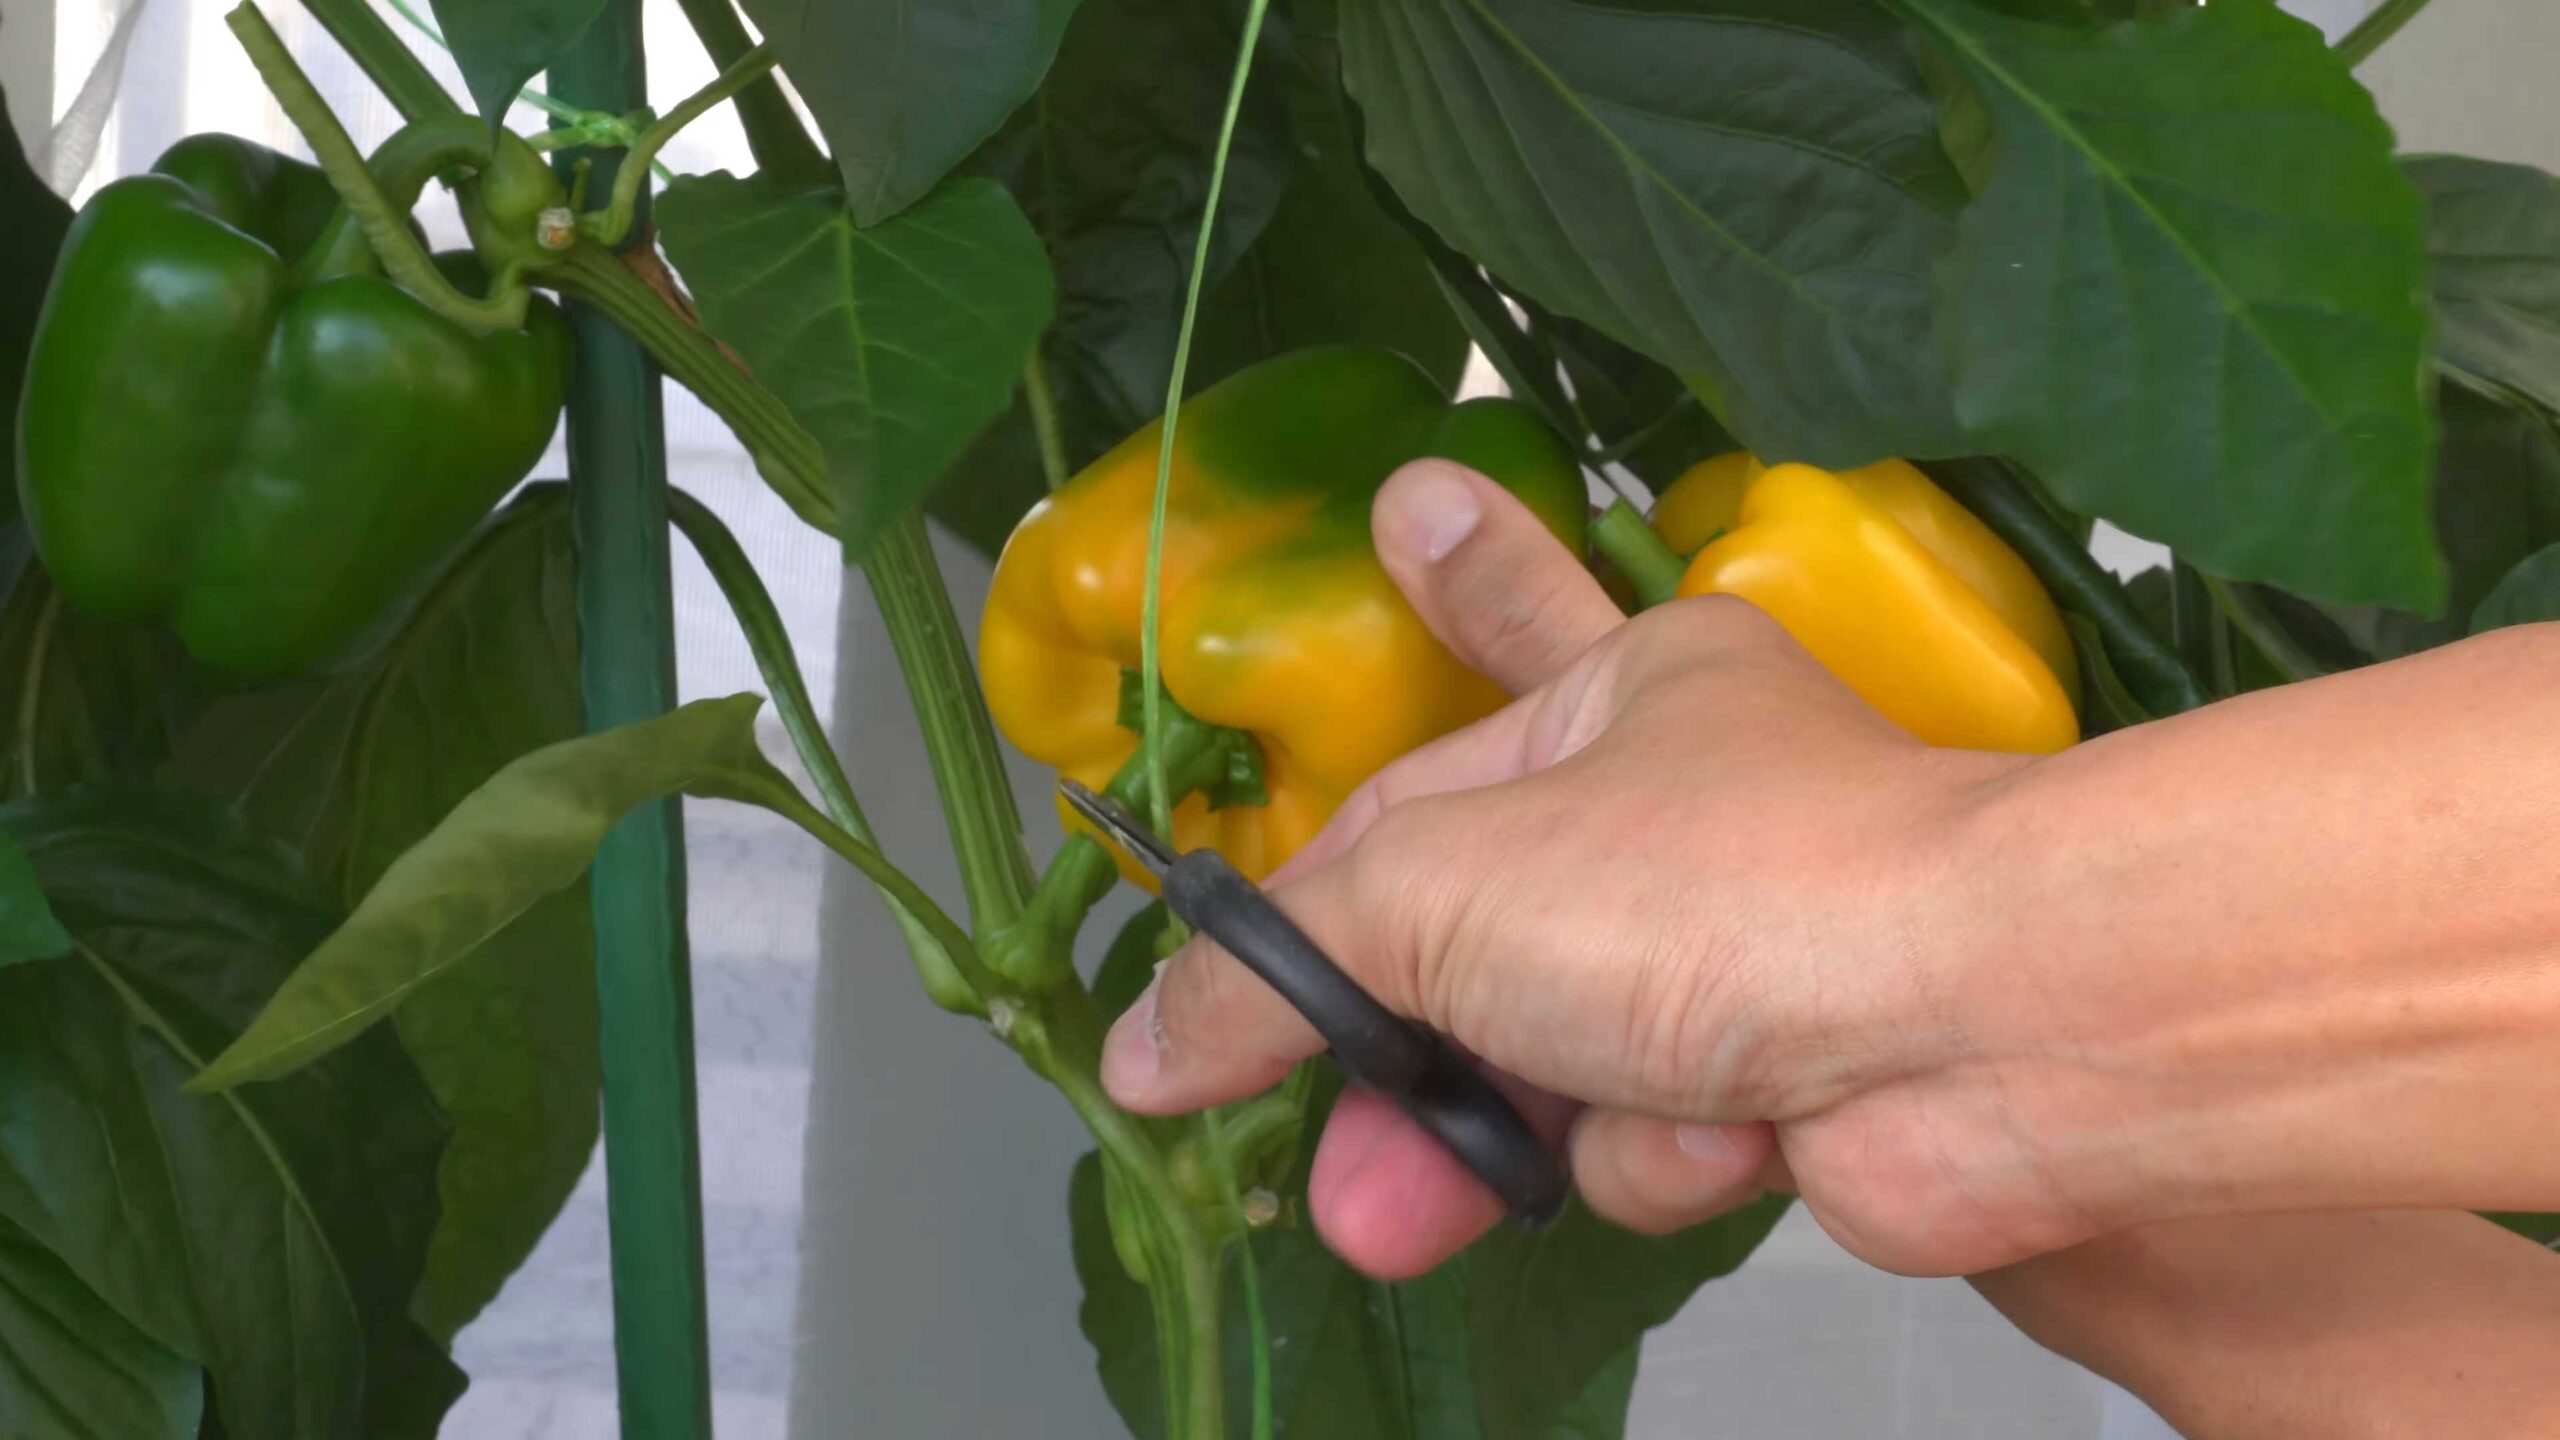
1. Check for Ripeness: The peppers should be firm, glossy, and fully colored. Green bell peppers are ready to harvest when they reach their mature size, but they will continue to ripen and turn red, yellow, or purple if left on the plant.
2. Harvest Carefully: Use a sharp knife or pruning shears to cut the peppers from the plant, leaving a short stem attached.
3. Store Properly: Store harvested bell peppers in the refrigerator for up to 1-2 weeks.
Troubleshooting Common Bell Pepper Problems
Even with the best care, you may encounter some problems when growing bell peppers. Here are a few common issues and how to address them:
* Blossom End Rot: This is a common problem that causes the bottom of the peppers to turn black and leathery. It’s usually caused by calcium deficiency, which can be due to inconsistent watering or poor soil drainage. To prevent blossom end rot, water regularly and deeply, and amend the soil with calcium-rich amendments like bone meal or crushed eggshells.
* Sunscald: This occurs when the peppers are exposed to
Conclusion
So, there you have it! Growing bell peppers easily doesn’t have to be a daunting task reserved for seasoned gardeners. With a few simple tricks and a little patience, you can cultivate a thriving bell pepper patch right in your own backyard or even on a sunny balcony. We’ve explored the essential elements, from selecting the right seeds and providing optimal soil conditions to mastering the art of watering and pest control. But more than just providing instructions, we’ve aimed to empower you with the knowledge and confidence to embark on this rewarding journey.
The beauty of this DIY approach lies in its adaptability. Feel free to experiment with different bell pepper varieties. Perhaps you’re drawn to the classic green bell pepper, or maybe you’re eager to try the sweeter, more vibrant red, yellow, or orange varieties. Don’t be afraid to explore heirloom options for unique flavors and colors. Consider growing them in raised beds for improved drainage or utilizing companion planting techniques to deter pests naturally. Basil, for instance, is a fantastic companion plant for bell peppers, known to repel aphids and other unwanted visitors.
Furthermore, think about the different ways you can utilize your homegrown bell peppers. Freshly picked bell peppers are a culinary delight, perfect for adding a burst of flavor and color to salads, stir-fries, omelets, and countless other dishes. You can also roast them for a smoky sweetness, stuff them with savory fillings, or even pickle them for a tangy treat. The possibilities are truly endless!
Why is this DIY trick a must-try? Because it puts you in control of your food source, allowing you to enjoy fresh, flavorful, and pesticide-free bell peppers whenever you desire. It’s also a deeply satisfying experience to nurture a plant from seed to harvest, witnessing the miracle of nature unfold before your eyes. Plus, it’s a fantastic way to connect with the earth and learn more about the food we eat.
We strongly encourage you to give this DIY trick a try. Start small, perhaps with just a few plants, and gradually expand your garden as you gain experience. Remember to document your progress, take photos, and share your successes (and even your challenges!) with fellow gardening enthusiasts. We’re confident that you’ll be amazed by the abundance and flavor of your homegrown bell peppers.
And most importantly, don’t be discouraged if you encounter a few bumps along the road. Gardening is a learning process, and every mistake is an opportunity to grow (pun intended!). Embrace the journey, have fun, and enjoy the fruits (or rather, vegetables!) of your labor. So, grab your seeds, get your hands dirty, and start growing bell peppers easily today! We can’t wait to hear about your experiences. Share your photos and stories in the comments below!
Frequently Asked Questions (FAQ)
What is the best time of year to start growing bell peppers?
The ideal time to start growing bell peppers depends on your climate. Bell peppers are warm-season crops, meaning they thrive in temperatures between 70°F and 85°F (21°C and 29°C). In regions with long, warm summers, you can start seeds indoors 6-8 weeks before the last expected frost. Once the danger of frost has passed and the soil has warmed up, you can transplant the seedlings outdoors. In areas with shorter growing seasons, you may need to start seeds even earlier indoors to ensure a sufficient harvest. If you live in a region with mild winters, you may be able to grow bell peppers year-round.
What kind of soil is best for bell peppers?
Bell peppers prefer well-draining, fertile soil that is rich in organic matter. The ideal soil pH is between 6.0 and 7.0. Before planting, amend the soil with compost, aged manure, or other organic materials to improve drainage, fertility, and water retention. Avoid heavy clay soils, as they can become waterlogged and hinder root growth. If you have clay soil, consider growing bell peppers in raised beds or containers filled with a well-draining potting mix.
How often should I water my bell pepper plants?
Bell pepper plants need consistent moisture, especially during hot weather. Water deeply and regularly, aiming to keep the soil consistently moist but not waterlogged. The frequency of watering will depend on the weather, soil type, and size of the plants. As a general rule, water when the top inch of soil feels dry to the touch. Avoid overhead watering, as this can promote fungal diseases. Instead, water at the base of the plants, using a soaker hose or drip irrigation system.
What are some common pests and diseases that affect bell peppers, and how can I control them?
Bell peppers are susceptible to various pests and diseases, including aphids, flea beetles, spider mites, blossom-end rot, and fungal diseases. To prevent pest and disease problems, practice good garden hygiene, such as removing weeds and debris, and providing adequate spacing between plants for good air circulation. Inspect your plants regularly for signs of pests or diseases, and take action promptly if you notice any problems.
For aphids, flea beetles, and spider mites, you can try spraying the plants with insecticidal soap or neem oil. For blossom-end rot, which is caused by calcium deficiency, ensure that the soil is properly amended with calcium-rich materials, such as bone meal or crushed eggshells. Also, avoid over-watering or under-watering, as this can also contribute to blossom-end rot. For fungal diseases, such as powdery mildew and leaf spot, apply a fungicide according to the manufacturer’s instructions.
How long does it take for bell peppers to mature?
The time it takes for bell peppers to mature depends on the variety and growing conditions. Generally, it takes about 60-90 days from transplanting for bell peppers to reach maturity. Green bell peppers can be harvested when they are firm and fully sized, even if they are still green. However, if you want to harvest red, yellow, or orange bell peppers, you will need to wait until they have fully ripened and changed color. Ripe bell peppers will be sweeter and more flavorful than green bell peppers.
Can I grow bell peppers in containers?
Yes, bell peppers can be successfully grown in containers. Choose a container that is at least 12 inches in diameter and 12 inches deep to provide adequate space for the roots to grow. Use a well-draining potting mix and ensure that the container has drainage holes. Place the container in a sunny location that receives at least 6-8 hours of sunlight per day. Water regularly and fertilize every 2-3 weeks with a balanced fertilizer.
How do I encourage more bell pepper production?
To encourage more bell pepper production, ensure that your plants are receiving adequate sunlight, water, and nutrients. Prune the plants to remove suckers (small shoots that grow from the base of the plant) to encourage more energy to be directed towards fruit production. You can also try pinching off the first few flowers that appear on the plant to encourage more branching and fruit set later in the season. Finally, consider using a blossom set spray to improve fruit set, especially during hot weather.
Leave a Comment