

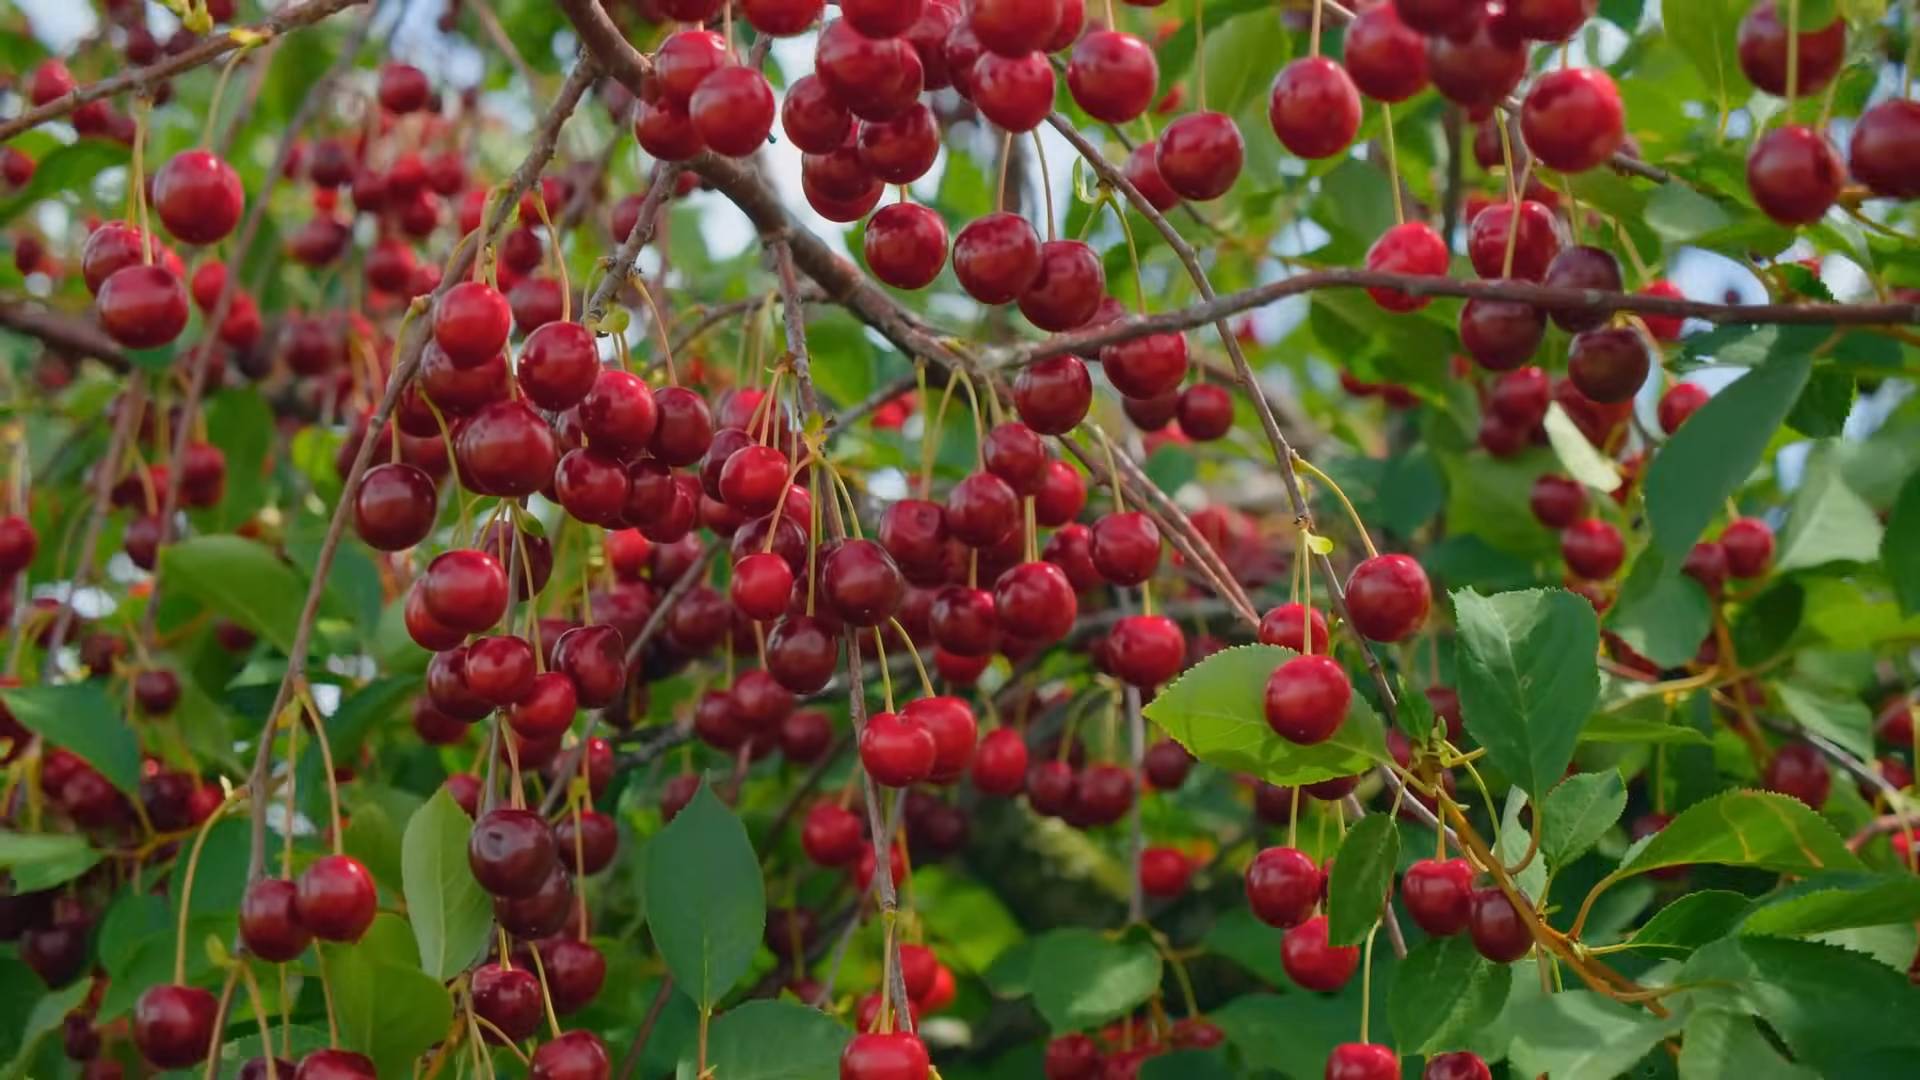
Grow Cherries at Home? Absolutely! Imagine stepping into your backyard and plucking juicy, sun-ripened cherries straight from your own tree. Sounds like a dream, right? Well, it doesn’t have to be! This DIY guide is packed with simple, effective tricks to help you cultivate your very own cherry haven, even if you have limited space or a less-than-green thumb.
For centuries, cherries have been cherished not only for their delicious flavor but also for their symbolic significance. In many cultures, they represent good fortune, happiness, and even love. Think of the iconic cherry blossoms of Japan, a symbol of renewal and the fleeting beauty of life. Now, you can bring a piece of that magic to your own home.
But why should you bother learning to grow cherries at home? Let’s face it, store-bought cherries can be expensive and often lack the intense flavor of homegrown varieties. Plus, knowing exactly where your food comes from and the joy of nurturing a plant from sapling to fruit-bearing tree is incredibly rewarding. This article will provide you with the essential DIY tricks and hacks to successfully grow cherries at home, saving you money, providing healthier options, and connecting you with nature in a meaningful way. So, grab your gardening gloves, and let’s get started!
Growing Cherries at Home: A DIY Guide to Sweet Success
Hey there, fellow gardening enthusiasts! Ever dreamt of plucking juicy, ripe cherries straight from your own backyard? Well, dream no more! Growing cherries at home is totally achievable, even if you don’t have acres of land. It takes a little planning and patience, but the reward of fresh, homegrown cherries is absolutely worth it. I’m going to walk you through everything you need to know, from choosing the right variety to protecting your precious crop from pesky birds. Let’s get started!
Choosing the Right Cherry Variety
The first step to cherry-growing success is selecting the right variety for your climate and space. Not all cherry trees are created equal!
* Sweet Cherries vs. Sour Cherries: Sweet cherries are the ones you typically eat fresh, like Bing or Rainier. Sour cherries, also known as tart cherries, are best for pies, jams, and preserves.
* Climate Considerations: Cherry trees need a certain number of “chill hours” – hours below 45°F (7°C) – to properly set fruit. Make sure the variety you choose is suitable for your region’s climate. If you live in a warmer area, look for low-chill varieties.
* Space Requirements: Cherry trees can get quite large! Consider dwarf or semi-dwarf varieties if you have limited space. These smaller trees still produce plenty of fruit but are easier to manage.
* Pollination: Many sweet cherry varieties are not self-pollinating, meaning they need another compatible cherry tree nearby to produce fruit. Sour cherries are generally self-pollinating. Check the pollination requirements of your chosen variety before planting.
My Recommendations:
* For Warm Climates: ‘Minnie Royal’ and ‘Royal Lee’ are excellent low-chill sweet cherry varieties.
* For Colder Climates: ‘Bing’ and ‘Stella’ are popular sweet cherry choices. ‘Montmorency’ is a reliable sour cherry variety.
* For Small Spaces: ‘Compact Stella’ is a self-pollinating dwarf sweet cherry that’s perfect for containers or small gardens.
Preparing the Planting Site
Once you’ve chosen your cherry variety, it’s time to prepare the planting site. Cherries thrive in well-drained soil and plenty of sunlight.
* Sunlight: Cherry trees need at least 6-8 hours of direct sunlight per day. Choose a location that receives full sun.
* Soil Drainage: Cherries hate soggy roots! Make sure the soil drains well. If you have heavy clay soil, amend it with compost or other organic matter to improve drainage.
* Soil pH: Cherries prefer a slightly acidic to neutral soil pH (6.0-7.0). You can test your soil pH with a soil testing kit and amend it accordingly.
* Spacing: Allow enough space between trees for proper air circulation and sunlight penetration. Dwarf varieties need less space than standard-sized trees. Check the specific spacing recommendations for your chosen variety.
Planting Your Cherry Tree
Now for the fun part – planting your cherry tree!
1. Dig the Hole: Dig a hole that is twice as wide as the root ball and just as deep.
2. Prepare the Root Ball: Gently remove the tree from its container and loosen any circling roots. If the roots are tightly bound, you can carefully cut them to encourage outward growth.
3. Position the Tree: Place the tree in the hole, making sure the top of the root ball is level with the surrounding soil.
4. Backfill the Hole: Backfill the hole with the amended soil, gently tamping it down to remove air pockets.
5. Water Thoroughly: Water the tree thoroughly after planting to help settle the soil.
6. Mulch: Apply a layer of mulch around the base of the tree to help retain moisture and suppress weeds. Keep the mulch a few inches away from the trunk to prevent rot.
7. Stake (Optional): If the tree is young and spindly, you may want to stake it for support.
Caring for Your Cherry Tree
Once your cherry tree is planted, it’s important to provide proper care to ensure its health and productivity.
* Watering: Water your cherry tree regularly, especially during dry periods. Young trees need more frequent watering than established trees.
* Fertilizing: Fertilize your cherry tree in the spring with a balanced fertilizer. Follow the instructions on the fertilizer label.
* Pruning: Prune your cherry tree annually to maintain its shape, remove dead or diseased branches, and improve air circulation. The best time to prune is in late winter or early spring, before new growth begins.
* Pest and Disease Control: Monitor your cherry tree for pests and diseases. Common cherry tree pests include aphids, cherry fruit flies, and Japanese beetles. Common diseases include cherry leaf spot and brown rot. Treat any problems promptly with appropriate insecticides or fungicides.
* Protecting from Birds: Birds love cherries just as much as we do! To protect your crop, you can cover your tree with netting or use bird deterrents.
Step-by-Step Instructions: Protecting Your Cherries from Birds with Netting
This is a crucial step, trust me! I learned the hard way one year when I lost almost my entire harvest to those feathered bandits.
1. Choose the Right Netting: Select a fine-mesh netting that is specifically designed for protecting fruit trees. The mesh should be small enough to prevent birds from getting through, but large enough to allow air circulation.
2. Measure Your Tree: Measure the height and width of your cherry tree to determine how much netting you will need. It’s always better to have a little extra than not enough.
3. Prepare the Netting: Unfold the netting and spread it out on the ground. Check for any tears or holes and repair them before using.
4. Drape the Netting: Carefully drape the netting over the tree, making sure to cover all the branches and fruit.
5. Secure the Netting: Secure the netting around the base of the tree with twine, clips, or weights. You can also use stakes to hold the netting in place.
6. Check Regularly: Check the netting regularly to make sure it is still securely in place and that no birds have become trapped inside.
7. Remove After Harvest: Once the cherry harvest is over, remove the netting and store it in a dry place for next year.
Harvesting Your Cherries
The moment you’ve been waiting for! Harvesting your cherries is the most rewarding part of the process.
* Timing: Cherries are typically ready to harvest in late spring or early summer, depending on the variety and your climate.
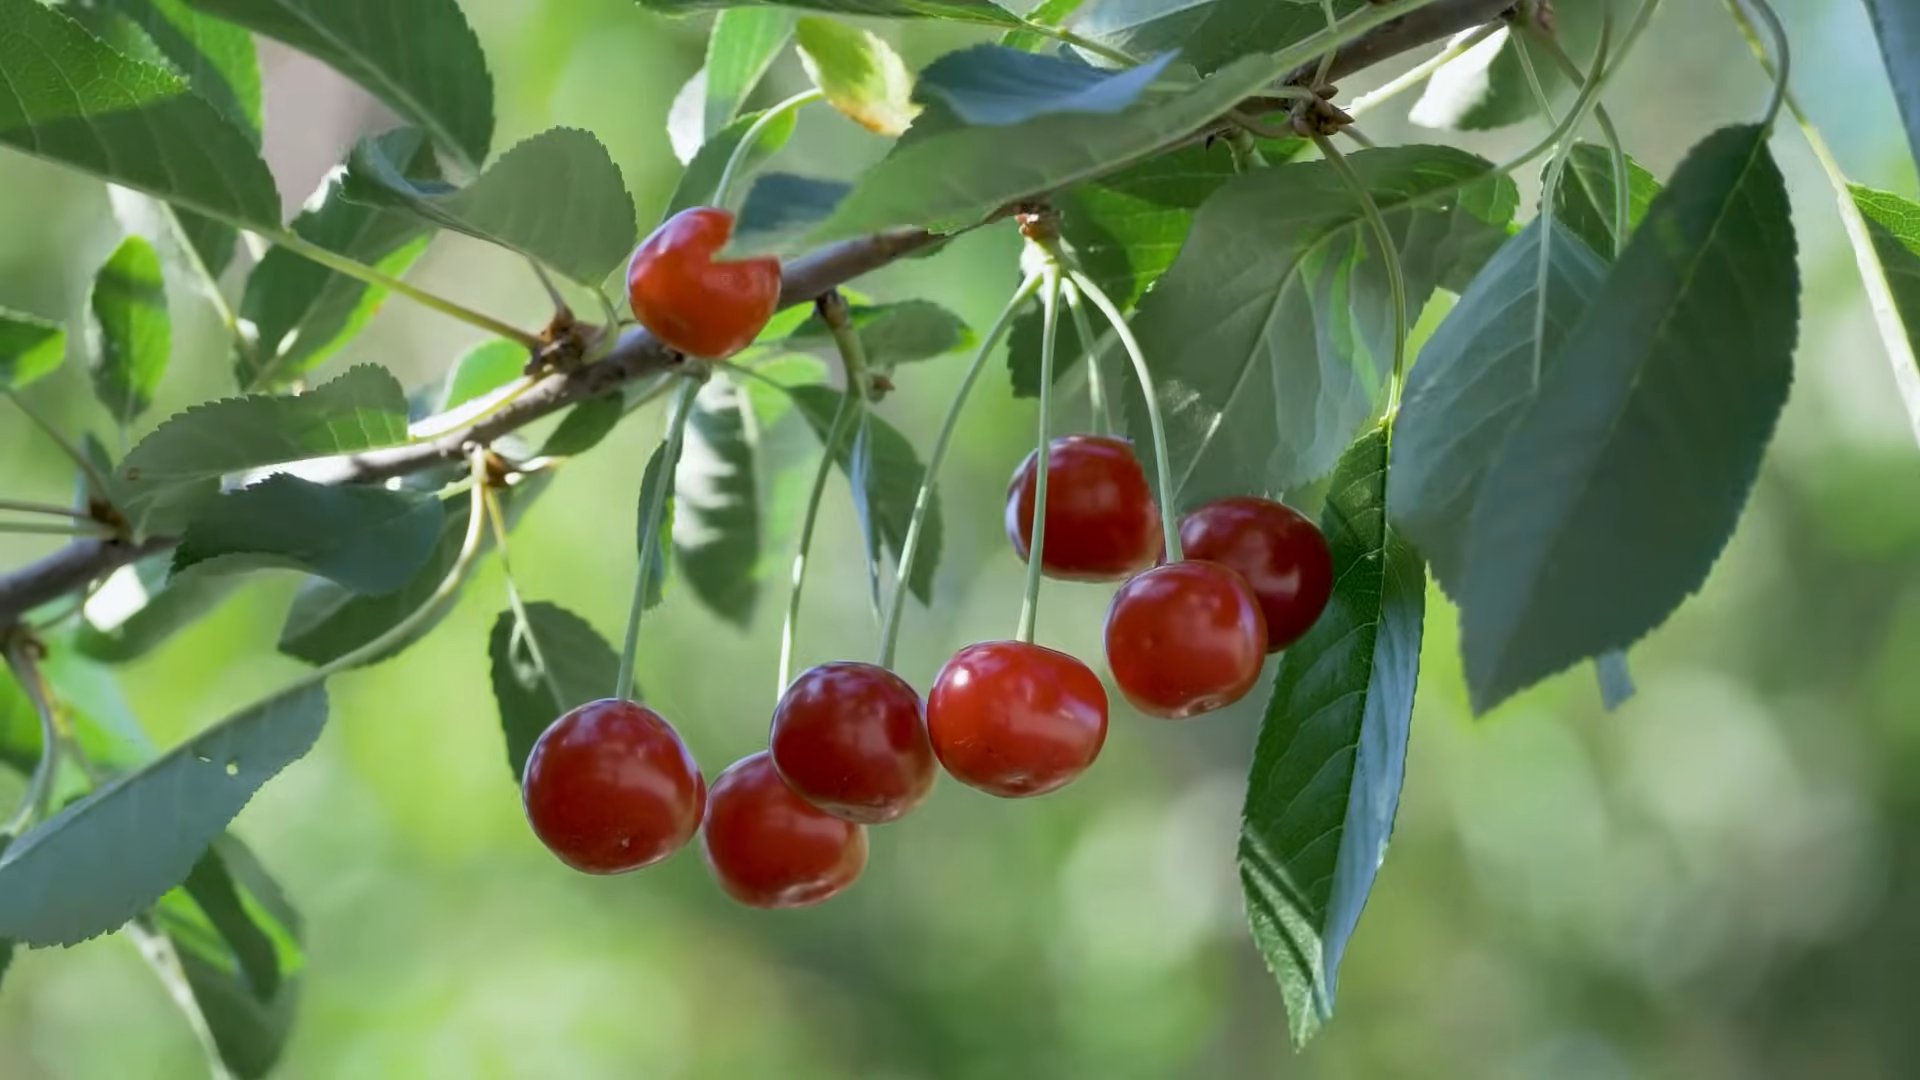
* Ripeness: Cherries are ripe when they are fully colored, slightly soft to the touch, and easily pull away from the stem.
* Harvesting Technique: Gently twist or pull the cherries from the stem. Avoid pulling too hard, as this can damage the tree.
* Storage: Store freshly harvested cherries in the refrigerator for up to a week.
Troubleshooting Common Cherry Tree Problems
Even with the best care, you might encounter some problems along the way. Here are a few common issues and how to address them:
* Lack of Fruit: If your cherry tree isn’t producing fruit, it could be due to a number of factors, including lack of pollination, insufficient chill hours, poor soil, or improper pruning. Make sure you’ve addressed all of these potential issues.
* Yellowing Leaves: Yellowing leaves can be a sign of nutrient deficiency, overwatering, or disease. Check the soil pH and nutrient levels, and adjust your watering schedule as needed.
* Pest Infestations: As mentioned earlier, cherry trees are susceptible to various pests. Identify the pest and treat it with an appropriate insecticide.
* Disease Problems: Diseases like cherry leaf spot and brown rot can cause leaf spots, fruit rot, and other problems. Treat these diseases with a fungicide.
Container Growing Cherries
Don’t have a yard? No problem! You can still grow cherries in containers.
1. Choose the Right Container: Select a large container with good drainage holes. A 20-gallon container or larger is recommended.
2. Use a Well-Draining Potting Mix: Use a high-quality potting mix that drains well. Avoid using garden soil, as it can become compacted in containers.
3. Choose a Dwarf Variety: Select a dwarf cherry variety that is suitable for container growing, such as ‘Compact Stella’.
4. Provide Adequate Sunlight: Place the container in a location that receives at least 6-8 hours of direct sunlight per day.
5. Water Regularly: Water the container regularly, especially during hot weather. Check the soil moisture frequently and water when the top inch of soil is dry.
6. Fertilize Regularly: Fertilize the container-grown cherry
Conclusion
So, there you have it! Growing cherries at home might seem daunting at first, but with a little patience, the right techniques, and this surprisingly simple DIY trick, you can transform your backyard into a miniature cherry orchard. We’ve walked you through the essentials, highlighting the benefits of this method, which not only saves you money but also gives you complete control over the growing process, ensuring healthier, more delicious fruit.
This isn’t just about saving a few dollars; it’s about connecting with nature, understanding the life cycle of your food, and enjoying the unparalleled satisfaction of harvesting your own homegrown cherries. Imagine the delight of sharing a bowl of freshly picked, sun-ripened cherries with family and friends, knowing you nurtured them from the very beginning.
But the beauty of this DIY approach lies in its adaptability. Feel free to experiment with different cherry varieties to find the ones that thrive best in your local climate and suit your taste preferences. Consider using organic fertilizers and pest control methods to ensure a truly natural and healthy harvest. You could even try grafting different cherry varieties onto a single rootstock for a unique and diverse cherry tree.
Don’t be afraid to get creative! Perhaps you’ll discover a new and improved method for supporting your young cherry trees, or maybe you’ll find the perfect companion plants to deter pests naturally. The possibilities are endless.
We wholeheartedly encourage you to give this DIY trick a try. It’s a rewarding experience that will not only provide you with delicious cherries but also deepen your appreciation for the natural world. Remember, the key to success is patience and observation. Pay close attention to your cherry trees, learn their needs, and adapt your approach as necessary.
And most importantly, we want to hear about your experiences! Share your successes, your challenges, and your tips in the comments below. Let’s build a community of home cherry growers, sharing our knowledge and supporting each other along the way. Your insights could be invaluable to someone just starting out, and together, we can all enjoy the sweet rewards of growing cherries at home. So, grab your gardening gloves, gather your supplies, and get ready to embark on this exciting journey. Happy growing!
Frequently Asked Questions (FAQs)
Q: What are the best cherry varieties to grow at home using this DIY method?
A: The best cherry varieties for home growing depend largely on your climate. Sweet cherries like Bing, Rainier, and Lambert are popular choices, but they require specific chill hours (the number of hours below a certain temperature during winter). If you live in a warmer climate, opt for low-chill varieties like Stella, Lapins, or Royal Crimson. Tart cherries, such as Montmorency, are generally more cold-hardy and self-pollinating, making them a good option for beginners. Research the chill hour requirements for each variety and choose one that suits your local climate. Also, consider disease resistance when selecting your cherry tree.
Q: How long does it take to grow cherries at home using this DIY trick?
A: Growing cherries from seed can take several years (5-7 years) to produce fruit. However, using grafted cherry trees significantly reduces the waiting time. Grafted trees can start producing fruit within 3-4 years. The exact timeframe depends on the variety, the health of the tree, and the growing conditions. Consistent watering, proper fertilization, and protection from pests and diseases will all contribute to faster fruit production.
Q: What kind of soil is best for growing cherries at home?
A: Cherries thrive in well-drained, fertile soil with a slightly acidic to neutral pH (6.0-7.0). Avoid heavy clay soils that retain too much water, as this can lead to root rot. Amend your soil with organic matter, such as compost or well-rotted manure, to improve drainage and fertility. A soil test can help you determine the pH and nutrient levels of your soil and guide you in making necessary amendments.
Q: How often should I water my cherry trees?
A: Young cherry trees need regular watering, especially during the first year after planting. Water deeply and regularly, especially during dry periods. Established cherry trees are more drought-tolerant but still benefit from regular watering, particularly during fruit development. Avoid overwatering, as this can lead to root rot. A good rule of thumb is to water when the top inch of soil feels dry to the touch.
Q: What are some common pests and diseases that affect cherry trees, and how can I prevent them?
A: Common pests include aphids, cherry fruit flies, and spider mites. Diseases include brown rot, cherry leaf spot, and powdery mildew. Preventative measures include:
* Regularly inspect your trees for signs of pests or diseases.
* Prune your trees to improve air circulation and reduce humidity.
* Use organic pest control methods, such as insecticidal soap or neem oil.
* Apply fungicides preventatively, especially during wet weather.
* Remove and destroy any infected leaves or branches.
* Consider using netting to protect your cherries from birds.
Q: Do cherry trees need to be pollinated?
A: Many sweet cherry varieties are not self-pollinating and require a pollinator tree nearby. This means you need to plant a different cherry variety that blooms at the same time to ensure fruit production. Tart cherries are generally self-pollinating. Research the pollination requirements of the cherry variety you choose to ensure successful fruit set.
Q: How do I prune my cherry trees?
A: Pruning is essential for maintaining the health and productivity of your cherry trees. Prune young trees to establish a strong central leader and open up the canopy to sunlight. Prune mature trees to remove dead, diseased, or crossing branches. The best time to prune cherry trees is in late winter or early spring, before new growth begins.
Q: Can I grow cherry trees in containers?
A: Yes, you can grow dwarf cherry varieties in containers. Choose a large container with good drainage and use a well-draining potting mix. Container-grown cherry trees will need more frequent watering and fertilization than those grown in the ground.
Q: What kind of fertilizer should I use for my cherry trees?
A: Use a balanced fertilizer specifically formulated for fruit trees. Apply fertilizer in early spring, before new growth begins. Follow the instructions on the fertilizer label carefully. Avoid over-fertilizing, as this can damage your trees. Organic fertilizers, such as compost or well-rotted manure, are also excellent options.
Q: How do I know when my cherries are ripe?
A: Cherries are ripe when they are fully colored, slightly soft to the touch, and easily detach from the stem. Taste a few cherries to ensure they are sweet and flavorful. The exact ripening time depends on the variety and the growing conditions.
Leave a Comment