

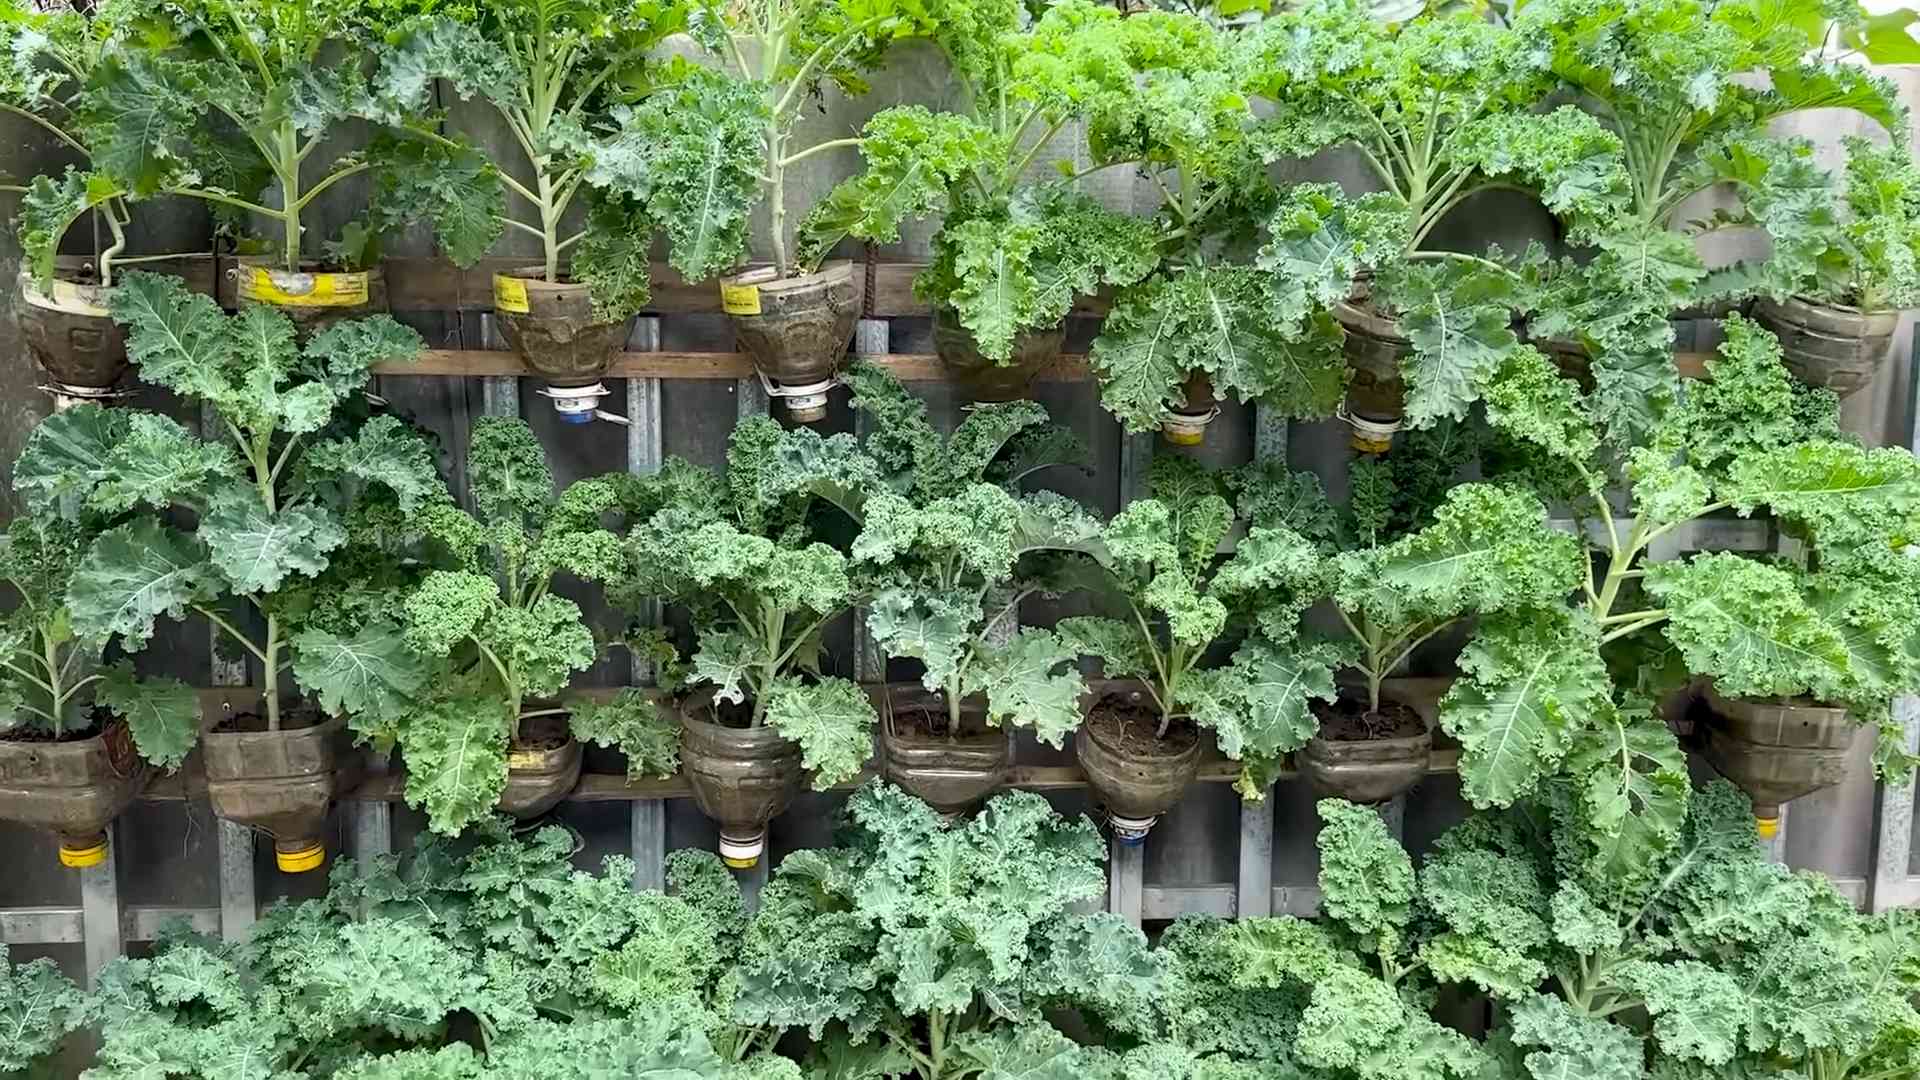
Grow Kale in Plastic Bottle: Unlock a world of fresh, homegrown goodness, even if you’re short on space! Have you ever dreamt of harvesting your own vibrant, nutrient-packed kale but felt limited by a tiny balcony or lack of a traditional garden? Well, dream no more! This DIY guide is your passport to a thriving kale patch, all within the humble confines of a recycled plastic bottle.
For centuries, cultivating kale has been a cornerstone of healthy diets across various cultures. From its ancient Roman roots to its modern-day superfood status, kale has consistently proven its value. But let’s face it, not everyone has access to sprawling fields or perfectly manicured gardens. That’s where our ingenious DIY trick comes in!
I understand the frustration of wanting fresh produce without the space or the hefty grocery bill. That’s why I’m so excited to share this simple, cost-effective method. This method is perfect for urban dwellers, apartment residents, or anyone looking to add a touch of green to their lives. With this easy-to-follow guide, you’ll learn how to grow kale in plastic bottle, transforming discarded containers into miniature kale havens. Get ready to enjoy fresh, delicious kale right at your fingertips!
Grow Kale in a Plastic Bottle: A Beginner’s Guide
Hey there, fellow gardening enthusiasts! Ever thought about turning those empty plastic bottles into mini kale gardens? It’s a fantastic way to recycle, save space, and enjoy fresh, homegrown kale right at your fingertips. I’ve been doing this for a while now, and I’m excited to share my step-by-step guide with you. Let’s get started!
Materials You’ll Need
Before we dive in, let’s gather all the necessary supplies. Trust me, having everything ready beforehand will make the whole process much smoother.
* Plastic Bottles: I usually use 2-liter soda bottles or larger water bottles. Make sure they’re clean and free of any residue.
* Potting Soil: A good quality potting mix is crucial for healthy kale growth.
* Kale Seeds: Choose your favorite variety! I personally love ‘Dwarf Blue Curled’ for its compact size and delicious flavor.
* Scissors or Utility Knife: For cutting the plastic bottles. Be careful!
* Drill or Nail and Hammer: To create drainage holes.
* Watering Can or Spray Bottle: For watering your kale seedlings.
* Optional:
* Gravel or Small Stones: For drainage at the bottom of the bottle.
* Liquid Fertilizer: To give your kale a boost.
* Gloves: To keep your hands clean.
* Labels: To mark the kale variety and planting date.
Preparing the Plastic Bottle
This is where we transform the humble plastic bottle into a cozy home for our kale.
1. Clean the Bottle: Thoroughly wash the plastic bottle with soap and water to remove any leftover soda or residue. Rinse it well and let it dry completely. This is important to prevent any unwanted chemicals from affecting your kale.
2. Cut the Bottle: Decide how you want to cut the bottle. There are a couple of options:
* Option 1: Horizontal Cut: Cut the bottle horizontally about two-thirds of the way up from the bottom. This creates a larger planting area. You can discard the top part or use it as a mini-greenhouse cover later on.
* Option 2: Vertical Cut (Hanging Garden): Cut a rectangular opening on one side of the bottle, leaving the top and bottom intact. This is great for creating a hanging garden. You’ll need to make holes at the top for hanging.
I usually go with the horizontal cut because it provides more space for the kale to grow. But feel free to experiment and see what works best for you!
3. Create Drainage Holes: This is absolutely essential! Kale needs good drainage to prevent root rot. Use a drill or a nail and hammer to create several drainage holes at the bottom of the bottle. I usually make about 5-6 holes, evenly spaced.
4. Optional: Add Drainage Layer: To further improve drainage, you can add a layer of gravel or small stones at the bottom of the bottle before adding the soil. This helps prevent the soil from clogging the drainage holes.
Planting the Kale Seeds
Now for the fun part – planting the kale seeds!
1. Fill with Potting Soil: Fill the prepared plastic bottle with high-quality potting soil, leaving about an inch of space at the top. Gently pat down the soil to remove any air pockets.
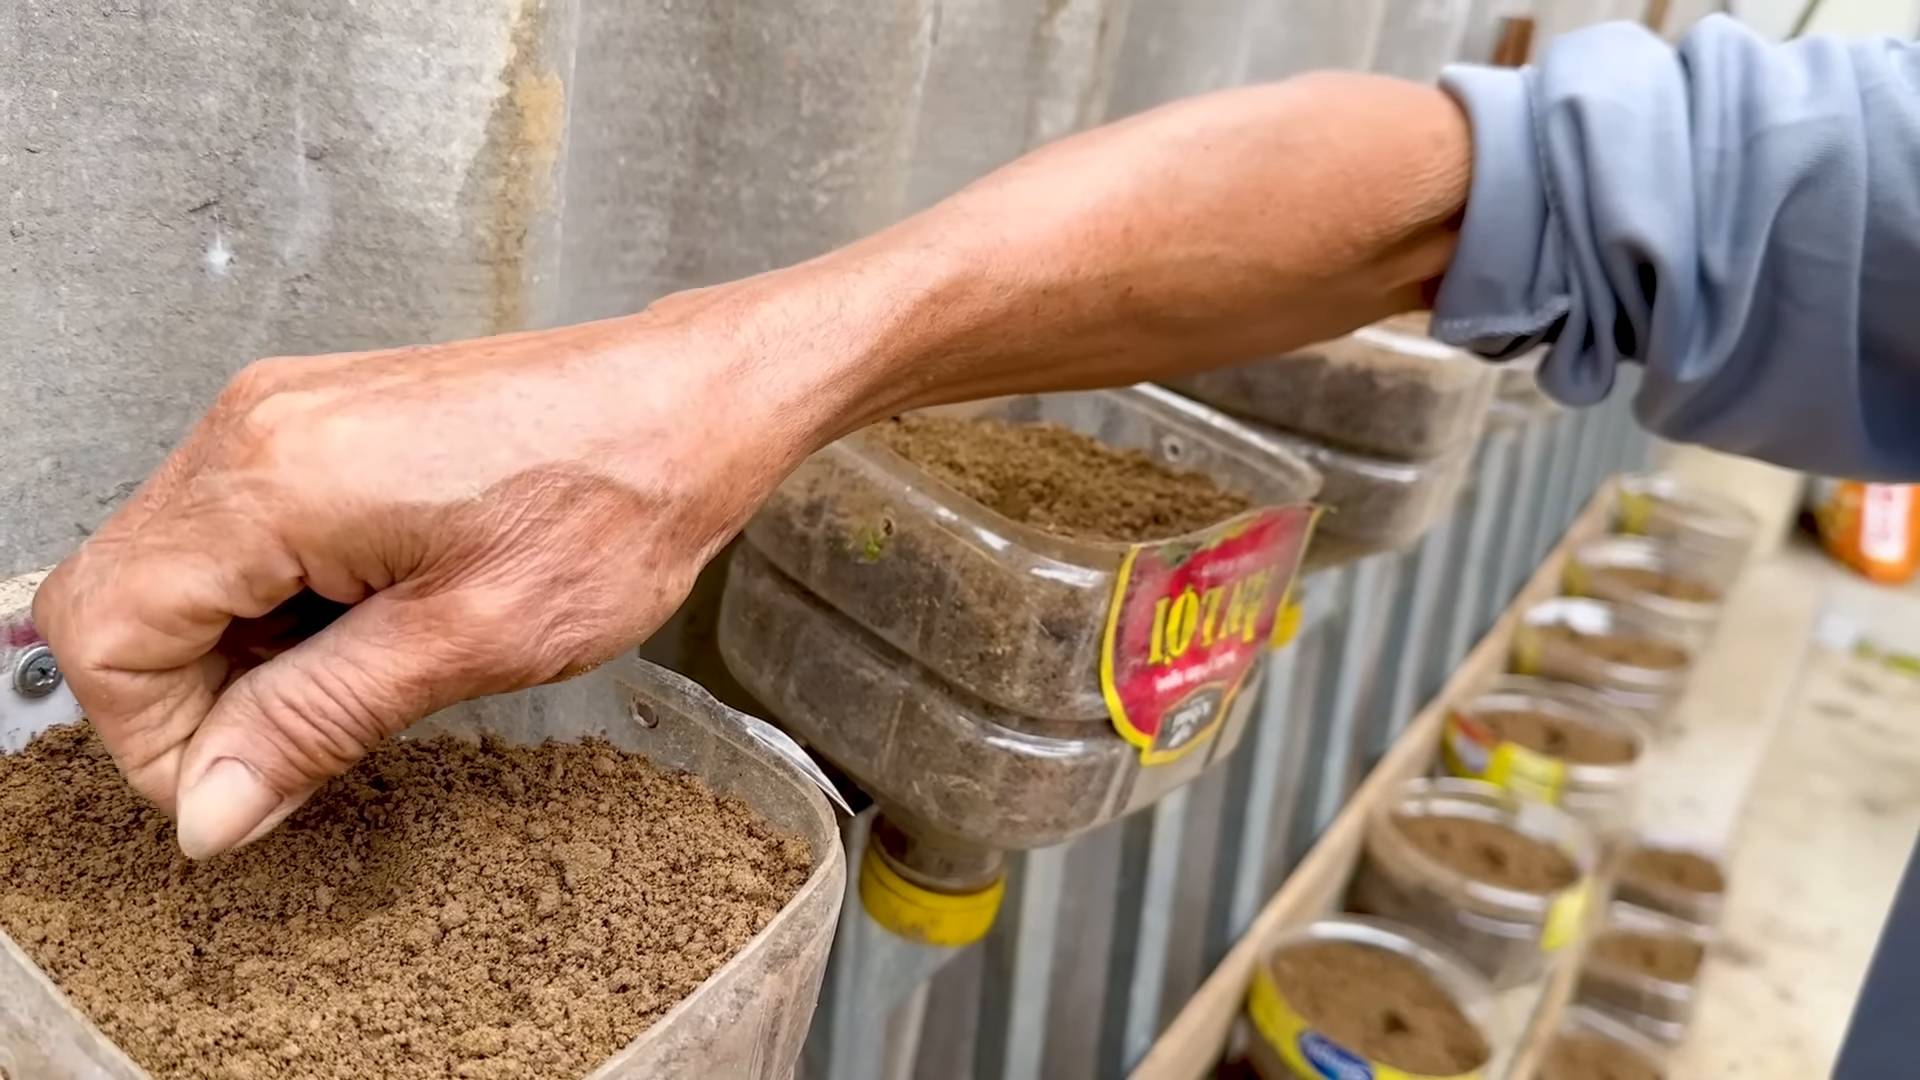
2. Sow the Seeds: Sprinkle the kale seeds evenly over the surface of the soil. I usually sow a few extra seeds to ensure good germination.
3. Cover the Seeds: Lightly cover the seeds with a thin layer of potting soil (about ¼ inch).
4. Water Gently: Use a watering can or spray bottle to gently water the soil. Be careful not to overwater, as this can cause the seeds to rot. The soil should be moist but not soggy.
5. Label the Bottle: Use a label to mark the kale variety and planting date. This will help you keep track of your plants.
Caring for Your Kale Seedlings
This is where patience and a little bit of attention come in.
1. Location: Place the plastic bottle in a sunny location. Kale needs at least 6 hours of sunlight per day to thrive. A windowsill, balcony, or patio are all good options.
2. Watering: Keep the soil consistently moist, but not soggy. Water when the top inch of soil feels dry to the touch. Avoid overwatering, as this can lead to root rot.
3. Thinning: Once the seedlings emerge and have a few true leaves (usually after a week or two), thin them out to allow for proper growth. Choose the strongest seedlings and gently remove the weaker ones. I usually aim for about 2-3 kale plants per bottle, depending on the size of the bottle.
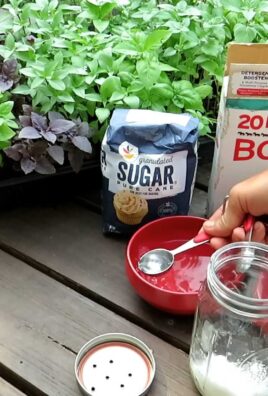
4. Fertilizing: Kale is a heavy feeder, so it benefits from regular fertilization. Use a liquid fertilizer diluted to half strength every 2-3 weeks. Follow the instructions on the fertilizer label.
5. Pest Control: Keep an eye out for pests such as aphids, cabbage worms, and slugs. If you spot any pests, you can try removing them by hand or using an organic insecticide. I’ve found that a strong blast of water from the hose can often dislodge aphids.
Harvesting Your Kale
The moment we’ve all been waiting for!
1. When to Harvest: You can start harvesting kale leaves when they are about 4-6 inches long.
2. How to Harvest: Harvest the outer leaves first, leaving the inner leaves to continue growing. Use scissors or a knife to cut the leaves near the base of the plant.
3. Enjoy Your Harvest: Wash the kale leaves thoroughly and enjoy them in salads, smoothies, soups, or stir-fries. Freshly harvested kale is incredibly delicious and nutritious!
Troubleshooting
Even with the best intentions, things don’t always go as planned. Here are a few common problems you might encounter and how to fix them:
* Seedlings Not Germinating: Make sure the soil is moist and the temperature is warm enough. Kale seeds germinate best at temperatures between 60-70°F (15-21°C). If the seeds are old, they may have a lower germination rate.
* Yellowing Leaves: This could be a sign of overwatering, underwatering, or nutrient deficiency. Check the soil moisture and adjust your watering accordingly. If the leaves are yellowing due to nutrient deficiency, fertilize with a balanced liquid fertilizer.
* Leggy Seedlings: Leggy seedlings are tall and spindly, usually due to insufficient light. Move the plastic bottle to a sunnier location or provide supplemental lighting.
* Pest Infestation: Regularly inspect your kale plants for pests. If you spot any pests, take action immediately to prevent them from spreading.
Tips and Tricks for Success
Here are a few extra tips and tricks I’ve learned over the years that can help you grow even more amazing kale in plastic bottles:
* Choose the Right Variety: Some kale varieties are better suited for container gardening than others. ‘Dwarf Blue Curled’ and ‘Red Russian’ are both excellent choices for small spaces.
* Rotate Your Crops: To prevent soilborne diseases, rotate your kale plants every year. Don’t plant kale in the same plastic bottle year after year.
* Use a Self-Watering System: If you’re prone to forgetting to water your plants, consider creating a simple self-watering system. You can do this by placing a water reservoir at the bottom of the bottle and using a wick to draw water up to the soil.
* Experiment with Different Bottle Sizes: Try growing kale in different sizes of plastic bottles to see what works best for you. Larger bottles will provide more space for the roots to grow, but they may also be more difficult to move around.
* Get Creative with Your Bottle Design: Don’t be afraid to get creative with your bottle design! You can paint the bottles, decorate them with stickers, or even create a vertical garden by stacking multiple bottles on top of each other.
Growing kale in plastic bottles is a rewarding and sustainable way to enjoy fresh, homegrown produce. With a little bit of effort and attention, you can transform those empty plastic bottles into thriving mini-gardens. So, grab your supplies, get planting, and enjoy the delicious taste of homegrown kale! Happy gardening!
Conclusion
So, there you have it! Growing kale in plastic bottles isn’t just a quirky gardening experiment; it’s a genuinely effective and sustainable way to cultivate fresh, nutritious greens, even if you’re short on space or resources. We’ve walked you through the entire process, from preparing your bottles to harvesting your vibrant kale leaves. The beauty of this method lies in its simplicity and accessibility. Anyone can do it, regardless of their gardening experience.
Why is this DIY trick a must-try? Because it empowers you to take control of your food source, reduces waste by repurposing plastic bottles, and provides a continuous supply of fresh kale right at your fingertips. Imagine stepping outside your door and snipping off a handful of kale leaves for your morning smoothie, knowing exactly where they came from and how they were grown. That’s the power of this simple yet transformative technique.
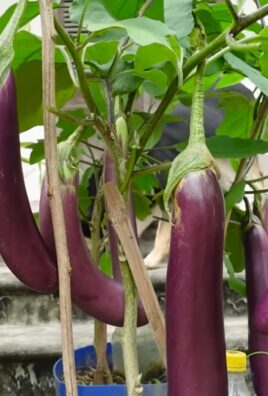
But the fun doesn’t stop there! Feel free to experiment with different varieties of kale. Curly kale, Lacinato kale (also known as dinosaur kale), and Red Russian kale all thrive in container environments. You can also try adding companion plants like marigolds or basil to your bottle gardens to deter pests and enhance the flavor of your kale. Consider using different types of soil mixes to see which one yields the best results in your specific climate. Perhaps a mix with more compost will give you a richer, more vibrant green.
For those looking to take their bottle gardening to the next level, consider creating a vertical garden by stacking or hanging your bottle planters. This not only maximizes space but also adds a visually appealing element to your balcony, patio, or even indoor space. You can even get creative with the bottle design, painting them or adding decorative elements to personalize your garden.
Don’t be afraid to experiment and adapt the method to suit your own needs and preferences. The key is to have fun and enjoy the process of growing your own food.
We are confident that you’ll find this DIY project rewarding and fulfilling. The satisfaction of harvesting your own homegrown kale is unparalleled. It’s a testament to the fact that even the smallest efforts can yield significant results when it comes to sustainable living and healthy eating.
So, what are you waiting for? Gather your plastic bottles, grab some soil, and start growing kale today! We encourage you to share your experiences with us. Post pictures of your bottle gardens on social media using #BottleKale and let us know what you’ve learned. Your insights and tips can inspire others to embark on their own gardening adventures. Let’s create a community of bottle gardeners and spread the joy of growing our own food! This is a fantastic way to grow kale in a sustainable and space-saving manner.
Frequently Asked Questions (FAQ)
What type of plastic bottles are best for growing kale?
Ideally, you should use food-grade plastic bottles, such as those that previously contained water, juice, or soda. Avoid using bottles that held harsh chemicals or cleaning products, as these could contaminate the soil and affect the growth of your kale. PET (polyethylene terephthalate) bottles are generally considered safe for this purpose. Make sure to thoroughly wash and rinse the bottles before using them. The size of the bottle will depend on the variety of kale you are growing, but larger bottles (2-3 liters) are generally recommended to provide enough space for the roots to develop.
How often should I water my kale plants in plastic bottles?
The watering frequency will depend on several factors, including the climate, the type of soil you’re using, and the size of the bottle. As a general rule, water your kale plants when the top inch of soil feels dry to the touch. Avoid overwatering, as this can lead to root rot. During hot, dry weather, you may need to water your plants daily, while during cooler, wetter weather, you may only need to water them every few days. Ensure that the bottles have adequate drainage holes to prevent water from accumulating at the bottom.
What kind of soil should I use for growing kale in plastic bottles?
A well-draining potting mix is essential for growing healthy kale in plastic bottles. You can use a commercially available potting mix or create your own by combining equal parts of garden soil, compost, and perlite or vermiculite. The compost will provide nutrients for the kale plants, while the perlite or vermiculite will improve drainage and aeration. Avoid using heavy clay soil, as it can become waterlogged and suffocate the roots. Adding some slow-release fertilizer to the soil mix can also help to provide a steady supply of nutrients to the plants.
How much sunlight do kale plants need when grown in plastic bottles?
Kale thrives in full sun, which means it needs at least 6 hours of direct sunlight per day. If you’re growing your kale plants indoors, you may need to supplement with artificial lighting, such as grow lights. Place your bottle gardens in a sunny location, such as a south-facing window or balcony. If you live in a particularly hot climate, you may need to provide some afternoon shade to prevent the leaves from scorching. Rotate the bottles regularly to ensure that all sides of the plants receive adequate sunlight.
How do I protect my kale plants from pests and diseases?
While growing kale in plastic bottles can help to minimize pest and disease problems, it’s still important to take precautions. Regularly inspect your plants for signs of pests, such as aphids, cabbage worms, or flea beetles. You can remove these pests by hand or spray the plants with insecticidal soap or neem oil. To prevent fungal diseases, ensure that the plants have good air circulation and avoid overwatering. If you notice any signs of disease, such as yellowing or wilting leaves, remove the affected leaves immediately. Consider using companion planting to deter pests naturally.
When is the best time to harvest kale leaves from my bottle garden?
You can start harvesting kale leaves when they are about 4-6 inches long. Harvest the outer leaves first, leaving the inner leaves to continue growing. This will encourage the plant to produce more leaves. Avoid harvesting more than one-third of the plant at a time, as this can stress the plant and reduce its yield. Kale leaves are best harvested in the morning, when they are crisp and tender. Wash the leaves thoroughly before using them.
Can I grow kale in plastic bottles indoors during the winter?
Yes, you can grow kale in plastic bottles indoors during the winter, provided that you can provide adequate light and warmth. Place your bottle gardens near a sunny window or supplement with grow lights. Keep the temperature between 60-70°F (15-21°C). Water the plants less frequently during the winter, as they will not be growing as actively. You may also need to fertilize the plants less often. With proper care, you can enjoy fresh kale throughout the winter months.
How long will my kale plants last in plastic bottles?
With proper care, kale plants can last for several months in plastic bottles. However, they will eventually become root-bound and need to be transplanted into larger containers or into the ground. You can also propagate new kale plants from cuttings taken from the original plants. To extend the life of your kale plants, provide them with regular fertilization, adequate watering, and protection from pests and diseases. Regularly prune the plants to remove any dead or yellowing leaves.
Leave a Comment