

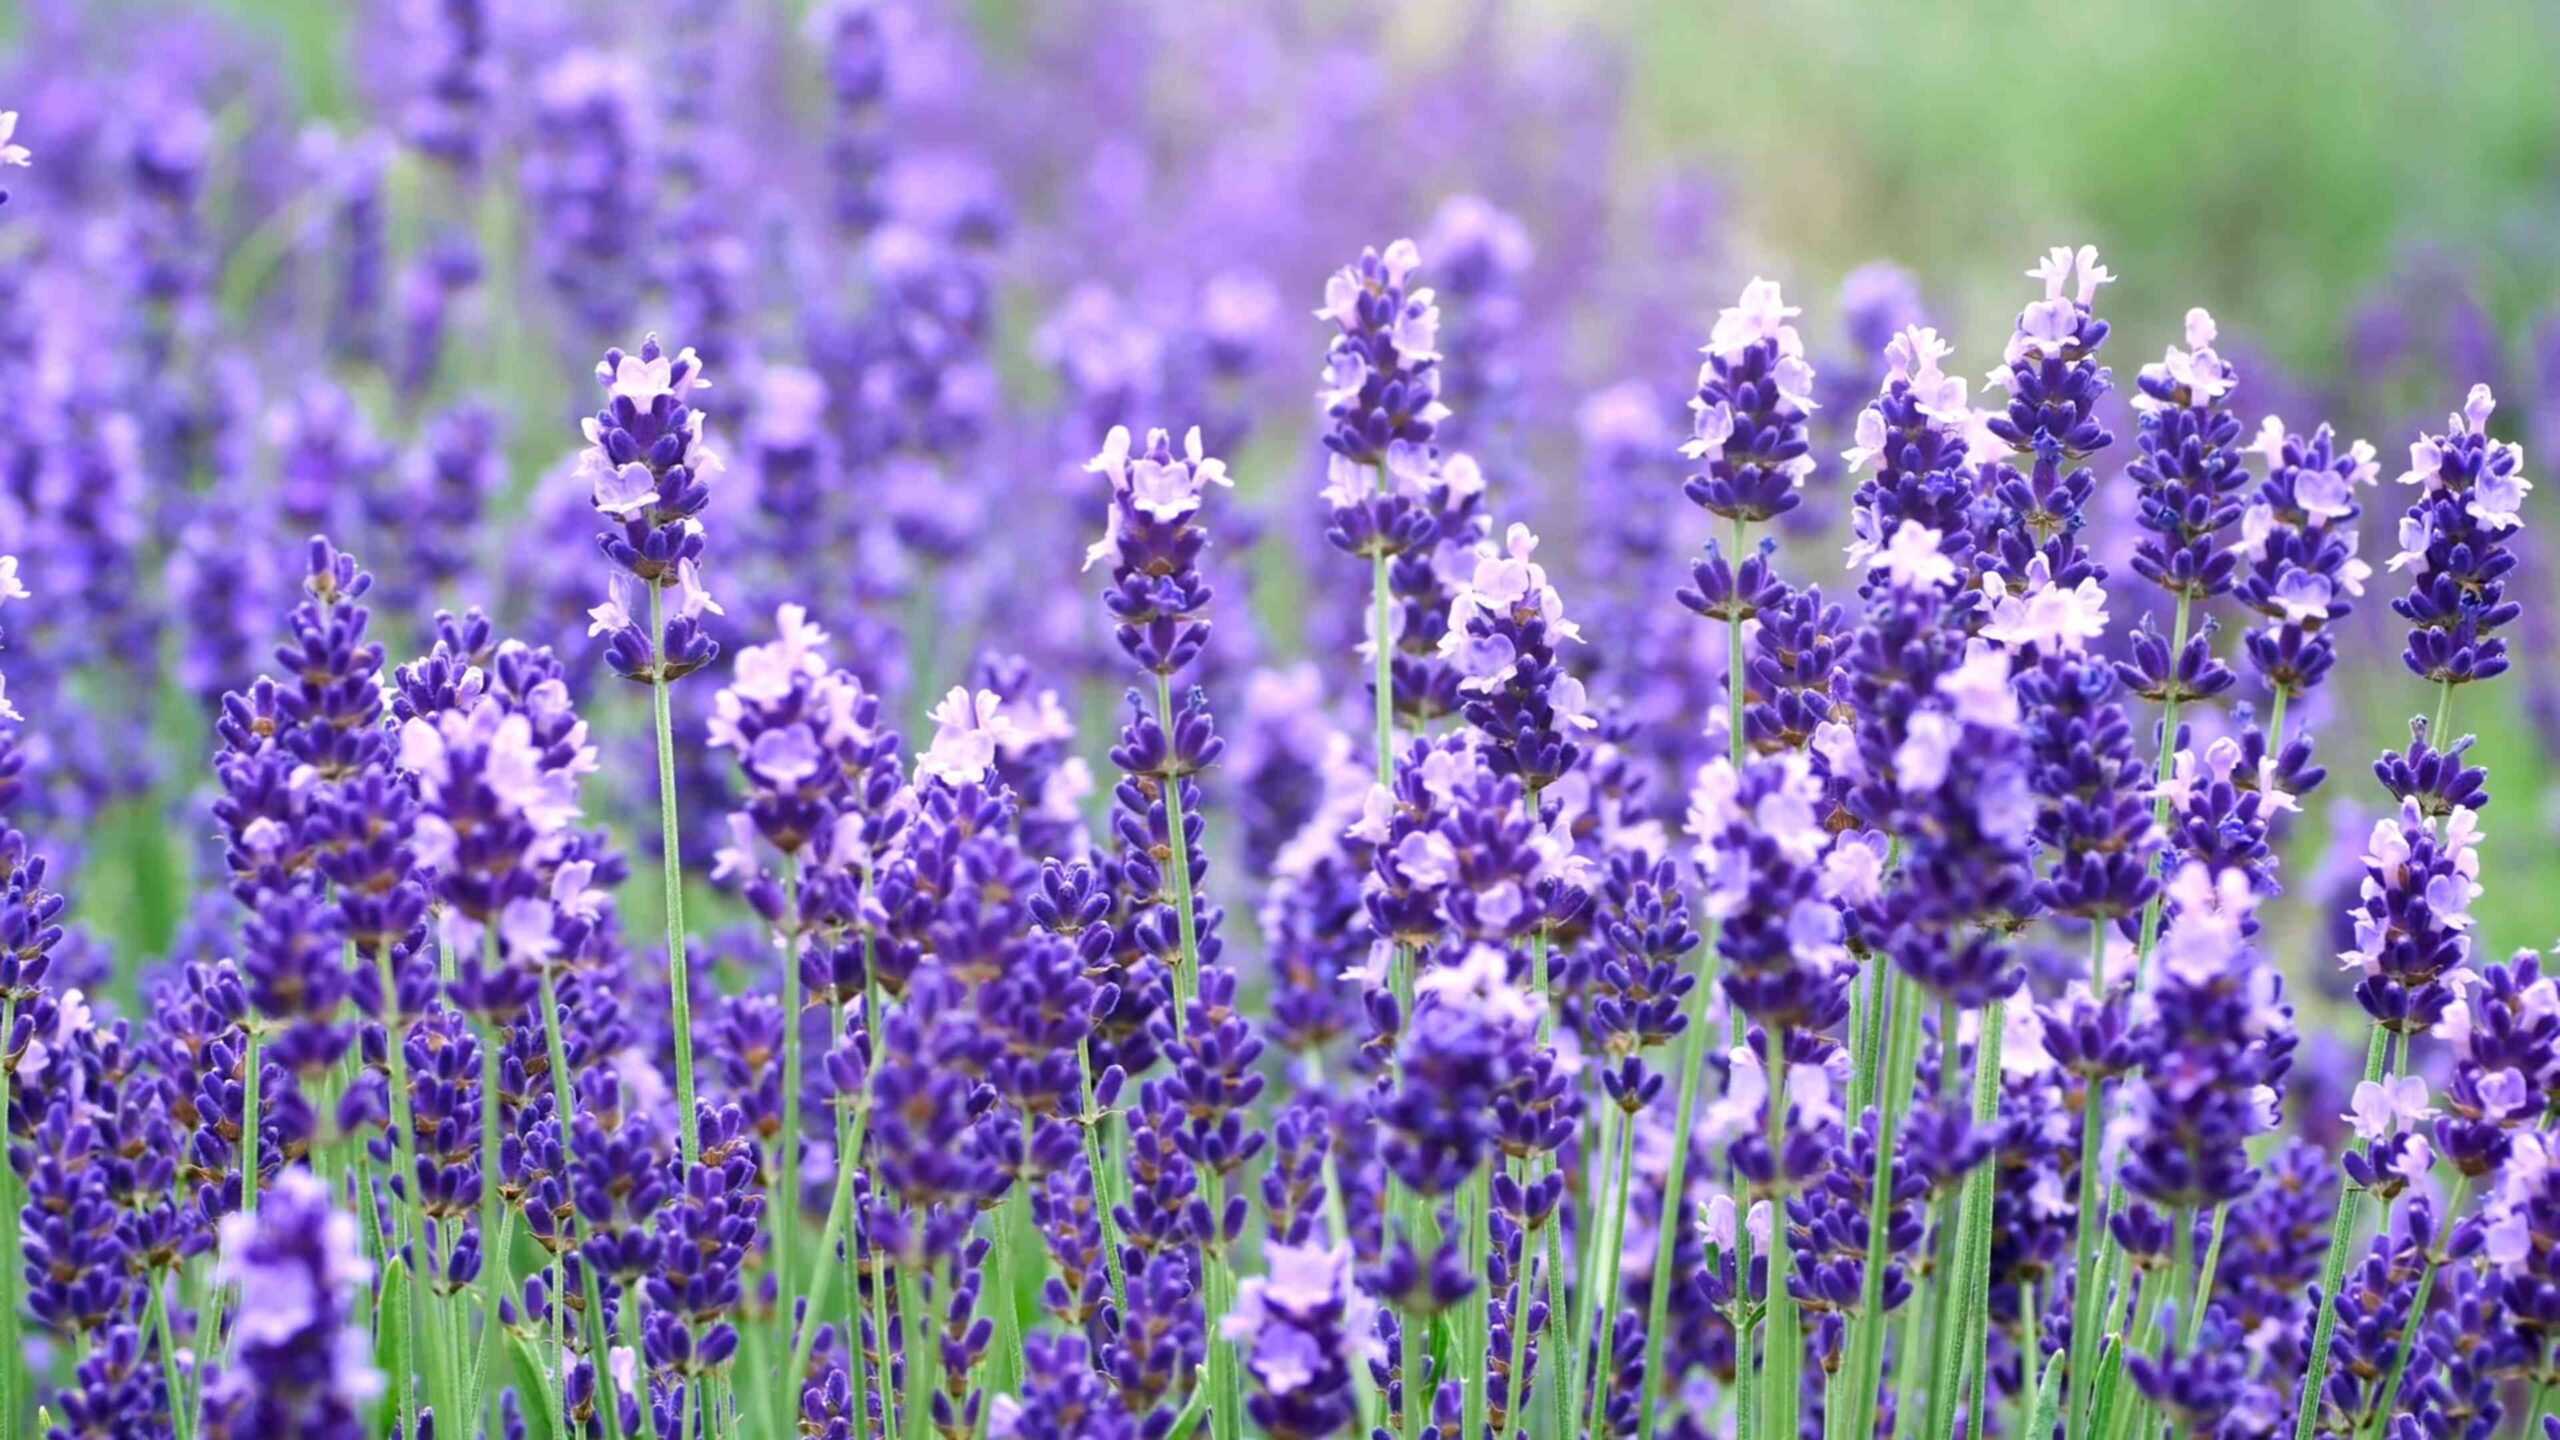
Grow Lavender Shrubs and transform your garden into a fragrant, buzzing haven! Have you ever dreamt of strolling through your own little Provence, inhaling the calming scent of lavender as bees happily hum around you? Well, dream no more! This isn’t just about planting a pretty flower; it’s about creating an experience, a sanctuary, right in your backyard.
Lavender, with its rich history dating back to ancient Rome where it was used for its medicinal and aromatic properties, has captivated cultures for centuries. From Cleopatra’s perfumes to Victorian potpourri, lavender’s allure is timeless. But beyond its historical charm, growing lavender shrubs offers a practical solution for modern-day gardeners.
I know, I know, gardening can sometimes feel intimidating, especially when you’re aiming for those picture-perfect blooms. That’s why I’m sharing my favorite DIY tricks and hacks to help you successfully grow lavender shrubs, even if you don’t have a green thumb! We’ll cover everything from choosing the right variety for your climate to mastering the art of pruning for abundant blooms. Say goodbye to struggling with leggy, lackluster lavender and hello to thriving, fragrant bushes that will be the envy of the neighborhood. Let’s get our hands dirty and unlock the secrets to lavender success!
DIY: Transforming Your Garden with Lavender Shrubs
Alright, fellow garden enthusiasts! Today, we’re diving into the aromatic world of lavender and learning how to propagate these beauties ourselves. Forget buying expensive plants from the nursery; we’re going to create our own lavender shrubs from cuttings. It’s easier than you think, and the reward of seeing those tiny cuttings blossom into fragrant, thriving plants is incredibly satisfying.
Understanding Lavender Propagation
Before we get our hands dirty, let’s understand the basics. Lavender is typically propagated through stem cuttings, which are essentially small pieces of the plant that, under the right conditions, will develop roots and grow into new, independent plants. The best time to take cuttings is usually in late spring or early summer, after the first flush of blooms. This is when the plant is actively growing and has plenty of energy to spare.
Why propagate from cuttings?
* Cost-effective: It’s significantly cheaper than buying established plants.
* Genetic consistency: Cuttings produce clones of the parent plant, ensuring you get the same characteristics (fragrance, color, growth habit).
* Control: You can choose the healthiest and most vigorous stems for propagation.
* Satisfaction: There’s nothing quite like the feeling of nurturing a plant from a tiny cutting to a mature shrub.
Materials You’ll Need
Gathering your supplies beforehand will make the whole process smoother. Here’s what you’ll need:
* Healthy Lavender Plant: Choose a mature, healthy lavender plant as your source. Look for vigorous growth and no signs of disease or pests.
* Sharp, Clean Pruning Shears or Knife: Sharpness is crucial for clean cuts that heal quickly. Sterilize your tools with rubbing alcohol to prevent the spread of disease.
* Rooting Hormone (Optional): While not strictly necessary, rooting hormone can significantly increase the success rate of your cuttings.
* Small Pots or Seed Trays: Choose pots or trays with good drainage.
* Well-Draining Potting Mix: A mix of perlite, vermiculite, and peat moss or coconut coir works well. Avoid using garden soil, as it can be too heavy and retain too much moisture.
* Watering Can or Spray Bottle: For gentle watering.
* Clear Plastic Bag or Humidity Dome (Optional): To create a humid environment for the cuttings.
* Labels and a Pen: To keep track of your cuttings (especially if you’re propagating different varieties).
Taking Lavender Cuttings: A Step-by-Step Guide
Now for the fun part! Let’s get those cuttings ready.
1. Prepare Your Workspace: Find a clean, well-lit area to work. Gather all your materials and have them within easy reach.
2. Select Healthy Stems: Look for new growth stems that are about 4-6 inches long. These are usually green and flexible, not woody and brown. Avoid stems that have flowers or buds on them.
3. Take the Cuttings: Using your sharp, sterilized pruning shears or knife, make a clean cut just below a leaf node (the point where leaves grow from the stem). Aim for a 45-degree angle.
4. Prepare the Cuttings: Remove the leaves from the bottom 1-2 inches of the cutting. This will prevent the leaves from rotting when they’re buried in the potting mix. Gently scrape the bottom of the stem with your knife to encourage root formation.
5. Apply Rooting Hormone (Optional): If using rooting hormone, dip the bottom inch of the cutting into the powder or liquid. Tap off any excess.
6. Plant the Cuttings: Fill your pots or seed trays with the well-draining potting mix. Make a small hole in the center of each pot with a pencil or your finger. Gently insert the cutting into the hole, ensuring that the bottom 1-2 inches are buried.
7. Water the Cuttings: Water the cuttings gently but thoroughly, allowing the excess water to drain out.
8. Create a Humid Environment: Cover the pots or trays with a clear plastic bag or place them under a humidity dome. This will help to keep the cuttings moist and prevent them from drying out. Make sure the bag or dome doesn’t touch the leaves.
9. Label Your Cuttings: Label each pot or tray with the date and the variety of lavender (if known).
10. Place in a Bright, Indirect Light: Place the cuttings in a location that receives bright, indirect light. Avoid direct sunlight, as this can scorch the leaves.
11. Monitor and Water Regularly: Check the cuttings regularly to ensure that the potting mix remains moist but not waterlogged. Water as needed, usually every few days. Remove the plastic bag or dome for a few hours each day to allow for air circulation and prevent fungal growth.
Caring for Your Cuttings: The Waiting Game
Patience is key! It can take several weeks for the cuttings to develop roots.
* Humidity is Your Friend: Maintaining high humidity is crucial during the rooting process. If you’re using a plastic bag, mist the inside of the bag regularly to keep the humidity up.
* Light Matters: Bright, indirect light is ideal. Avoid direct sunlight, which can overheat the cuttings.
* Watering Wisely: Overwatering is a common mistake. The potting mix should be moist, not soggy. Allow the top inch of the soil to dry out slightly between waterings.
* Ventilation is Important: Open the plastic bag or lift the humidity dome for a few hours each day to allow for air circulation. This will help to prevent fungal diseases.
* Be Patient: Rooting can take anywhere from 4 to 8 weeks, depending on the variety of lavender and the environmental conditions.
Checking for Root Development
After a few weeks, you can gently check for root development. Tug lightly on the cutting. If you feel resistance, it means roots have formed. You can also gently remove a cutting from the pot and examine the roots.
Transplanting Your Rooted Cuttings
Once your cuttings have developed a good root system, it’s time to transplant them into larger pots or directly into your garden.
1. Choose the Right Location: Lavender thrives in full sun and well-drained soil. Choose a location in your garden that meets these requirements.
2. Prepare the Soil: Amend the soil with compost or other organic matter to improve drainage and fertility.
3. Dig a Hole: Dig a hole that is slightly larger than the root ball of the cutting.
4. Gently Remove the Cutting: Carefully remove the rooted cutting from its pot, being careful not to damage the roots.
5. Plant the Cutting: Place the cutting in the hole and backfill with soil. Gently firm the soil around the base of the plant.
6. Water Thoroughly: Water the newly transplanted cutting thoroughly.
7. Mulch Around the Plant: Apply a layer of mulch around the base of the plant to help retain moisture and suppress weeds.
Ongoing Care for Your Lavender Shrubs
Congratulations! You’ve successfully propagated your own lavender shrubs. Here’s how to keep them thriving:
* Watering: Water deeply but infrequently, allowing the soil to dry out between waterings. Lavender is drought-tolerant once established.
* Fertilizing: Lavender doesn’t need a lot of fertilizer. A light feeding with a balanced fertilizer in the spring is usually sufficient.
* Pruning: Prune your lavender shrubs annually in late summer or early fall, after the flowers have faded. This will help to maintain their shape and encourage bushier growth. Cut back about one-third of the plant, being careful not to cut into the old wood.
* Winter Protection: In colder climates, protect your lavender shrubs from frost by covering them with a layer of mulch or burlap.
Troubleshooting Common Problems
Even with the best care, you might encounter some problems. Here are a few common issues and how to address them:
* Cuttings Rotting: This is usually caused by overwatering or poor drainage. Make sure your potting mix is well-draining and avoid overwatering.
* Cuttings Drying Out: This is usually caused by low humidity. Make sure to keep the cuttings covered with a plastic bag or humidity dome.
* Yellowing Leaves: This can be caused by overwatering, underwatering, or nutrient deficiencies. Adjust your watering schedule and fertilize as needed.
* Pests and Diseases: Lavender is generally pest-resistant, but it can be susceptible to aphids, spider mites, and fungal diseases. Inspect your plants regularly and treat any problems promptly.
Enjoying Your Lavender
Now that you’ve successfully propagated and grown your own lavender shrubs, it’s time to enjoy the fruits (or rather, flowers) of your labor! Lavender is a versatile plant that can be used in a variety of
Conclusion
So, there you have it! Growing your own lavender shrubs isn’t just a gardening project; it’s an investment in tranquility, beauty, and a fragrant haven right in your backyard. We’ve walked through the essential steps, from selecting the right variety and preparing the soil to planting, nurturing, and harvesting your lavender. The benefits extend far beyond aesthetics. Imagine snipping fresh lavender sprigs for homemade sachets, infusing your culinary creations with its delicate flavor, or simply enjoying the calming aroma as you relax on your patio.
This DIY approach to cultivating lavender offers a level of control and satisfaction that you simply can’t get from purchasing pre-grown plants. You get to choose the specific variety that suits your climate and preferences, ensuring a thriving and long-lasting addition to your landscape. Plus, the process itself is incredibly rewarding, connecting you with nature and providing a sense of accomplishment as you watch your lavender shrubs flourish.
Don’t be afraid to experiment! Consider variations like creating a lavender hedge for privacy, planting lavender in containers for portability, or even incorporating different companion plants to enhance its growth and attract beneficial insects. You could try different soil amendments to see what works best in your specific location. Perhaps you want to experiment with different pruning techniques to achieve a specific shape or size for your shrubs. The possibilities are endless!
Growing lavender shrubs is a journey, not just a destination. There will be challenges along the way, but with patience and attention, you’ll be rewarded with a stunning display of purple blooms and a wealth of fragrant possibilities.
We wholeheartedly encourage you to give this DIY trick a try. It’s easier than you might think, and the results are truly worth the effort. Once you’ve embarked on your lavender-growing adventure, we’d love to hear about your experience! Share your tips, successes, and even your challenges in the comments below. Let’s create a community of lavender enthusiasts, sharing our knowledge and inspiring each other to cultivate beautiful and fragrant gardens. So, grab your gardening gloves, prepare your soil, and get ready to experience the joy of growing your own lavender shrubs!
Frequently Asked Questions (FAQ)
What is the best time of year to plant lavender shrubs?
The ideal time to plant lavender is in the spring, after the last frost, or in the early fall, giving the plants time to establish their roots before the winter. Spring planting allows for a full growing season, while fall planting allows the roots to develop during the cooler months, resulting in a stronger plant in the spring. Avoid planting during the hottest months of summer, as the heat stress can hinder root development. Consider your local climate and growing season when making your decision. If you live in an area with mild winters, fall planting may be preferable. If you experience harsh winters, spring planting is generally recommended.
What type of soil is best for growing lavender?
Lavender thrives in well-drained, slightly alkaline soil. Heavy clay soils can be problematic, as they retain too much moisture and can lead to root rot. Amend clay soils with plenty of organic matter, such as compost or well-rotted manure, to improve drainage. Sandy soils are also suitable, as they provide excellent drainage, but they may require more frequent watering. A soil pH of between 6.5 and 8.0 is ideal. You can test your soil pH using a home testing kit or by sending a sample to a local agricultural extension office. If your soil is too acidic, you can amend it with lime to raise the pH.
How much sunlight does lavender need?
Lavender requires at least six to eight hours of direct sunlight per day to thrive. Insufficient sunlight can result in leggy growth, fewer blooms, and a weaker plant overall. Choose a planting location that receives full sun throughout the day. If you live in a particularly hot climate, some afternoon shade may be beneficial to prevent scorching. Observe the sunlight patterns in your garden throughout the day to determine the best location for your lavender shrubs.
How often should I water my lavender plants?
Lavender is drought-tolerant once established, so it’s important not to overwater it. Water deeply but infrequently, allowing the soil to dry out completely between waterings. Overwatering can lead to root rot, which is a common problem for lavender. During the first year after planting, water more frequently to help the plants establish their roots. After that, water only when the soil is dry to the touch. Avoid watering the foliage, as this can promote fungal diseases. Use a soaker hose or drip irrigation to water the base of the plants.
How do I prune lavender shrubs?
Pruning is essential for maintaining the shape and health of your lavender shrubs. Prune annually in the late summer or early fall, after the flowers have faded. Remove about one-third of the plant’s growth, cutting back to just above a leaf node. Avoid cutting into the old wood, as this can prevent new growth. Pruning encourages bushier growth and more abundant blooms. You can also prune lightly in the spring to remove any dead or damaged growth.
What are some common pests and diseases that affect lavender?
Lavender is generally resistant to pests and diseases, but it can be susceptible to certain problems, such as root rot, fungal diseases, and spittlebugs. Root rot is caused by overwatering and poorly drained soil. Prevent root rot by planting lavender in well-drained soil and avoiding overwatering. Fungal diseases, such as powdery mildew, can occur in humid conditions. Improve air circulation around the plants by spacing them properly and pruning regularly. Spittlebugs are small insects that create a frothy substance on the stems of the plants. They are generally harmless and can be removed by hand or with a strong spray of water.
Can I grow lavender in containers?
Yes, lavender can be successfully grown in containers. Choose a pot that is at least 12 inches in diameter and has drainage holes. Use a well-draining potting mix and water regularly, allowing the soil to dry out between waterings. Place the container in a location that receives full sun. Container-grown lavender may need to be fertilized more frequently than lavender grown in the ground. Use a balanced fertilizer diluted to half strength.
How do I harvest lavender?
Harvest lavender when the flowers are fully open and fragrant. Cut the stems in the morning, after the dew has dried. Bundle the stems together and hang them upside down in a cool, dry, and dark place to dry. Once the lavender is dry, you can strip the flowers from the stems and use them in sachets, potpourri, or culinary creations. Dried lavender can be stored in an airtight container for up to a year.
What are some uses for lavender?
Lavender has a wide range of uses, including aromatherapy, culinary applications, and crafting. The scent of lavender is known for its calming and relaxing properties. Use lavender essential oil in diffusers, bath products, or massage oils. Lavender flowers can be used to flavor baked goods, teas, and other culinary dishes. Dried lavender flowers can be used to make sachets, potpourri, and other crafts. Lavender is also a popular ingredient in soaps, lotions, and other personal care products.
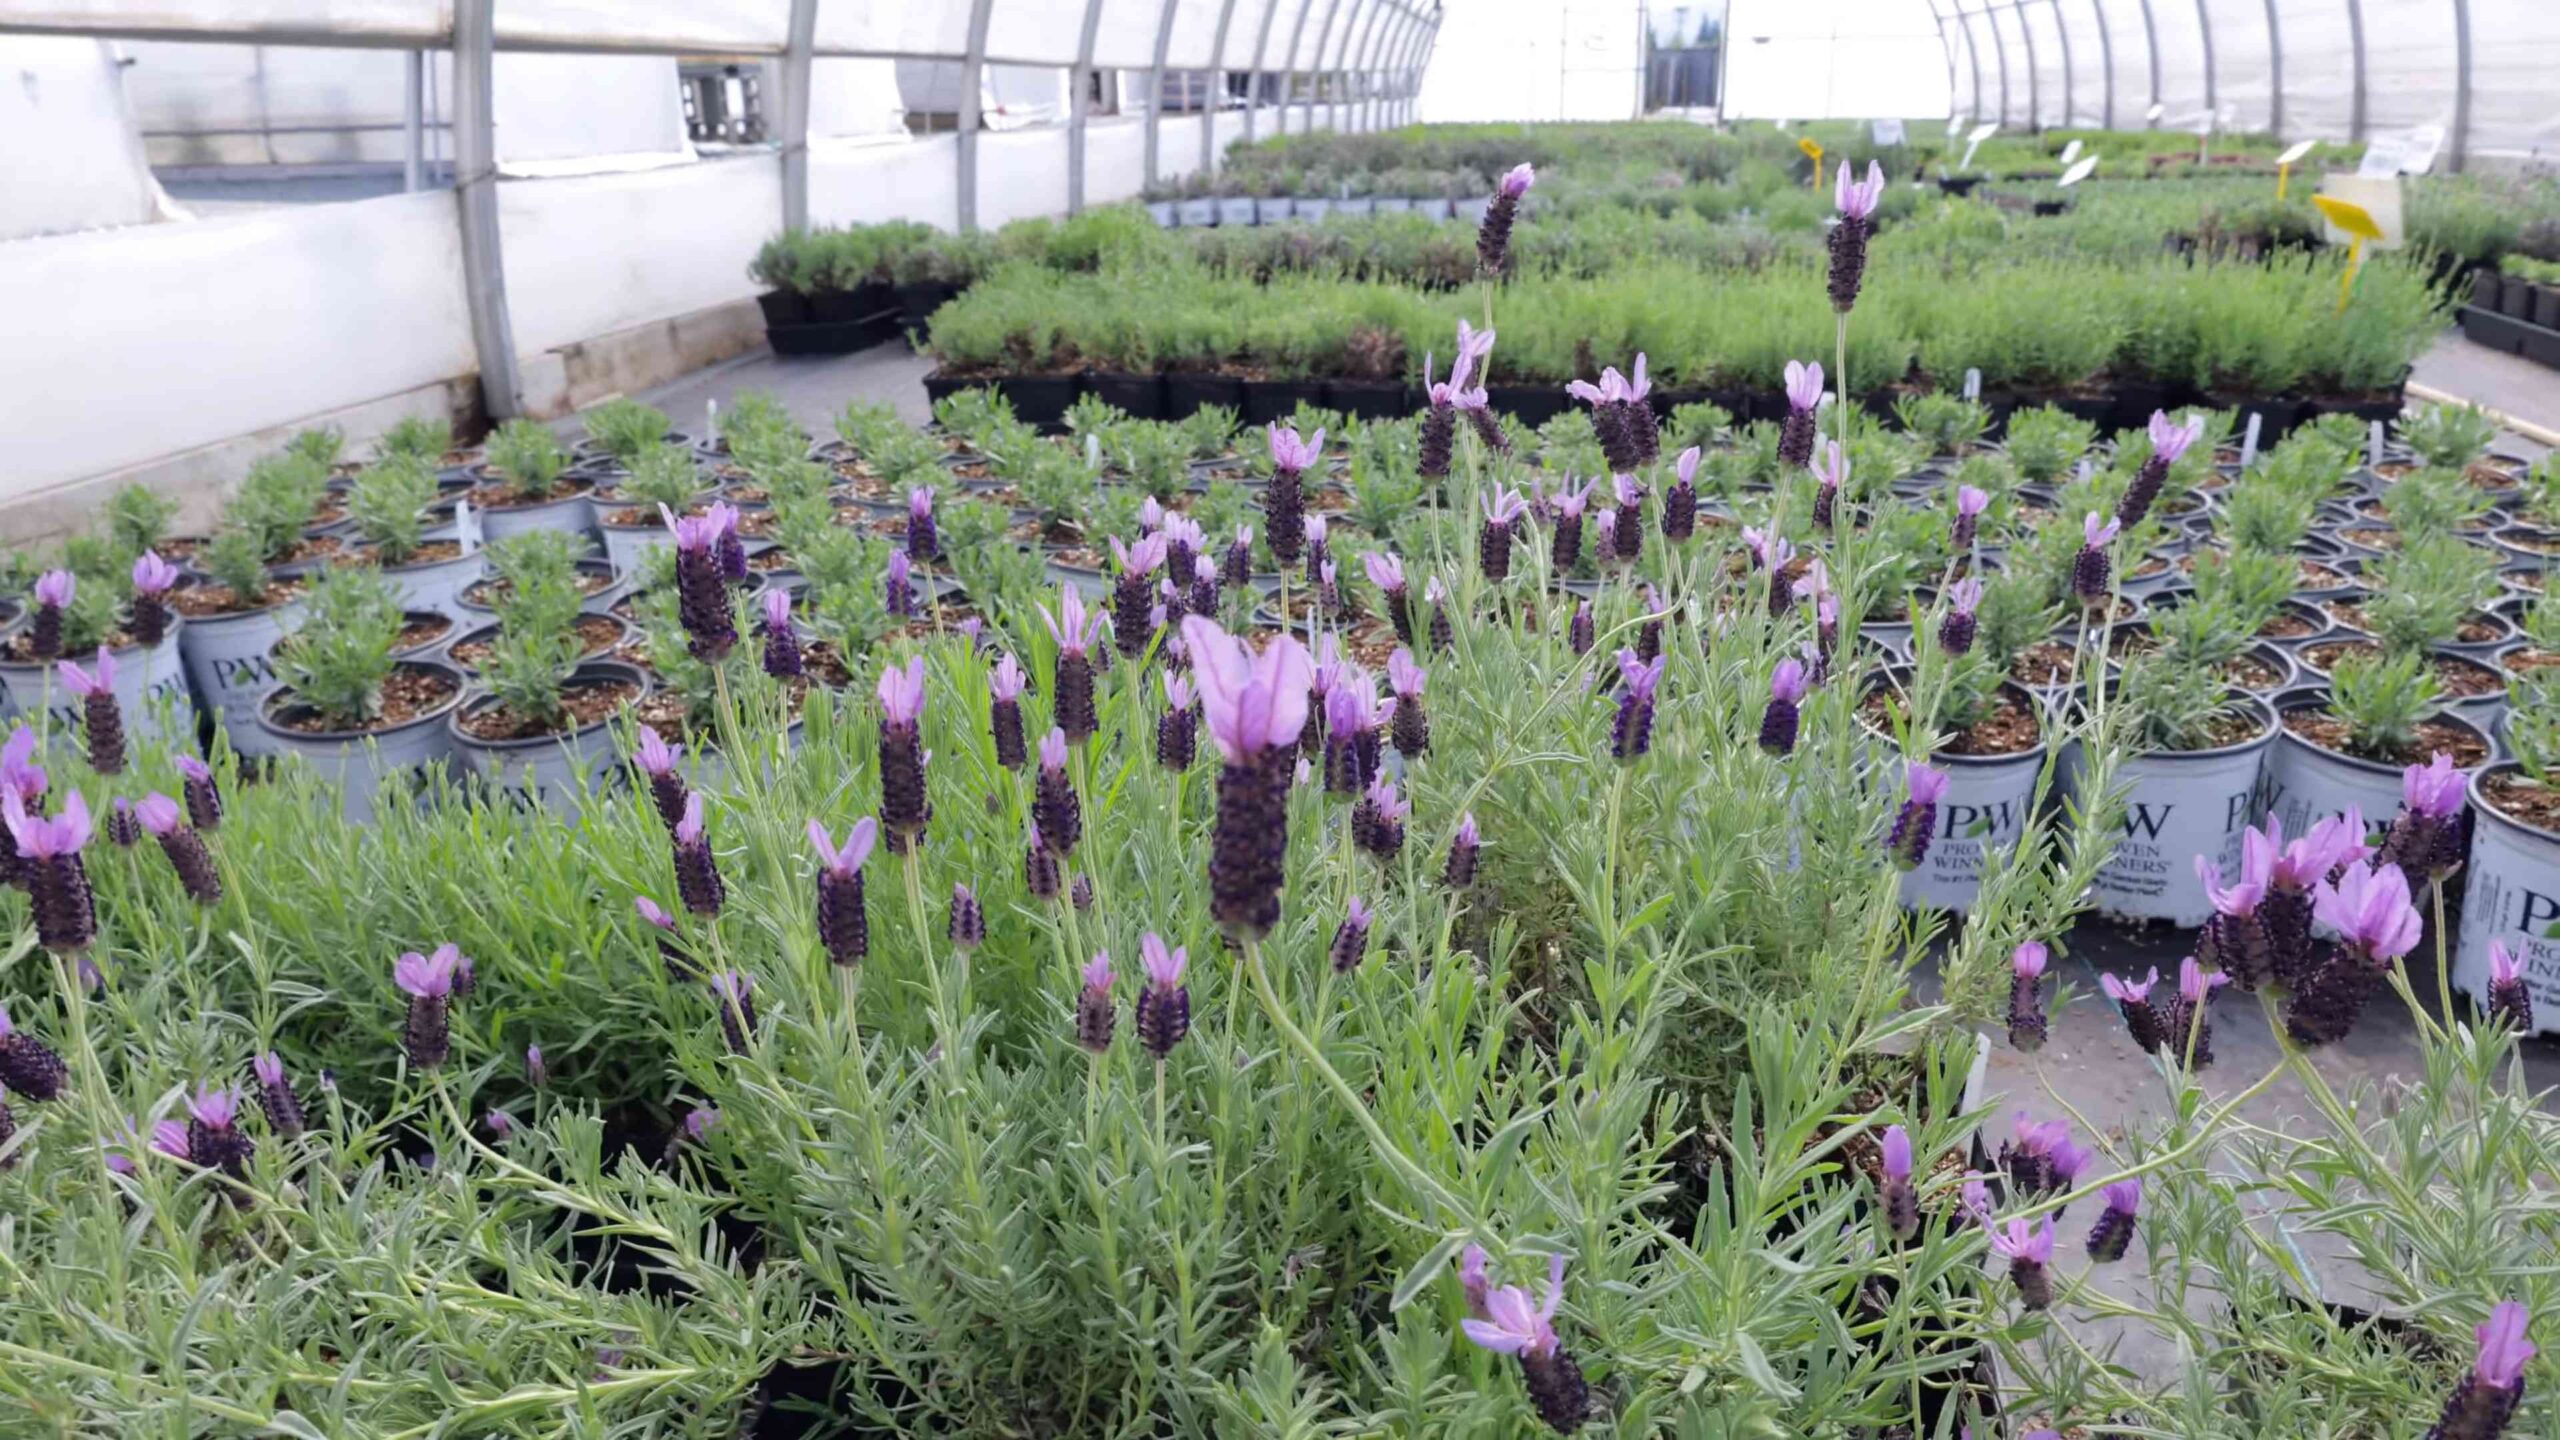
What varieties of lavender are best for my climate?
The best lavender variety for your climate depends on your local growing conditions. English lavender (Lavandula angustifolia) is a popular choice for cooler climates, while Spanish lavender (Lavandula stoechas) is better suited for warmer climates. French lavender (Lavandula dentata) is another option for mild climates. Consider your local climate and growing season when choosing a lavender variety. Consult with a local nursery or garden center for recommendations on the best varieties for your area.
Leave a Comment