

Grow Leaf Mustard, and you’ll unlock a world of peppery flavor right outside your door! Forget those bland, pre-packaged greens from the supermarket. Imagine stepping into your garden and snipping fresh, vibrant mustard leaves to add a zesty kick to your salads, stir-fries, or even a spicy pesto. Sounds amazing, right?
Leaf mustard, a staple in Asian cuisine for centuries, has a rich history. From its use in traditional medicine to its culinary versatility, this leafy green has nourished and delighted palates across cultures. But you don’t need to be a seasoned gardener to enjoy its benefits. I’m here to show you some simple DIY tricks and hacks that will make growing leaf mustard a breeze, even if you have limited space or experience.
Why do you need these DIY tricks? Because let’s face it, gardening can sometimes feel overwhelming. But with the right knowledge and a few clever shortcuts, you can bypass common pitfalls and enjoy a bountiful harvest. I’ll guide you through everything from seed selection and soil preparation to pest control and harvesting techniques. You’ll learn how to grow leaf mustard successfully, saving money, reducing your carbon footprint, and enjoying the unparalleled taste of homegrown goodness. So, grab your gardening gloves, and let’s get started!
Growing Leaf Mustard: A DIY Guide to a Zesty Harvest
Hey there, fellow gardeners! I’m so excited to share my experience with growing leaf mustard. It’s a fantastic, fast-growing green that adds a peppery kick to salads, stir-fries, and more. Plus, it’s surprisingly easy to cultivate, even if you’re a beginner like I once was. Let’s dive into how you can grow your own delicious leaf mustard!
Choosing Your Mustard Variety
First things first, let’s talk about the different types of leaf mustard you can grow. There’s a whole world of flavors and textures out there! Here are a few of my favorites:
- Southern Giant Curled: This is a classic, reliable variety with large, frilly leaves and a mild mustard flavor. It’s a great choice for beginners.
- Red Giant: As the name suggests, this variety has beautiful reddish-purple leaves and a slightly stronger, more pungent flavor. It adds a lovely visual element to your garden and your plate.
- Osaka Purple: Similar to Red Giant, but with even deeper purple hues. It’s incredibly flavorful and adds a real punch to any dish.
- Mizuna: This Japanese mustard green has feathery, serrated leaves and a mild, slightly peppery flavor. It’s perfect for salads and stir-fries.
- Komatsuna (Spinach Mustard): A milder, spinach-like mustard green that’s incredibly versatile. It can be eaten raw or cooked.
I recommend trying a few different varieties to see which ones you like best. I usually grow Southern Giant Curled and Red Giant because they’re easy to find and offer a good balance of flavor and texture.
Preparing Your Garden Bed
Mustard greens are pretty adaptable, but they thrive in well-drained soil that’s rich in organic matter. Here’s how I prepare my garden bed:
- Choose a sunny location: Mustard greens need at least 6 hours of sunlight per day.
- Clear the area: Remove any weeds, rocks, or debris from the planting area.
- Amend the soil: This is crucial! I like to add plenty of compost or well-rotted manure to improve the soil’s fertility and drainage. You can also incorporate some slow-release fertilizer.
- Loosen the soil: Use a garden fork or tiller to loosen the soil to a depth of about 6-8 inches. This will make it easier for the mustard seeds to germinate and grow.
- Smooth the surface: Rake the soil to create a smooth, even surface.
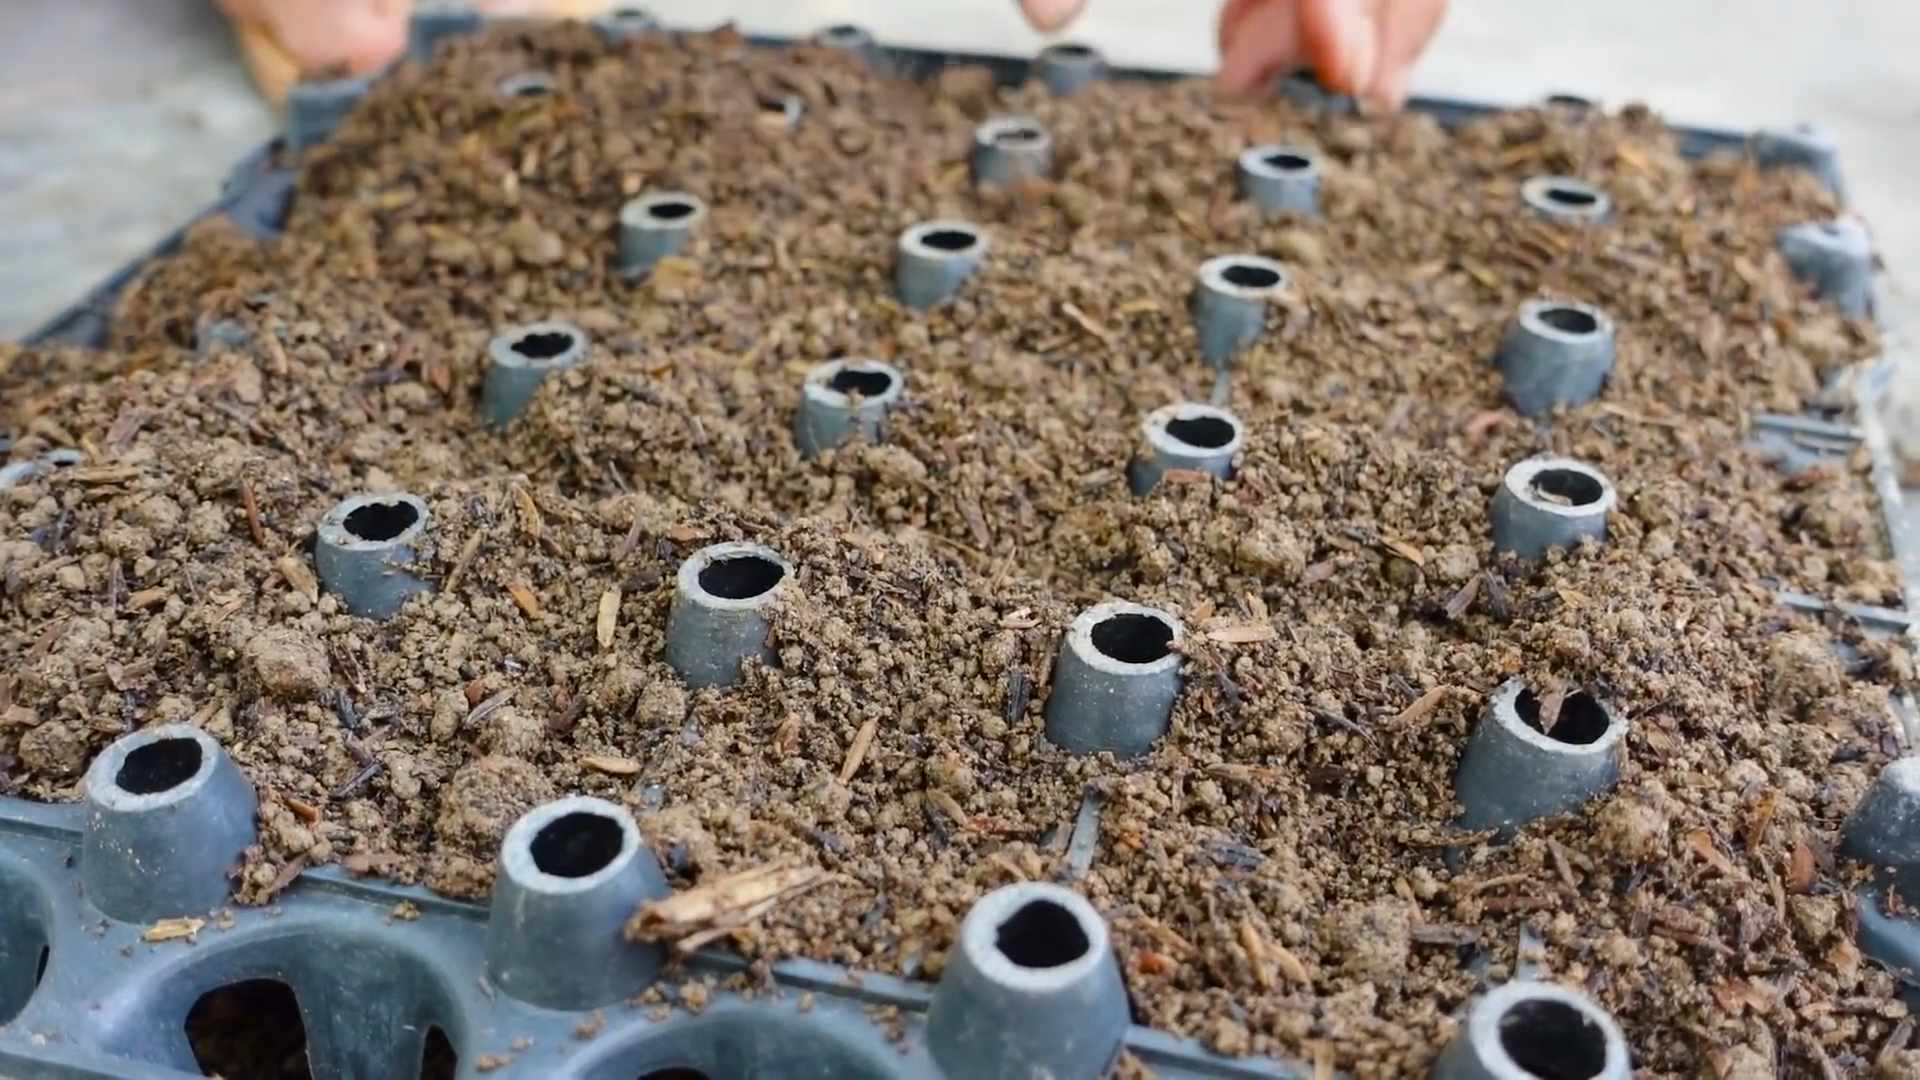
Sowing the Seeds
Now for the fun part – planting the seeds! Mustard greens can be sown directly into the garden bed, which is what I usually do.
- Timing is key: Mustard greens are cool-season crops, so the best time to plant them is in early spring or late summer/early fall. I usually plant my first crop in early April and my second crop in late August.
- Sowing the seeds: Sprinkle the seeds evenly over the prepared soil. You can also sow them in rows, spacing the rows about 6-8 inches apart.
- Cover the seeds: Lightly cover the seeds with about ¼ inch of soil.
- Water gently: Use a watering can or a gentle spray nozzle to water the soil thoroughly. Be careful not to wash away the seeds.
- Keep the soil moist: The soil needs to stay consistently moist until the seeds germinate, which usually takes about 5-7 days.
Caring for Your Mustard Greens
Once your mustard greens have sprouted, it’s important to provide them with the right care to ensure a healthy and abundant harvest.
- Thinning: When the seedlings are about 2 inches tall, thin them out so that they are spaced about 2-4 inches apart. This will give them enough room to grow and prevent overcrowding. I hate doing this, but it’s necessary!
- Watering: Mustard greens need consistent moisture, especially during hot, dry weather. Water them regularly, but avoid overwatering, which can lead to root rot. I usually water them deeply once or twice a week, depending on the weather.
- Weeding: Keep the garden bed free of weeds, which can compete with the mustard greens for nutrients and water. I like to hand-pull weeds as soon as I see them.
- Fertilizing: If your soil is poor, you may need to fertilize your mustard greens. I usually side-dress them with a balanced fertilizer about 3-4 weeks after planting.
- Pest control: Mustard greens can be susceptible to pests such as aphids, flea beetles, and cabbage worms. I usually inspect my plants regularly and take action if I see any signs of infestation. For aphids, I use a strong spray of water or insecticidal soap. For flea beetles and cabbage worms, I use row covers or Bacillus thuringiensis (Bt).
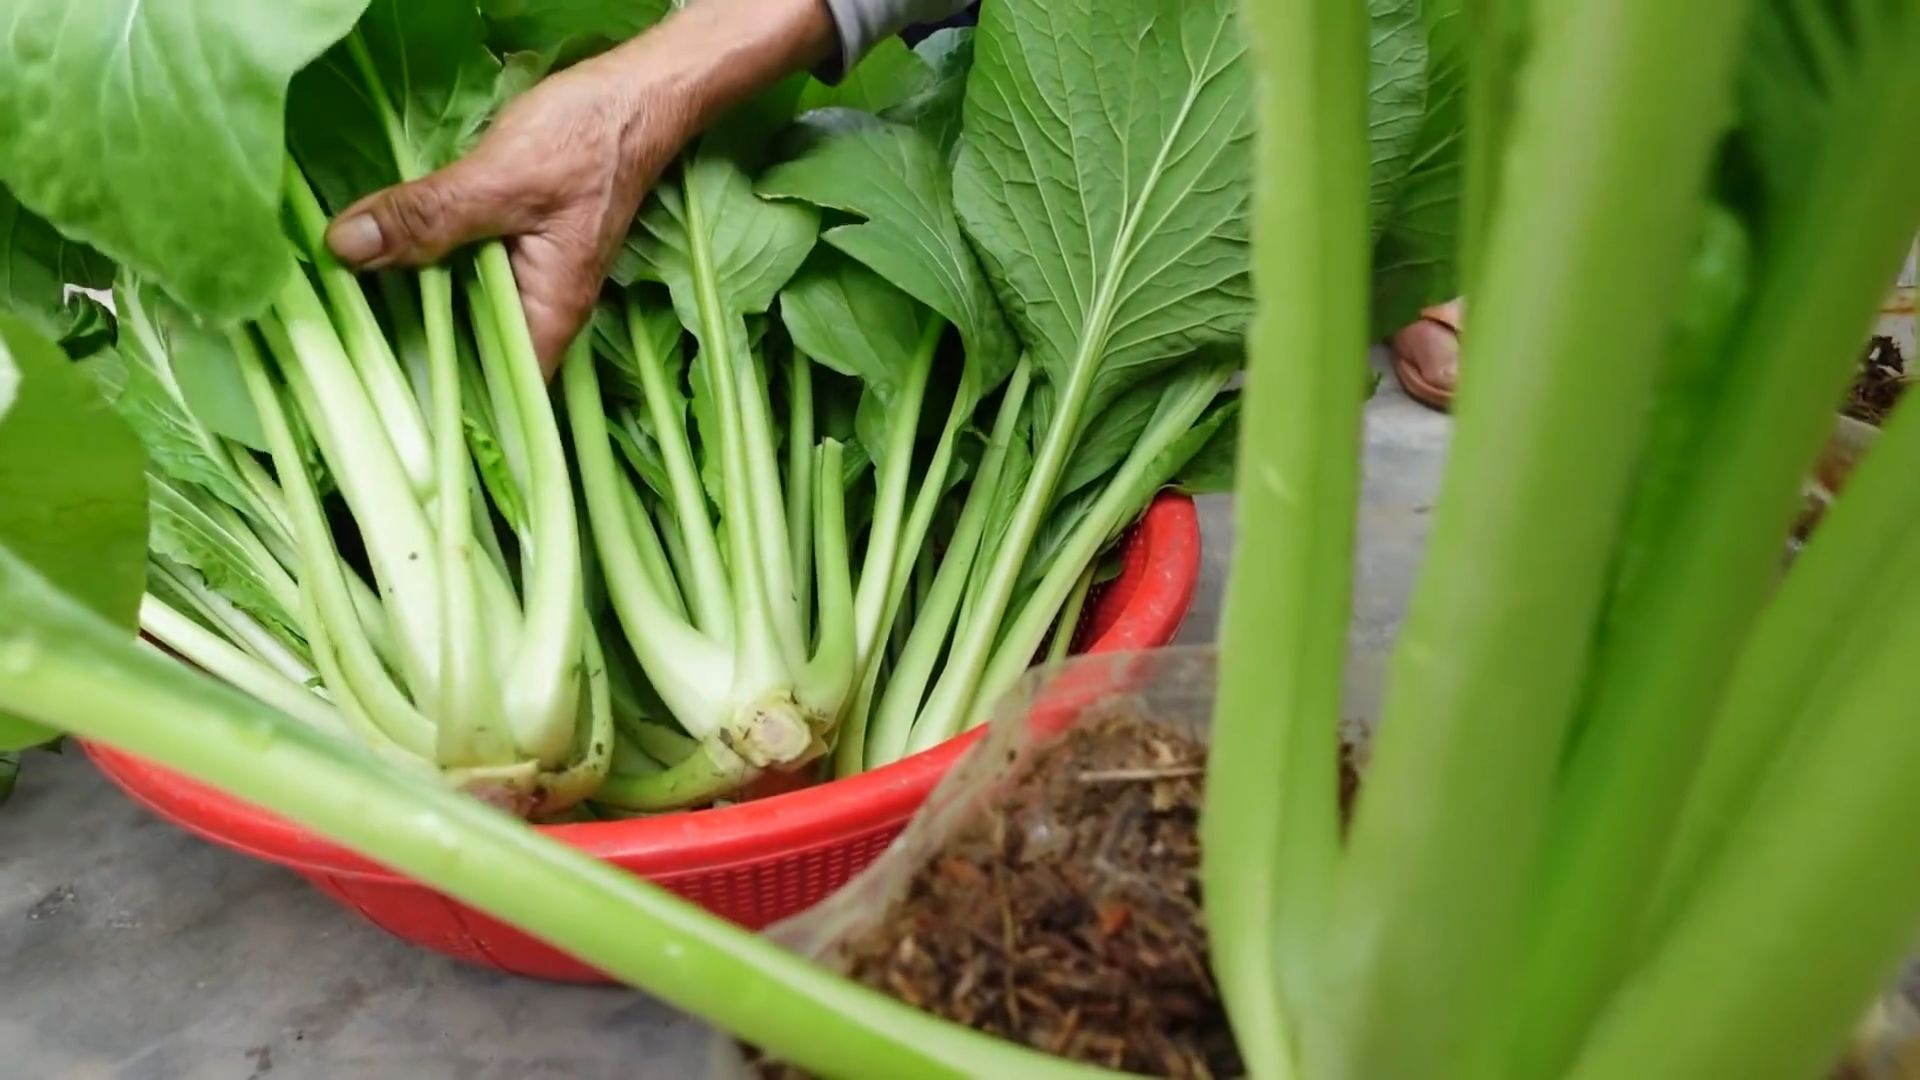
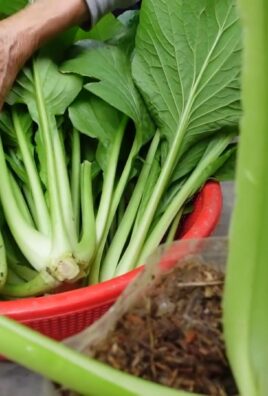
Harvesting Your Bounty
The best part of growing leaf mustard is, of course, the harvest! You can start harvesting the leaves when they are about 4-6 inches long.
- Cut the outer leaves: Use a sharp knife or scissors to cut the outer leaves, leaving the inner leaves to continue growing. This is known as a “cut-and-come-again” harvesting method, which allows you to harvest multiple times from the same plant.
- Harvest regularly: The more you harvest, the more the plants will produce. I usually harvest my mustard greens every week or two.
- Wash and store: After harvesting, wash the leaves thoroughly and store them in the refrigerator in a plastic bag or container. They will keep for about a week.
Troubleshooting Common Problems
Even with the best care, you may encounter some problems when growing leaf mustard. Here are a few common issues and how to address them:
- Bolting: Bolting is when the plants start to flower and go to seed. This usually happens when the weather gets too hot. To prevent bolting, plant your mustard greens in early spring or late summer/early fall, and provide them with plenty of water. If your plants do start to bolt, you can still harvest the leaves, but they may become bitter.
- Pests: As mentioned earlier, mustard greens can be susceptible to pests. Inspect your plants regularly and take action if you see any signs of infestation.
- Diseases: Mustard greens can also be susceptible to diseases such as downy mildew and white rust. To prevent diseases, provide good air circulation, avoid overwatering, and rotate your crops. If your plants do get a disease, remove the affected leaves and dispose of them properly.
- Poor germination: If your mustard seeds don’t germinate well, it could be due to several factors, such as poor-quality seeds, soil that is too dry or too wet, or temperatures that are too hot or too cold. Make sure to use fresh, high-quality seeds, and provide the seeds with the right conditions for germination.
Step-by-Step Instructions: From Seed to Salad
Let’s break down the entire process into easy-to-follow steps:
- Choose your mustard variety: Decide which type of leaf mustard you want to grow. Consider flavor, texture, and color.
- Prepare your garden bed: Select a sunny location, clear the area, amend the soil with compost, loosen the soil, and smooth the surface.
- Sow the seeds: Sprinkle the seeds evenly over the soil, cover them lightly with soil, and water gently.
- Keep the soil moist: Water regularly until the seeds germinate.
- Thin the seedlings: When the seedlings are about 2 inches tall, thin them out to 2-4 inches apart.
- Water regularly: Provide consistent moisture, especially during hot, dry weather.
- Weed regularly: Keep the garden bed free of weeds.
- Fertilize if needed: Side-dress with a balanced fertilizer if your soil is poor.
- Monitor for pests and diseases: Inspect your plants regularly and take action if you see any problems.
- Harvest the leaves: When the leaves are 4-6 inches long, cut the outer leaves, leaving the inner leaves to continue growing.
- Wash and store: Wash the harvested leaves and store them in the refrigerator.
- Enjoy your harvest! Use your fresh mustard greens in salads, stir-fries, soups, and more.
Conclusion
So, there you have it! Growing your own leaf mustard is not only surprisingly simple, but it’s also incredibly rewarding. Imagine stepping out into your garden or even just onto your balcony and harvesting fresh, peppery greens whenever you need them. Forget those wilted, overpriced bunches at the grocery store. With this easy DIY trick, you’ll have a constant supply of vibrant, flavorful leaf mustard right at your fingertips.
This isn’t just about convenience; it’s about control. You know exactly what’s going into your food – no pesticides, no hidden chemicals, just pure, unadulterated goodness. Plus, the taste of homegrown leaf mustard is simply unmatched. It’s bolder, fresher, and more vibrant than anything you can buy.
But the best part? This method is incredibly versatile. Want a milder flavor? Harvest the leaves when they’re young and tender. Craving a more intense kick? Let them mature a bit longer. You can even experiment with different varieties of leaf mustard, from the classic Southern Giant Curled to the spicier Red Giant. Try adding some companion plants like dill or chamomile to your garden bed to enhance the flavor and attract beneficial insects. Consider succession planting, sowing new seeds every few weeks, to ensure a continuous harvest throughout the growing season. You can also grow leaf mustard indoors during the colder months, providing you with fresh greens year-round.
Don’t be intimidated if you’ve never grown anything before. This DIY trick is perfect for beginners. It requires minimal effort and yields impressive results. All you need is a sunny spot, some good soil, and a little bit of patience.
We wholeheartedly encourage you to give this a try. You’ll be amazed at how easy and satisfying it is to grow your own leaf mustard. And once you’ve tasted the difference, you’ll never go back to store-bought again.
So, grab some seeds, get your hands dirty, and experience the joy of growing your own food. And most importantly, don’t forget to share your experiences with us! We’d love to hear about your successes, your challenges, and any variations you’ve tried. Post pictures of your bountiful harvests, share your favorite recipes using homegrown leaf mustard, and let’s create a community of passionate gardeners who are all enjoying the delicious rewards of their labor. Happy growing!
Frequently Asked Questions (FAQ)
What exactly is leaf mustard, and what does it taste like?
Leaf mustard is a leafy green vegetable belonging to the Brassica family, which also includes cabbage, broccoli, and kale. It’s known for its distinctive peppery, slightly spicy flavor. The intensity of the flavor can vary depending on the variety and the age of the leaves. Younger leaves tend to be milder, while older leaves have a more pronounced, pungent taste. It’s a versatile ingredient that can be used in salads, stir-fries, soups, and as a side dish.
How much sunlight does leaf mustard need to grow?
Leaf mustard thrives in full sun, which means it needs at least 6 hours of direct sunlight per day. However, it can also tolerate partial shade, especially in hotter climates. If you’re growing leaf mustard indoors, make sure to place it near a sunny window or use grow lights to provide adequate illumination. Insufficient sunlight can result in leggy growth and a less intense flavor.
What kind of soil is best for growing leaf mustard?
Leaf mustard prefers well-drained, fertile soil that is rich in organic matter. The ideal soil pH is between 6.0 and 7.5. Before planting, amend the soil with compost or well-rotted manure to improve its fertility and drainage. If your soil is heavy clay, consider adding sand or perlite to improve drainage. You can also grow leaf mustard in raised beds or containers filled with a good quality potting mix.
How often should I water my leaf mustard plants?
Leaf mustard needs consistent moisture to thrive. Water deeply whenever the top inch of soil feels dry to the touch. Avoid overwatering, as this can lead to root rot. During hot, dry weather, you may need to water more frequently. Mulching around the plants can help to retain moisture in the soil and suppress weeds.
When is the best time to harvest leaf mustard?
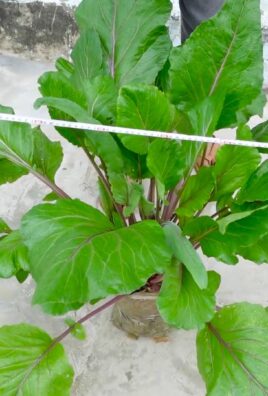
You can start harvesting leaf mustard as soon as the leaves are large enough to eat, typically about 3-4 weeks after planting. For a milder flavor, harvest the leaves when they are young and tender. For a more intense flavor, let them mature a bit longer. You can harvest individual leaves as needed, or you can cut the entire plant at the base. If you cut the entire plant, it will often regrow, providing you with a second harvest.
Can I grow leaf mustard indoors?
Yes, you can absolutely grow leaf mustard indoors. Choose a container that is at least 6 inches deep and fill it with a good quality potting mix. Place the container near a sunny window or use grow lights to provide adequate illumination. Water regularly and fertilize every few weeks with a balanced liquid fertilizer. You can harvest the leaves as needed, just like you would if you were growing them outdoors.
What are some common pests and diseases that affect leaf mustard?
Leaf mustard can be susceptible to several pests and diseases, including aphids, flea beetles, cabbage worms, and downy mildew. To prevent pest and disease problems, practice good garden hygiene, such as removing weeds and debris from around the plants. You can also use insecticidal soap or neem oil to control pests. To prevent downy mildew, avoid overwatering and ensure good air circulation around the plants.
How can I store harvested leaf mustard?
To store harvested leaf mustard, wash the leaves thoroughly and pat them dry. Wrap them in a paper towel and place them in a plastic bag in the refrigerator. They should keep for up to a week. You can also freeze leaf mustard, but it will lose some of its texture and flavor. To freeze, blanch the leaves in boiling water for 2 minutes, then plunge them into ice water. Drain well and pack them into freezer bags or containers.
What are some ways to use leaf mustard in cooking?
Leaf mustard is a versatile ingredient that can be used in a variety of dishes. It can be added to salads, stir-fries, soups, and stews. It can also be used as a side dish, either steamed, sautéed, or braised. The peppery flavor of leaf mustard pairs well with other strong flavors, such as garlic, ginger, and soy sauce. It’s also a popular ingredient in Southern cuisine, where it’s often cooked with ham or bacon.
Can I save seeds from my leaf mustard plants?
Yes, you can save seeds from your leaf mustard plants. Allow a few plants to bolt (flower) and produce seed pods. Once the seed pods are dry and brown, harvest them and allow them to dry completely. Then, thresh the pods to release the seeds. Store the seeds in an airtight container in a cool, dry place.
Leave a Comment