

Grow Malunggay at Home: Imagine stepping into your backyard and harvesting fresh, nutrient-packed leaves for your next meal. Sounds idyllic, right? Well, it’s more achievable than you think! For centuries, Malunggay, also known as Moringa, has been revered in many cultures, particularly in Asia and Africa, not just as a food source but also for its incredible medicinal properties. It’s often called the “miracle tree,” and for good reason!
But why should you bother learning how to grow Malunggay at home? In today’s world, where access to fresh, healthy produce can be a challenge, having your own Malunggay tree is like having a personal pharmacy and salad bar rolled into one. Plus, it’s incredibly rewarding to nurture something from a tiny seed to a thriving plant. This DIY guide will walk you through everything you need to know, from selecting the right spot in your garden to harvesting those precious leaves.
I’m going to share some simple, effective tricks and hacks that will make growing Malunggay at home a breeze, even if you don’t have a green thumb. Get ready to unlock the secrets to cultivating this amazing plant and enjoy its numerous benefits right from your own backyard!
Grow Your Own Malunggay: A Simple DIY Guide
Hey there, fellow plant enthusiasts! I’m so excited to share my experience with growing Malunggay (also known as Moringa) right at home. It’s surprisingly easy, incredibly rewarding, and you’ll have a constant supply of this nutritional powerhouse right at your fingertips. Trust me, once you taste fresh Malunggay leaves in your soup or smoothie, you’ll be hooked!
This guide will walk you through everything you need to know, from choosing the right planting method to harvesting your bounty. Let’s get started!
Choosing Your Planting Method: Seeds vs. Cuttings
Before we dive into the nitty-gritty, you need to decide how you want to start your Malunggay journey. You have two main options: seeds or cuttings. Each has its pros and cons, so let’s break them down:
- Seeds:
- Pros: Readily available, relatively inexpensive, allows you to observe the entire growth process from seedling to mature tree.
- Cons: Slower to mature compared to cuttings, requires more initial care and attention.
- Cuttings:
- Pros: Faster to mature, easier to propagate (in my opinion!), produces a tree that’s genetically identical to the parent plant.
- Cons: Requires access to a mature Malunggay tree for cuttings, may not be as readily available as seeds.
I personally prefer using cuttings because I’m impatient and love seeing results quickly! But don’t worry, I’ll cover both methods in detail.
Growing Malunggay from Seeds: A Step-by-Step Guide
If you’re opting for the seed route, here’s what you need to do:
Materials You’ll Need:
- Malunggay seeds (available online or at your local garden center)
- Seed starting tray or small pots
- Seed starting mix or well-draining potting soil
- Watering can or spray bottle
- Warm, sunny location
Step-by-Step Instructions:
- Prepare Your Seed Starting Tray or Pots: Fill your seed starting tray or pots with seed starting mix or well-draining potting soil. Make sure the soil is loose and airy to allow for good root development. I like to slightly moisten the soil before planting.
- Sow the Seeds: Make a small indentation (about 1/2 inch deep) in the center of each cell or pot. Place one or two Malunggay seeds in each indentation. Covering with two seeds increases the chance of at least one germinating. Gently cover the seeds with soil.
- Water Gently: Water the soil gently using a watering can or spray bottle. Avoid overwatering, as this can lead to seed rot. The soil should be moist but not soggy.
- Provide Warmth and Sunlight: Place the seed starting tray or pots in a warm, sunny location. Malunggay seeds germinate best in temperatures between 70-85°F (21-29°C). If you don’t have a naturally warm spot, you can use a heat mat designed for seed starting.
- Keep the Soil Moist: Check the soil moisture daily and water as needed to keep it consistently moist. Avoid letting the soil dry out completely.
- Wait for Germination: Malunggay seeds typically germinate within 1-2 weeks. Be patient! Once the seedlings emerge, continue to provide them with plenty of sunlight and water.
- Thin the Seedlings (If Necessary): If you planted two seeds per cell or pot and both germinate, thin them out by snipping off the weaker seedling at the base. This will allow the stronger seedling to thrive.
- Transplant the Seedlings: Once the seedlings have developed several sets of true leaves (usually after 4-6 weeks), they’re ready to be transplanted into larger pots or directly into the ground. Choose a sunny location with well-draining soil.
Growing Malunggay from Cuttings: My Preferred Method
As I mentioned, I’m a big fan of growing Malunggay from cuttings. It’s faster and, in my experience, more reliable.
Materials You’ll Need:
- Healthy Malunggay cuttings (about 1-2 feet long and 1-2 inches in diameter)
- Sharp pruning shears or a saw
- Rooting hormone (optional, but recommended)
- Potting soil or a mixture of soil, sand, and compost
- Large pot or container (at least 12 inches in diameter)
- Watering can
Step-by-Step Instructions:
- Obtain Healthy Cuttings: The best time to take cuttings is during the dormant season (late fall or early winter), but you can also take them during the growing season. Choose healthy, mature branches that are about 1-2 feet long and 1-2 inches in diameter. Use sharp pruning shears or a saw to make a clean cut at a 45-degree angle.
- Prepare the Cuttings: Remove any leaves from the bottom half of the cutting. This will prevent the leaves from rotting and encourage root development.
- Apply Rooting Hormone (Optional): Dip the cut end of the cutting into rooting hormone powder or liquid. This will help to stimulate root growth. I find it makes a big difference, but you can try without it.
- Plant the Cuttings: Fill a large pot or container with potting soil or a mixture of soil, sand, and compost. Make a hole in the center of the pot that’s deep enough to accommodate the bottom half of the cutting. Insert the cutting into the hole and gently pack the soil around it.
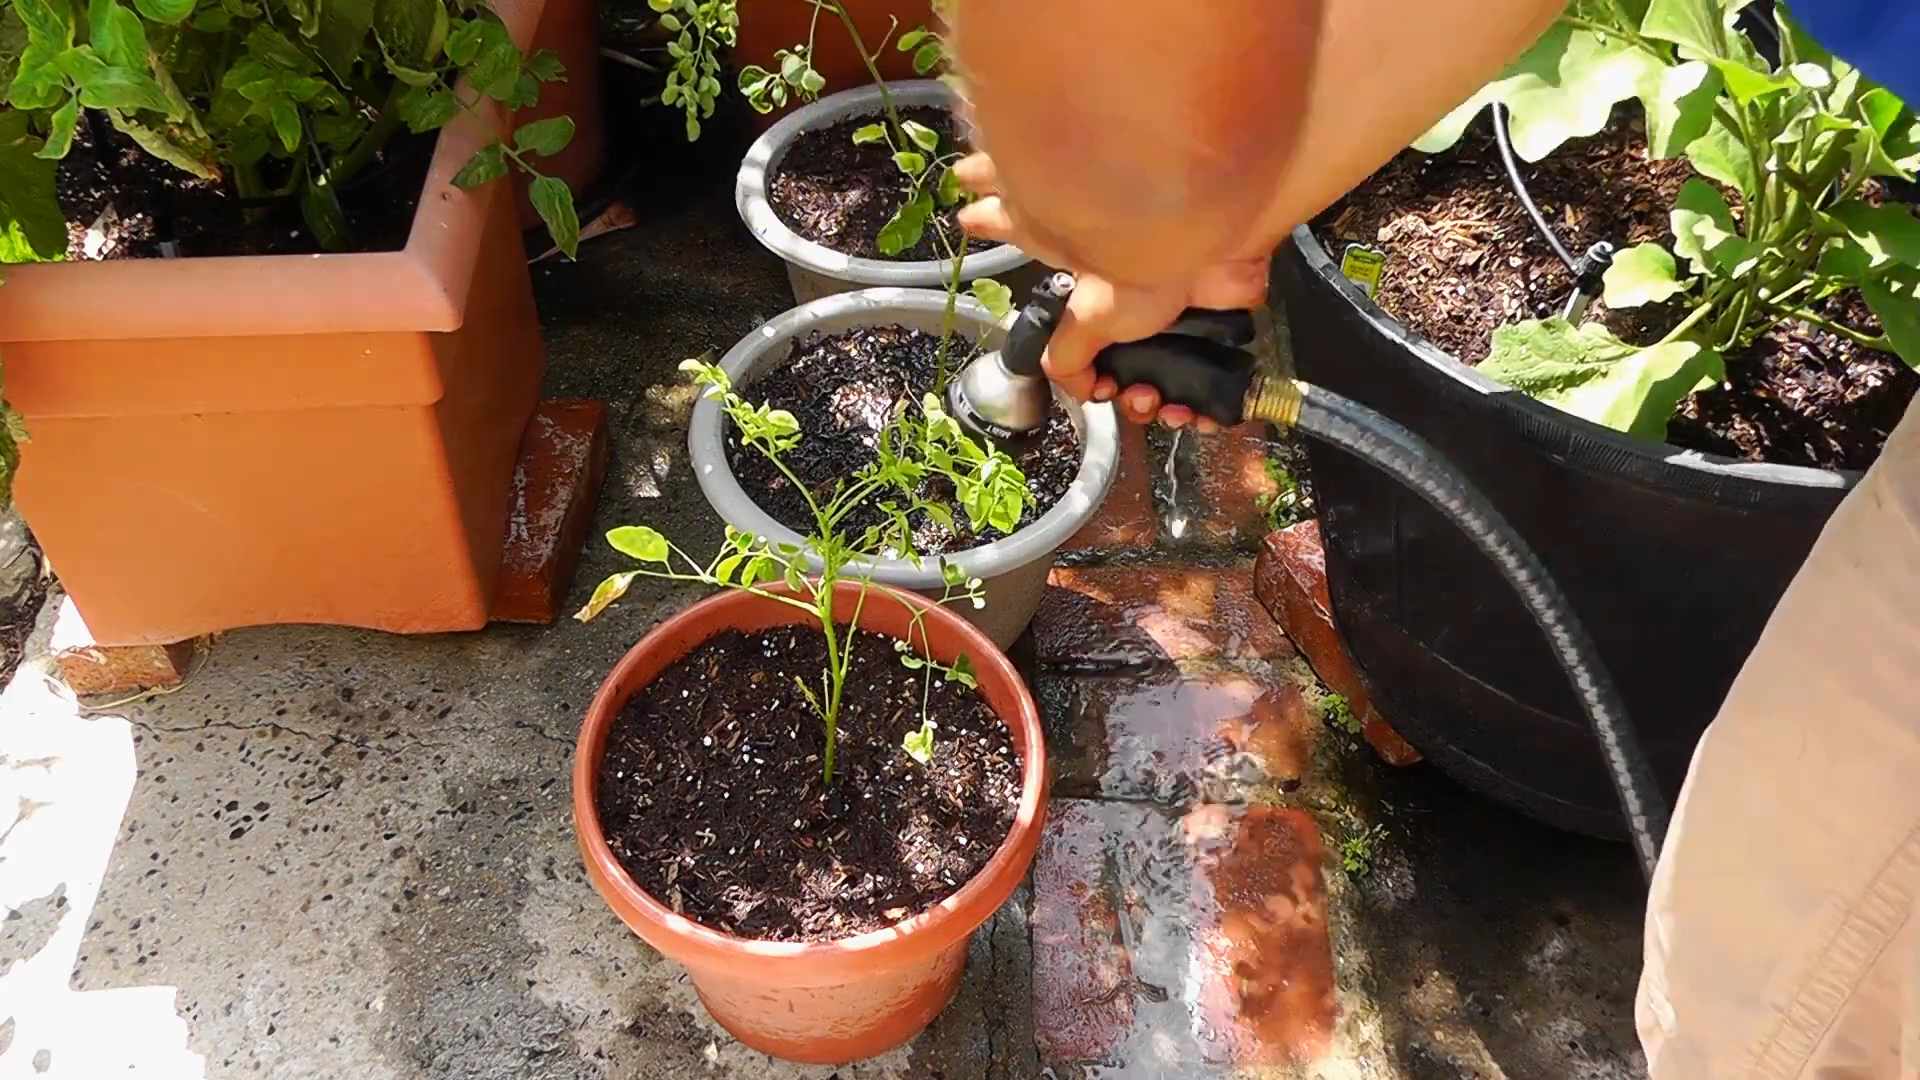
- Water Thoroughly: Water the cutting thoroughly until the soil is moist but not soggy.
- Provide Warmth and Sunlight: Place the pot in a warm, sunny location. Malunggay cuttings root best in temperatures between 70-85°F (21-29°C).
- Keep the Soil Moist: Check the soil moisture daily and water as needed to keep it consistently moist. Avoid letting the soil dry out completely.
- Wait for Rooting: It typically takes 4-8 weeks for Malunggay cuttings to root. You’ll know the cutting has rooted when you see new growth emerging from the top. You can also gently tug on the cutting to see if it resists being pulled out of the soil.
- Transplant (If Necessary): If you started the cutting in a smaller pot, you can transplant it into a larger pot or directly into the ground once it has developed a strong root system.
Caring for Your Malunggay Tree: The Key to a Bountiful Harvest
Once your Malunggay tree is established, it’s relatively low-maintenance. However, there are a few key things you need to do to ensure it thrives:
Sunlight:
Malunggay trees need at least 6-8 hours of sunlight per day. Choose a sunny location for your tree.
Watering:
Water your Malunggay tree regularly, especially during dry periods. However, avoid overwatering, as this can lead to root rot. The soil should be moist but not soggy.
Fertilizing:
Fertilize your Malunggay tree every few months with a balanced fertilizer. You can also amend the soil with compost or other organic matter.
Pruning:
Prune your Malunggay tree regularly to encourage branching and increase leaf production. You can prune it as often as you like, but I usually do it every few months. Pruning also helps to keep the tree at a manageable size.
Pest and Disease Control:
Malunggay trees are generally resistant to pests and diseases. However, they can occasionally be affected by aphids, caterpillars, or fungal diseases. If you notice any pests or diseases, treat them promptly with an appropriate insecticide or fungicide. I prefer using organic solutions whenever possible.
Harvesting Your Malunggay Leaves: Enjoy the Fruits (or Leaves!) of Your Labor
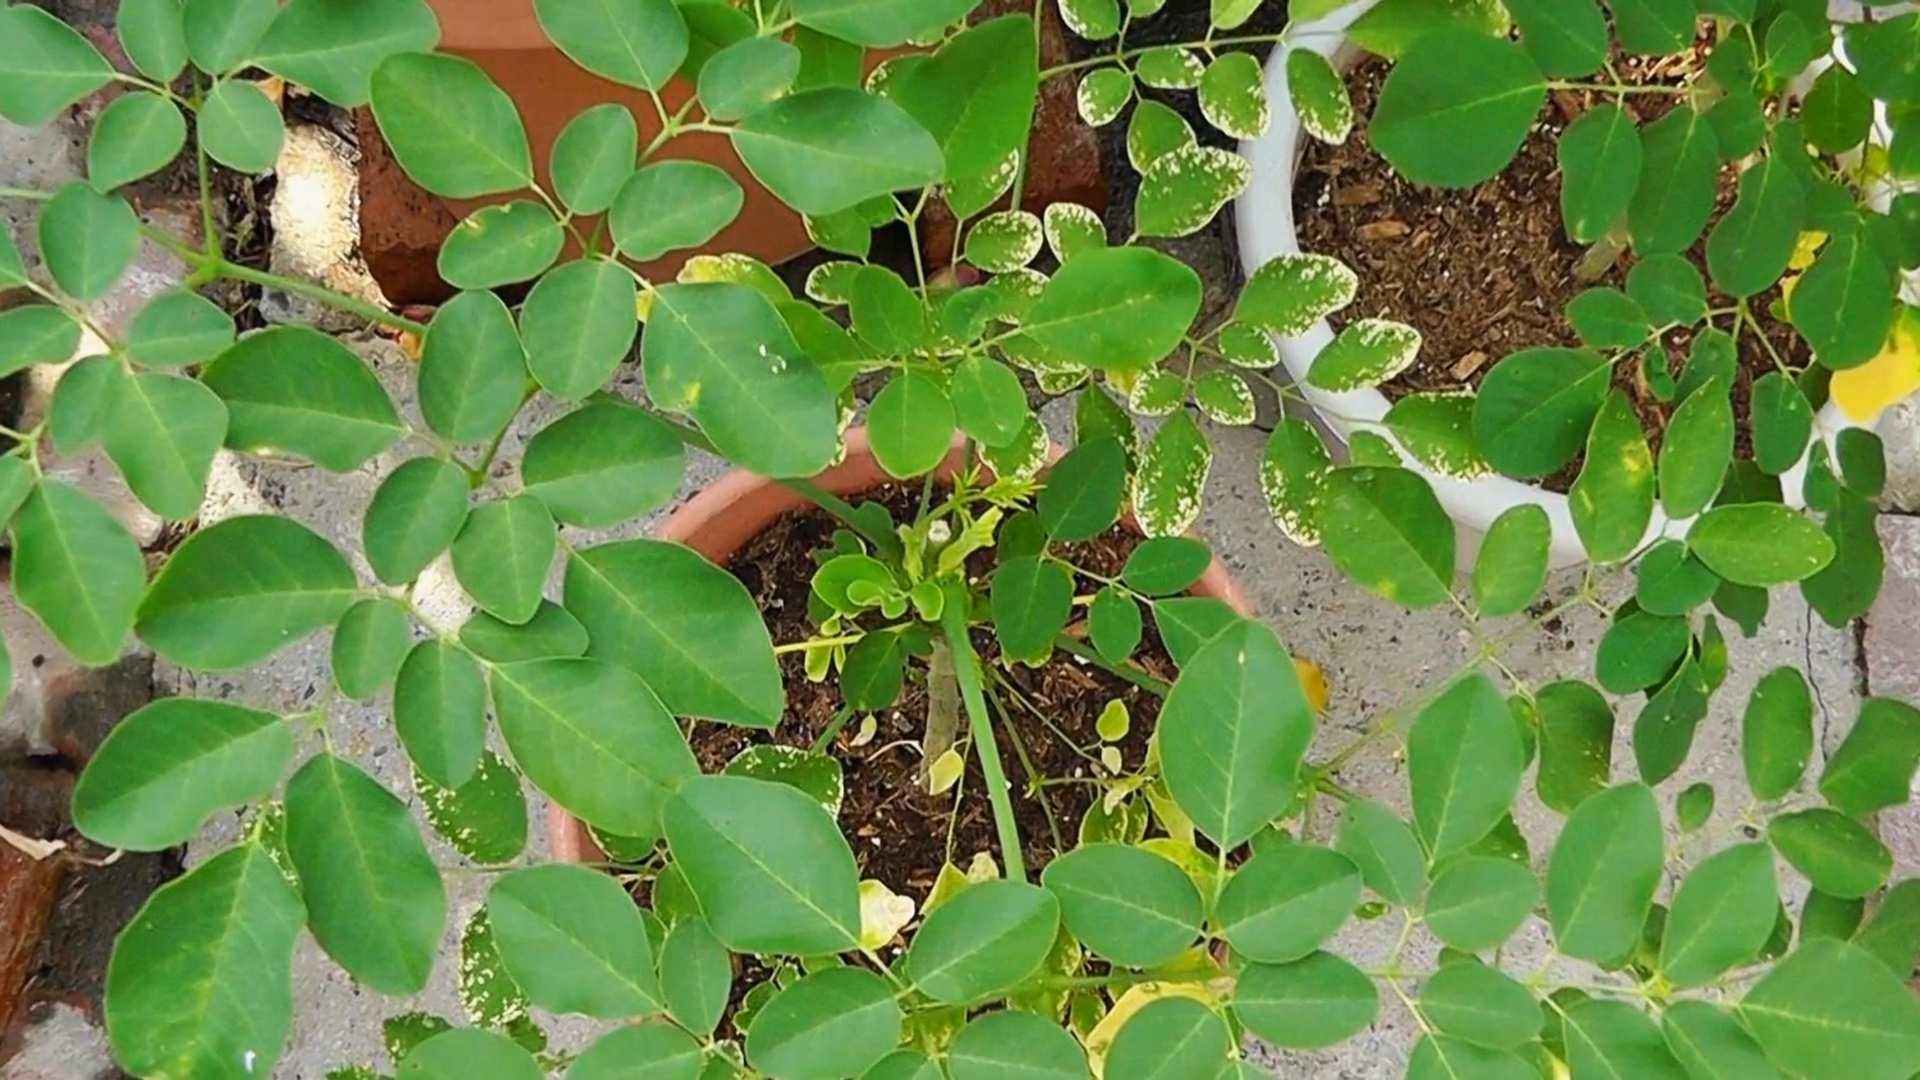
The best part about growing your own Malunggay is harvesting the leaves! You can start harvesting leaves as soon as the tree is large enough.
- Harvesting Leaves: Simply pluck the leaves from the branches. You can harvest as many leaves as you need, but avoid stripping the tree completely bare.
- Using the Leaves: Malunggay leaves can be used in a variety of dishes, such as soups, stews, salads, and smoothies. They can also be dried and used to make tea or powder.
- Storing the Leaves: Fresh Malunggay leaves can be stored in the refrigerator for up to a week. Dried
Conclusion
Growing your own Malunggay at home is more than just a gardening project; it’s an investment in your health, a step towards sustainable living, and a rewarding experience that connects you with nature. This simple DIY trick transforms readily available resources into a thriving Malunggay plant, providing you with a constant supply of nutrient-rich leaves for your culinary and wellness needs.
Why is this a must-try? Because it’s incredibly easy, cost-effective, and environmentally friendly. You don’t need a green thumb or extensive gardening knowledge to succeed. By utilizing cuttings, you bypass the often-slow and sometimes unreliable germination process of seeds, giving you a head start on your Malunggay harvest. Imagine stepping into your backyard and harvesting fresh, vibrant Malunggay leaves whenever you need them – no more trips to the store or reliance on potentially pesticide-laden produce.
Beyond the convenience and cost savings, growing your own Malunggay allows you to control the growing environment, ensuring that your plant receives the best possible care. You can choose organic fertilizers, monitor for pests, and provide the ideal amount of sunlight and water, resulting in healthier, more flavorful leaves.
Looking for variations? Consider experimenting with different types of soil mixtures to find what works best for your local climate. You can also try growing Malunggay in containers of various sizes to determine the optimal space for root development. For those in colder climates, consider growing Malunggay in pots that can be brought indoors during the winter months to ensure a year-round supply. Another interesting variation is to experiment with different types of organic fertilizers, such as compost tea or worm castings, to see how they affect the growth and nutrient content of your Malunggay leaves. You can even try companion planting with herbs like basil or rosemary, which are known to deter pests and enhance the flavor of nearby plants.
This DIY Malunggay growing method is a game-changer for anyone looking to incorporate this superfood into their diet. It’s a sustainable, accessible, and empowering way to take control of your health and connect with the natural world.
We wholeheartedly encourage you to try this DIY trick and experience the joy of growing your own Malunggay. The process is simple, the rewards are plentiful, and the satisfaction of harvesting your own homegrown superfood is unparalleled.
Don’t just take our word for it – give it a try and see for yourself! We’re confident that you’ll be amazed by how easy and rewarding it is to grow your own Malunggay at home.
And most importantly, we want to hear about your experience! Share your photos, tips, and stories with us in the comments below. Let’s build a community of Malunggay enthusiasts and learn from each other’s successes and challenges. Your feedback will help us refine this DIY trick and make it even more accessible to others. Together, we can spread the word about the incredible benefits of Malunggay and empower more people to grow their own food.
FAQ
What are the benefits of growing Malunggay at home?
Growing Malunggay at home offers numerous benefits. Firstly, you have a readily available source of fresh, nutrient-rich leaves. Malunggay is packed with vitamins, minerals, and antioxidants, making it a valuable addition to your diet. Secondly, it’s a cost-effective way to access this superfood, as you eliminate the need to purchase it from stores. Thirdly, you have control over the growing environment, ensuring that your Malunggay is free from harmful pesticides and chemicals. Finally, it’s a rewarding and sustainable gardening practice that connects you with nature.
How long does it take for Malunggay cuttings to root?
Typically, Malunggay cuttings will begin to root within 2-4 weeks. The exact timeframe can vary depending on factors such as the temperature, humidity, and the quality of the cutting. Ensure that the soil remains consistently moist but not waterlogged during this period. Providing adequate sunlight and warmth will also promote faster root development. You can gently tug on the cutting after a few weeks to check for resistance, which indicates that roots have begun to form.
What type of soil is best for growing Malunggay?
Malunggay thrives in well-draining soil that is rich in organic matter. A mixture of garden soil, compost, and perlite or sand is ideal. This combination provides the necessary nutrients, aeration, and drainage for healthy root growth. Avoid heavy clay soils, as they can become waterlogged and inhibit root development. You can also amend your soil with organic fertilizers such as compost tea or worm castings to further enhance its fertility.
How much sunlight does Malunggay need?
Malunggay requires at least 6-8 hours of direct sunlight per day to thrive. Choose a location in your garden that receives ample sunlight throughout the day. If you are growing Malunggay indoors, place it near a sunny window or supplement with grow lights. Insufficient sunlight can result in stunted growth and reduced leaf production.
How often should I water my Malunggay plant?
Water your Malunggay plant regularly, especially during dry periods. The soil should be kept consistently moist but not waterlogged. Check the soil moisture level by inserting your finger into the soil. If the top inch feels dry, it’s time to water. Avoid overwatering, as this can lead to root rot. During the rainy season, you may need to reduce watering frequency.
How do I harvest Malunggay leaves?
You can begin harvesting Malunggay leaves once the plant has reached a sufficient size, typically after a few months of growth. Simply pluck the leaves from the branches, leaving the stems intact. You can harvest leaves regularly to encourage new growth. Avoid harvesting more than one-third of the plant’s leaves at a time to prevent stressing the plant.
What are some common pests and diseases that affect Malunggay?
Malunggay is generally resistant to pests and diseases, but it can occasionally be affected by aphids, caterpillars, or fungal infections. Regularly inspect your plant for any signs of infestation or disease. If you notice any pests, you can remove them manually or use organic pest control methods such as neem oil or insecticidal soap. To prevent fungal infections, ensure good air circulation and avoid overwatering.
Can I grow Malunggay in a container?
Yes, Malunggay can be successfully grown in containers. Choose a large container with drainage holes to accommodate the plant’s root system. Use a well-draining potting mix and provide adequate sunlight and water. Container-grown Malunggay may require more frequent watering and fertilization than plants grown in the ground.
How can I use Malunggay leaves in cooking?
Malunggay leaves can be used in a variety of culinary applications. They can be added to soups, stews, salads, and stir-fries. They can also be used to make tea or juice. Malunggay leaves have a slightly bitter taste, so it’s best to use them sparingly at first. You can also dry the leaves and grind them into a powder for use as a nutritional supplement.
Is Malunggay safe for everyone to consume?
Malunggay is generally considered safe for most people to consume. However, pregnant women and individuals with certain medical conditions should consult with their doctor before consuming Malunggay. It’s also important to start with small amounts and gradually increase your intake to avoid any potential side effects.
Leave a Comment