

Grow Mibuna Cabbage at Home and unlock a world of fresh, peppery greens right outside your door! Have you ever dreamed of snipping vibrant, flavorful leaves for your salad just moments before serving? This isn’t just a fantasy; it’s an achievable reality with a little know-how. Mibuna cabbage, a Japanese leafy green, has been cultivated for centuries, adding a unique zest to Asian cuisine. Its mild mustard flavor and tender texture make it a delightful addition to salads, stir-fries, and even soups.
But why should you bother growing it yourself? Well, for starters, store-bought greens often lack the freshness and vibrancy of homegrown produce. Plus, you have complete control over the growing process, ensuring your Mibuna is free from harmful pesticides and chemicals. In this DIY guide, I’m going to share simple, effective tricks and hacks that will empower you to grow Mibuna Cabbage at Home, regardless of your gardening experience. Whether you have a sprawling backyard or just a sunny windowsill, I’ll show you how to cultivate this delicious and nutritious green with ease. Get ready to embark on a rewarding gardening journey and enjoy the unparalleled taste of freshly harvested Mibuna!
Grow Your Own Mibuna Cabbage: A Beginner’s Guide
Hey there, fellow gardening enthusiasts! Ever wanted to try growing something a little different in your garden? Let me introduce you to Mibuna cabbage! It’s a Japanese mustard green that’s super easy to grow, packed with flavor, and adds a beautiful touch of greenery to your salads and stir-fries. I’ve been growing it for a few seasons now, and I’m excited to share my tips and tricks with you.
What is Mibuna Cabbage?
Mibuna, also known as Japanese mustard spinach, is a leafy green vegetable with a mild, slightly peppery flavor. It’s incredibly versatile in the kitchen and can be used raw in salads, cooked in stir-fries, soups, or even as a garnish. The leaves are long, slender, and deeply serrated, giving them a unique and attractive appearance. Plus, it’s a cool-season crop, meaning you can grow it in the spring or fall, extending your gardening season!
Why Grow Mibuna?
* Easy to Grow: Mibuna is incredibly forgiving and thrives even with minimal care.
* Fast Growing: You can harvest your first leaves in as little as 30-40 days.
* Cut-and-Come-Again: Harvest leaves as needed, and the plant will continue to produce more.
* Nutritious: Mibuna is packed with vitamins and minerals, making it a healthy addition to your diet.
* Versatile: Use it in salads, stir-fries, soups, and more!
* Pest Resistant: Generally, Mibuna is less susceptible to pests than other leafy greens.
Getting Started: What You’ll Need
Before we dive into the growing process, let’s gather everything you’ll need. Don’t worry, it’s a pretty short list!
* Mibuna Seeds: You can find these online or at your local garden center.
* Potting Soil (if starting indoors) or Garden Soil: Choose a well-draining soil rich in organic matter.
* Seed Trays or Small Pots (if starting indoors): These are perfect for starting your seeds before transplanting them.
* Gardening Gloves: To keep your hands clean and protected.
* Watering Can or Hose: For watering your plants.
* Fertilizer (optional): A balanced fertilizer can help boost growth.
* Garden Trowel: For transplanting seedlings.
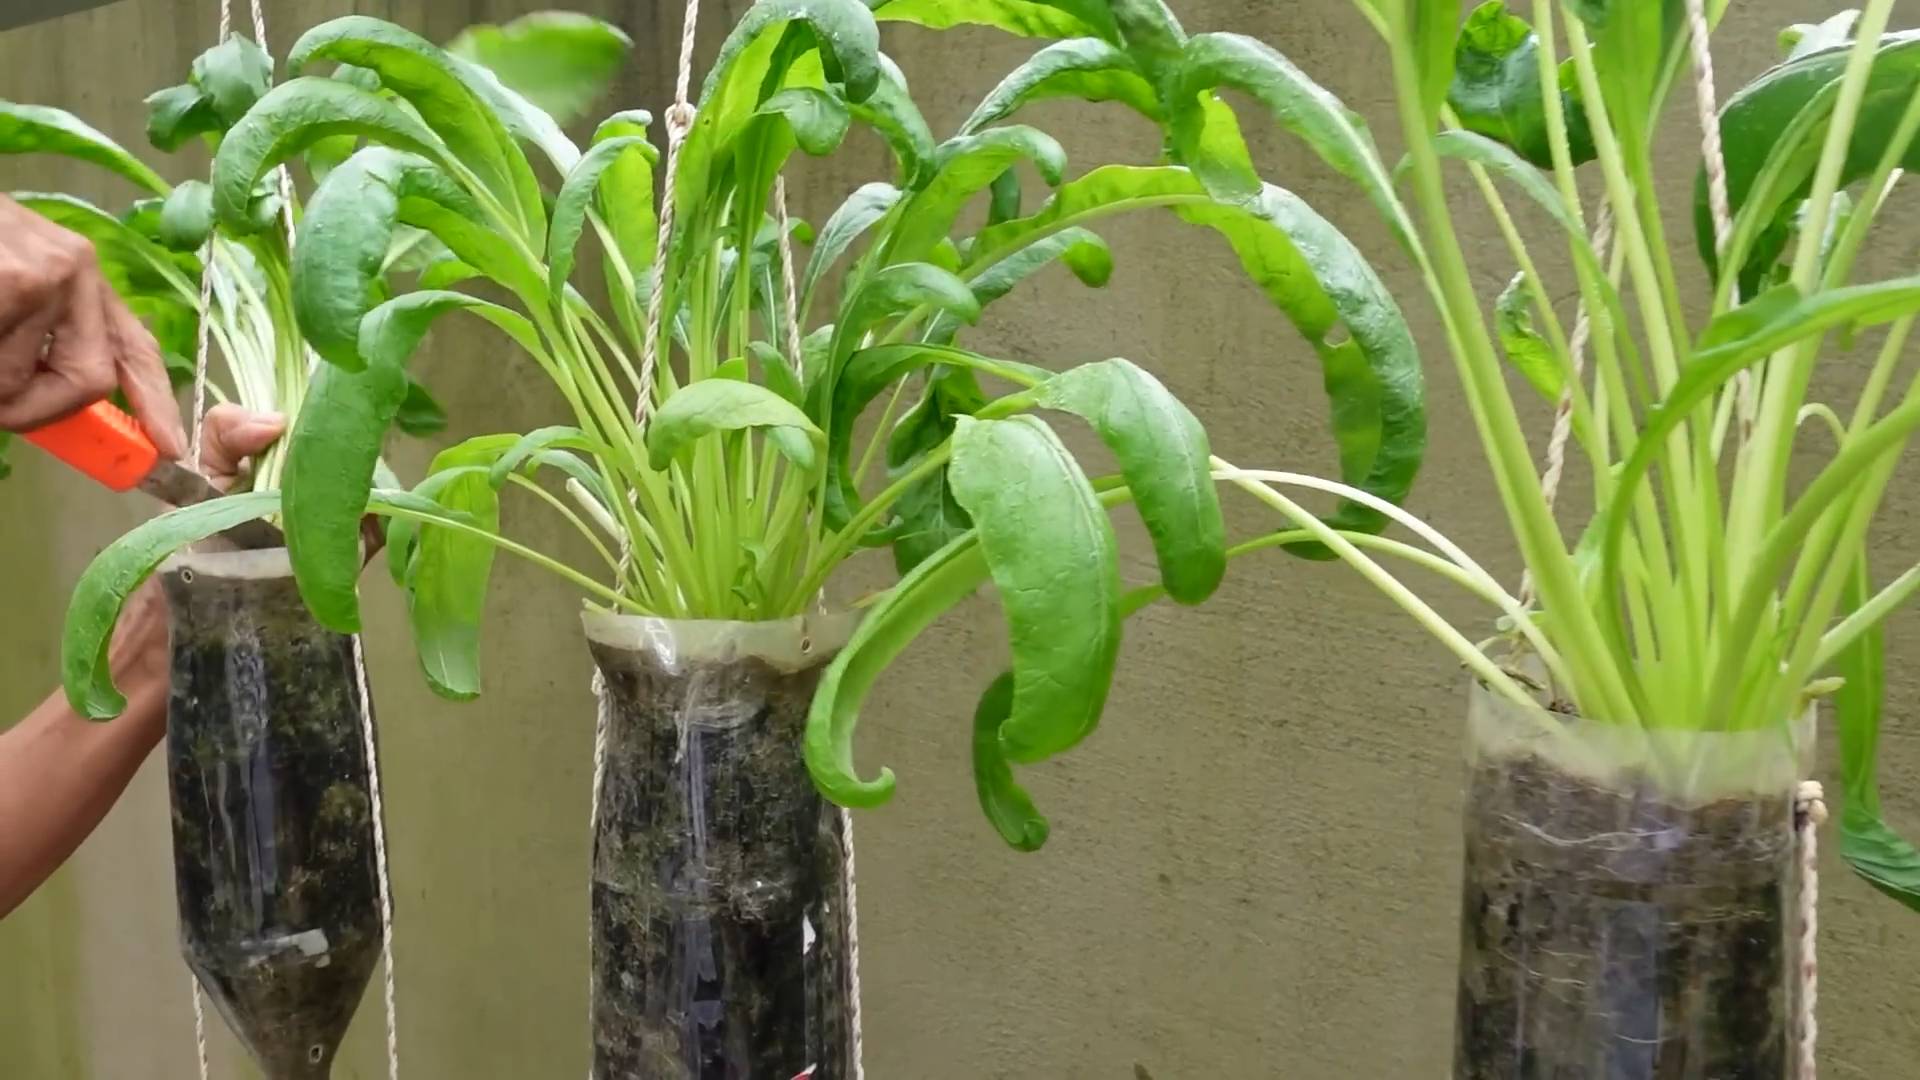
Starting Mibuna Seeds: Indoors or Outdoors?
You have two options for starting your Mibuna seeds: indoors or directly in your garden. Both methods work well, but starting indoors gives you a head start, especially if you live in an area with a short growing season.
Starting Seeds Indoors
1. Prepare Your Seed Trays or Pots: Fill your seed trays or small pots with potting soil. Gently press down the soil to create a firm surface.
2. Sow the Seeds: Sprinkle a few Mibuna seeds on top of the soil in each cell or pot. You don’t need to bury them too deep; just lightly cover them with a thin layer of soil.
3. Water Gently: Use a spray bottle or watering can with a gentle nozzle to water the seeds. You want to moisten the soil without disturbing the seeds.
4. Provide Light: Place the seed trays or pots in a bright location, such as a sunny windowsill or under grow lights. Mibuna seeds need light to germinate.
5. Keep the Soil Moist: Check the soil daily and water as needed to keep it consistently moist but not waterlogged.
6. Germination: You should see seedlings emerge in about 5-10 days.
7. Thin Seedlings (if needed): Once the seedlings have a few true leaves, thin them out so that only one strong seedling remains in each cell or pot.
8. Harden Off Seedlings: Before transplanting your seedlings outdoors, you’ll need to “harden them off.” This process gradually acclimates them to outdoor conditions. Start by placing the seedlings outdoors in a sheltered location for a few hours each day, gradually increasing the amount of time they spend outside over the course of a week.
Direct Sowing Outdoors
1. Prepare the Soil: Choose a location in your garden that receives at least 4-6 hours of sunlight per day. Loosen the soil with a garden fork or tiller and remove any rocks or debris. Amend the soil with compost or other organic matter to improve drainage and fertility.
2. Sow the Seeds: Sow the Mibuna seeds directly into the soil, spacing them about 1-2 inches apart. Lightly cover the seeds with a thin layer of soil.
3. Water Gently: Water the seeds gently to moisten the soil.
4. Keep the Soil Moist: Keep the soil consistently moist until the seeds germinate.
5. Thin Seedlings: Once the seedlings emerge, thin them out so that they are spaced about 6-8 inches apart. This will give them enough room to grow and prevent overcrowding.
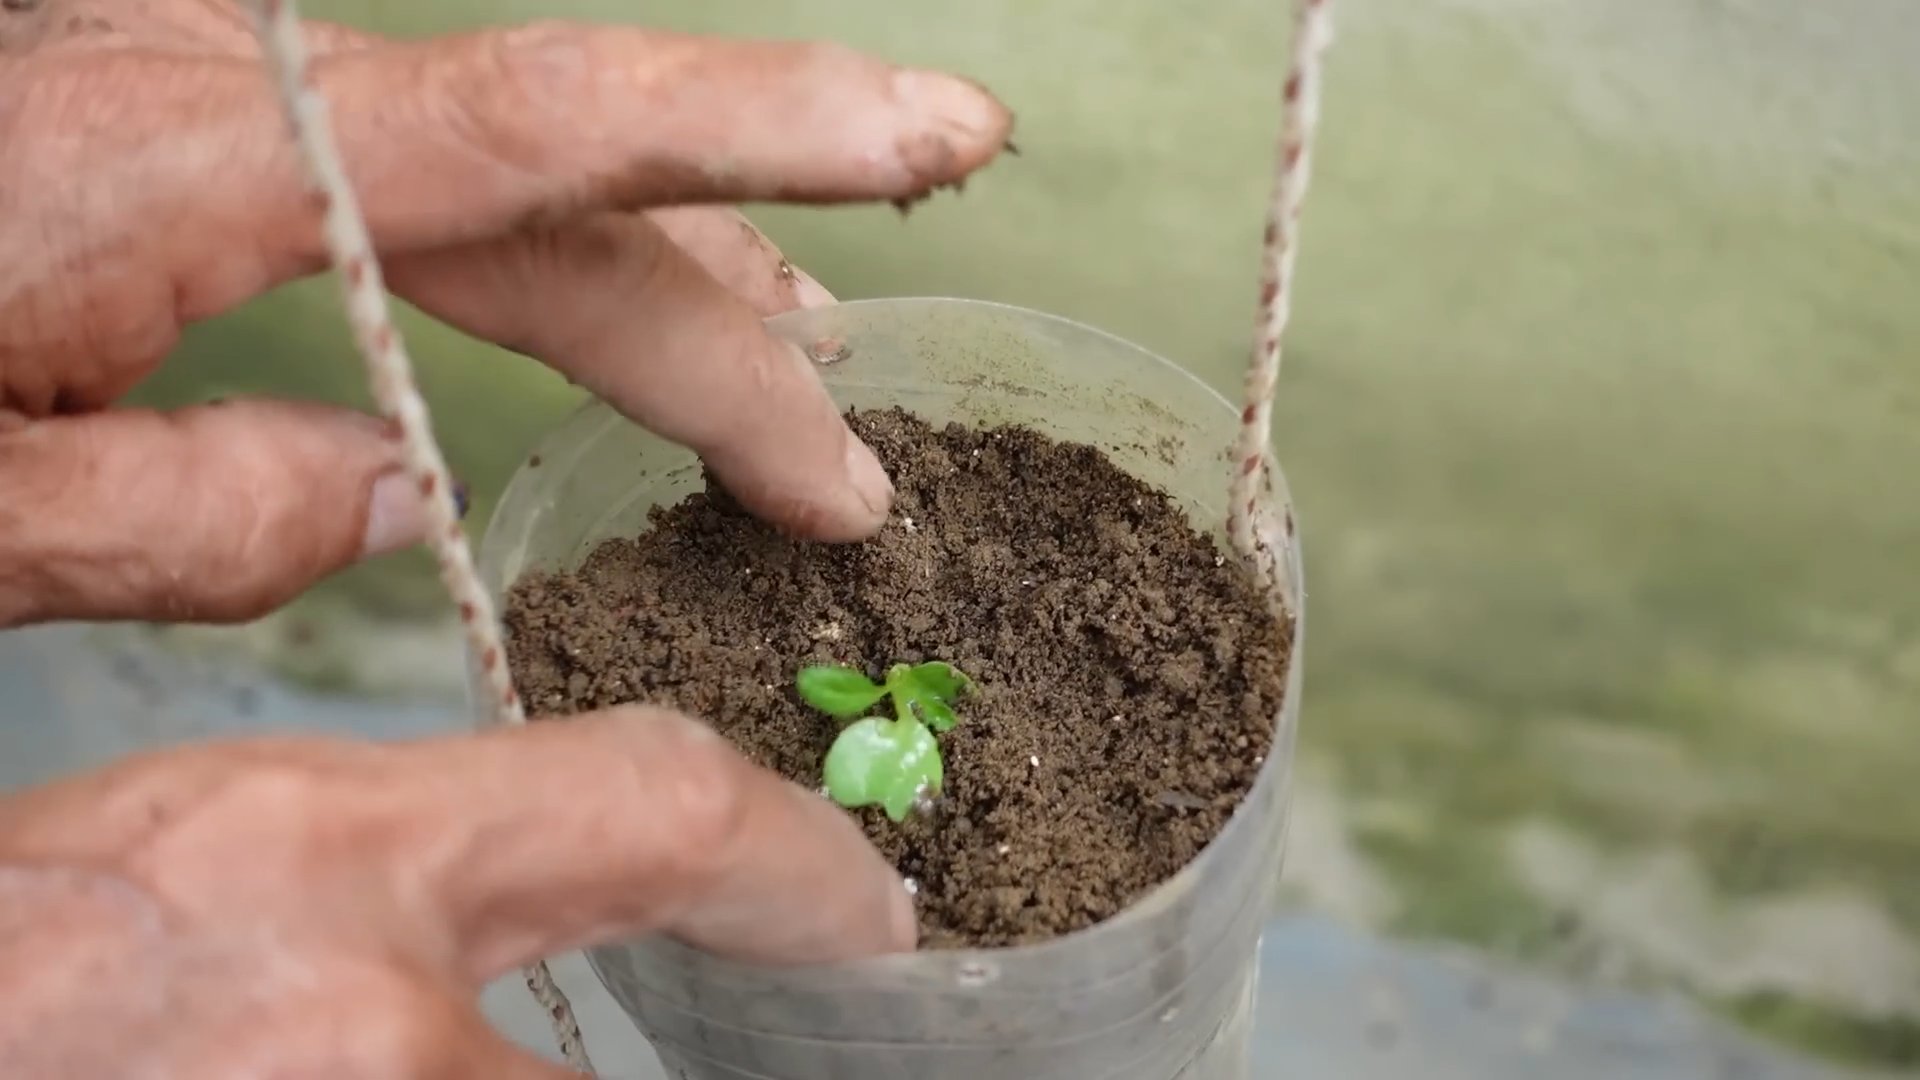
Transplanting Mibuna Seedlings (if started indoors)
Once your seedlings have developed a few true leaves and the weather is suitable (no danger of frost), it’s time to transplant them into your garden.
1. Choose a Location: Select a spot in your garden that receives at least 4-6 hours of sunlight per day. Mibuna can tolerate partial shade, but it will grow best in full sun.
2. Prepare the Soil: Loosen the soil with a garden fork or tiller and remove any rocks or debris. Amend the soil with compost or other organic matter to improve drainage and fertility.
3. Dig Holes: Dig holes that are slightly larger than the root balls of your seedlings, spacing them about 6-8 inches apart.
4. Carefully Remove Seedlings: Gently remove the seedlings from their seed trays or pots, being careful not to damage the roots.
5. Place Seedlings in Holes: Place each seedling in a hole and gently backfill with soil.
6. Water Thoroughly: Water the seedlings thoroughly after transplanting to help them settle in.
Caring for Your Mibuna Plants
Mibuna is relatively low-maintenance, but here are a few tips to keep your plants healthy and productive:
* Watering: Water your Mibuna plants regularly, especially during dry periods. Aim to keep the soil consistently moist but not waterlogged.
* Fertilizing (Optional): If you want to give your plants a boost, you can fertilize them with a balanced fertilizer every few weeks. Follow the instructions on the fertilizer package. I personally use a liquid seaweed fertilizer diluted in water.
* Weeding: Keep the area around your Mibuna plants free of weeds. Weeds can compete with your plants for nutrients and water.
* Pest Control: Mibuna is generally pest-resistant, but keep an eye out for common garden pests like aphids or slugs. If you notice any pests, you can try using organic pest control methods, such as insecticidal soap or diatomaceous earth.
* Bolting: Bolting is when the plant starts to produce flowers and seeds, which can make the leaves taste bitter. To prevent bolting, keep the soil consistently moist and provide some shade during hot weather. You can also pinch off any flower stalks that appear.
Harvesting Your Mibuna
One of the best things about growing Mibuna is that you can start harvesting leaves as soon as they are large enough to eat, usually about 30-40 days after planting.
* Cut-and-Come-Again Method: The best way to harvest Mibuna is using the “cut-and-come-again” method. This means you only harvest the outer leaves, leaving the inner leaves to continue growing.
* Harvesting Tools: Use a sharp knife or scissors to cut the leaves close to the base of the plant.
* Harvesting Time: Harvest in the morning for the best flavor.
* Storage: Store harvested leaves in the refrigerator in a plastic bag or container. They will stay fresh for several days.
Using Your Mibuna
Now for the fun part: using your homegrown Mibuna in the kitchen! Here are a few ideas:
* Salads: Add Mibuna to your salads for a peppery kick.
* Stir-Fries: Use Mibuna in stir-fries with other vegetables and proteins.
* Soups: Add Mibuna to soups for a boost of flavor and nutrients.
* Garnishes: Use Mibuna as a garnish for your dishes.
* Pesto: Make a delicious Mibuna pesto.
* Smoothies: Add a handful of Mib
Conclusion
So, there you have it! Growing Mibuna cabbage at home is not only achievable, but it’s also a deeply rewarding experience that connects you to your food in a way that store-bought produce simply can’t. We’ve walked you through the simple steps, from seed to harvest, and hopefully demystified the process.
Why is this DIY trick a must-try? Because it offers a multitude of benefits. First and foremost, you get access to incredibly fresh, flavorful Mibuna cabbage, bursting with nutrients and free from the pesticides often found in commercially grown varieties. Imagine the vibrant, peppery taste of freshly harvested Mibuna elevating your salads, stir-fries, and soups! Secondly, it’s a sustainable practice that reduces your carbon footprint by minimizing transportation and packaging. You’re contributing to a healthier planet, one delicious leaf at a time. Finally, it’s a fantastic way to engage with nature, learn new skills, and find a sense of accomplishment in nurturing something from seed to table.
But the beauty of growing your own Mibuna cabbage lies in its adaptability. Feel free to experiment with different varieties of Mibuna. Some have a more pronounced peppery flavor, while others are milder. You can also try succession planting, sowing seeds every few weeks to ensure a continuous harvest throughout the growing season. Consider companion planting with herbs like dill or chamomile, which can attract beneficial insects and deter pests. If you’re short on space, Mibuna thrives in containers, making it perfect for balconies or patios. You can even grow it indoors under grow lights!
Don’t be afraid to get your hands dirty and embrace the learning process. Gardening is all about experimentation and adapting to your specific environment. There will be challenges along the way, but the satisfaction of harvesting your own homegrown Mibuna cabbage will make it all worthwhile.
We wholeheartedly encourage you to give this DIY trick a try. It’s easier than you might think, and the rewards are immeasurable. Start small, learn as you go, and most importantly, have fun!
And now, we want to hear from you! Share your experiences, tips, and photos of your homegrown Mibuna cabbage in the comments below. Let’s create a community of Mibuna enthusiasts and inspire others to embark on this delicious and rewarding journey. What are you waiting for? Get planting!
Frequently Asked Questions (FAQ)
What exactly is Mibuna cabbage, and why should I grow it?
Mibuna is a Japanese mustard green, often referred to as a cabbage due to its leafy appearance. It boasts a mild, peppery flavor that adds a delightful zest to salads, stir-fries, soups, and other dishes. Growing your own Mibuna allows you to enjoy its fresh, vibrant taste while controlling the growing conditions, ensuring it’s free from harmful pesticides. Plus, it’s a relatively easy and fast-growing crop, making it perfect for beginner gardeners.
How much sunlight does Mibuna cabbage need?
Mibuna thrives in partial to full sunlight, requiring at least 4-6 hours of direct sunlight per day. However, in hotter climates, providing some afternoon shade can prevent the leaves from scorching. If you’re growing Mibuna indoors, use grow lights to supplement natural sunlight and ensure adequate light exposure.
What kind of soil is best for growing Mibuna cabbage?
Mibuna prefers well-draining, fertile soil that is rich in organic matter. Amend your garden soil with compost or well-rotted manure before planting to improve its structure and nutrient content. A slightly acidic to neutral soil pH (around 6.0 to 7.0) is ideal.
How often should I water my Mibuna cabbage plants?
Keep the soil consistently moist, but not waterlogged. Water deeply whenever the top inch of soil feels dry to the touch. During hot weather, you may need to water more frequently. Avoid overhead watering, as this can increase the risk of fungal diseases.
When is the best time to plant Mibuna cabbage?
Mibuna is a cool-season crop, so the best time to plant it is in early spring or late summer/early fall. This allows the plants to mature before the heat of summer or the cold of winter sets in. In milder climates, you can grow Mibuna year-round.
How long does it take for Mibuna cabbage to mature?
Mibuna is a fast-growing crop, typically maturing in 30-50 days from planting. You can start harvesting the outer leaves as soon as they are large enough to use, allowing the inner leaves to continue growing.
What are some common pests and diseases that affect Mibuna cabbage?
Common pests that can affect Mibuna include aphids, flea beetles, and cabbage worms. You can control these pests with organic methods such as handpicking, insecticidal soap, or neem oil. Diseases that can affect Mibuna include downy mildew and clubroot. Prevent these diseases by providing good air circulation, avoiding overhead watering, and practicing crop rotation.
Can I grow Mibuna cabbage in containers?
Yes, Mibuna grows well in containers, making it a great option for those with limited space. Choose a container that is at least 6-8 inches deep and wide, and fill it with well-draining potting mix. Be sure to water regularly and fertilize as needed.
How do I harvest Mibuna cabbage?
You can harvest Mibuna by cutting the outer leaves with a sharp knife or scissors, leaving the inner leaves to continue growing. Alternatively, you can harvest the entire plant by cutting it off at the base. Harvest Mibuna in the morning, when the leaves are crisp and fresh.
How do I store harvested Mibuna cabbage?
Store harvested Mibuna in the refrigerator in a plastic bag or container. It will keep for several days. For longer storage, you can blanch and freeze Mibuna.
Can I eat the stems of Mibuna cabbage?
Yes, the stems of Mibuna are also edible and have a similar flavor to the leaves. You can use them in stir-fries, soups, or salads.
Is Mibuna cabbage nutritious?
Absolutely! Mibuna is packed with vitamins and minerals, including vitamin A, vitamin C, vitamin K, calcium, and potassium. It’s also a good source of fiber and antioxidants.
What are some creative ways to use Mibuna cabbage in cooking?
Mibuna is incredibly versatile in the kitchen. Use it in salads, stir-fries, soups, omelets, or as a topping for pizzas and sandwiches. You can also sauté it with garlic and olive oil for a simple and delicious side dish. Get creative and experiment with different flavors and cuisines!
How can I encourage more leafy growth in my Mibuna cabbage?
Regularly harvesting the outer leaves will encourage the plant to produce more new growth. You can also fertilize with a balanced fertilizer or compost tea to provide the necessary nutrients for leafy growth. Ensure the plant receives adequate sunlight and water.
What if my Mibuna cabbage bolts (goes to seed)?
Bolting is a natural process that occurs when the plant is stressed, usually due to heat or lack of water. Once Mibuna bolts, the leaves can become bitter. To prevent bolting, provide adequate water, shade during hot weather, and harvest regularly. If your Mibuna does bolt, you can still harvest the leaves, but be aware that they may have a stronger, more bitter flavor. You can also collect the seeds for future planting.

Leave a Comment